Fuselage
Seatback Riveting and Fuselage Stand
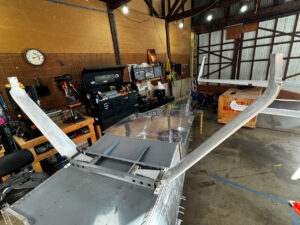
Adding an end of month post to update on progress of the post priming activites as well as share the cool fuselage stand that Finn and I designed a couple weeks back. Enjoy!
An RV-8 Build Log
Adding an end of month post to update on progress of the post priming activites as well as share the cool fuselage stand that Finn and I designed a couple weeks back. Enjoy!
Wrapped up flooring prep and priming. This post is a quick recap of the steps to get there.
Back from a great trip in Greece (and overcoming a bout of Covid in the family), it was time to get going on the interior of the fuselage. It starts with the seat backs!
After a successful trip to Volleyball Nationals where the boys played their hearts out, it was time to get back to the plane. My goal
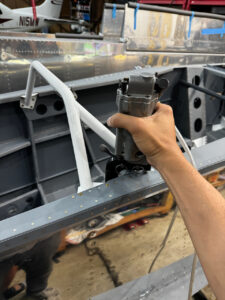
Time to Drill! Quick update as we wrap up landing gear fitment. Enjoy!
It’s time to align the landing gear and final drill for installation! This big milestone takes a lot of measuring, double checking, and just a bit of nerve. Read on for part 1 of the landing gear fitment adventure!
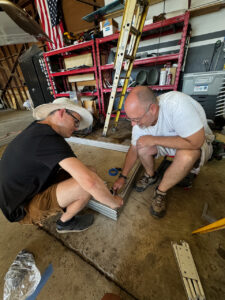
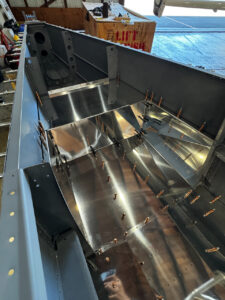
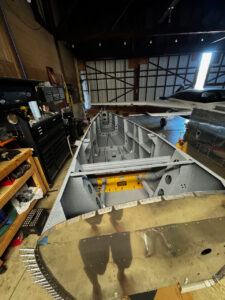
Continuing with the great momentum on the fuselage, we were able to wrap up the “Skin Riveting” section of the plans over a few sessions this weekend. The crew helped move it along, and in this post you’ll catch up on a few challenges we had to overcome.
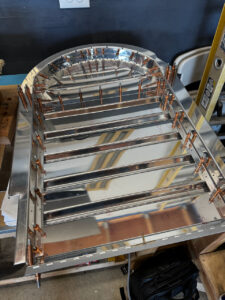
Fuselage skin riveting done! Quick end of month update to round out the fuselage riveting saga!
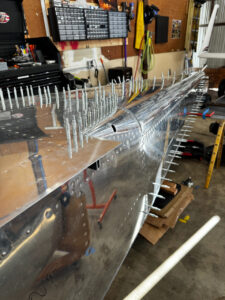
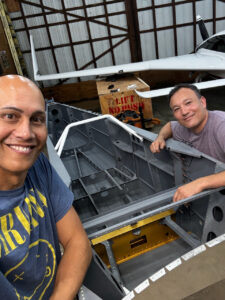
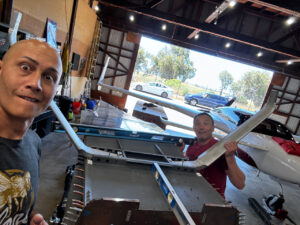
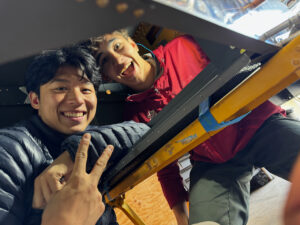
Much of building a plane is a solo endeavour, but it is fun when I have to bring others together to get something done. Read on for all the riveting fun! Get to the bottom for a bonus update on Nico’s goKart project.
Although the posts have been quiet, there has been quite a bit of activity on the fuselage. From the title you can probably guess it was forward skin riveting. Here’s a quick update on the progress.