I purchased the Andair Fuel Selector almost a year ago thinking I was weeks away from needing it. Boy was I wrong… ha ha. Well I finally got to the step where I need to fit the fuel selector into the mid cabin cover. For the factory fuel selector this is a relatively easy job as the mounting doubler is pre-drilled and sized for proper mounting. Of course, my Andair selector is after market and thus required a bit of custom fabrication. What probably would have been a 30 minutes job ended up taking me about 9 hours to do.
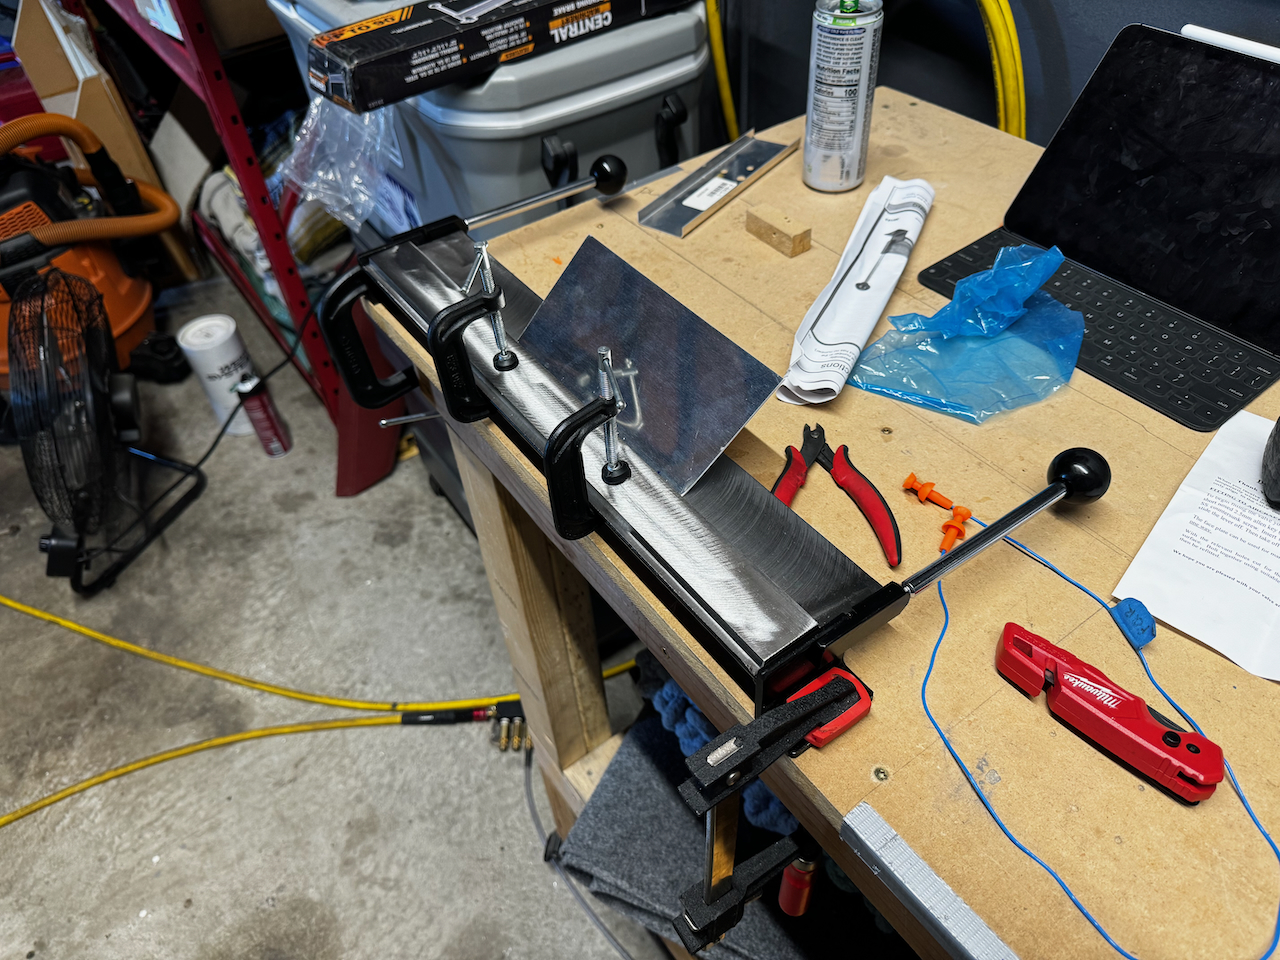
The first complication was fabricating the doubler. This is necessary since the fuel selector is quite robust and will be manipulated often. Having it mounted securing is important for longevity. I needed to copy the factory doubler, but size it correctly for the larger footprint of the Andair selector. I had the metal and needed to bend it on each side to provide enough rigidity to resist flexing. After trying a few DIY techniques, I ended heading down to harbor freight to get a $29 metal brake… which bends sheetmetal up to 16 Gauge. This was just a touch thicker than what I had, so it looked like it would work.
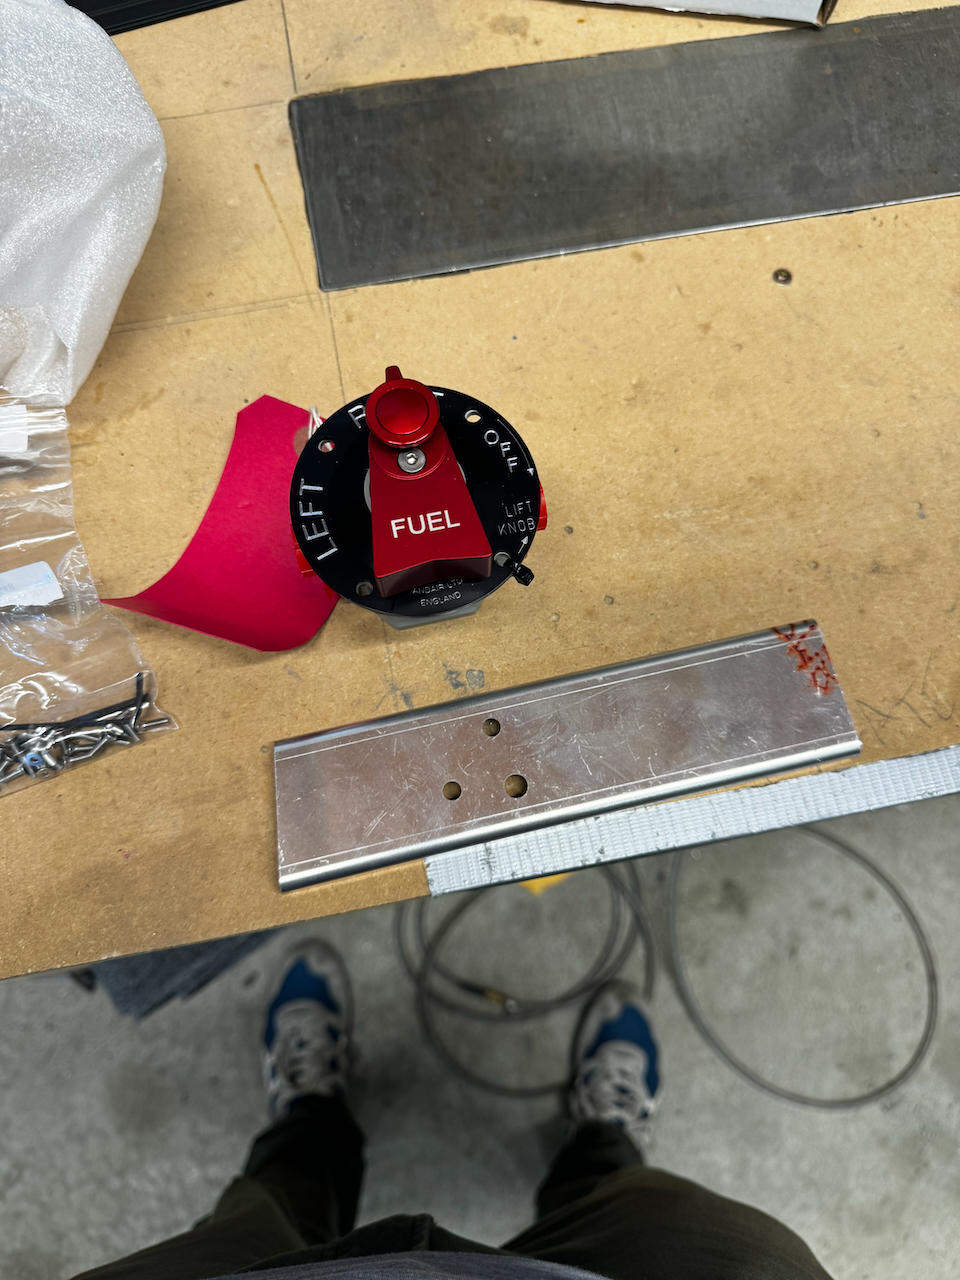
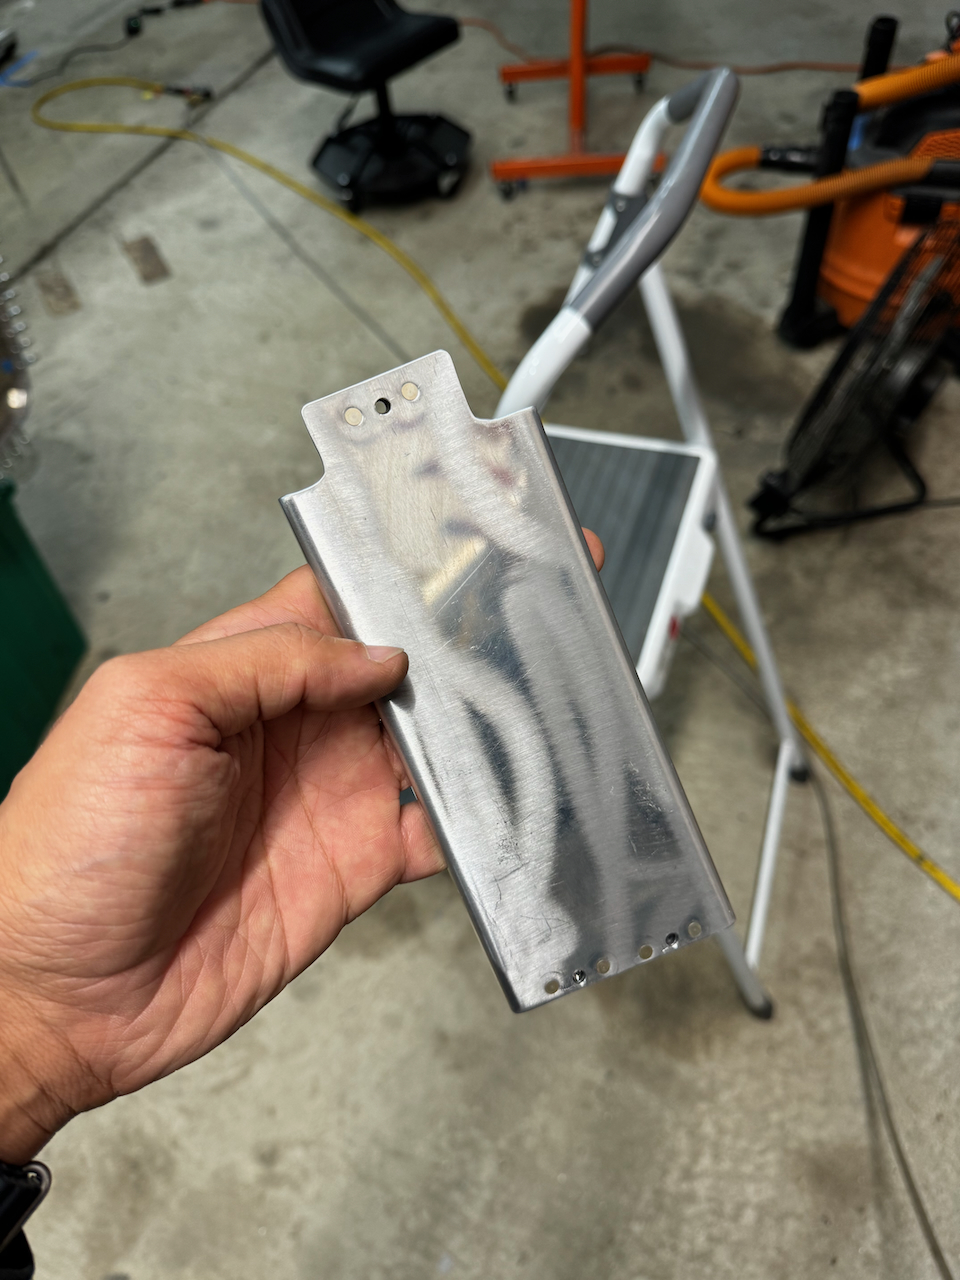
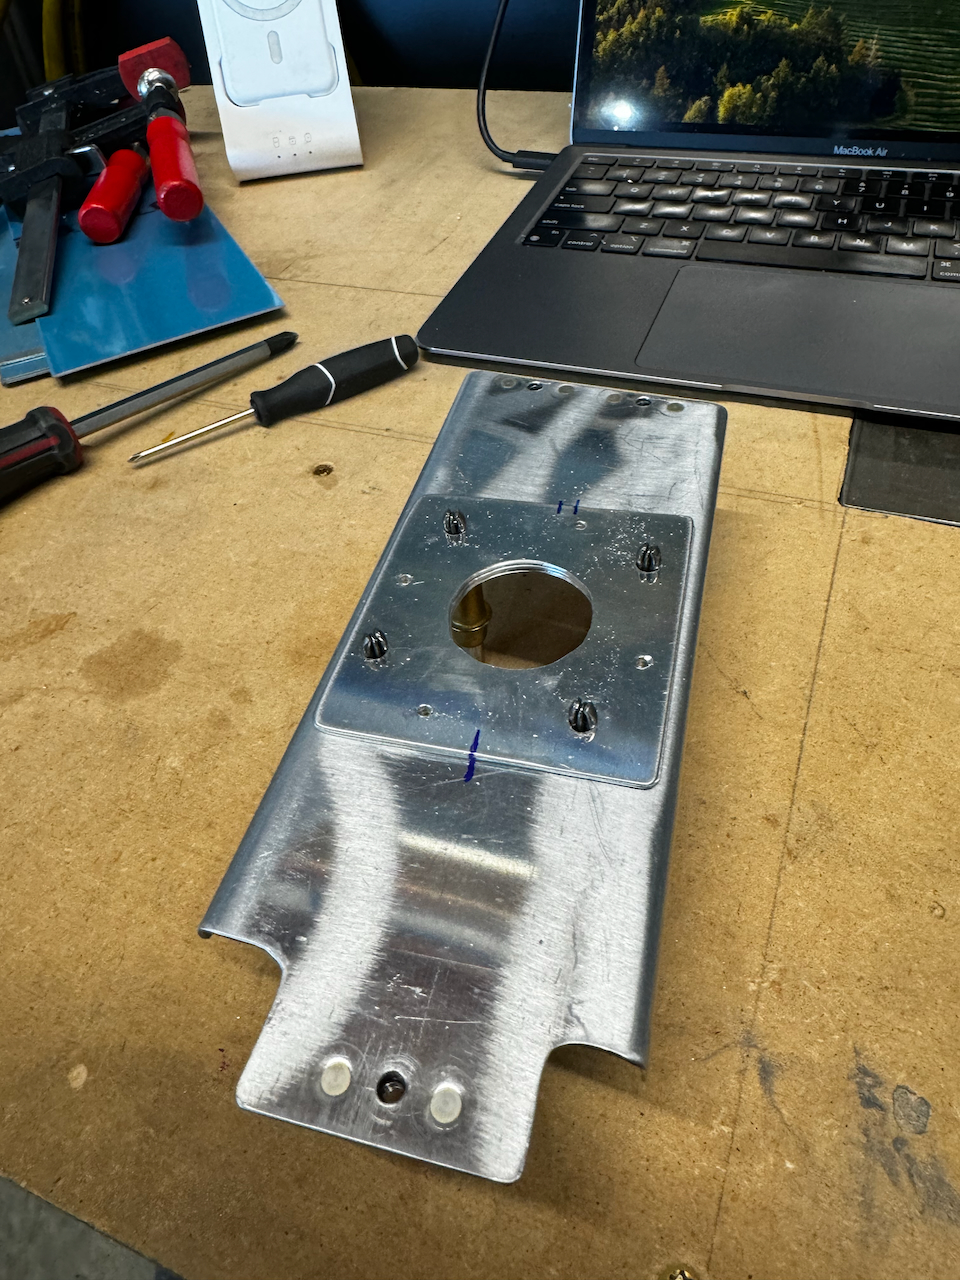
Original double, with new Andair selector. The two will not fit.
Harbor Freight metal break…
…great for clean bends on thin metal.
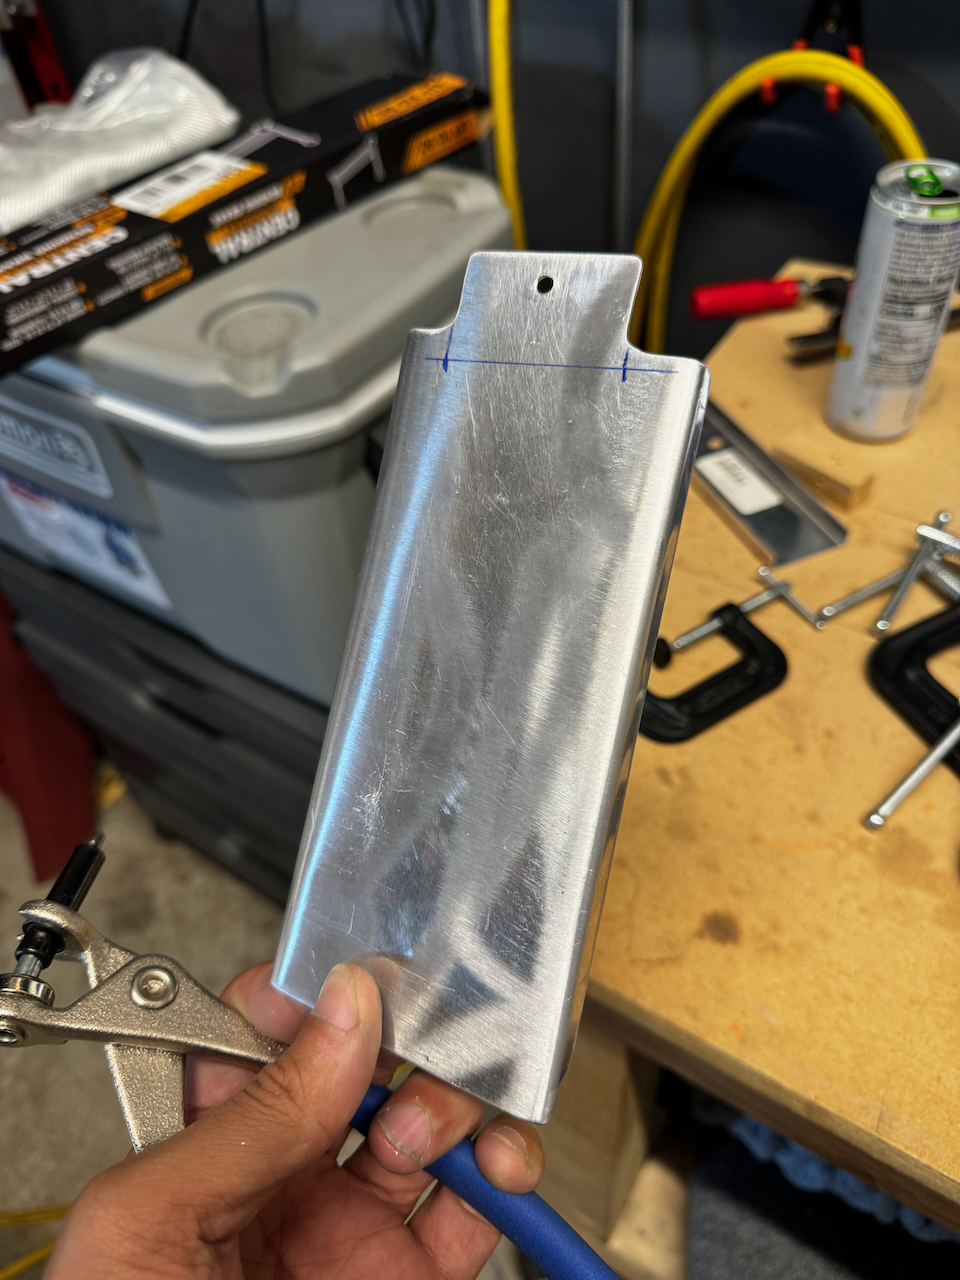
bent and starting to cut to shape.
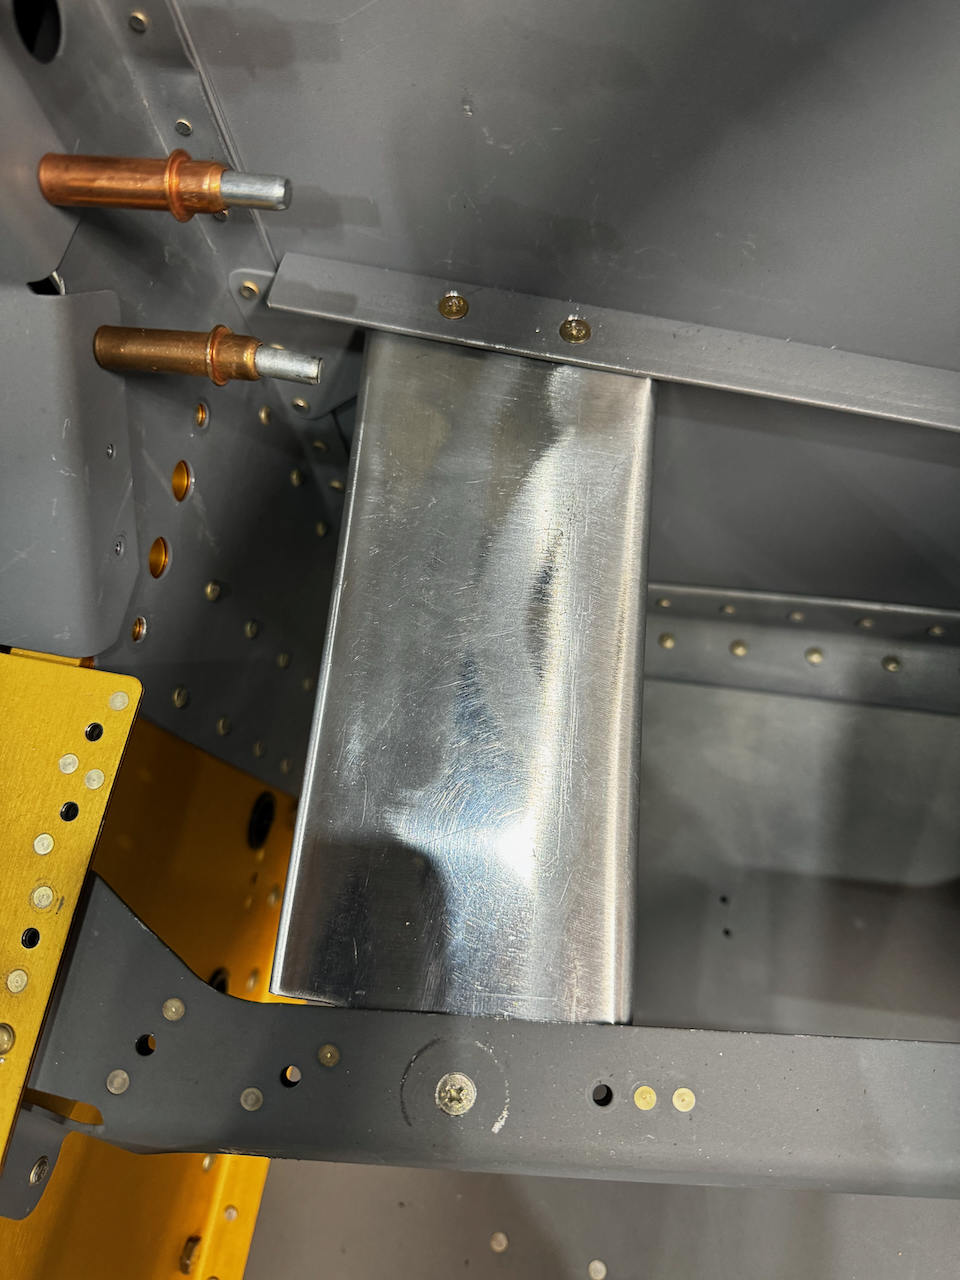
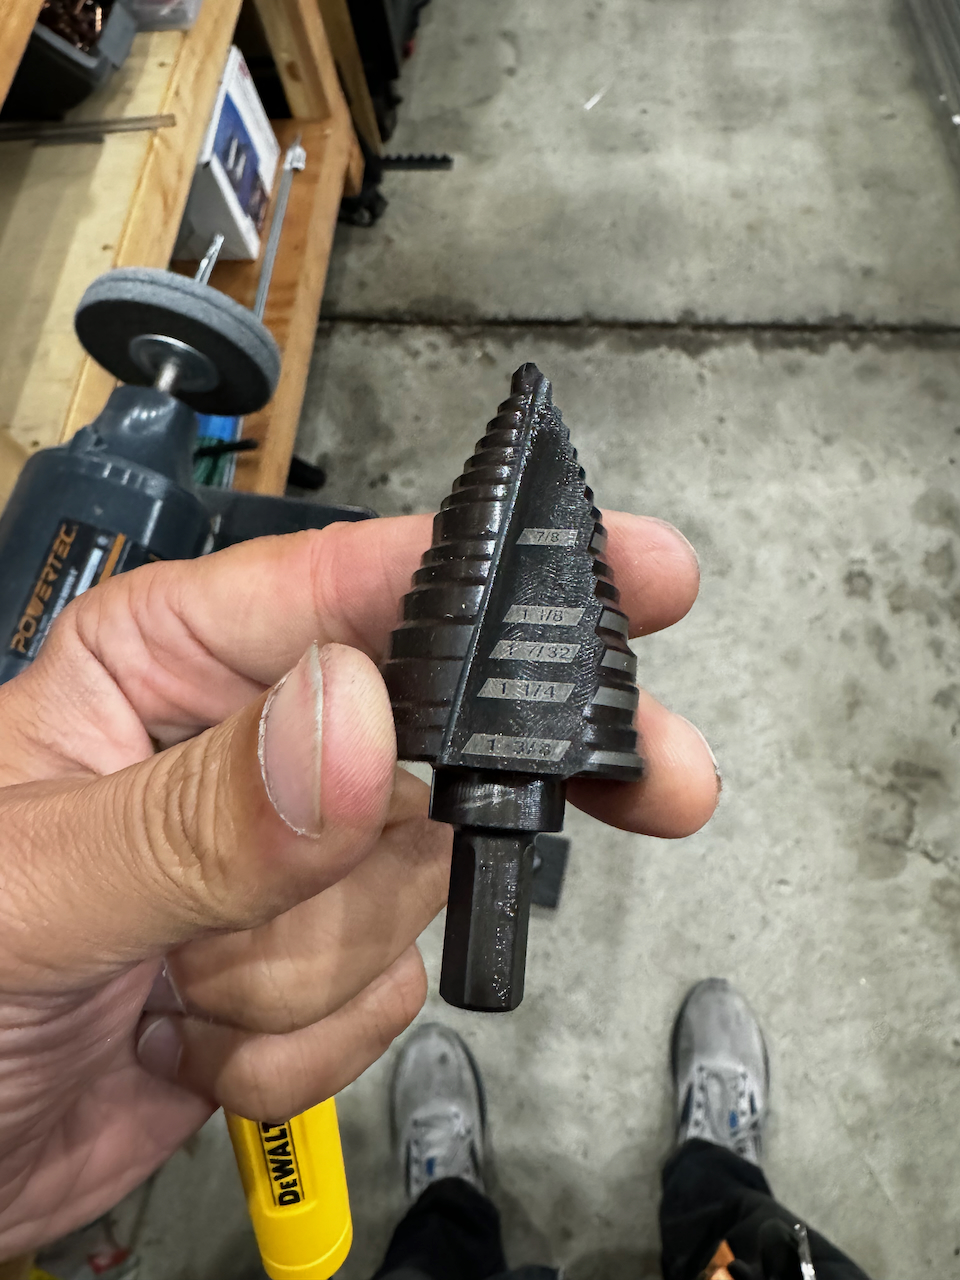
Next I needed to secure this new doubler to the mid cabin brace and auxiliary longeron while leaving room for the eventual nut plates needed to hold the mid-cabin cover. Once the nutplates were on, and doubler secured in place, I had to drill through both the doubler and cover at the same time. I didn’t have the correct step bit, so took a trip to Home Depot to pick up a step bit that wen up to at least 1 1/4”. Armed with my new bit, and measurements taken, I drilled through the two sheets of metal.
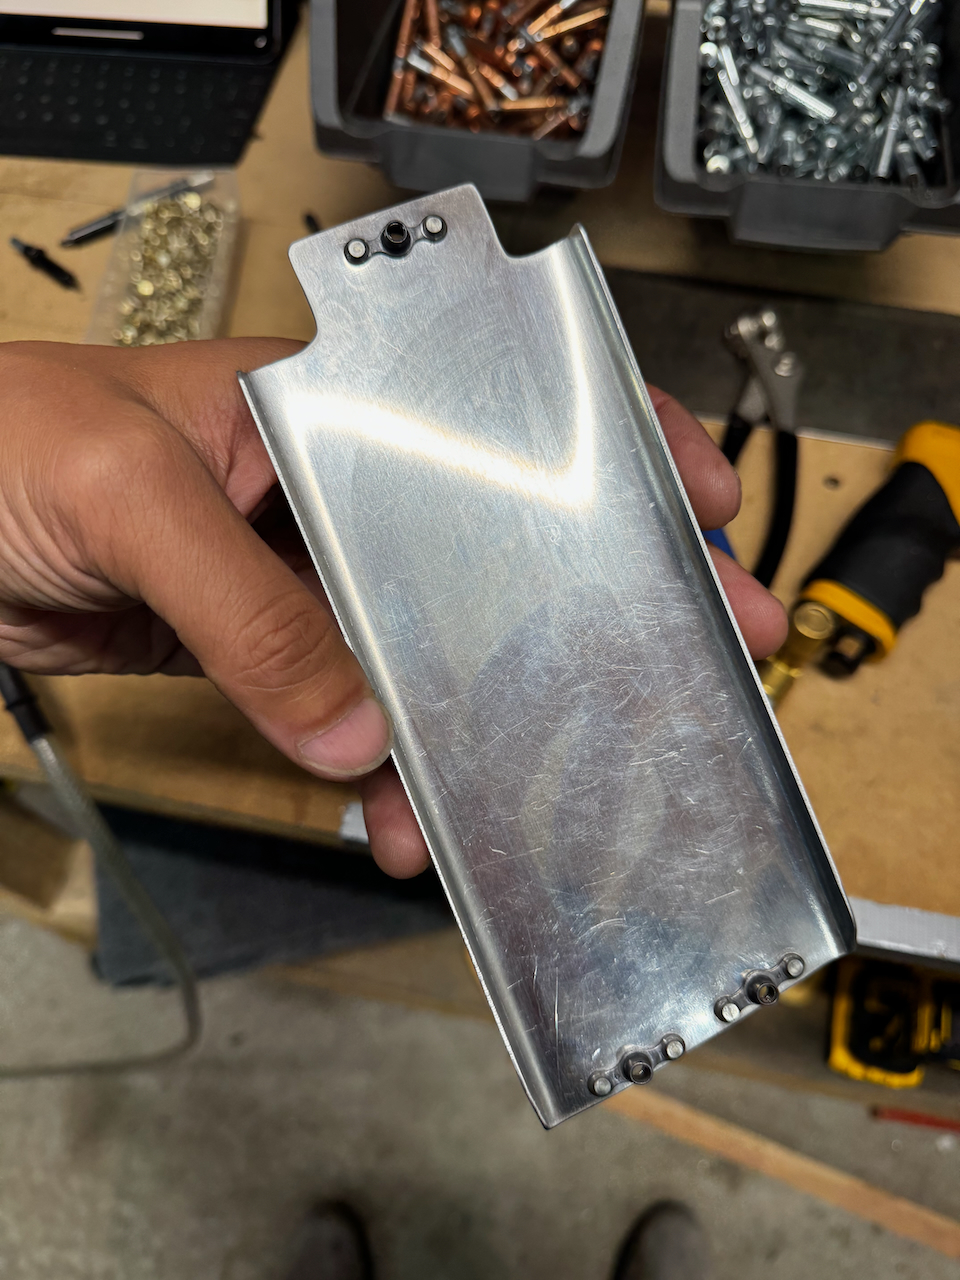
Nutplates installed
other side view
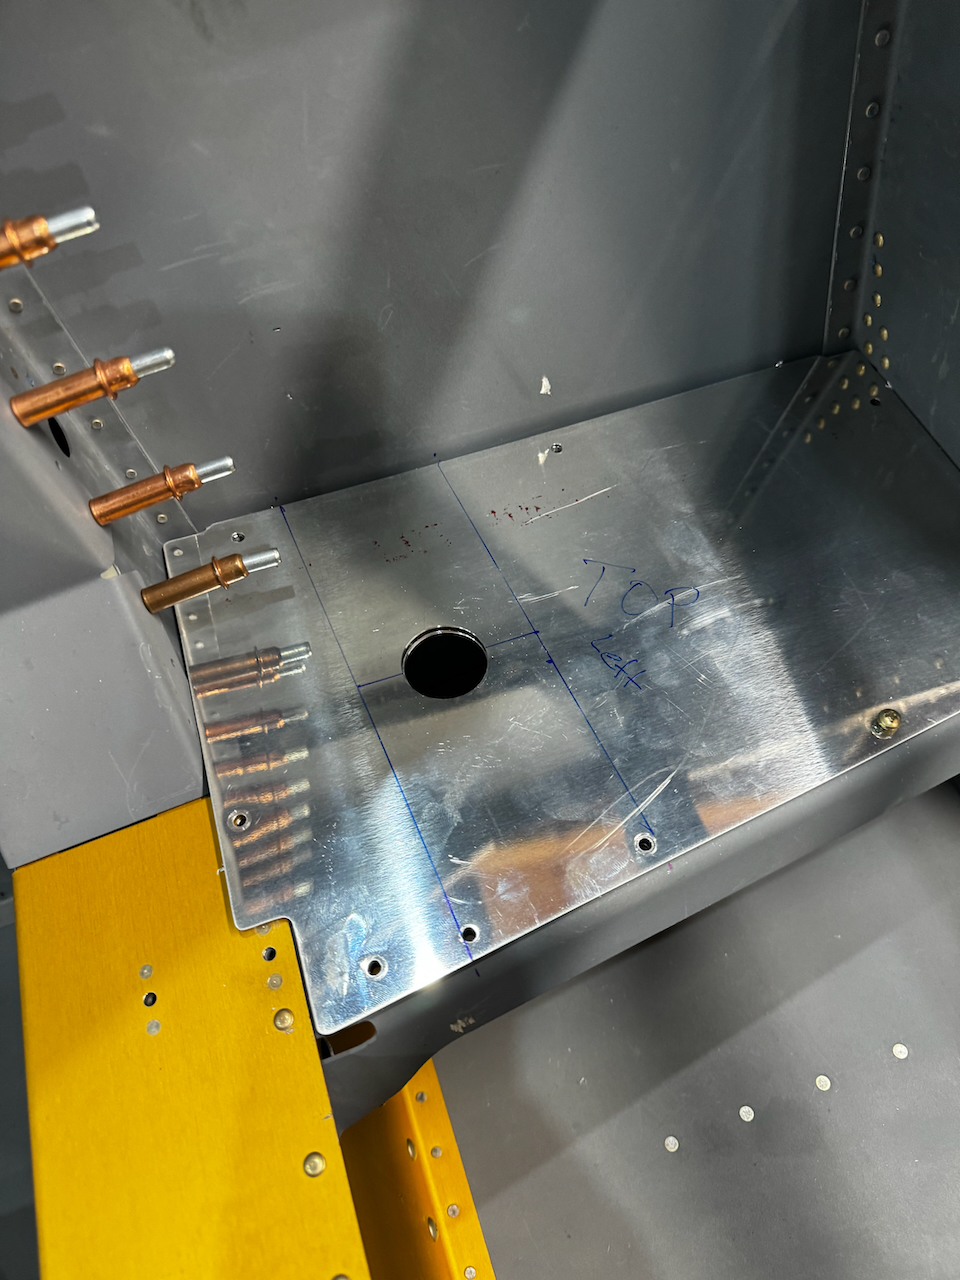
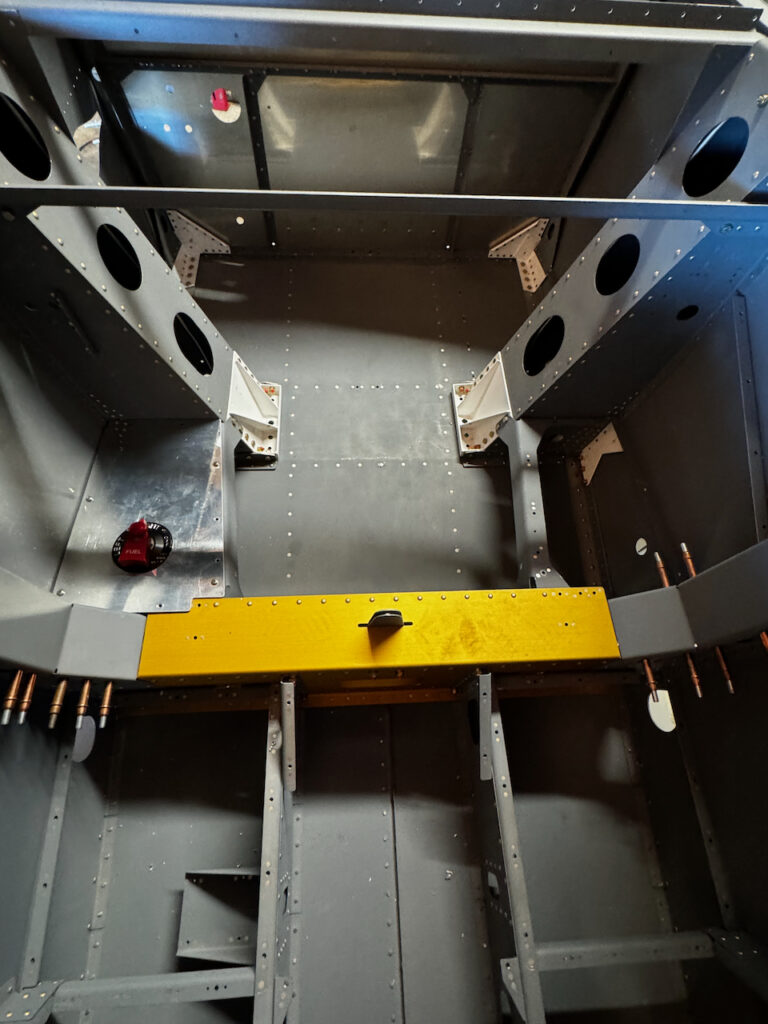
installed in place!
step bit worthy of drilling this hole.
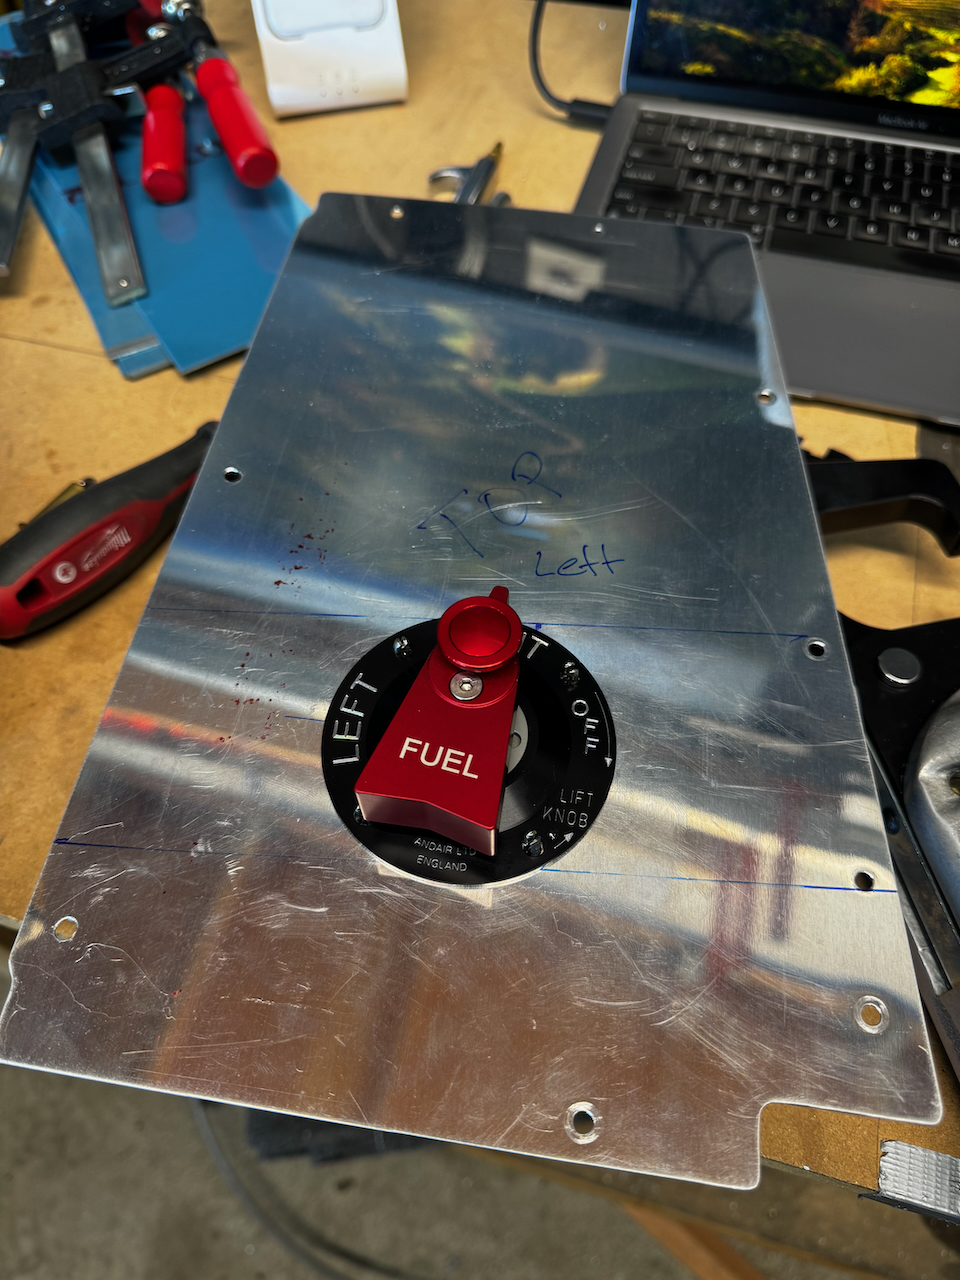
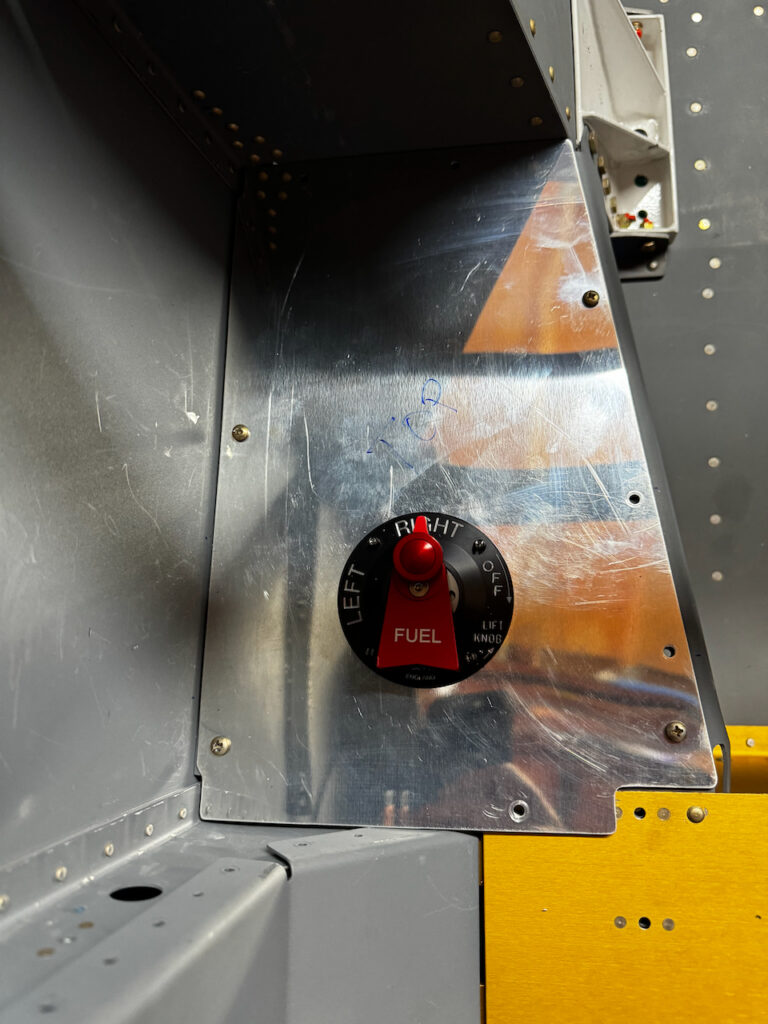
..and Andair test fit
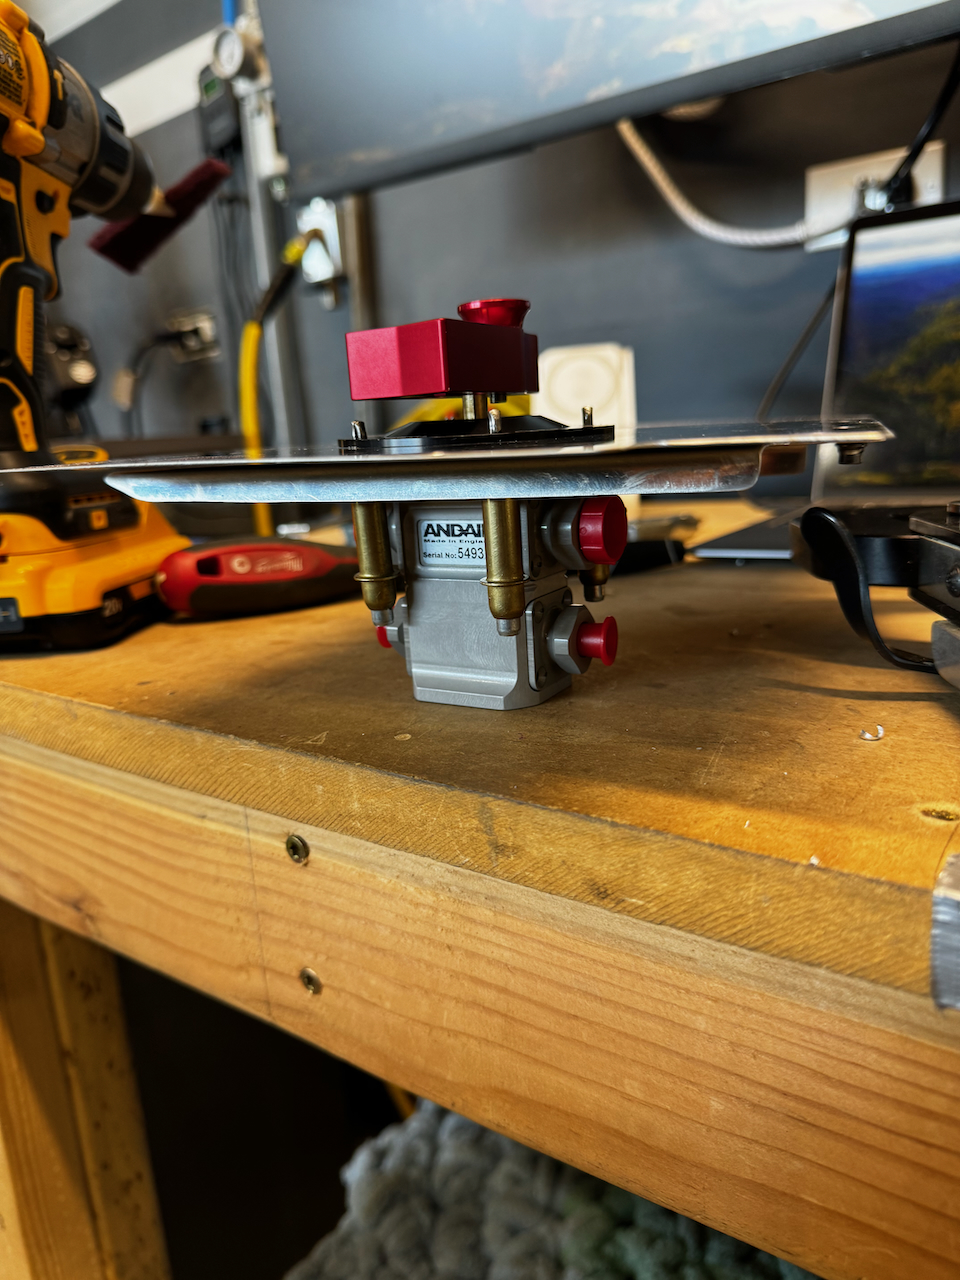
If you look close that the photos you can see that there is enough of a gap between two two pieces that I thought it would be better if I fit some spacers in between. This ended up being a bit more challenging that I anticipated since I could no longer use the step bit to match drill the holes. I ended up drilling out as much as I could, and then using a Dremel took away material until I matched the hole previously drilled. After a bit of clean up I secured the spacers to the doubler. Test fit revealed a good fit!
Spacers created and attached to doubler.
table top fit check.
looks good!
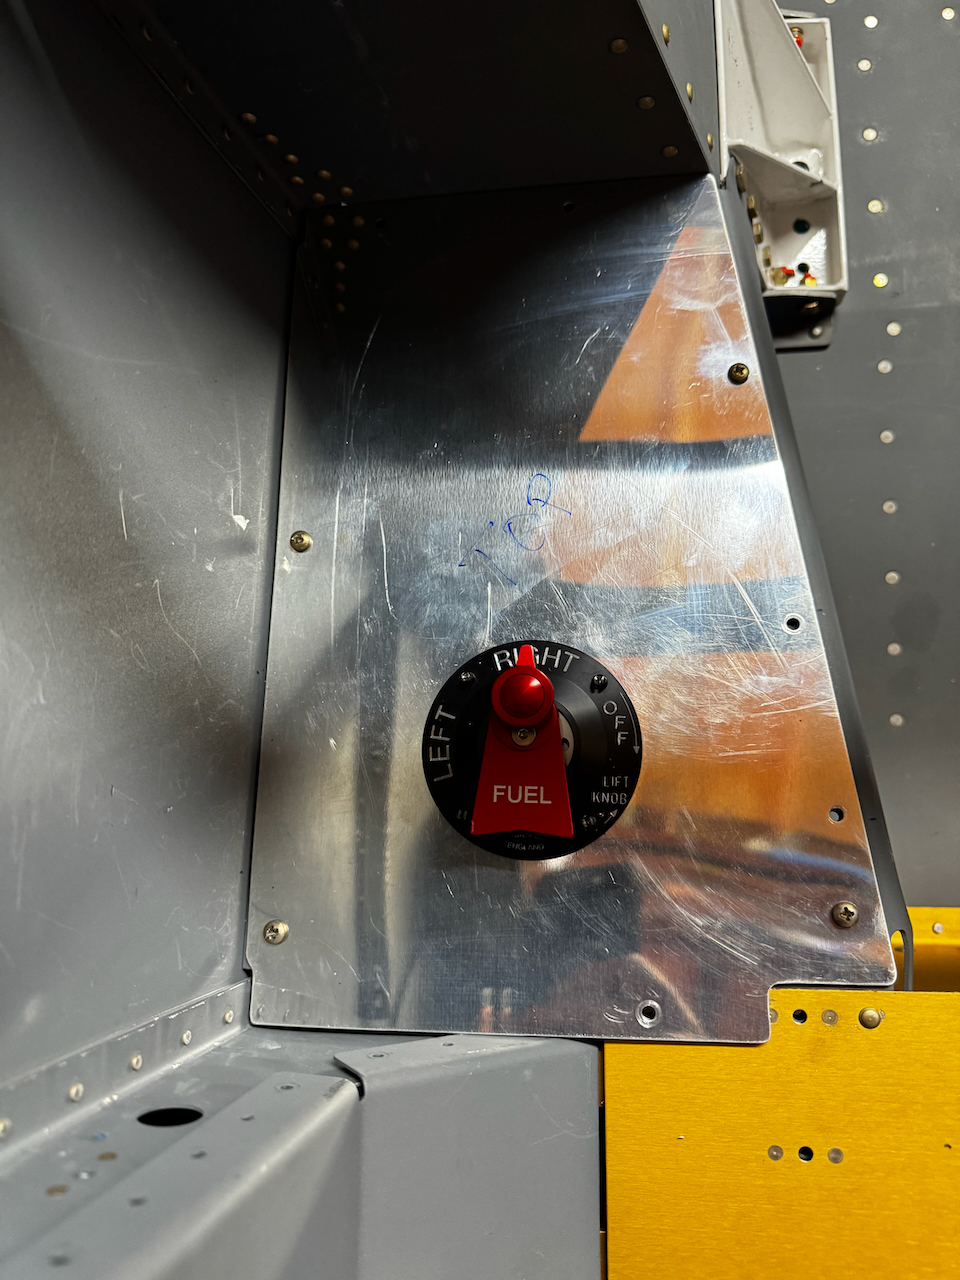
It was time for final fitment. With everything in place, I worked the fuel selector in, and presto! I’ve got a fuel selector in place. This will have to come out for prime, etc, but It was nice to see it in place. What I thought was going to be 30 minutes a year ago was finally done after 9 hours of work.
On to the next step!! I’ll be fitting the throttle quadrant and side console (where lots of cool switches will be some day) next, then it’s on to the empennage! Until then… Happy Building!!

1 comment
Best looking fuel selector. Nice challange. Good final result.