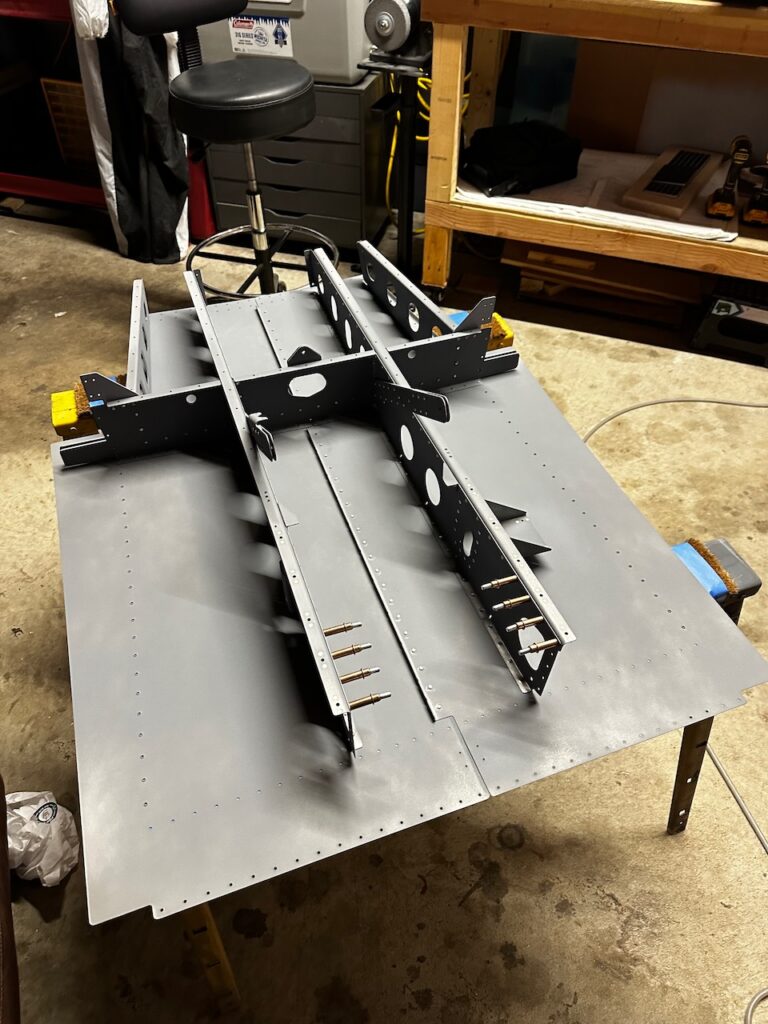
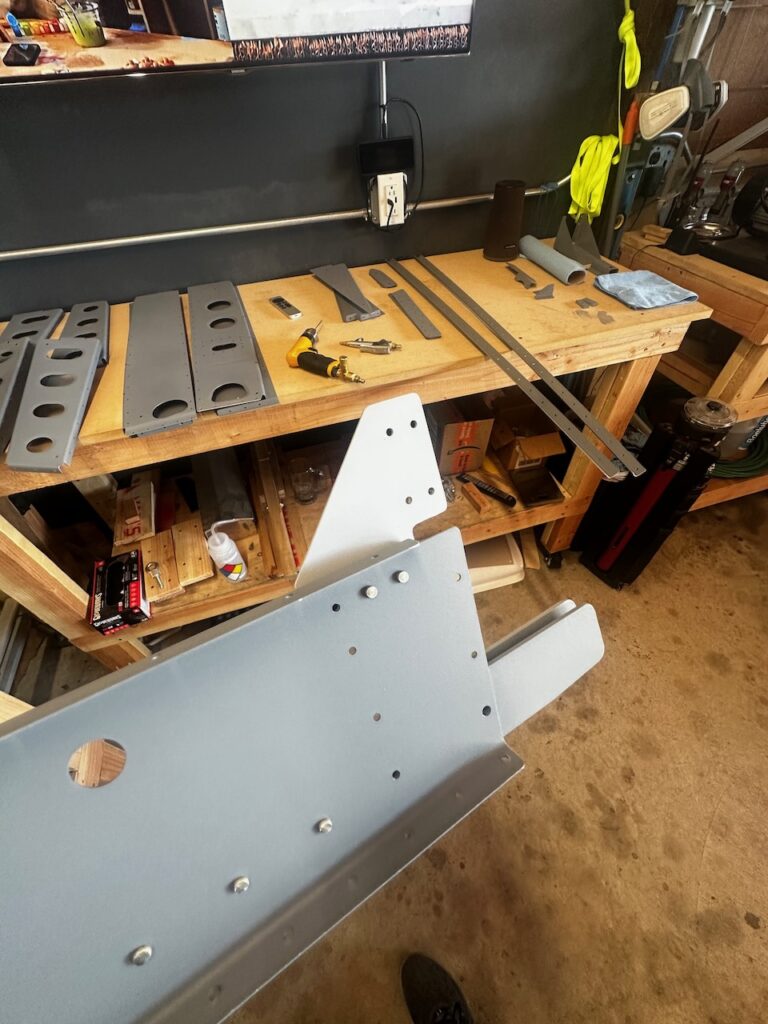
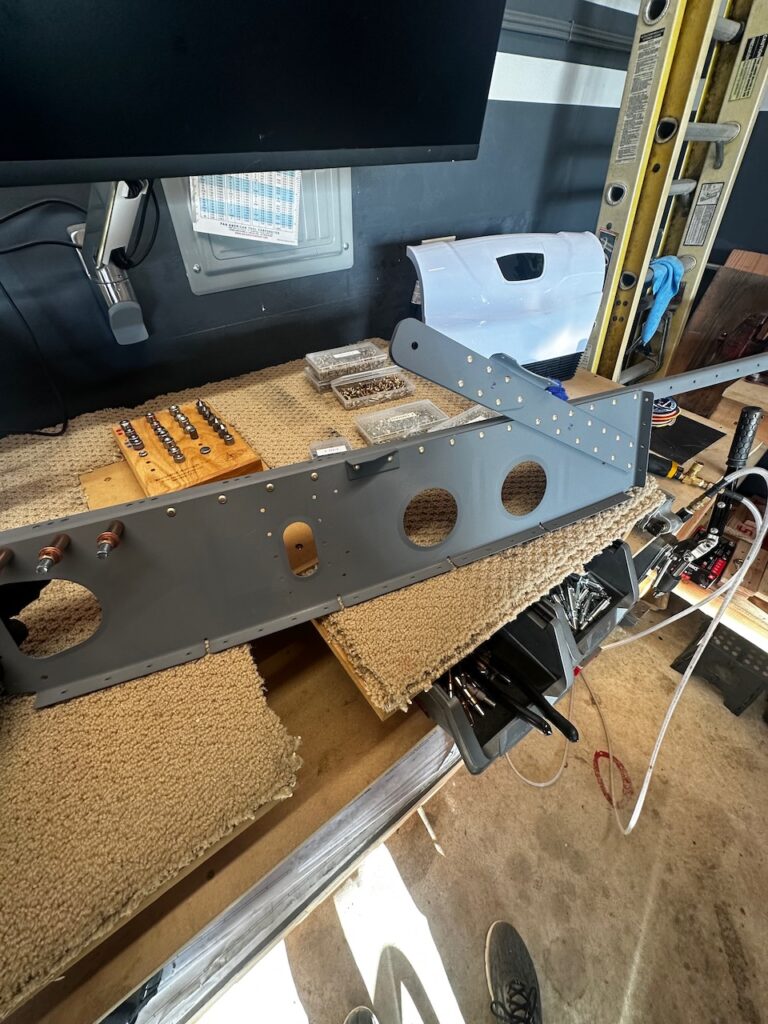
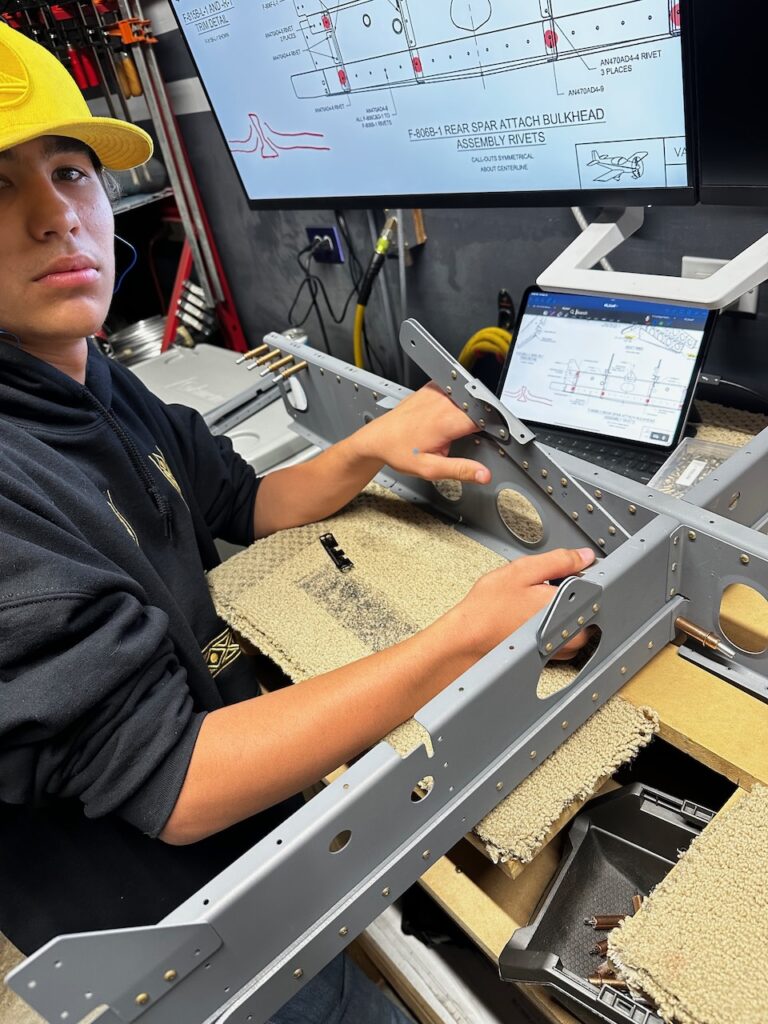
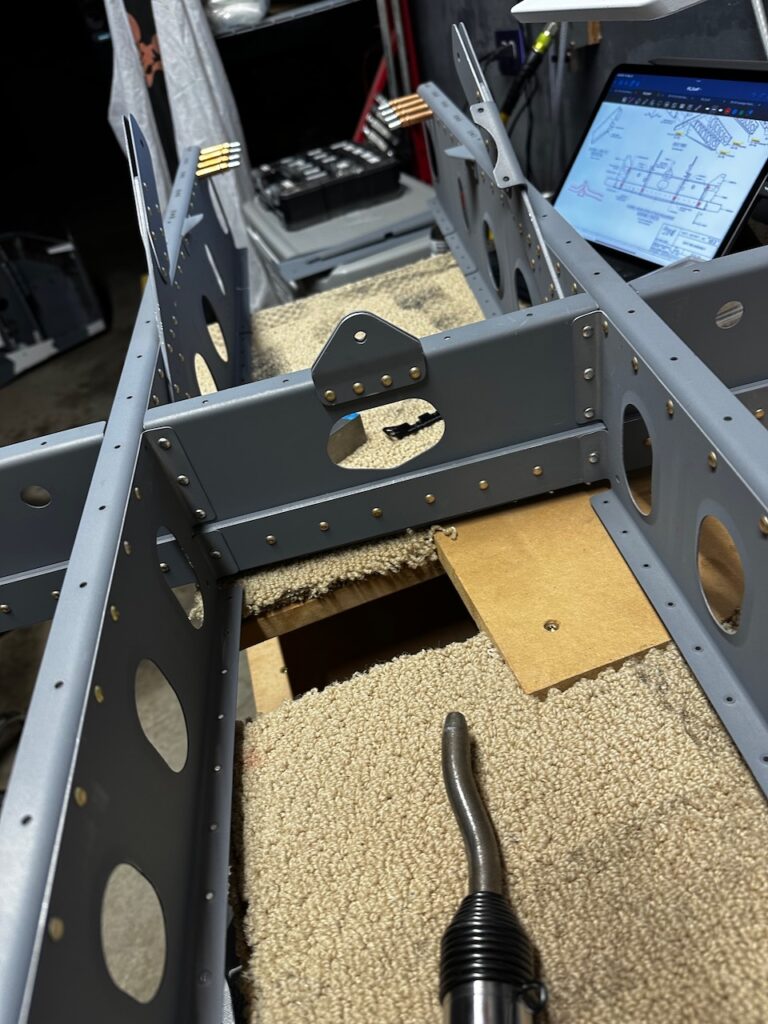
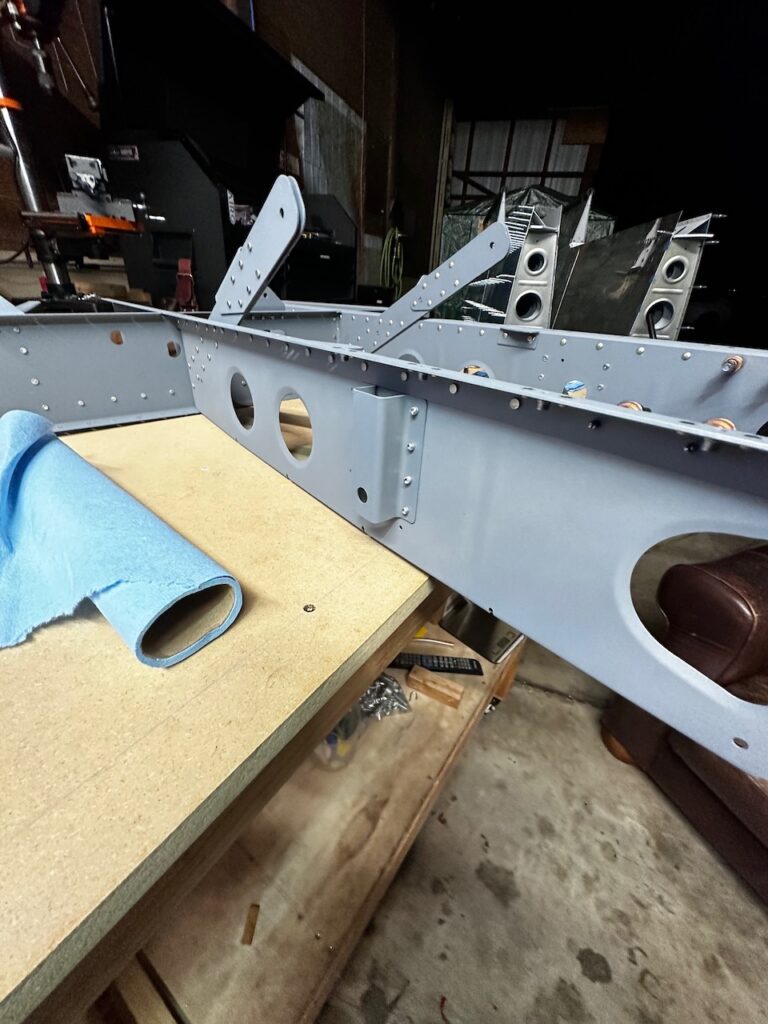
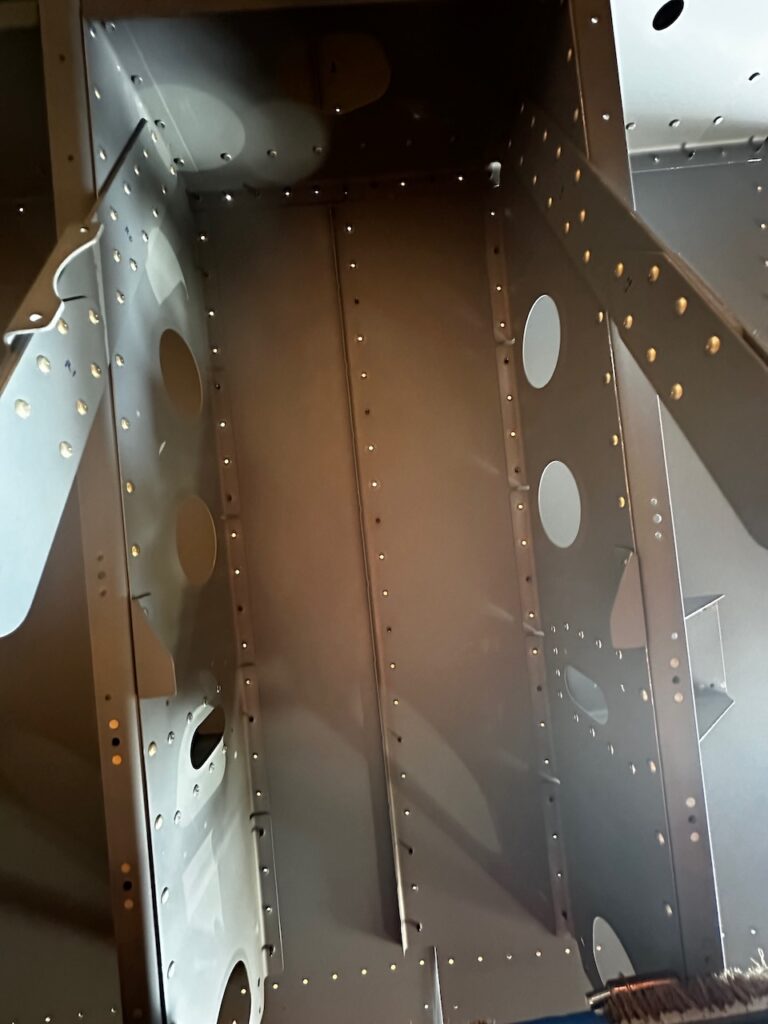
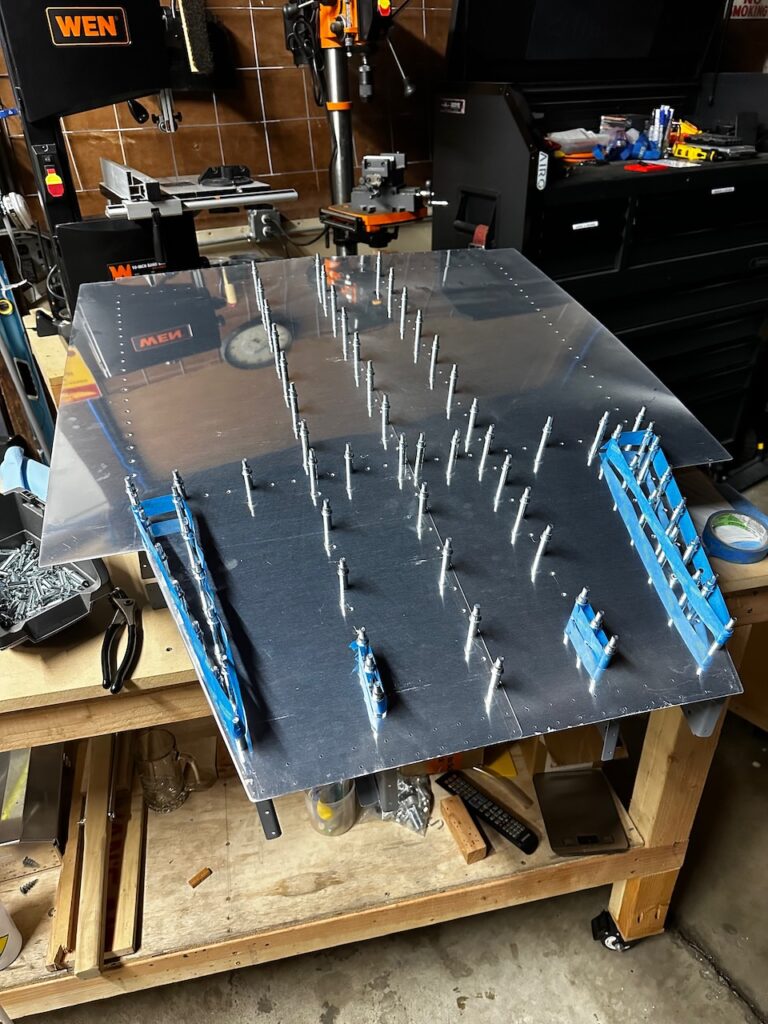
Last post ended with all parts primed and ready for final assembly. The first couple sessions since were about building the Seat Rib Assembly skeleton. First the rear attach bulkhead, then the inboard ribs. finally rivet all that together into the start of the skeleton.
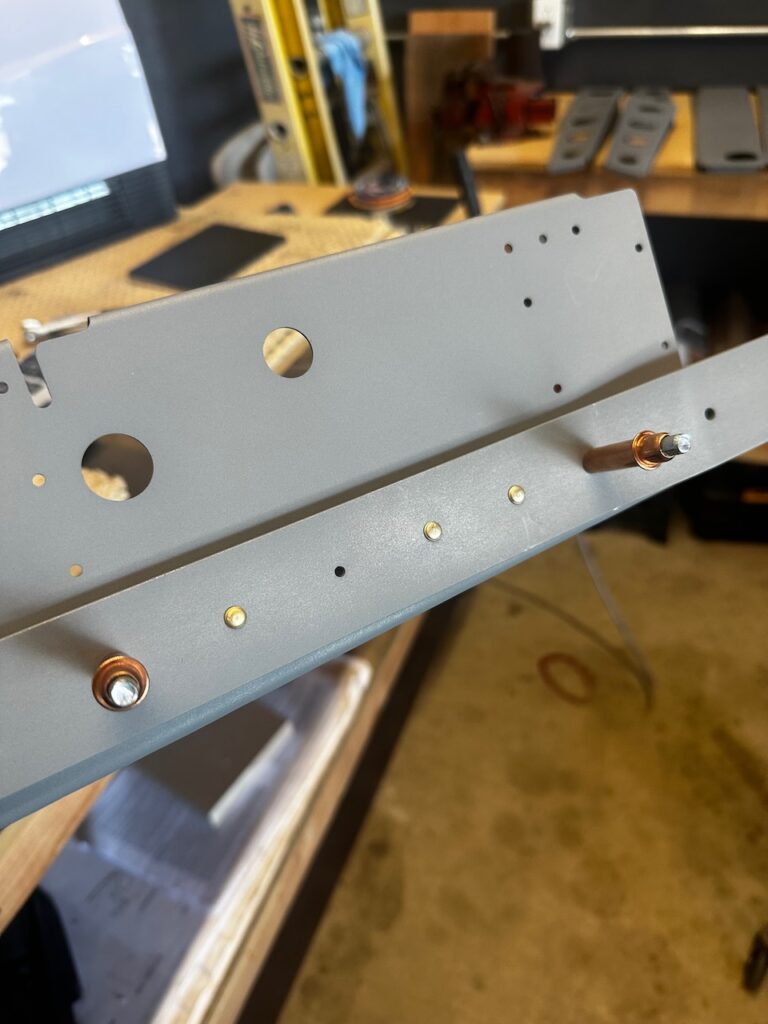
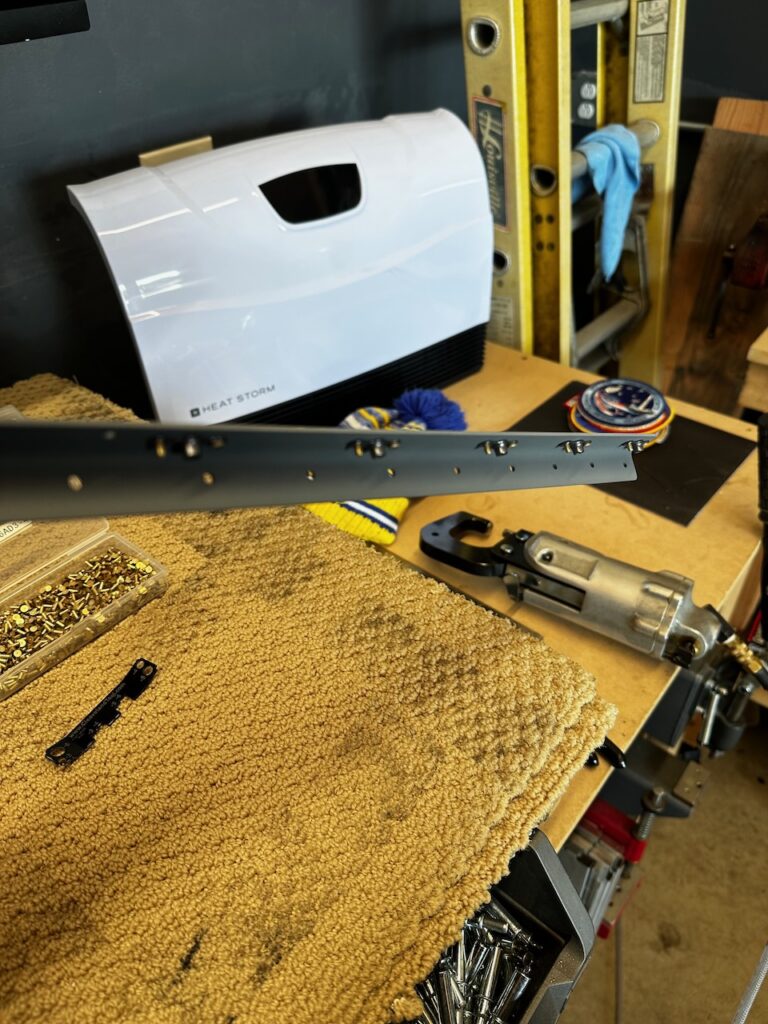
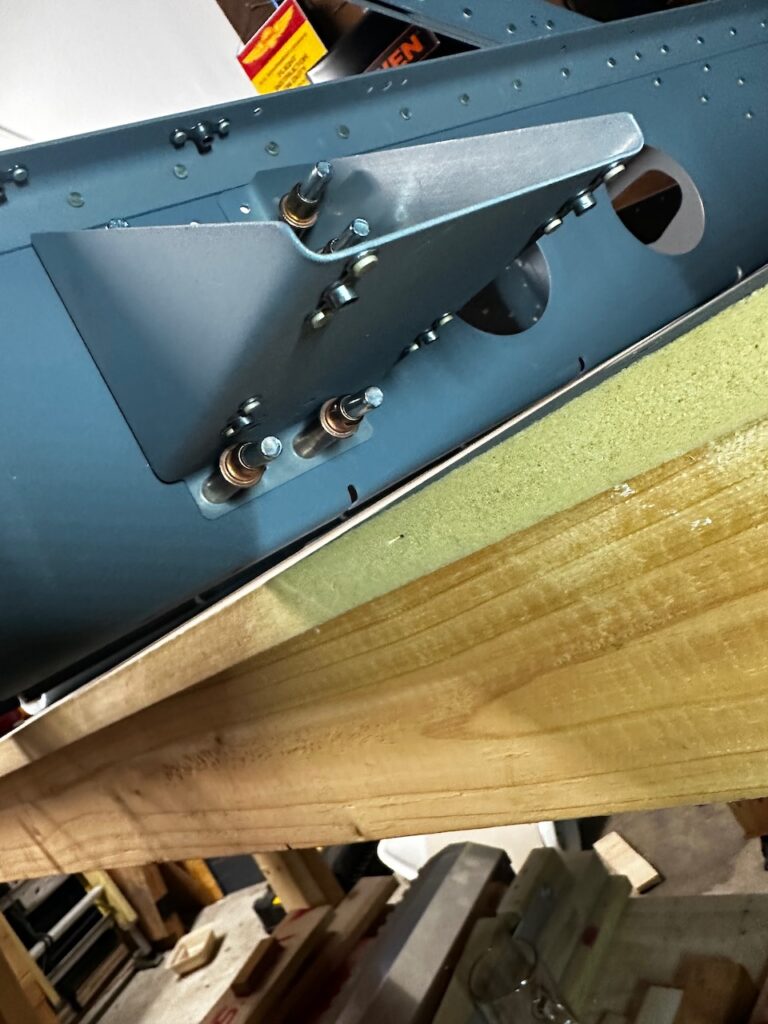
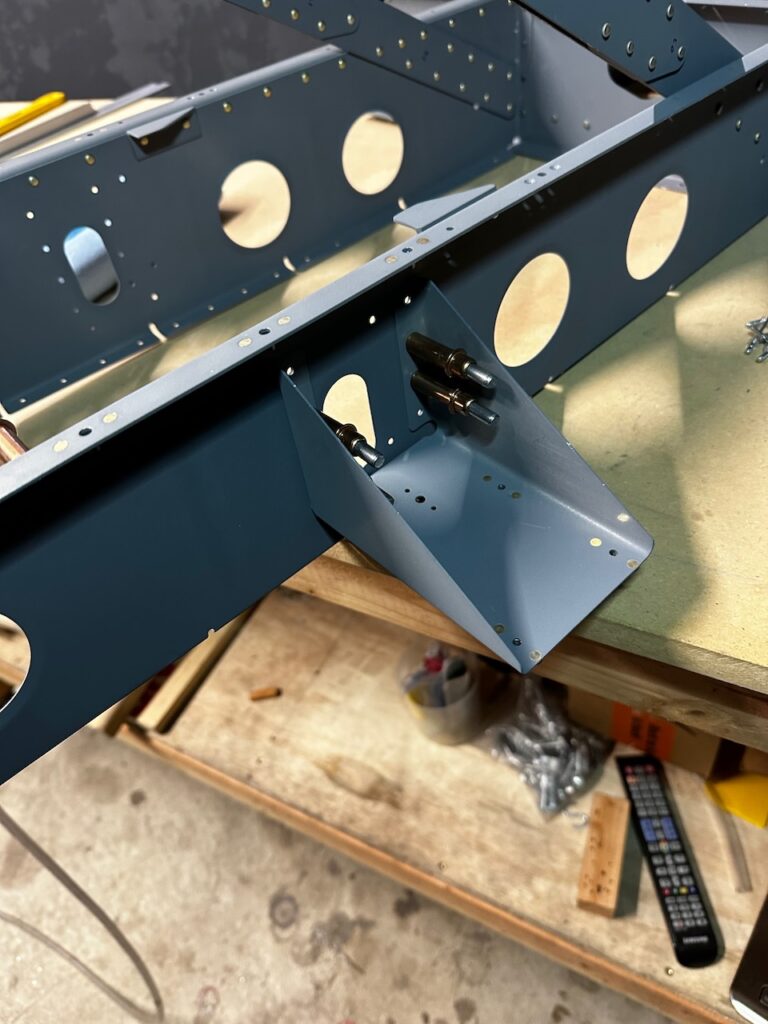
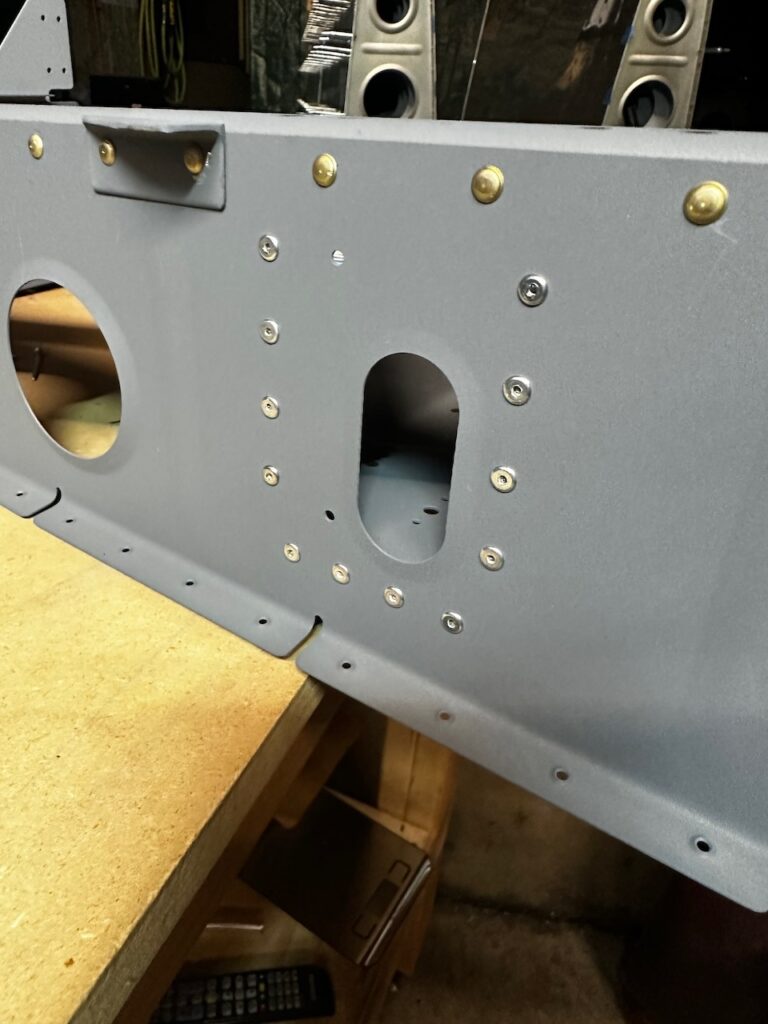
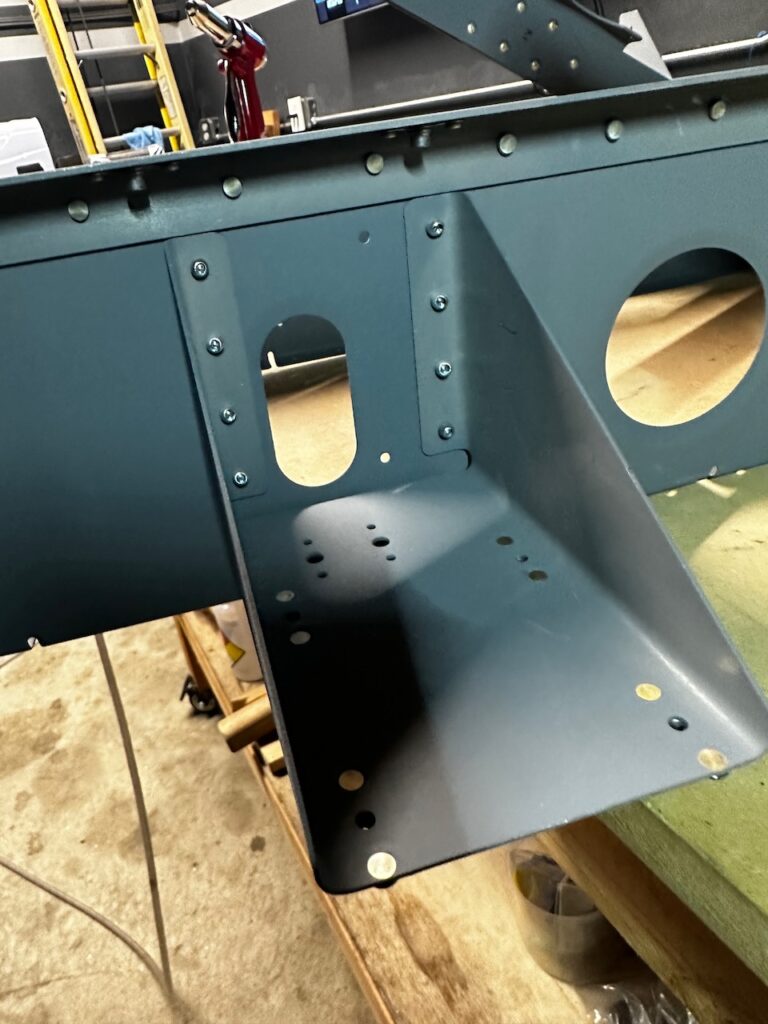
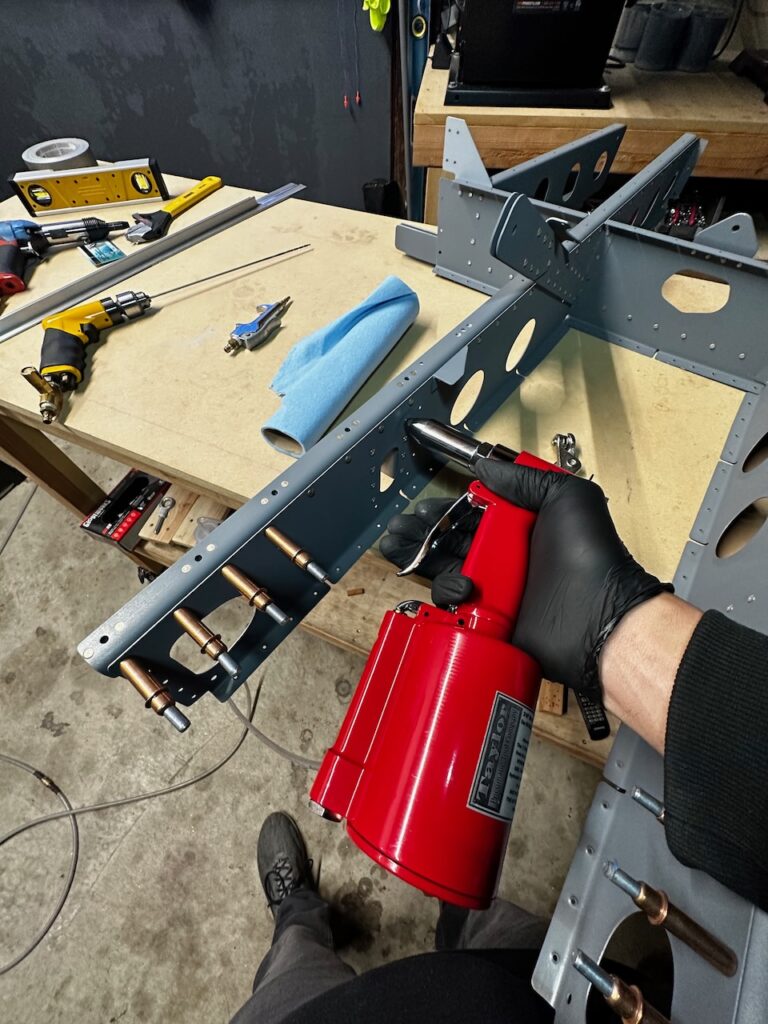
Before riveting on the outboard ribs I needed to attach the electric aileron trim brackets. The good news this is done with LP 4-3 pop rivets….so easy!
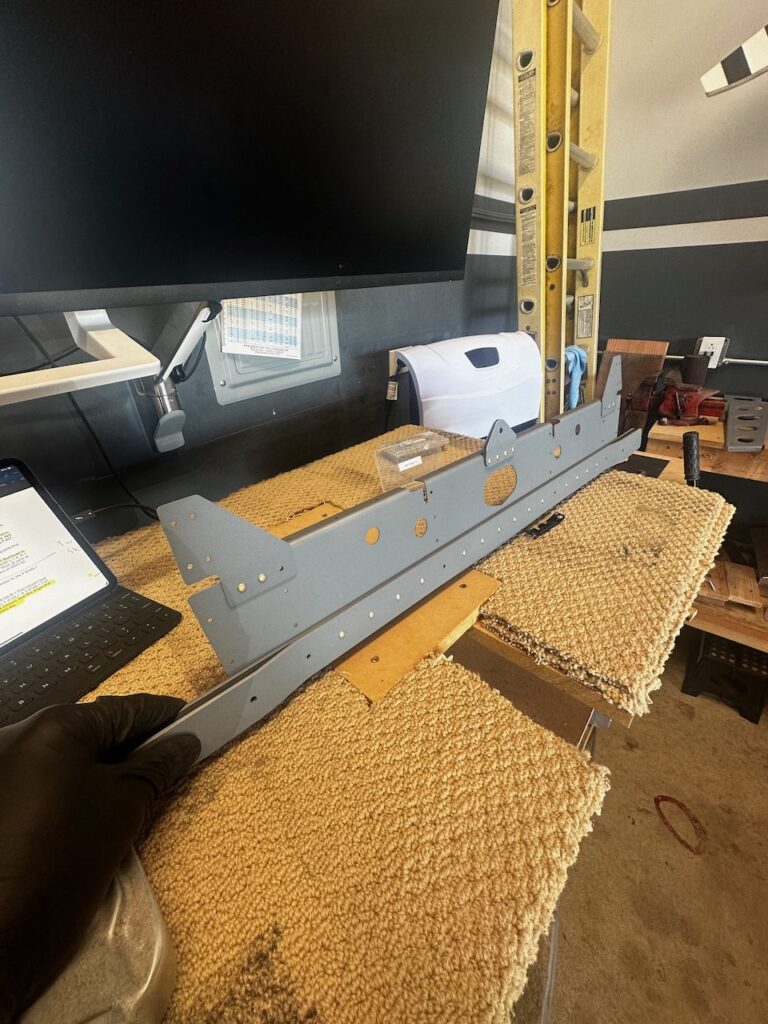
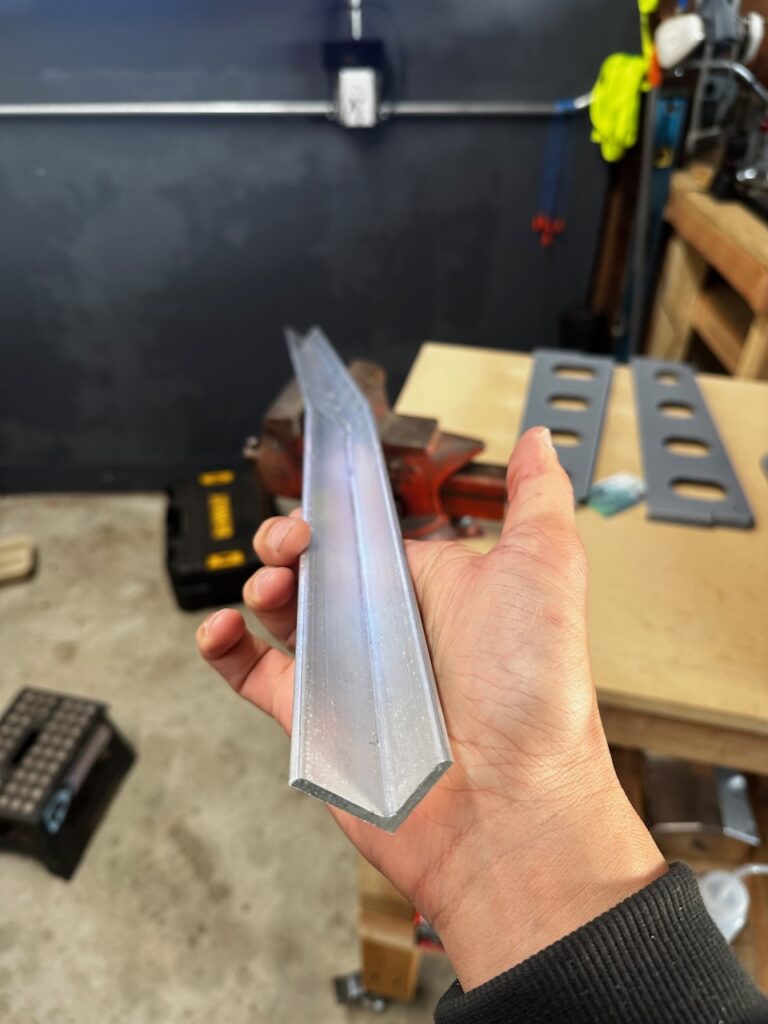
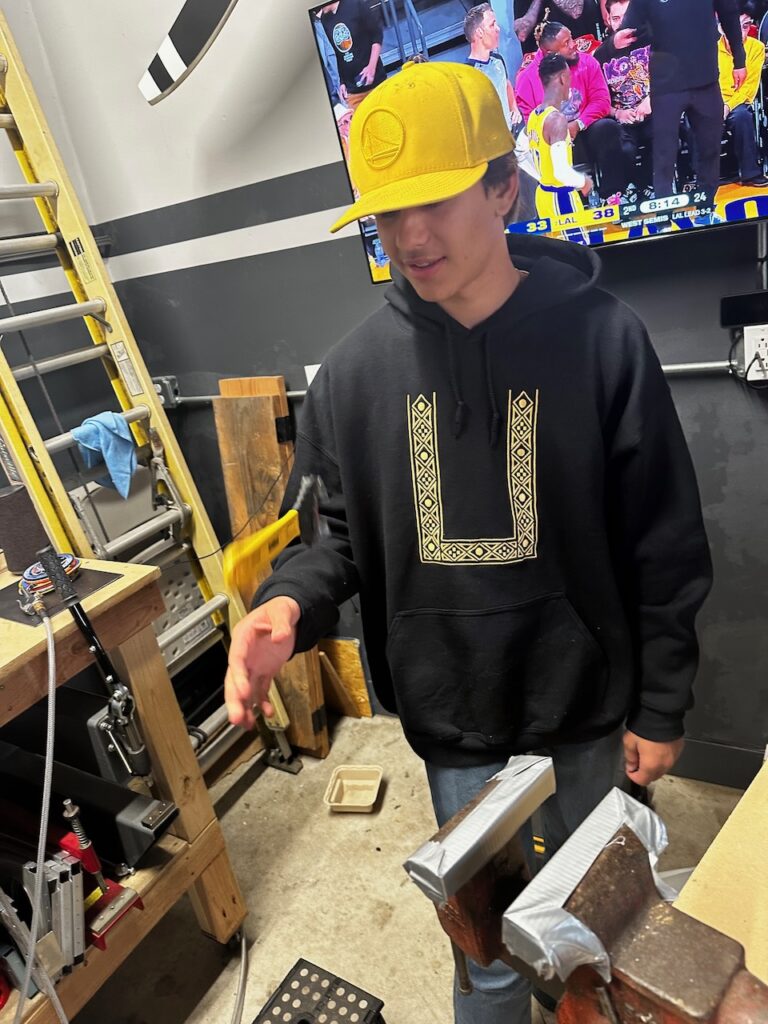
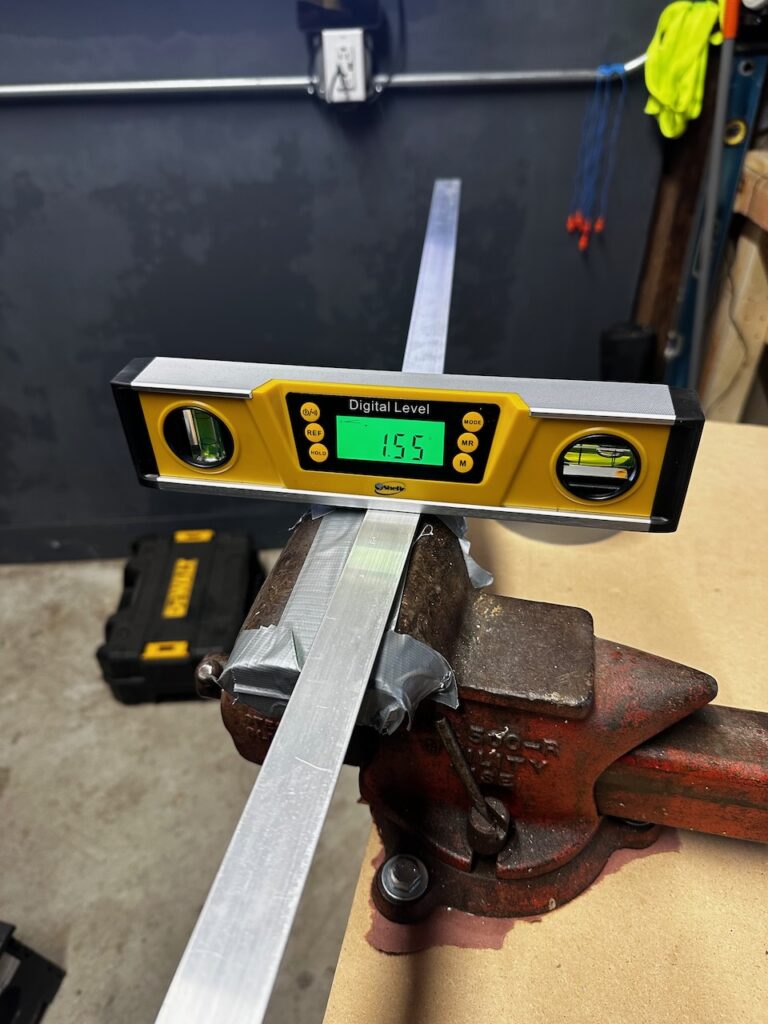
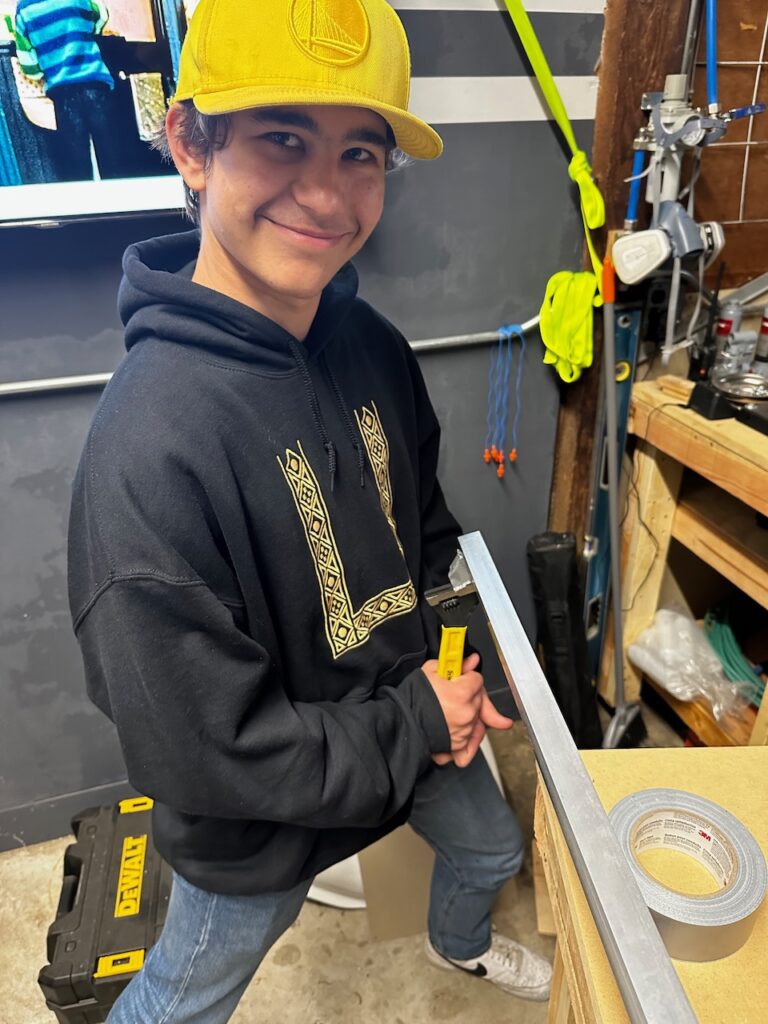
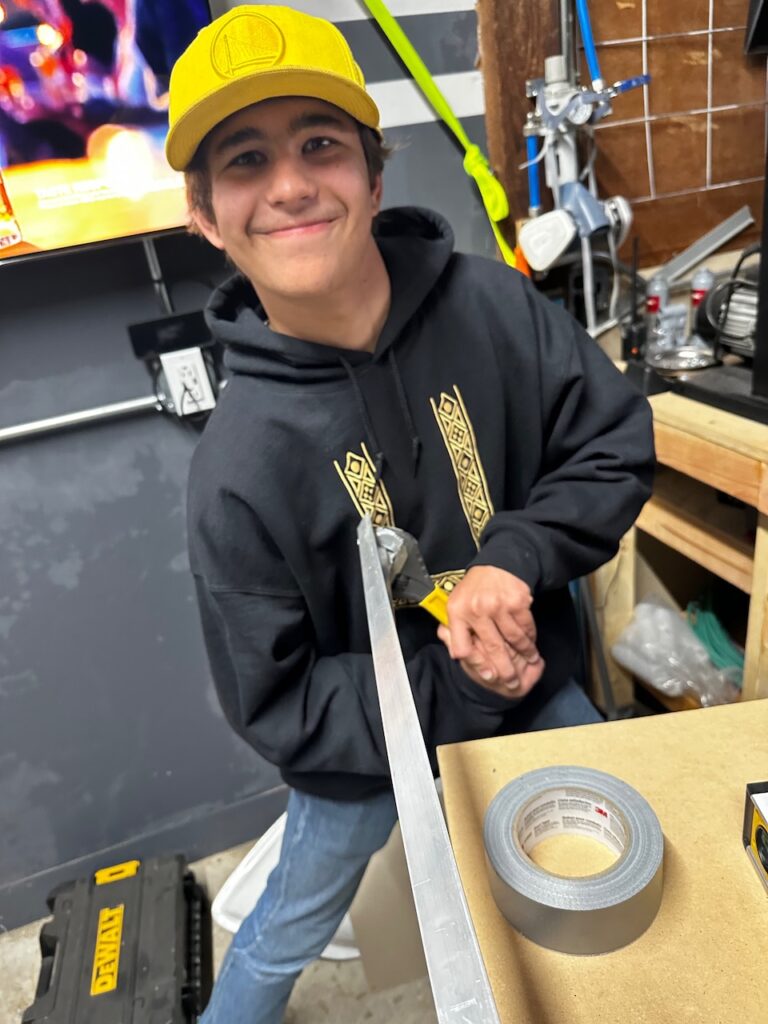
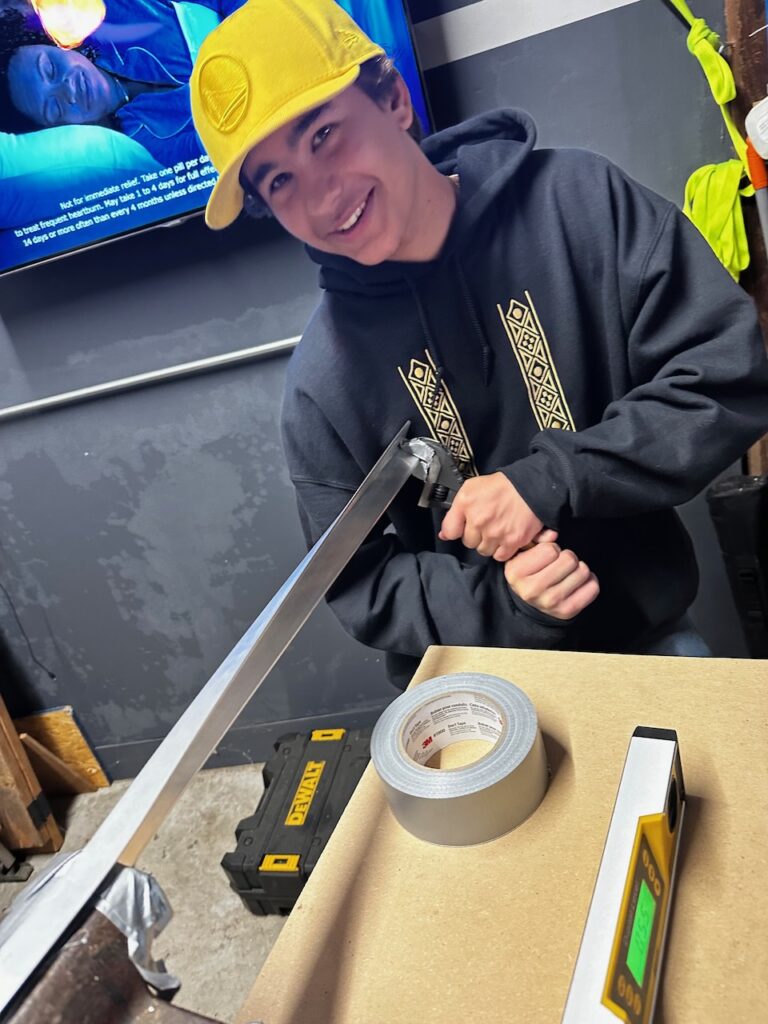
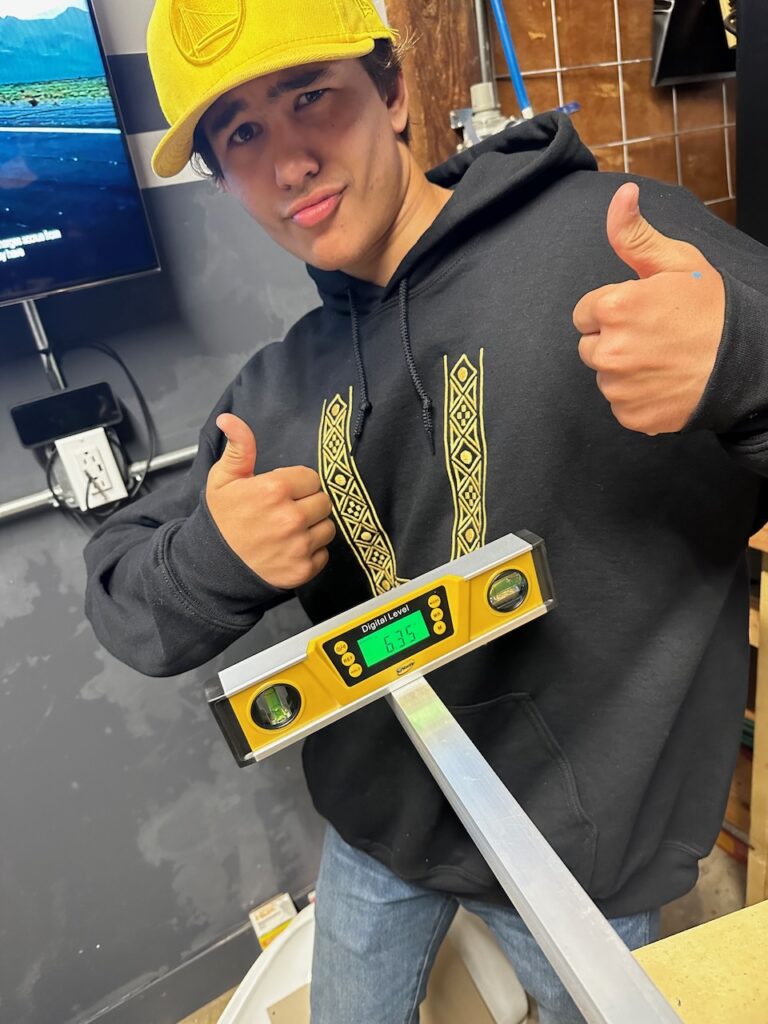
With so many helpers around, we had to parallelize the work. Jack and I decided to play around with the Longeron work. Step one was twisting the fwd part of the Lower Longeron. We made sure to tape up the vice and the wrench, and then we went to work. We needed to twist 7.25˚ from 0. We definitely needed to twist beyond the actual position, and then play with the spring back until we got the right twist. I’m curious if the twist will stay. I’ll check that in a couple days.
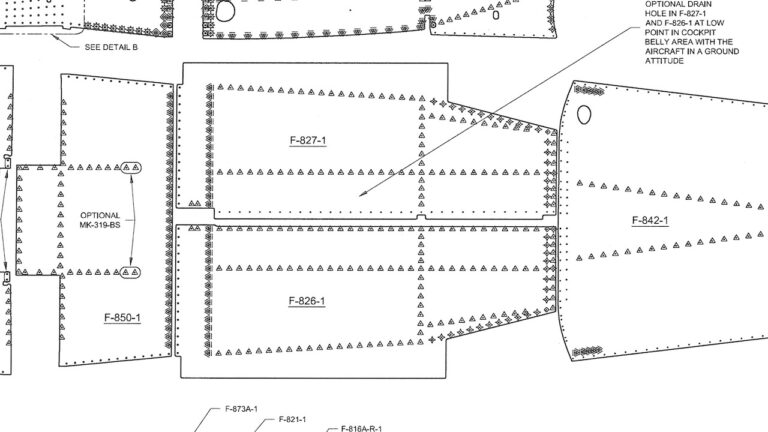
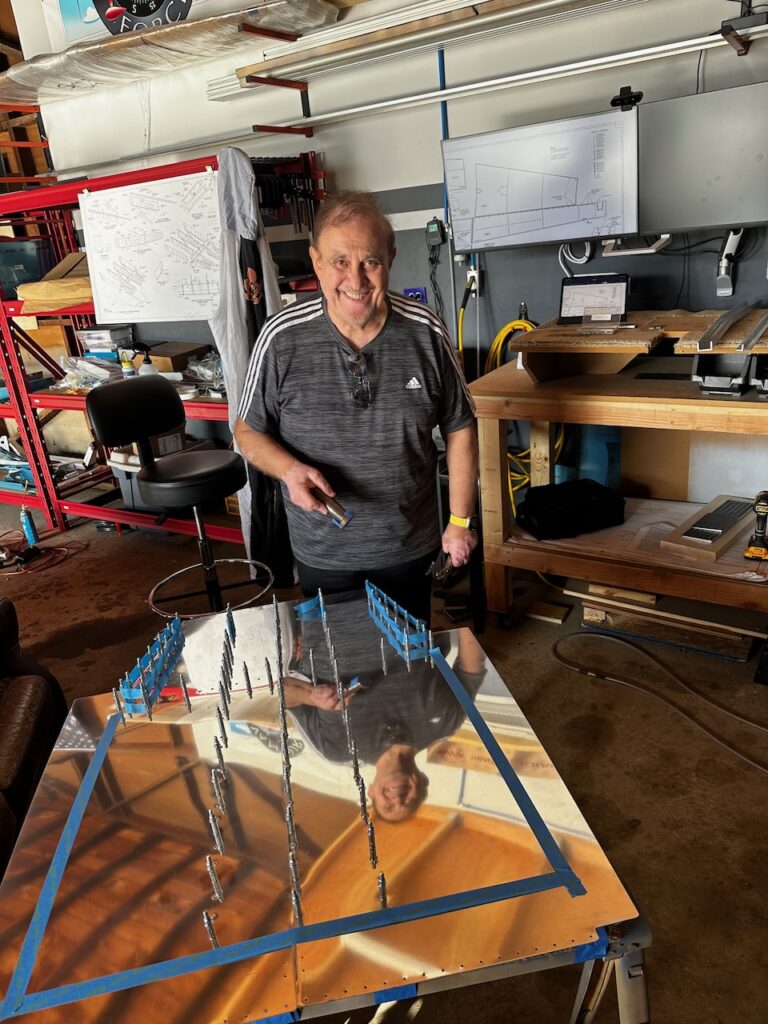
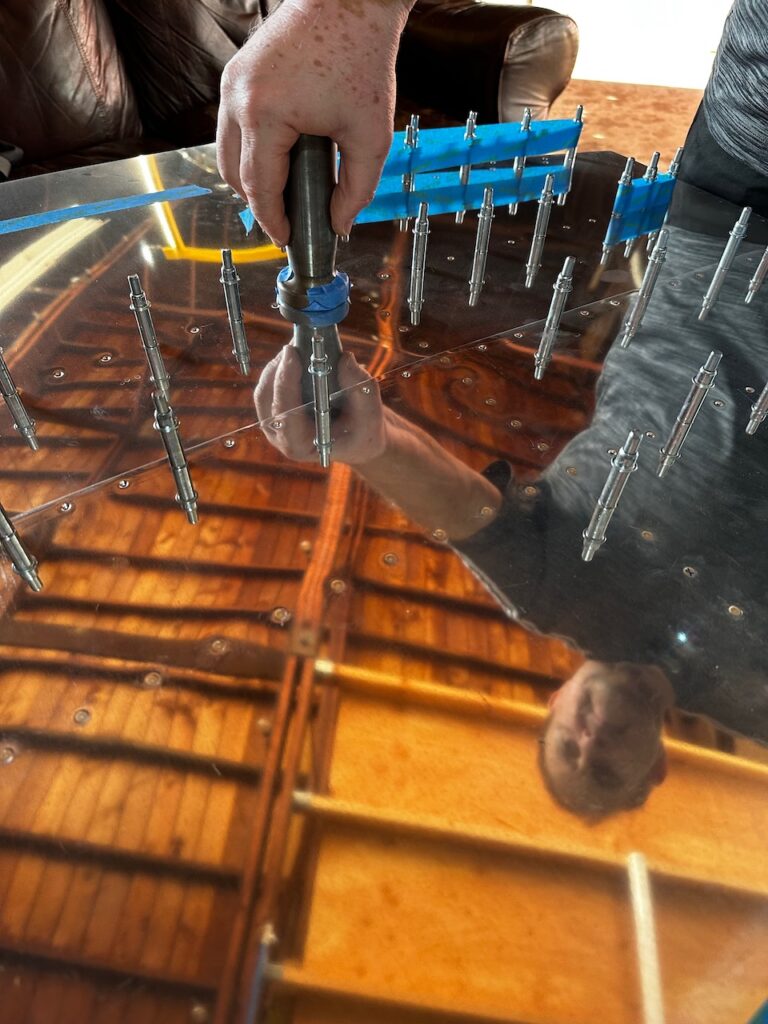
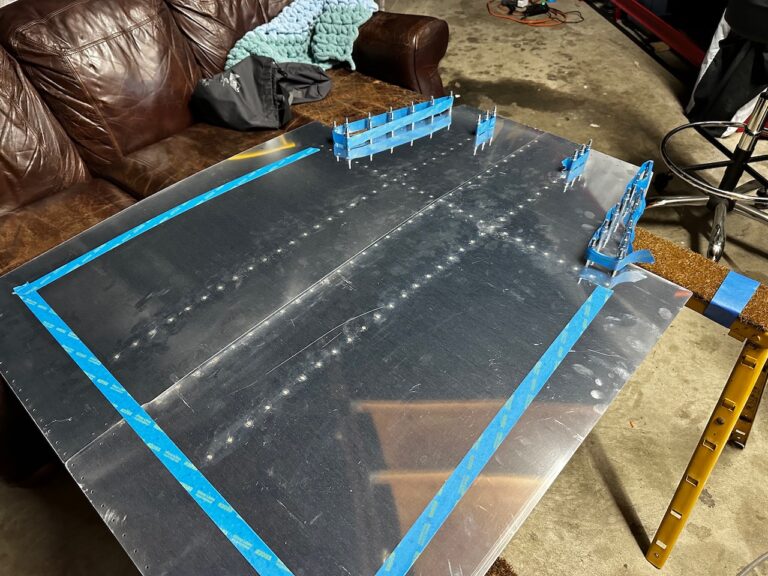
With the skeleton complete, I put on the bottom skins in preparation for riveting. Note that there are quite a few rivets that are not supposed to be installed at this time. I marked these off by taping up those clecos.
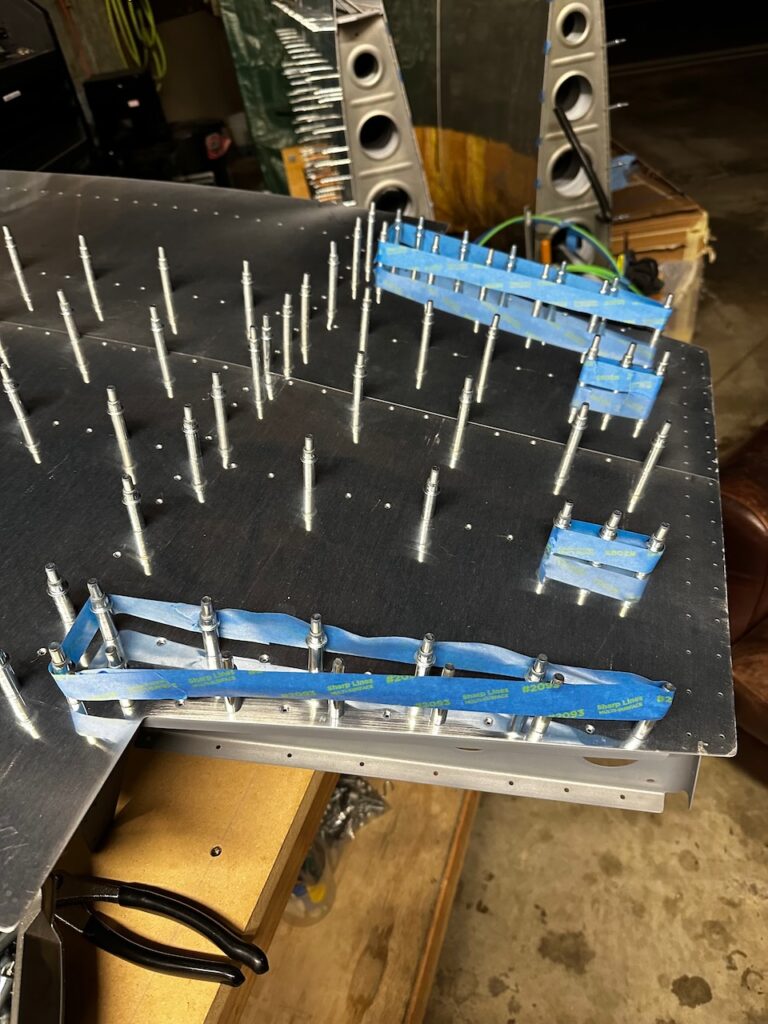
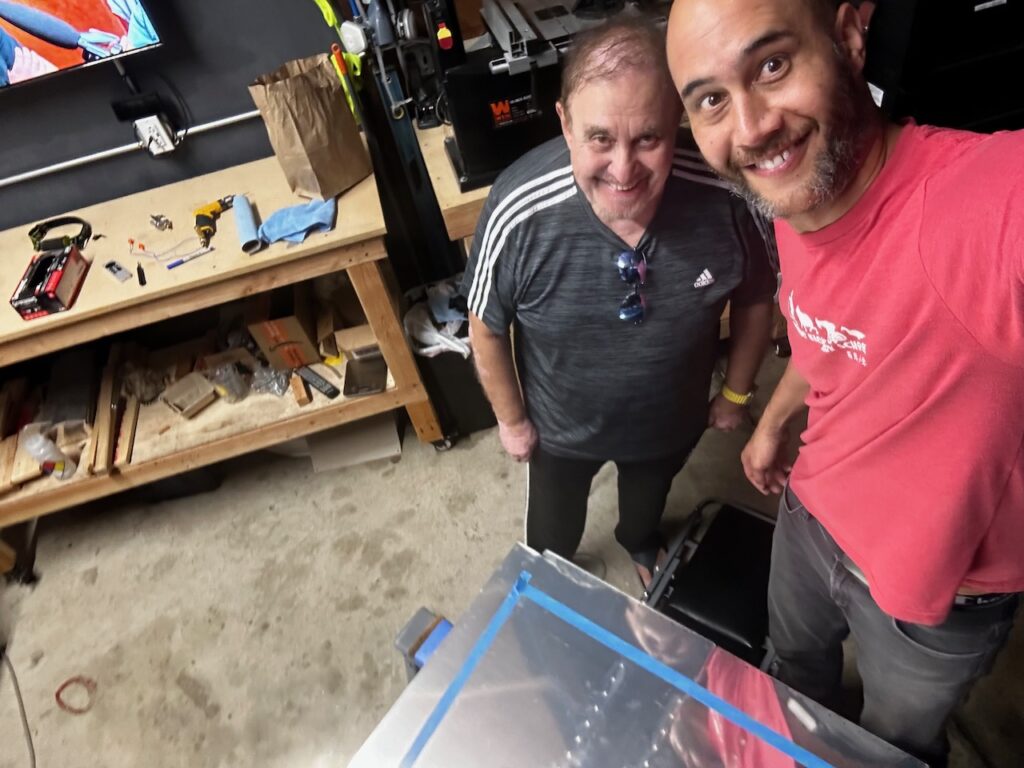
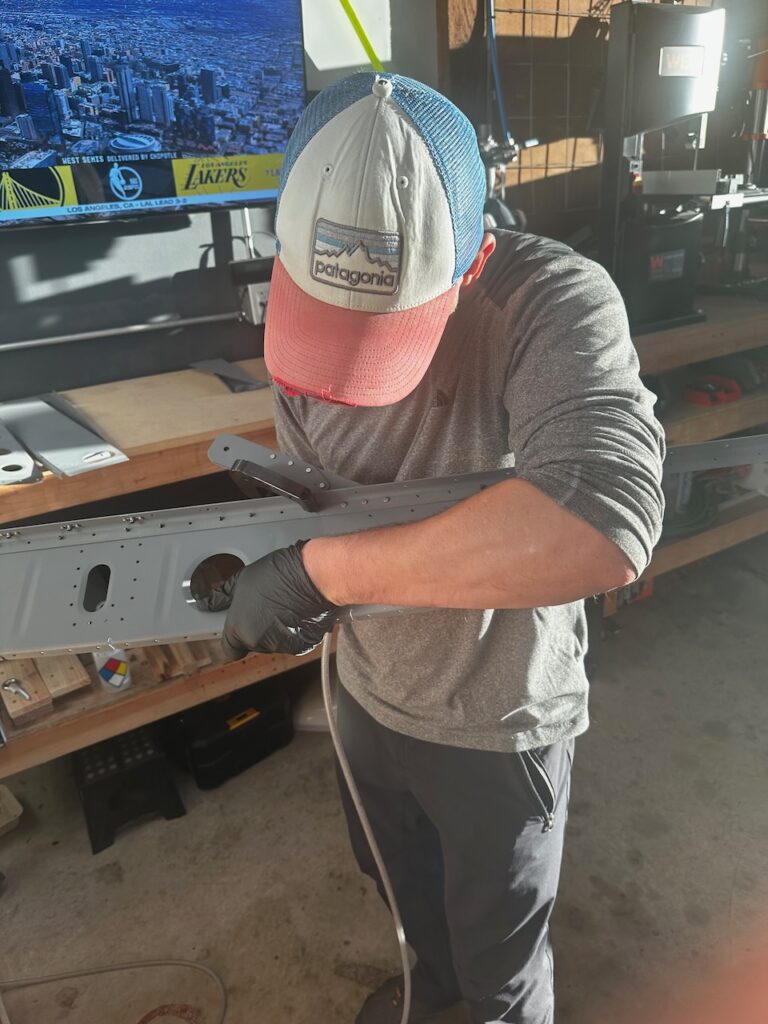
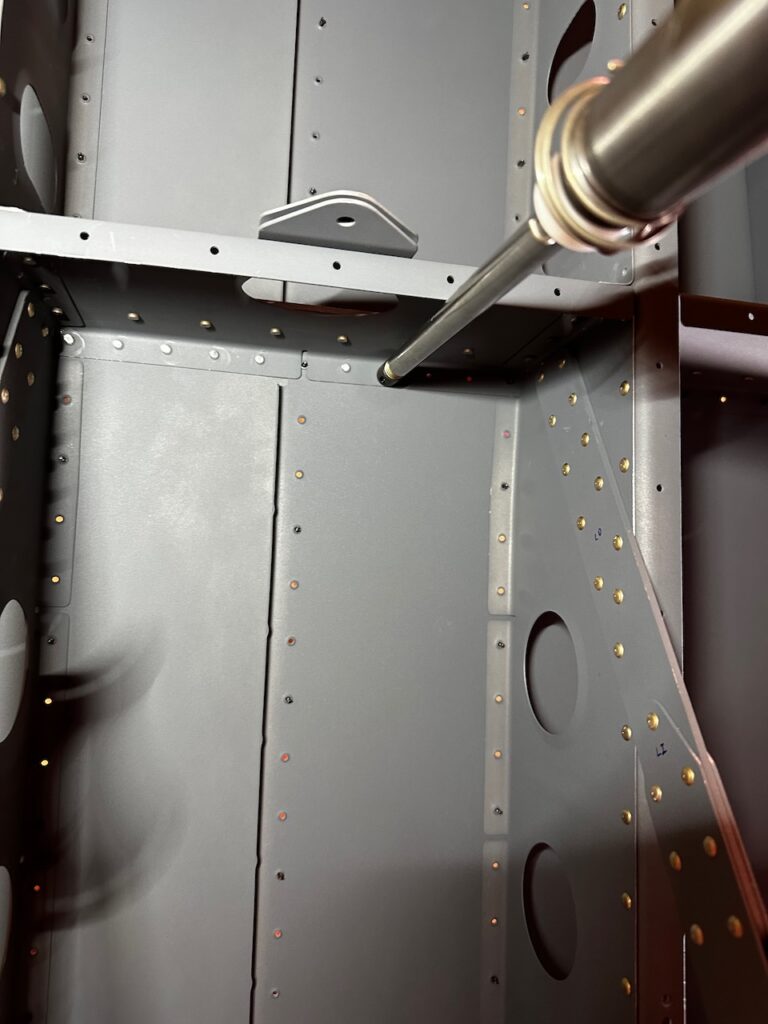
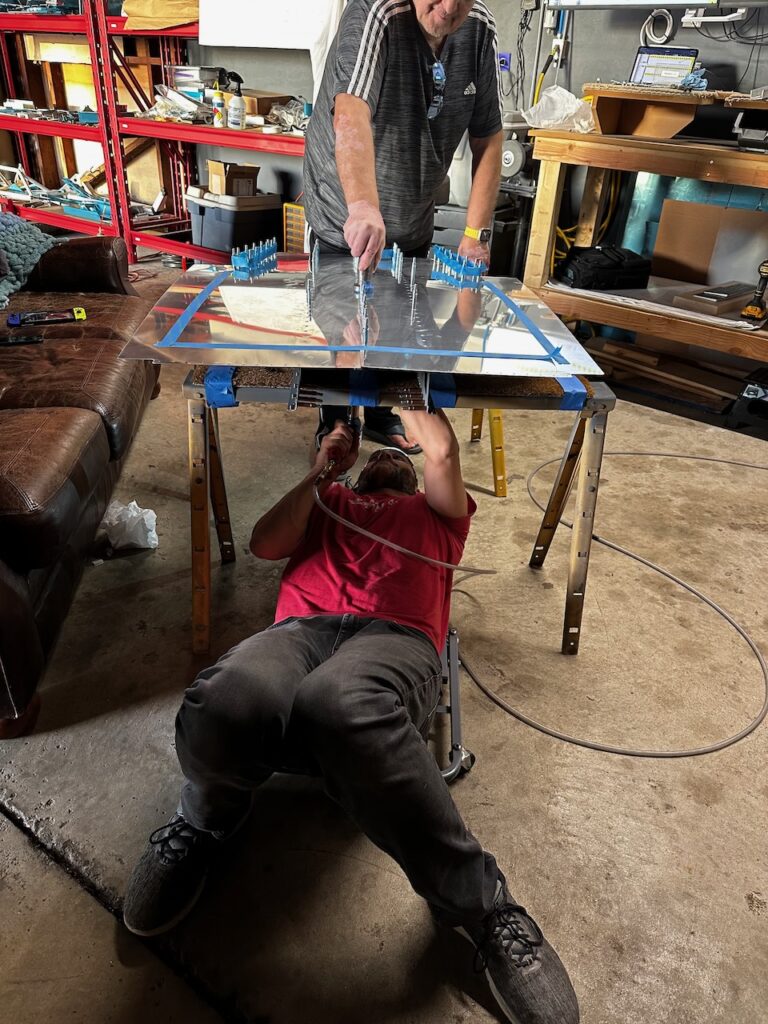
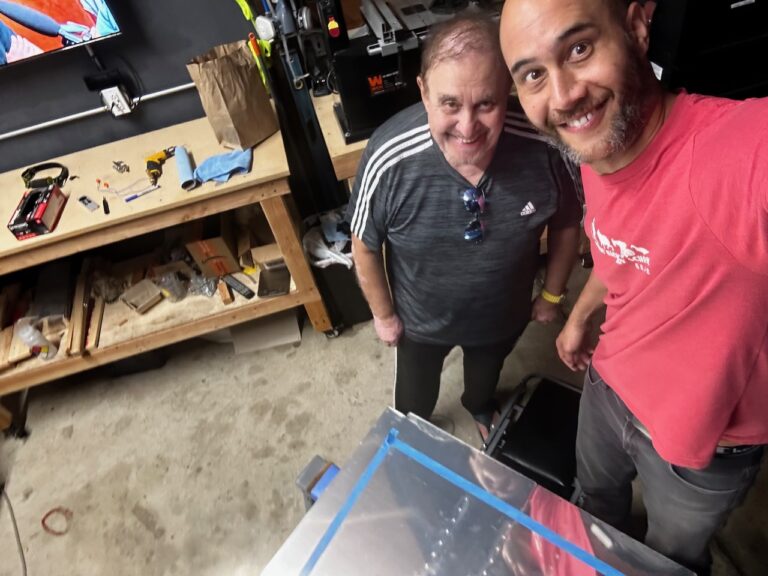
The skin riveting was a two person job for sure. My dad came down to man the bucking bar so I could back rivet the skins. I put the assembly on saw horses (lined with some padding) to allow access from underneath. We chose to start with the ribs, then riveted down the center line (which doesn’t have a rib backing). It went well, with only a few rivets that needed to be drilled out, and just one minor dent from the bar. Easy to hide that during paint. A couple hours and we were done!
Seat Rib Assembly done! This was some great progress, and is the last of the assemblies before starting to put it all together! I’ll need to build a platform for joining all the current major assemblies. We’re close to something that really looks like a plane part! Can’t wait to see it come together. Until then… Happy Building!
