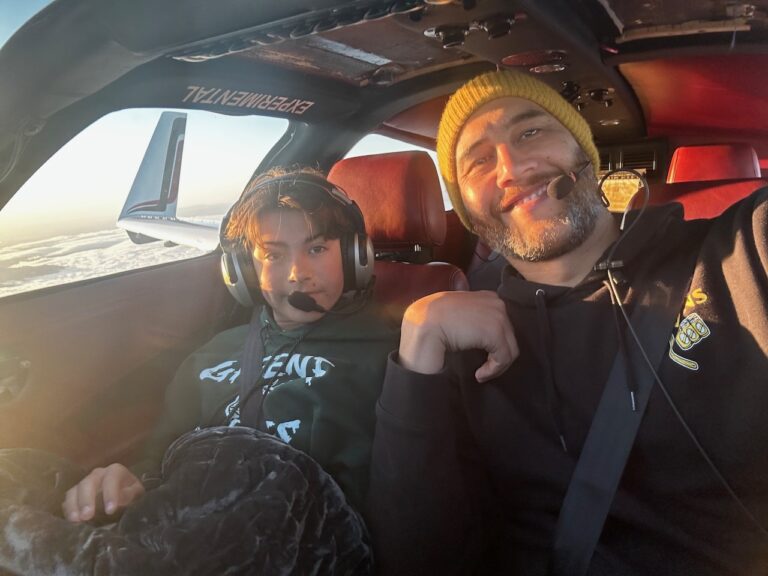
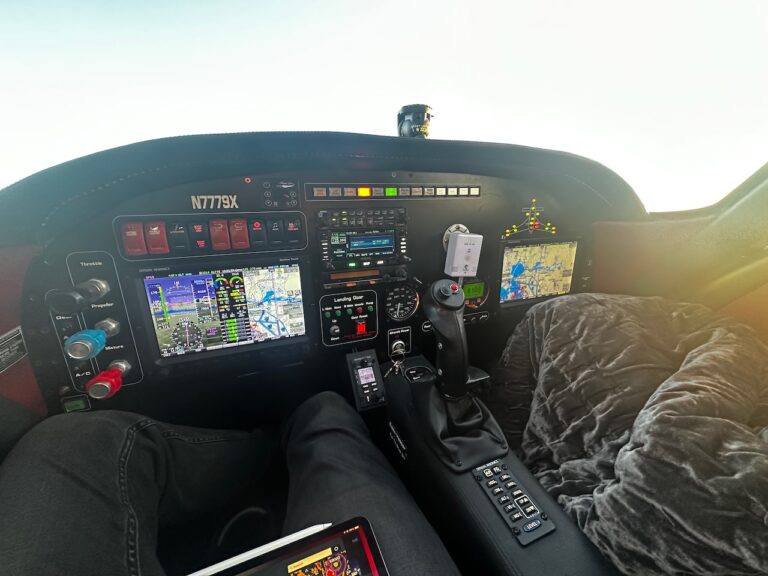
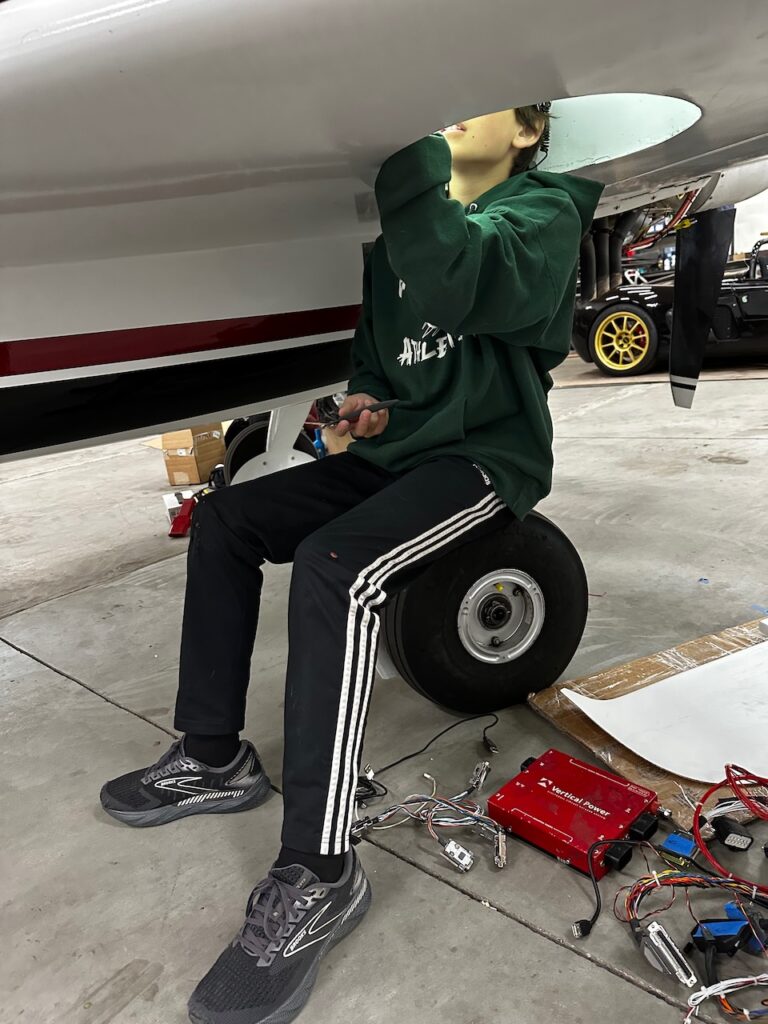
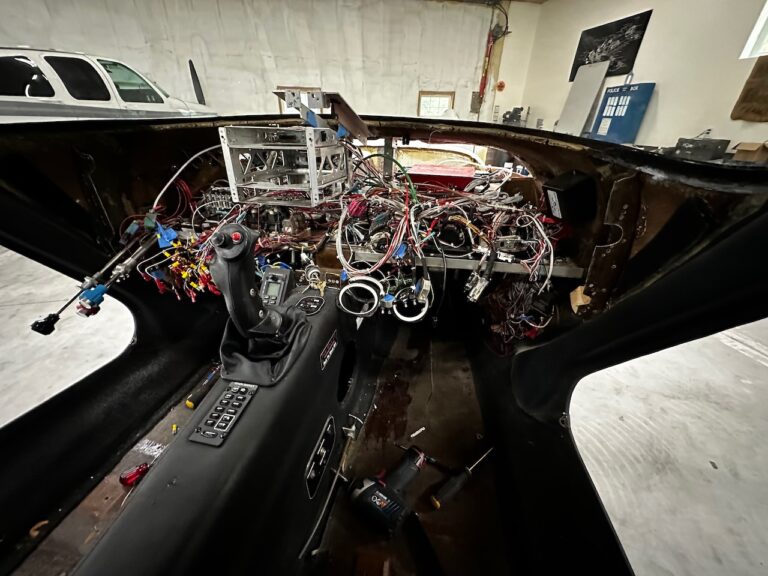
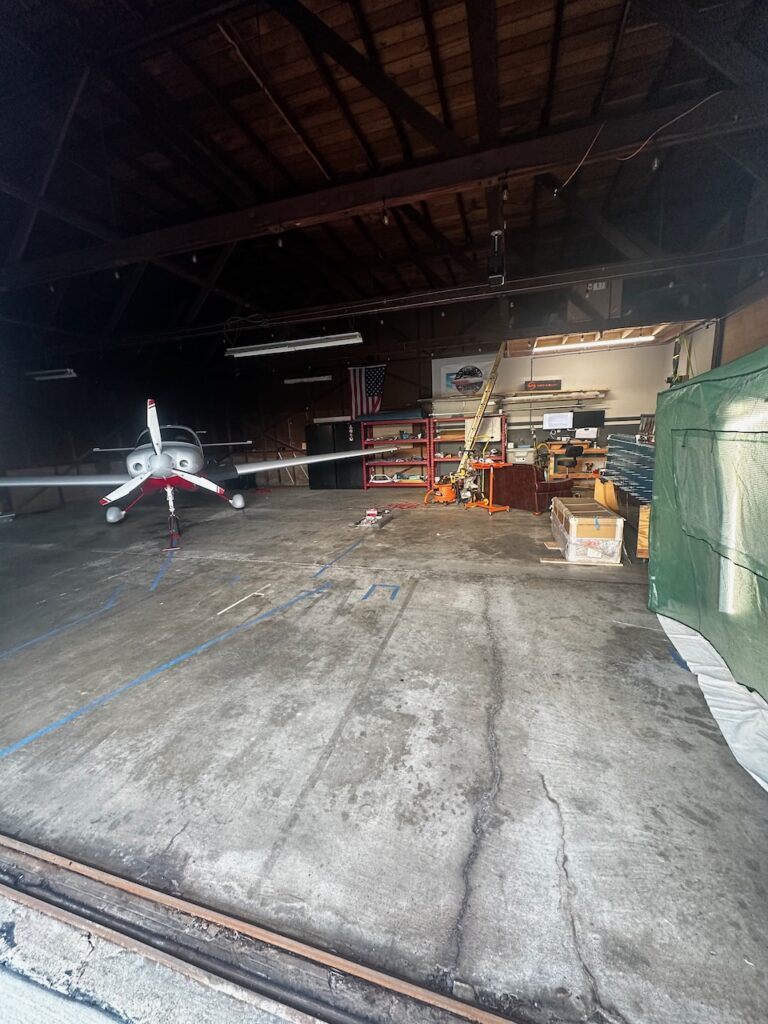
Since the last post, there’s a bit more space in the hangar! Nico and I spent a weekend up in Oregon dropping off the Velocity to Steve at “ST Avionics” to get it’s avionics redone! We spent a couple days with Steve helping get disassembly started. See Pictures below. (and more to come with a future Velocity Post)
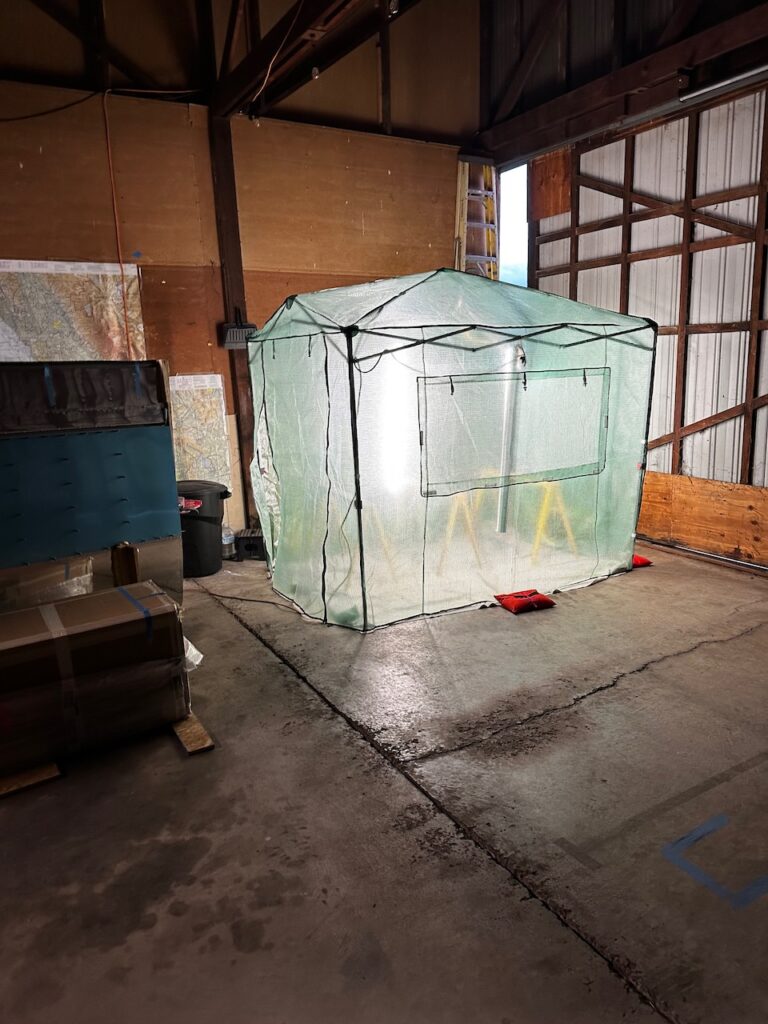
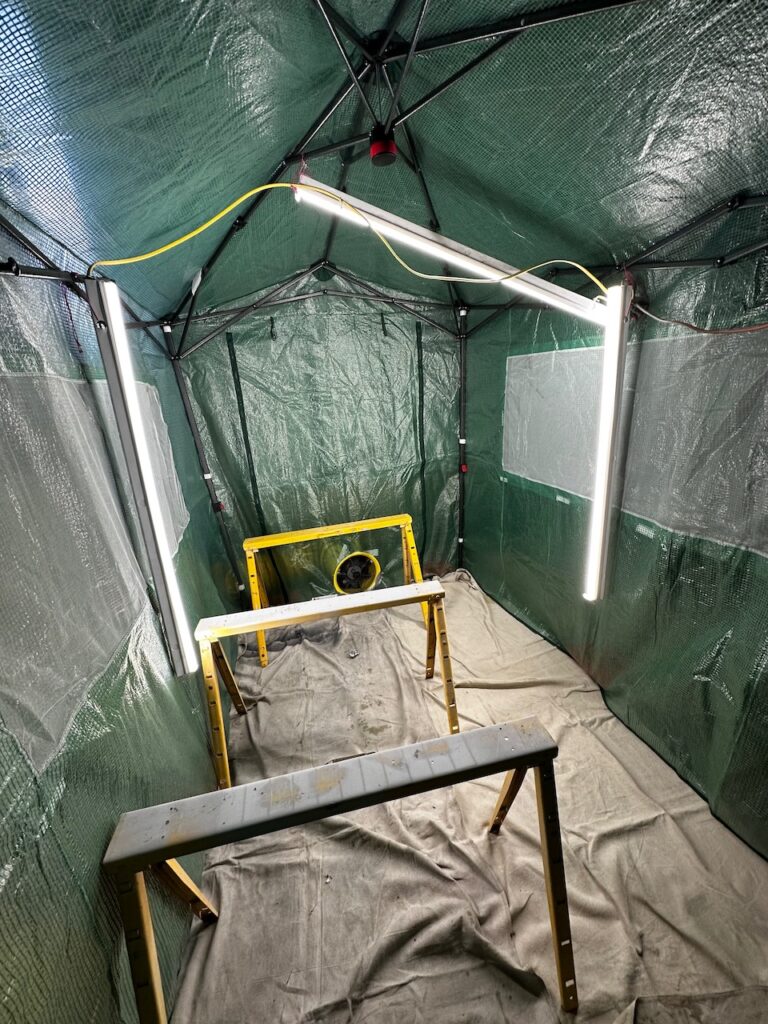
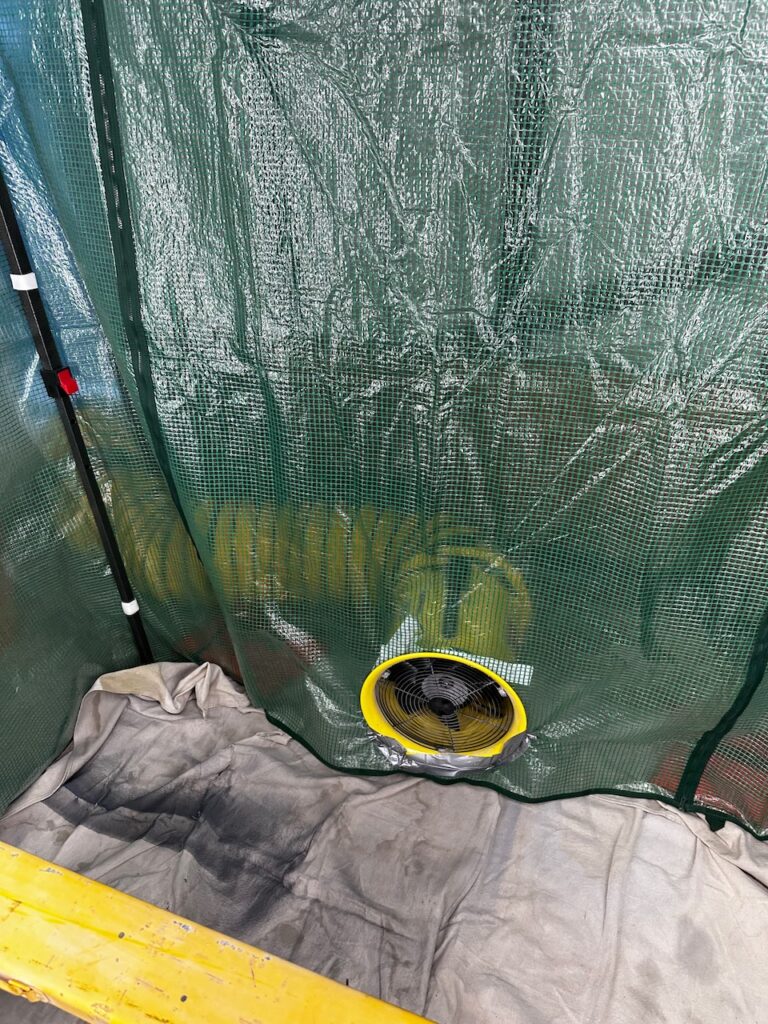
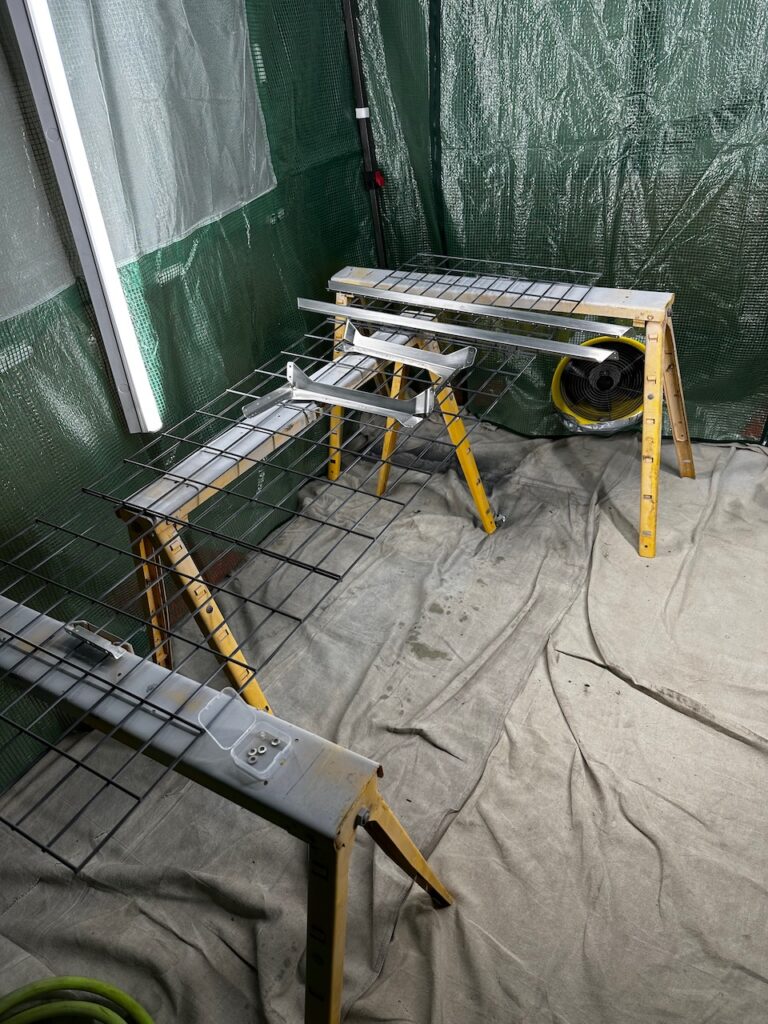
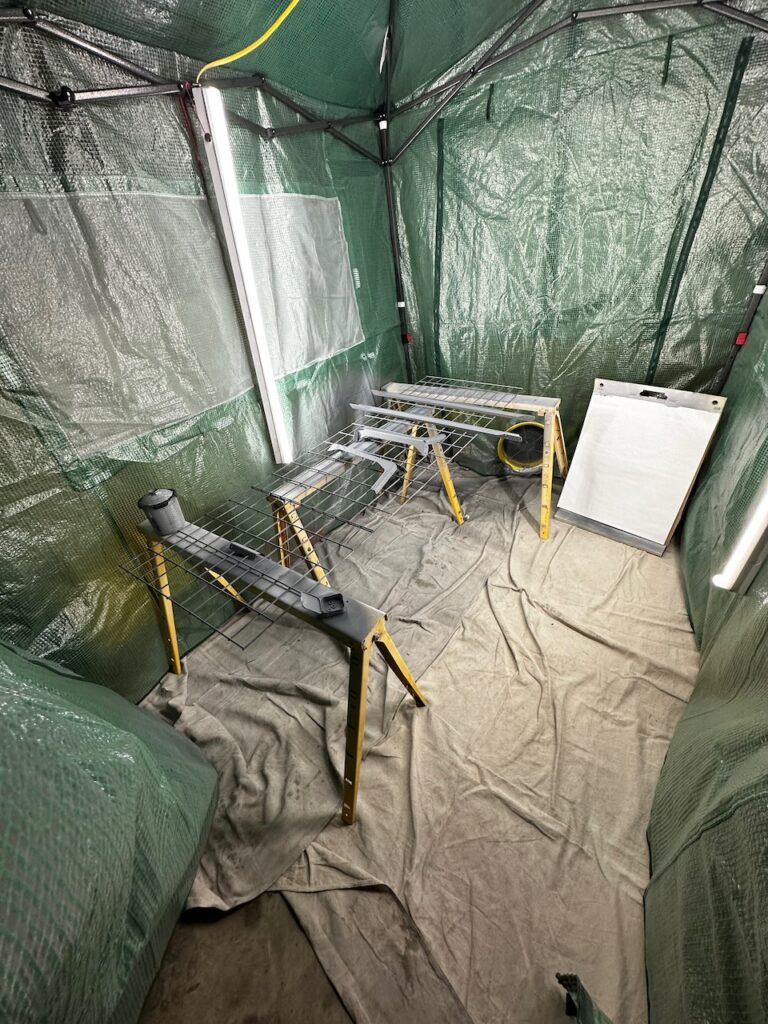
Not to worry! The plane should be back in 6-8 weeks, but in the meantime I thought I’d switch things up a bit and put up a semi-permanent priming booth. You remember how I got that warming tent back in 2021 to build the fuel tanks? Well, it’s been sitting up in the attic for quite some time, so I figured it was time to repurpose it. Because a priming day is so long (booth setup etc) I’ve been saving a bunch of parts before I prime. This is a source of frustration and procrastination, so hopefully this priming booth with help move things along. A few modifications to the booth and off we go!
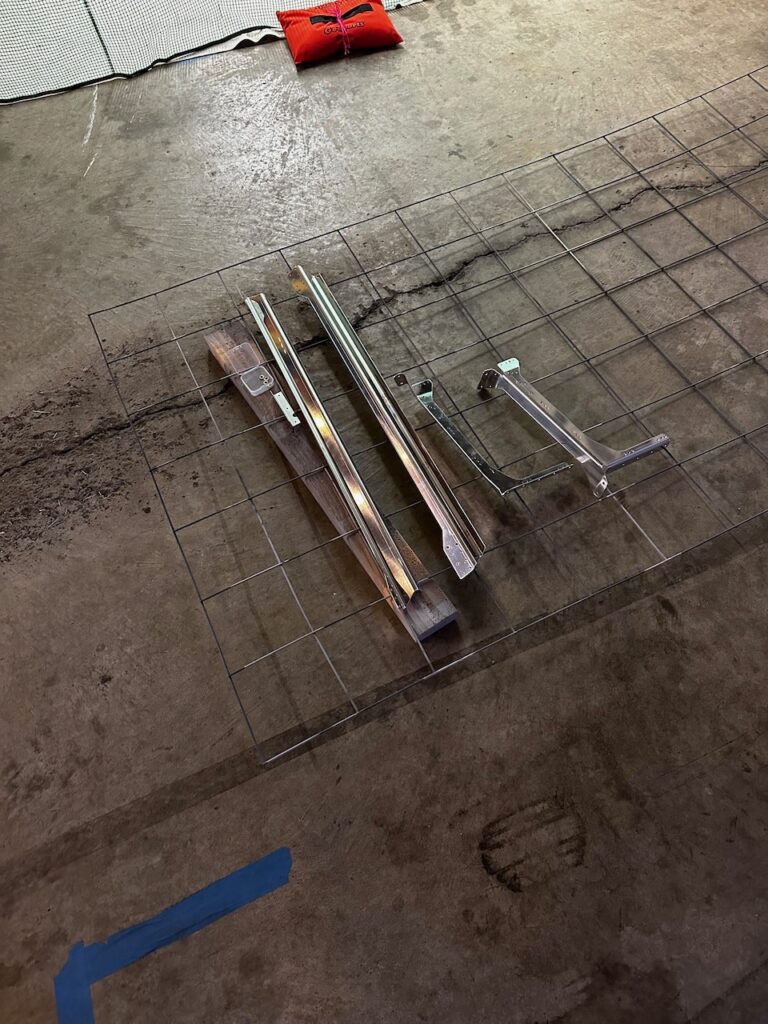
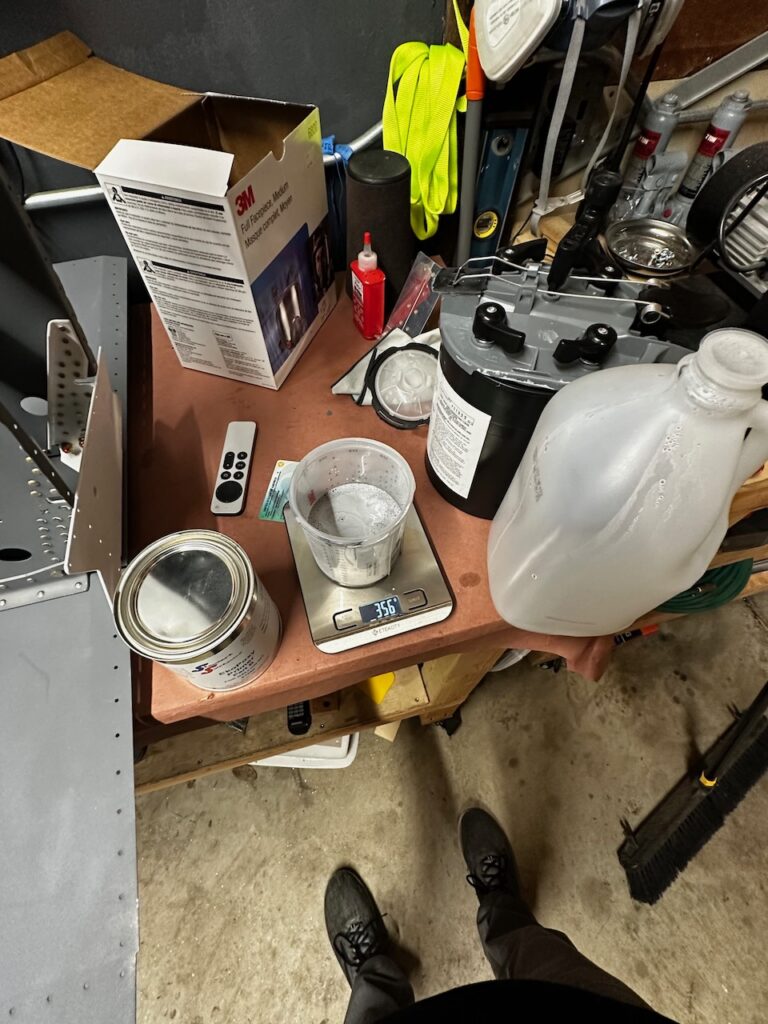
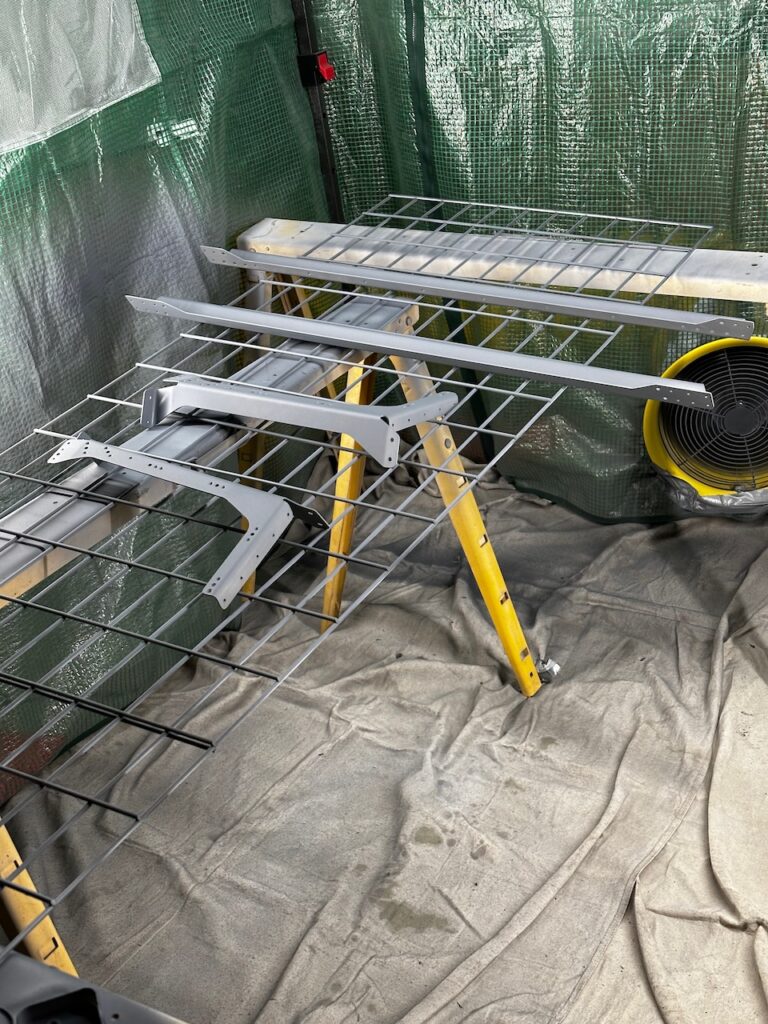
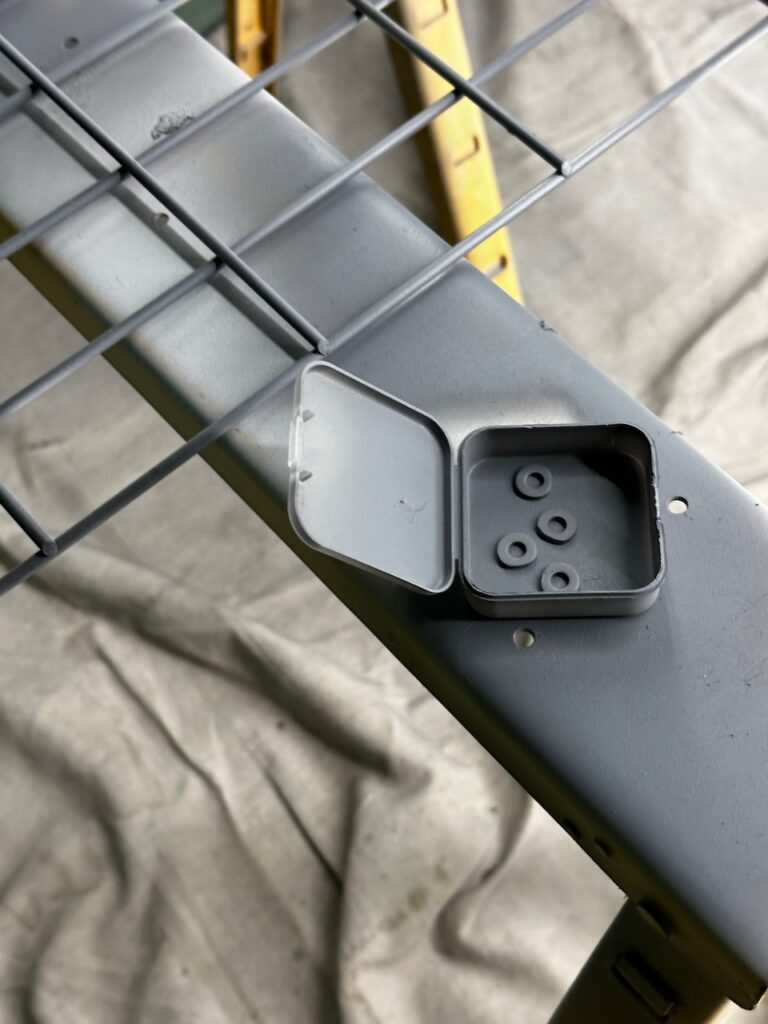
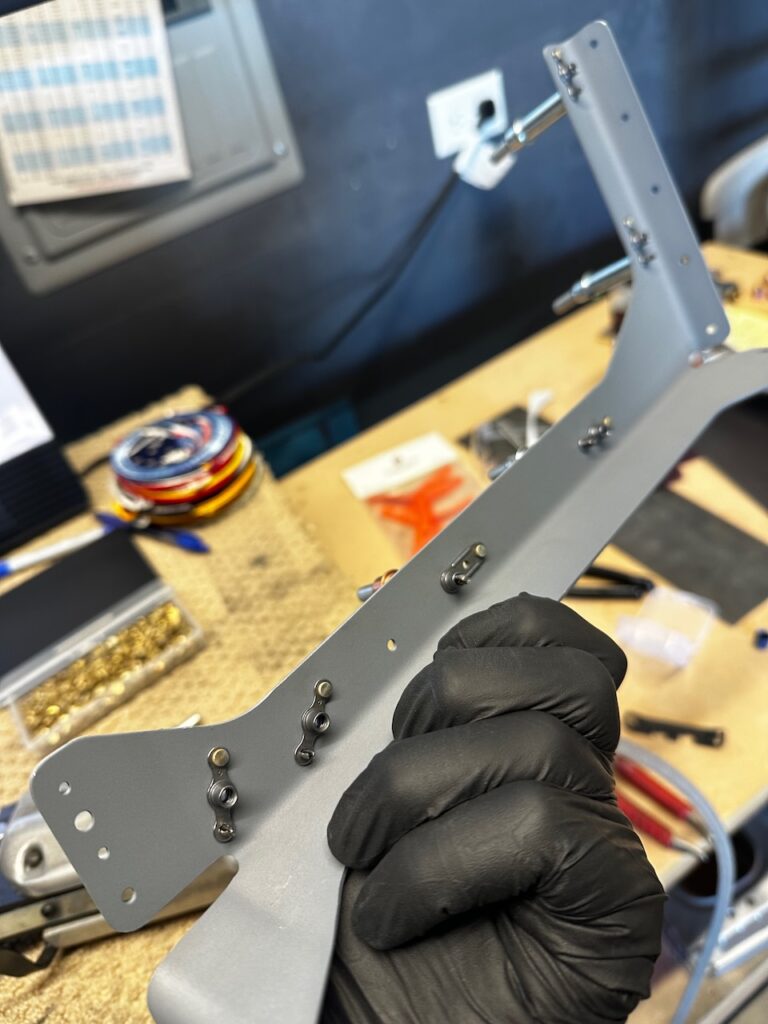
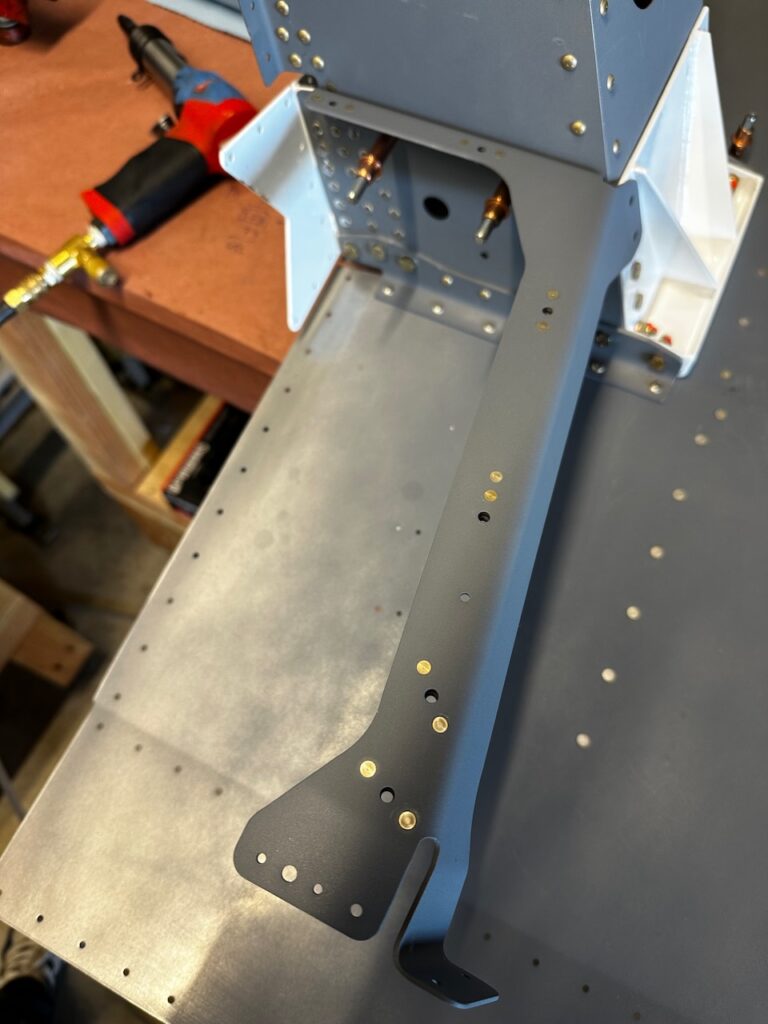
Although I will need to take it down in a couple months, I hope to use it quite a bit until then. In the last post, I had completed prepping the LG Box braces for priming so it’s a great first test! Spoiler Alert…. I was able to get through an entire priming session in less than 2 hours! With a smaller batch of parts, plus the booth being ready to go, it was a reasonable activity to get completed after work rather than waiting for a long weekend day. Prime session was the normal sequence of clean, etch, tack cloth, then paint. I remembered to mix the epoxy paint in the reverse order Sam and I discovered in a previous session. As a reminder, we found that pouring the Part B liquid first allowed for better metering of the Part A and water portions since those were more mangeable for accurate metering.
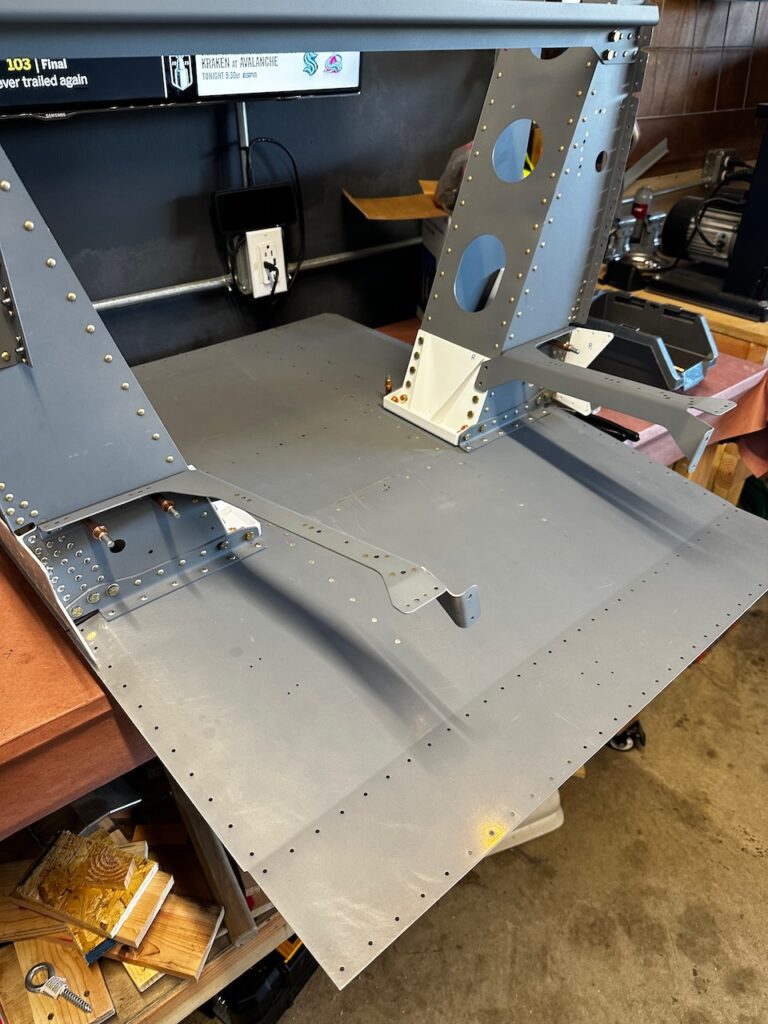
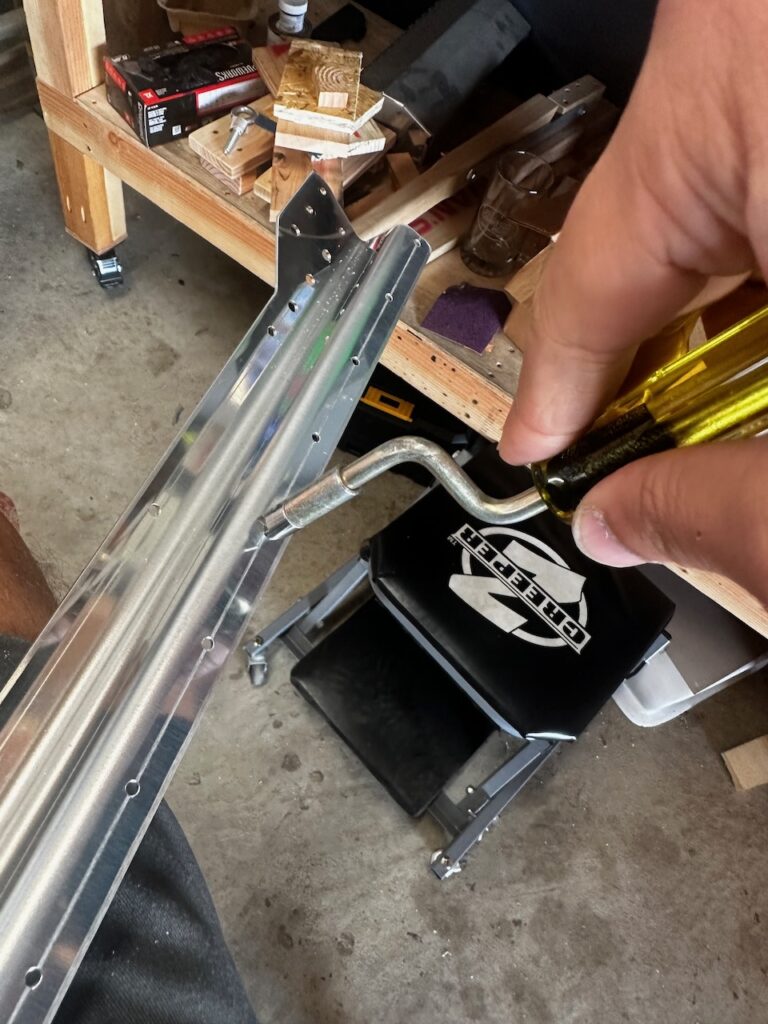
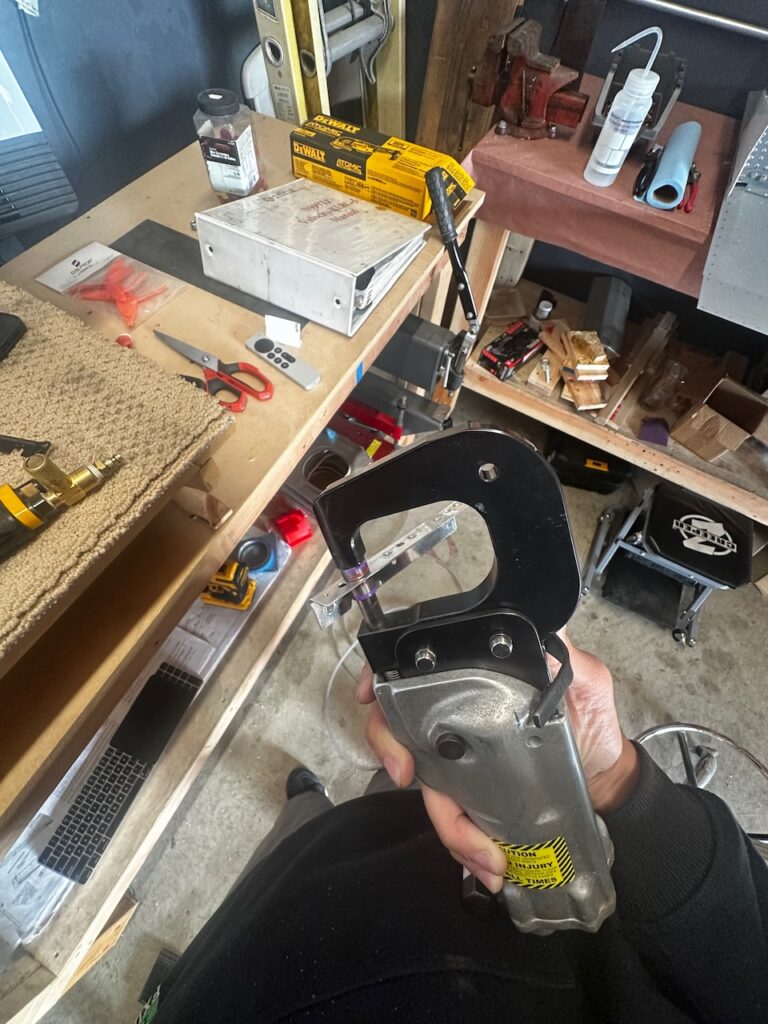
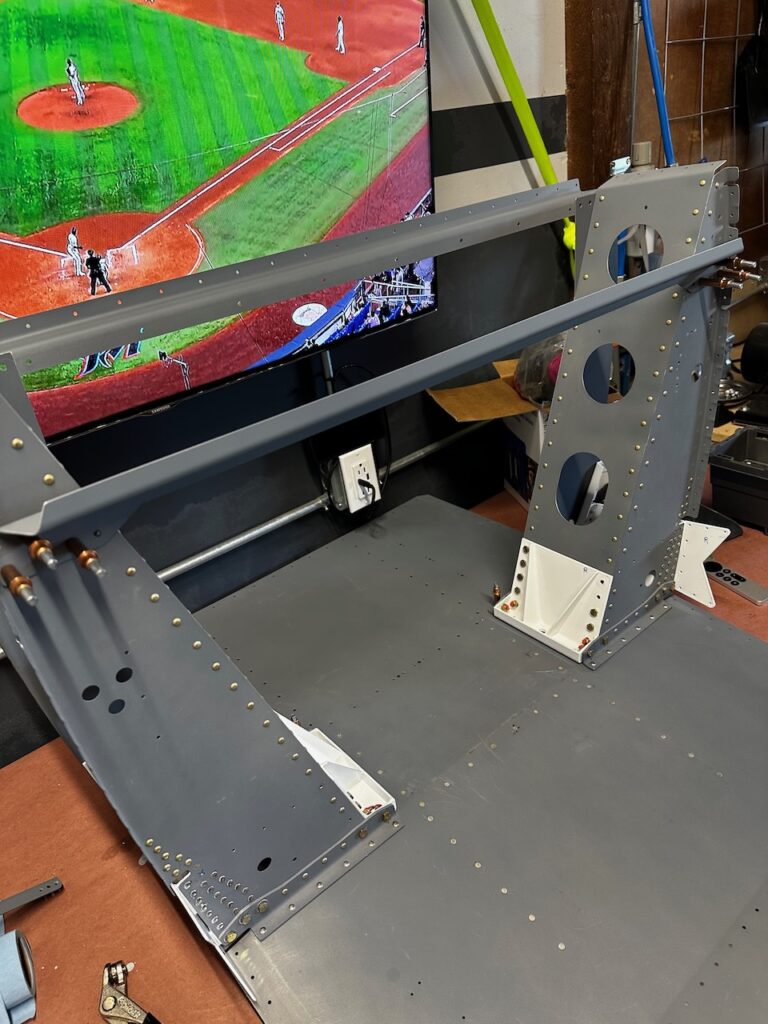
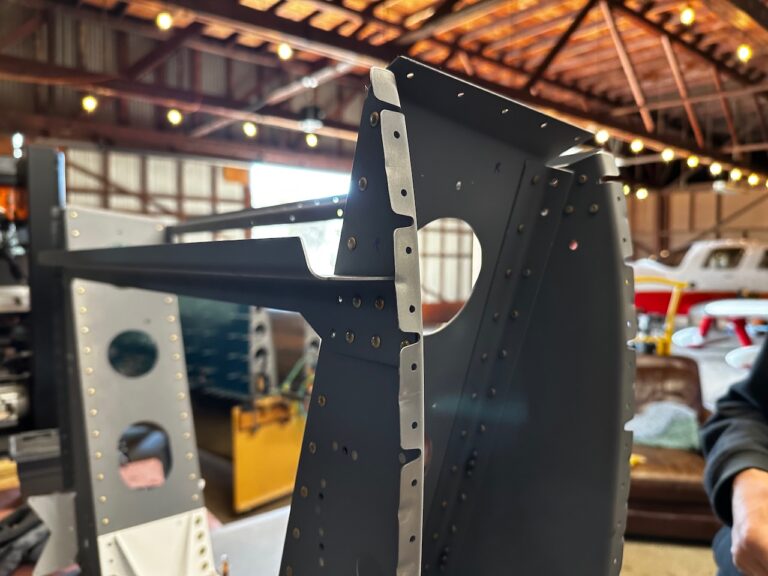
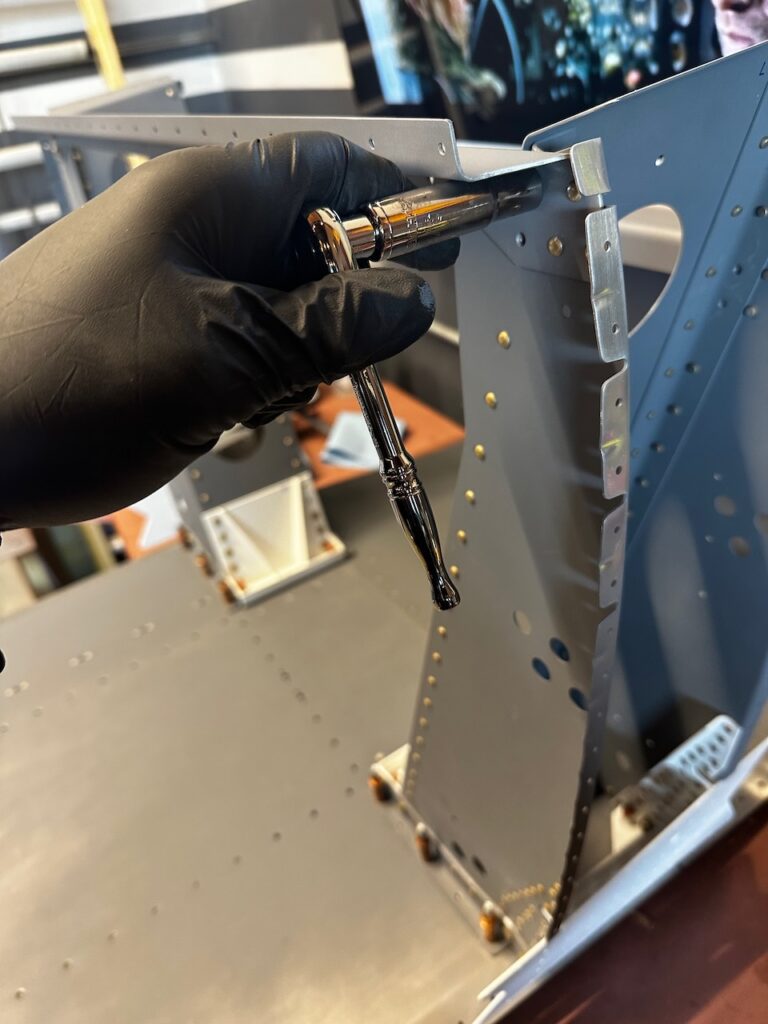
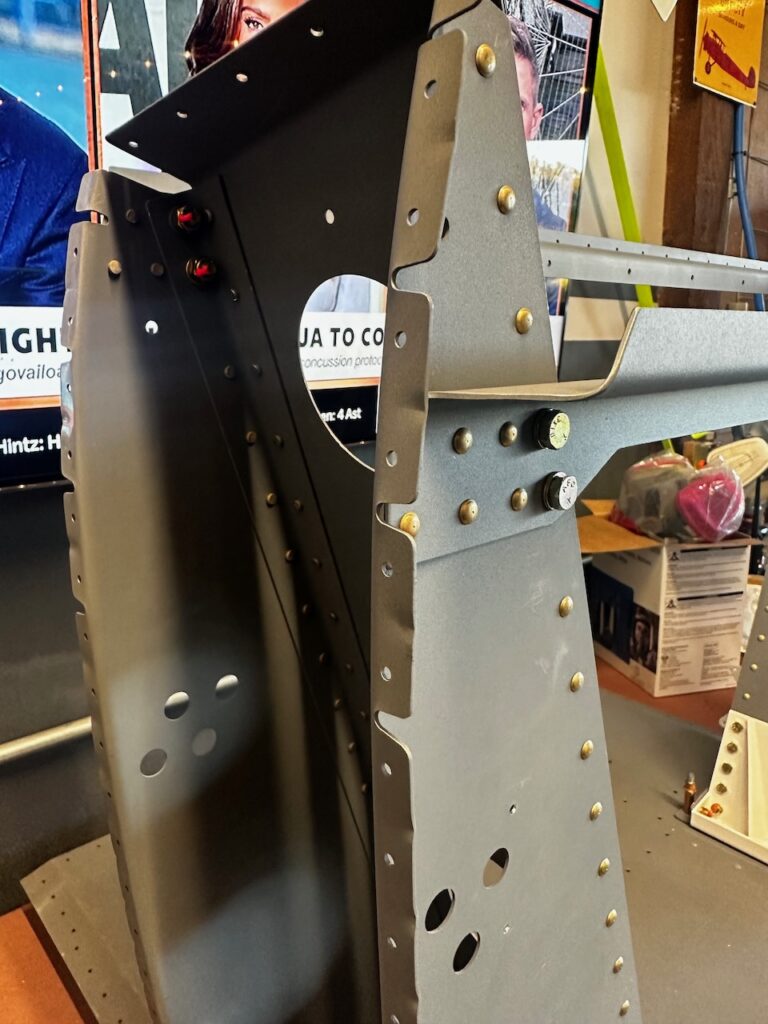
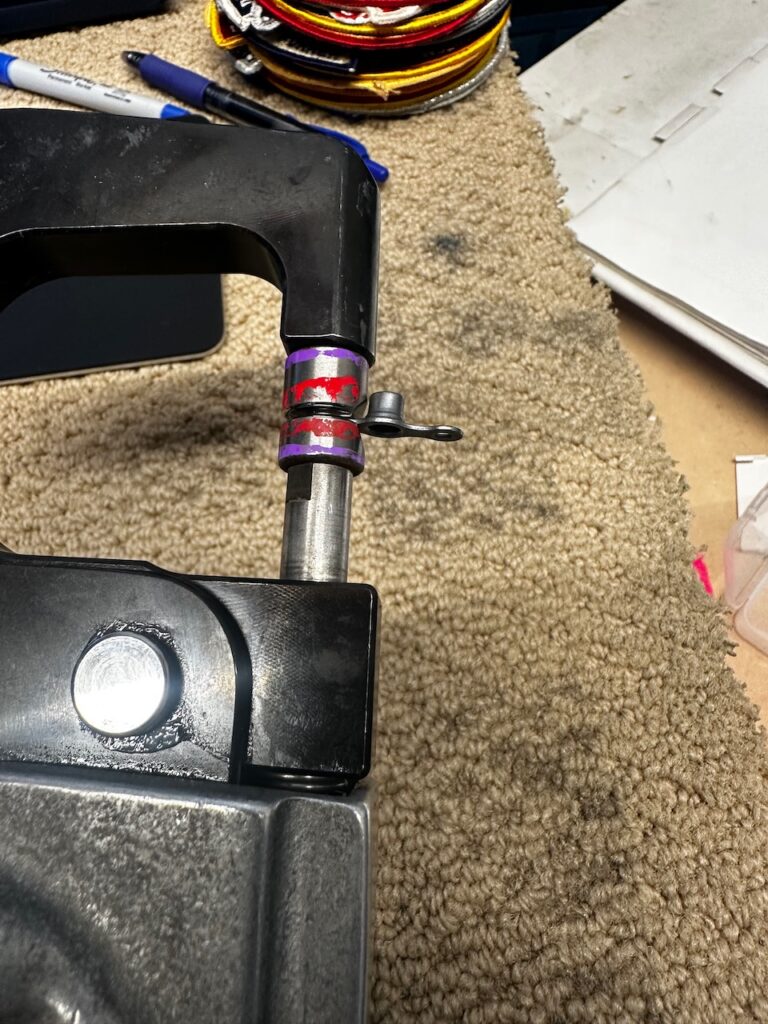
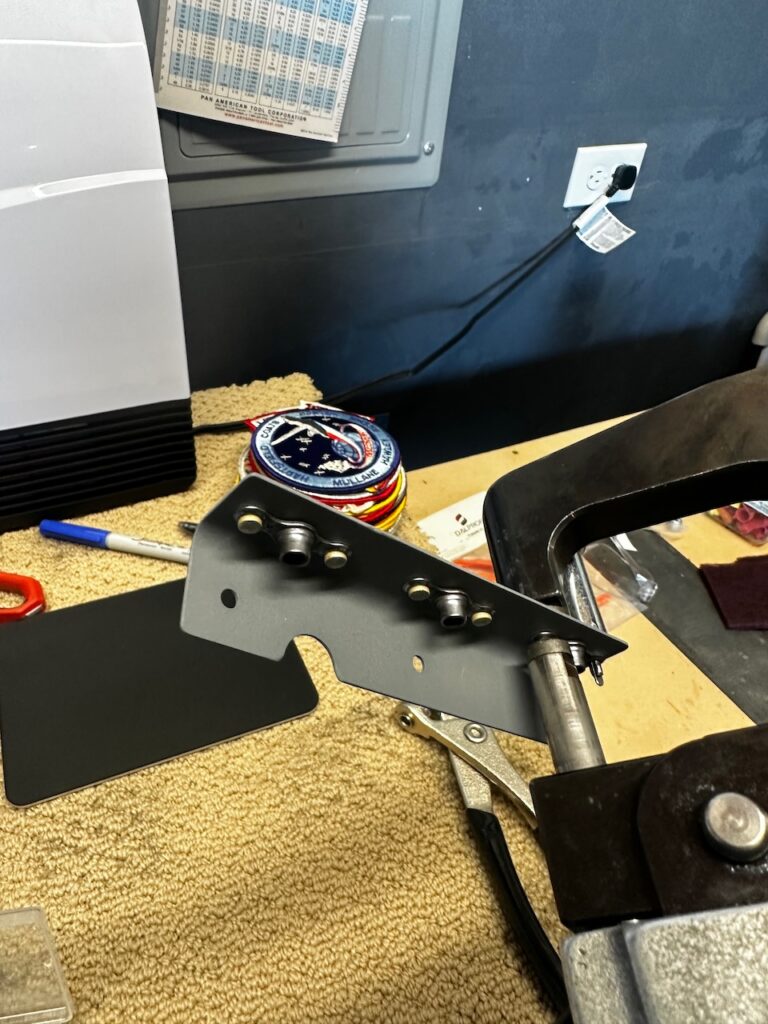
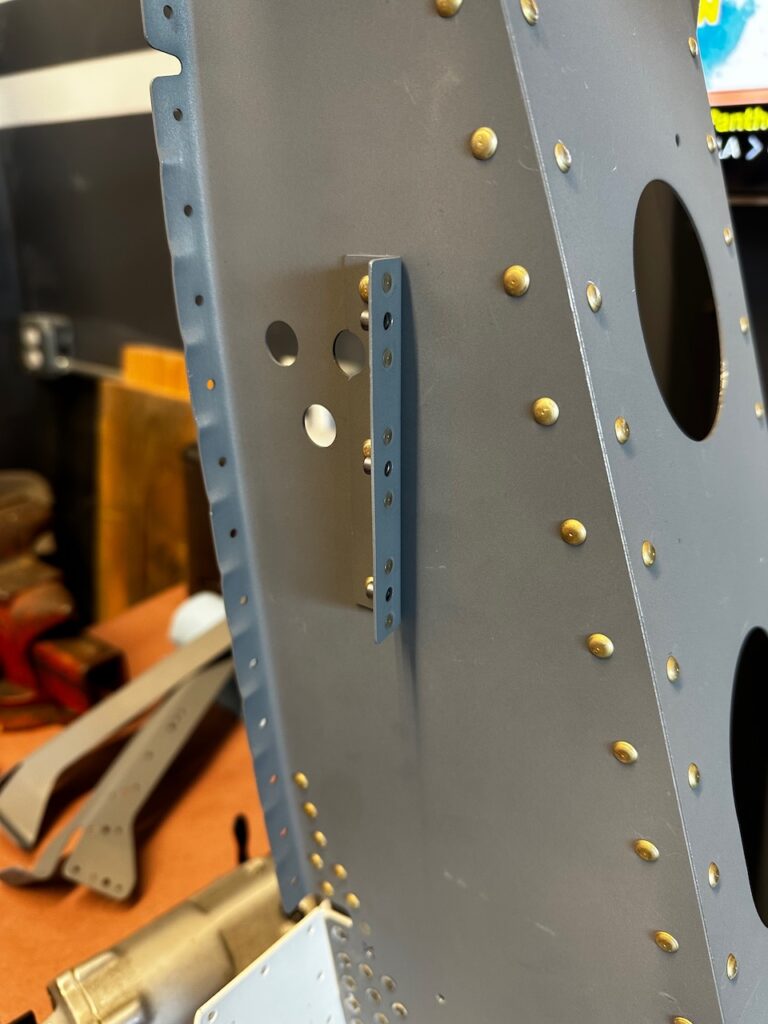
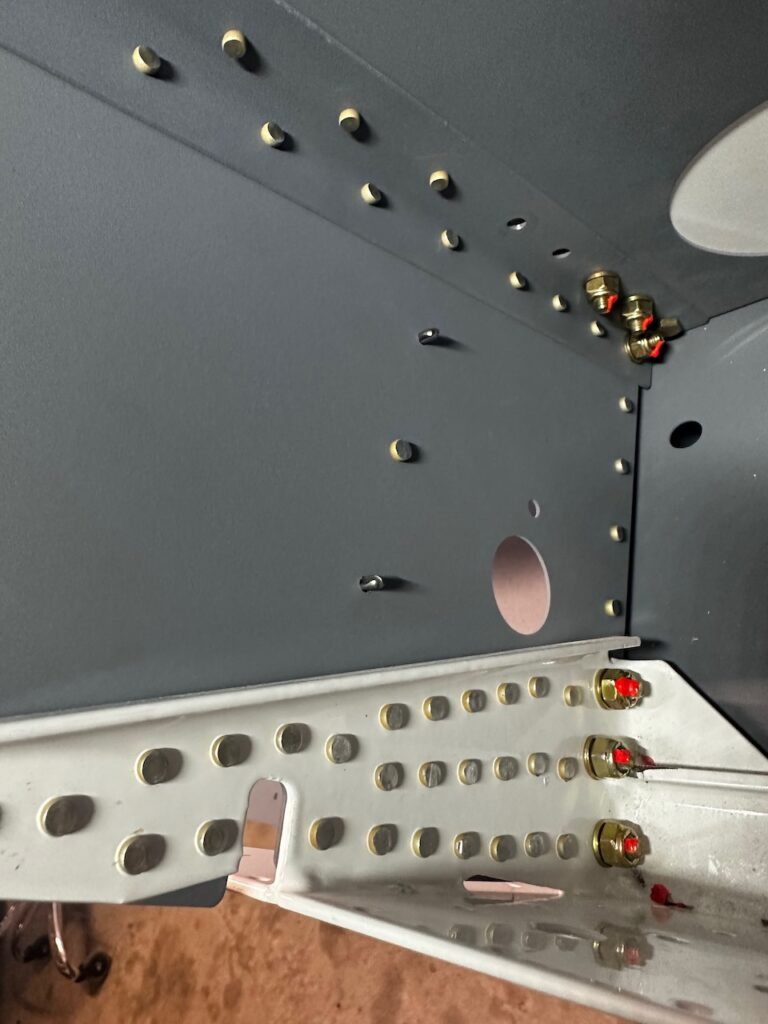
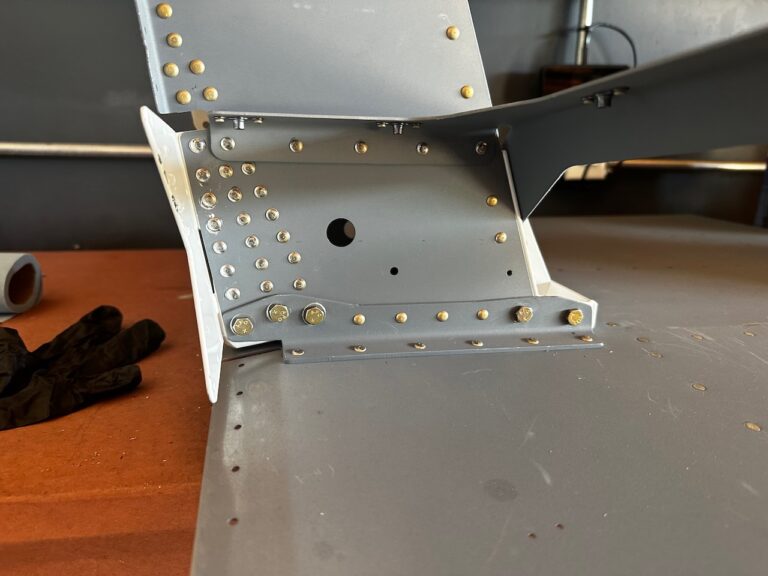
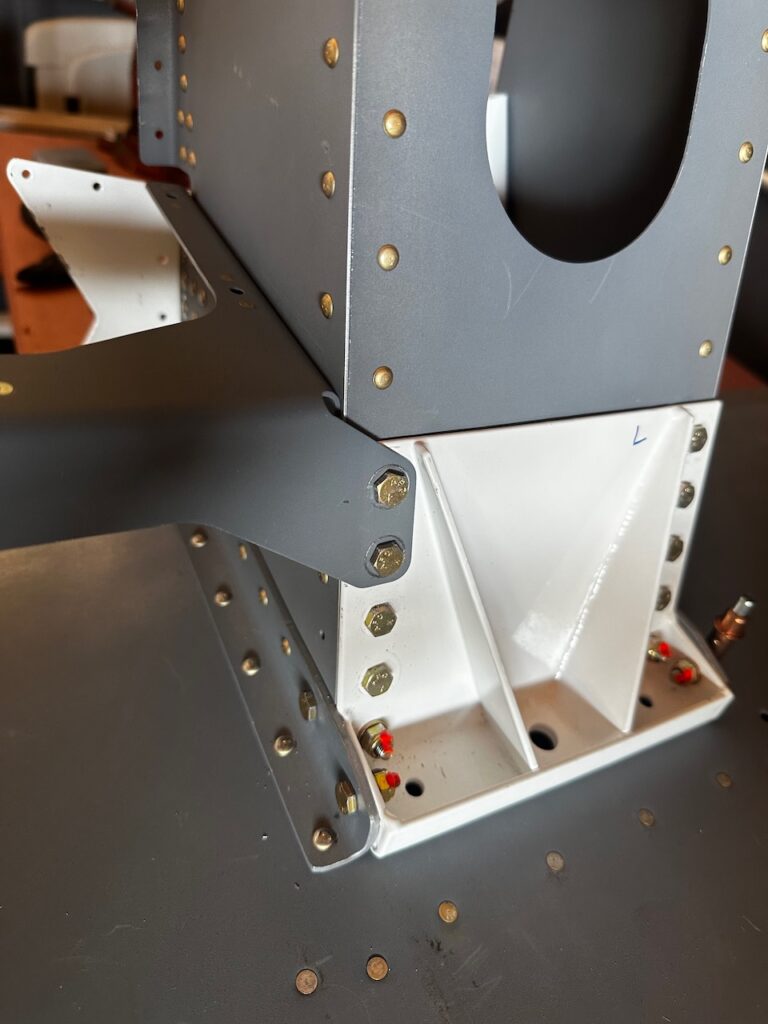
After the priming was complete, it was just a matter of riveting on all the braces and completing the bolts and nuts. It was easy work, and I was able to squeeze everything except the mid-cabin to LG Box rivets. Those I could complete by myself with the bucking bar and rivet gun.
So there we have it! LG Box Assembly complete. Next up I will be building out the rest of the Fwd Fuselage Sub Structure (including riveting on the firewall!). Until then… Happy Building!
1 comment
Congratulations. Great progress. Nice idea to create the temporary booth. Anything else you have to paint?…. Not airplane related. Could be an interesting exercise.