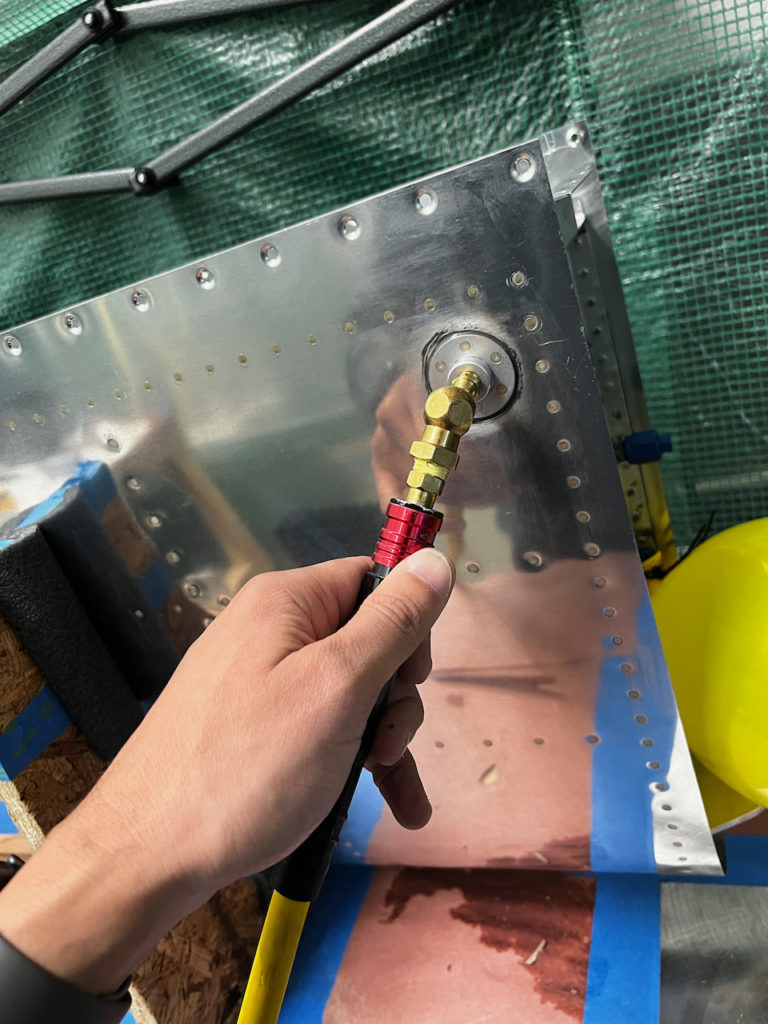
At approximately 8:30 this morning I finally got to inflate the balloon which would prove whether or not I had leaks in my fuel tank. The real question is did it stay inflated? …Before I get to that, Let’s back up a bit and review a few things I learned along the way. I got up early to get the leak test done and I knew I may need to get a few extra things to make it work. The instructions call for a balloon to relieve pressure, but I was planning on using a digital manometer to set the pressure of the tank properly. To do this, I needed to put together a rig that connects the manometer to the tank. Off to Home Depot I go!
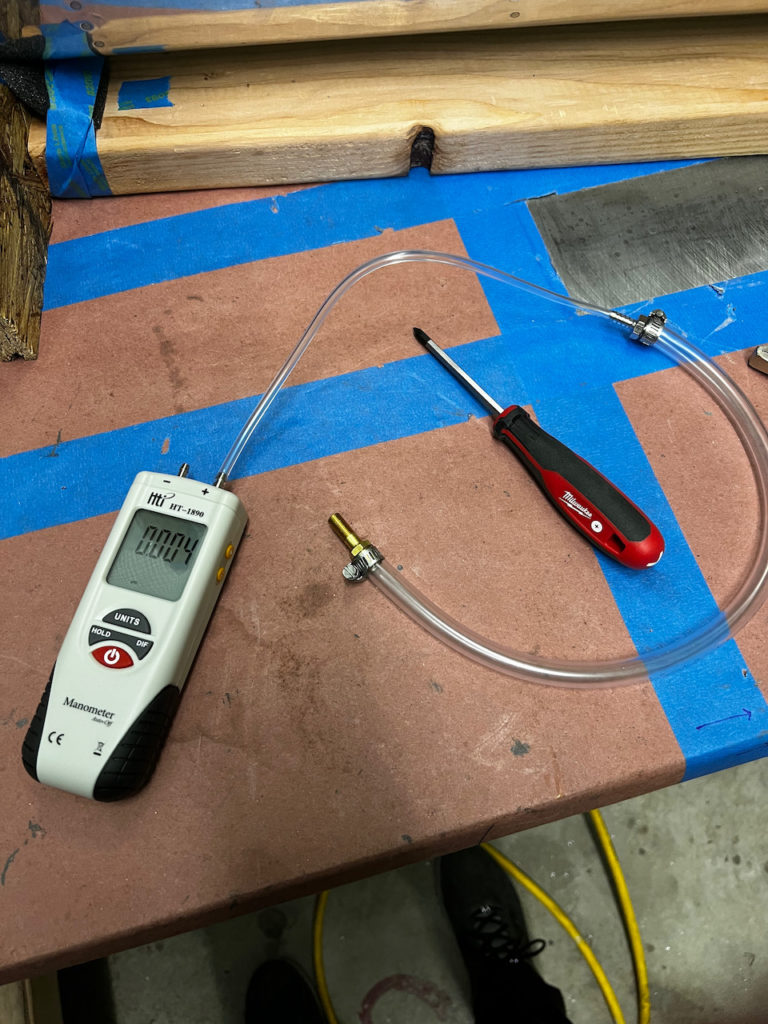
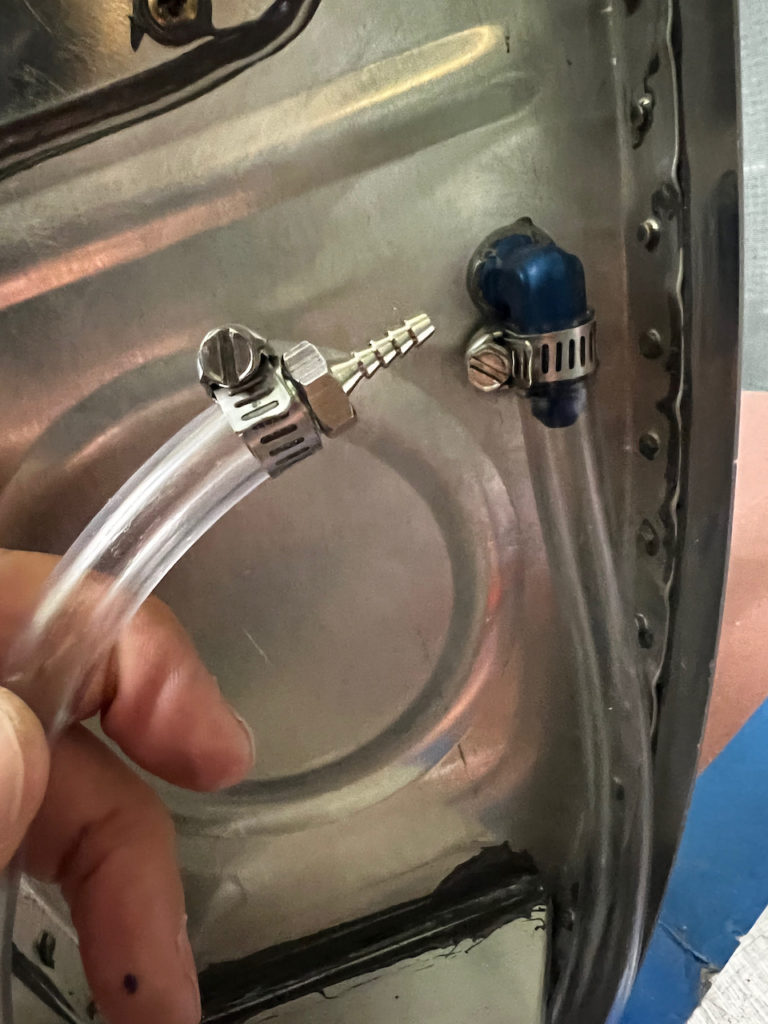
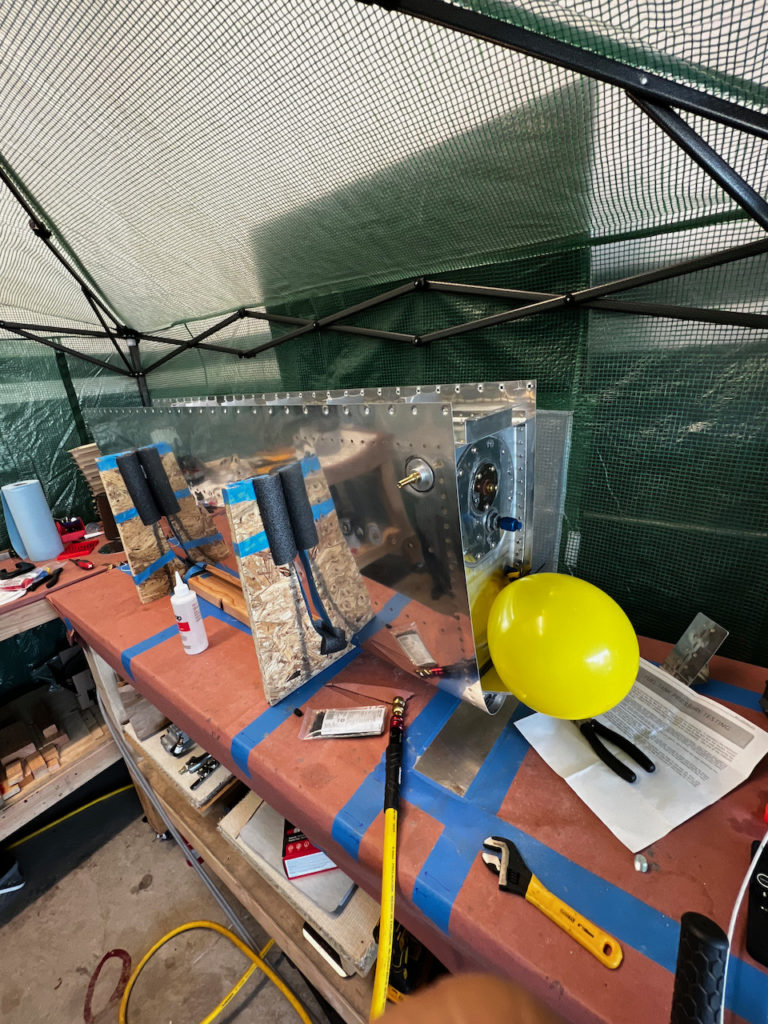
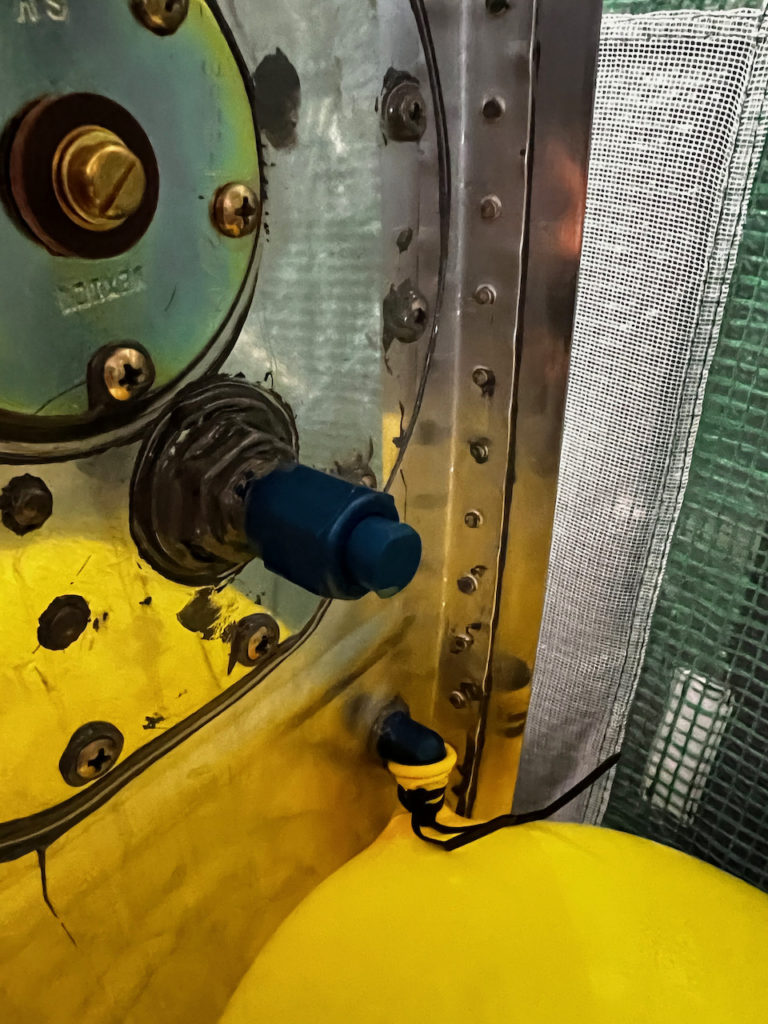
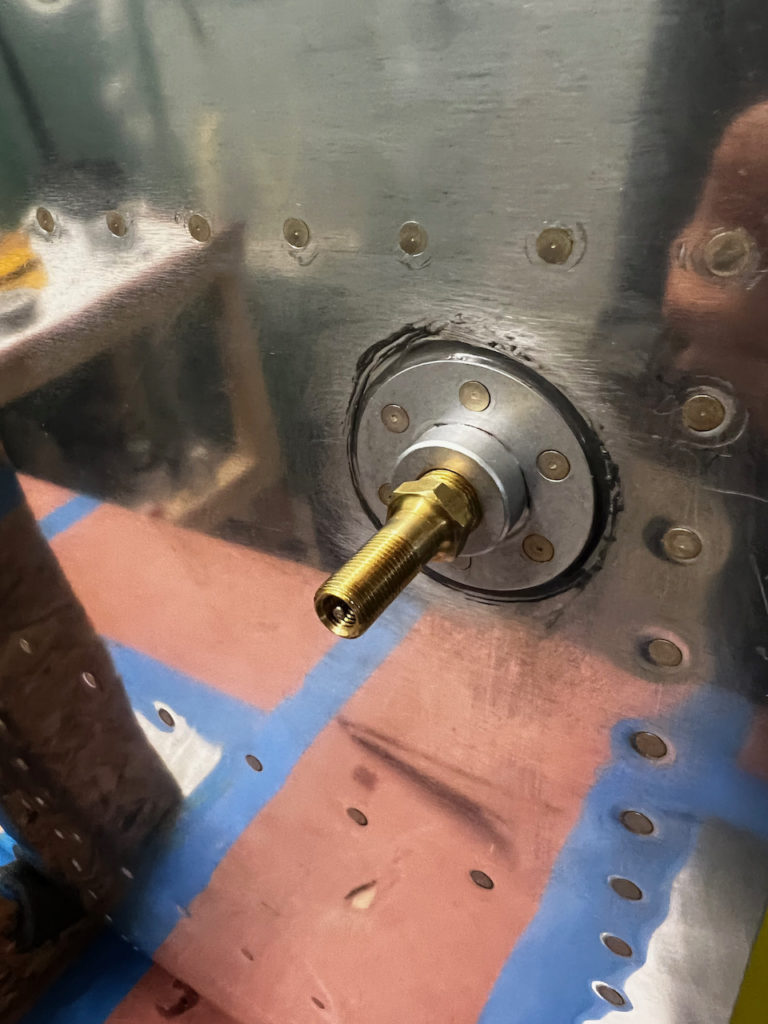
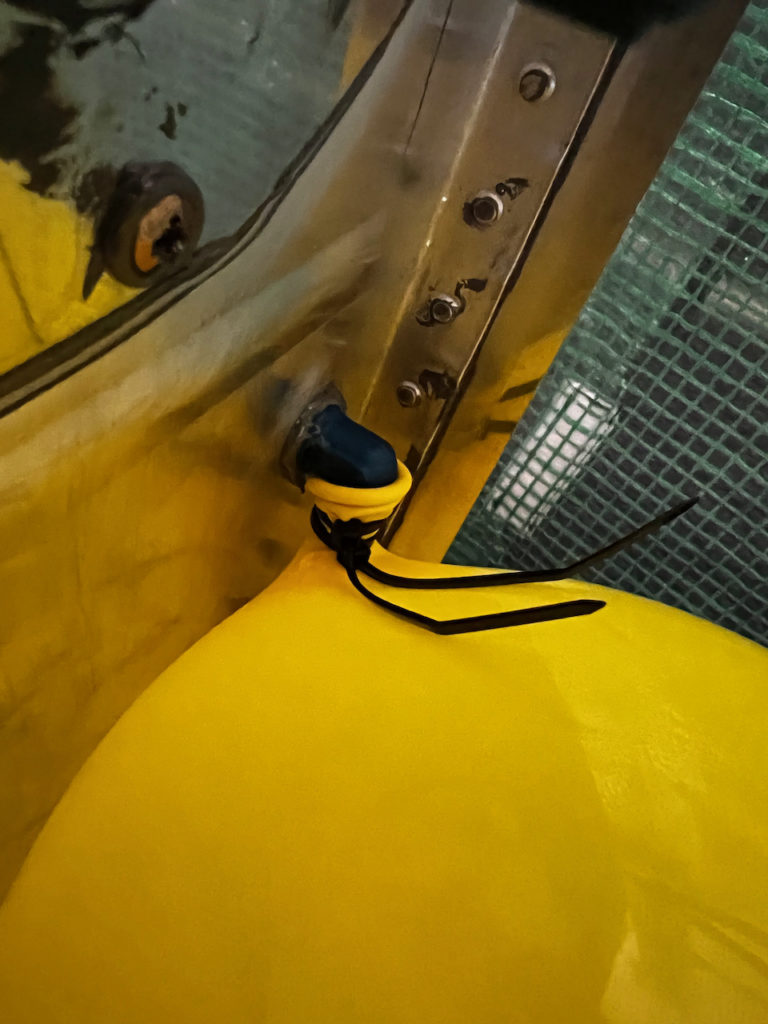
Although it was a good idea, I found two problems with it. First, there were too many leak points within the rig itself so I couldn’t get it to hold pressure even before connecting it to the tank. Second, the manometer is extremely sensitive, so as soon as I injected air, it would error out with “pressure too high”, and then immediately start leaking to “pressure too low”. It was clear that the device was not going to be a viable option. So I decided to fall back to the balloon option. Unfortunately I didn’t have a balloon, so I had to go back to the shopping center to get it. And unfortunately, Home Depot doesn’t have balloons, so I had to wait until Target opened at 8am. (ugh..one of the downsides to starting so early…nothing is open). In hindsight, the balloon is really genius. The balloon isn’t the actual pressure test, it is used to protect against over pressurizing the tank as well as create a “reserve of pressure” to allow detection of extremely slow leaks. The balloon will hold at around 1 psi above ambient which is safe for the tank (much more and you can actually “blow out” the seams). The real test is checking each of the potential leak points with special liquid mixture (more on that later). After mounting the balloon it was time to pressurize up and see what happened.
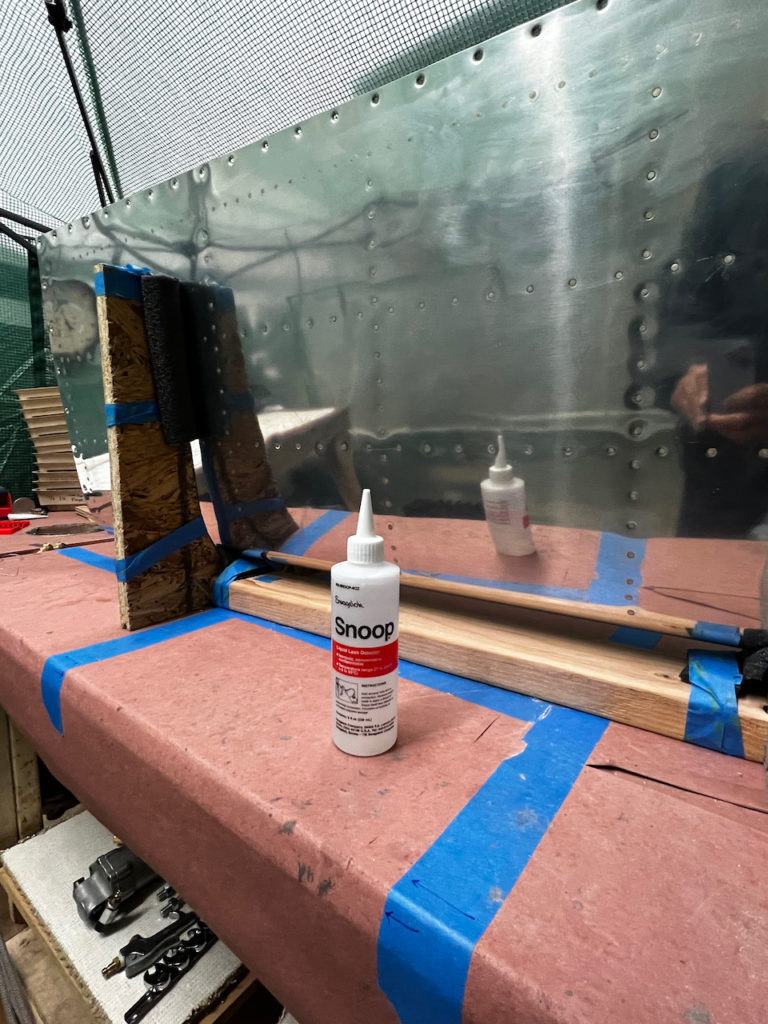
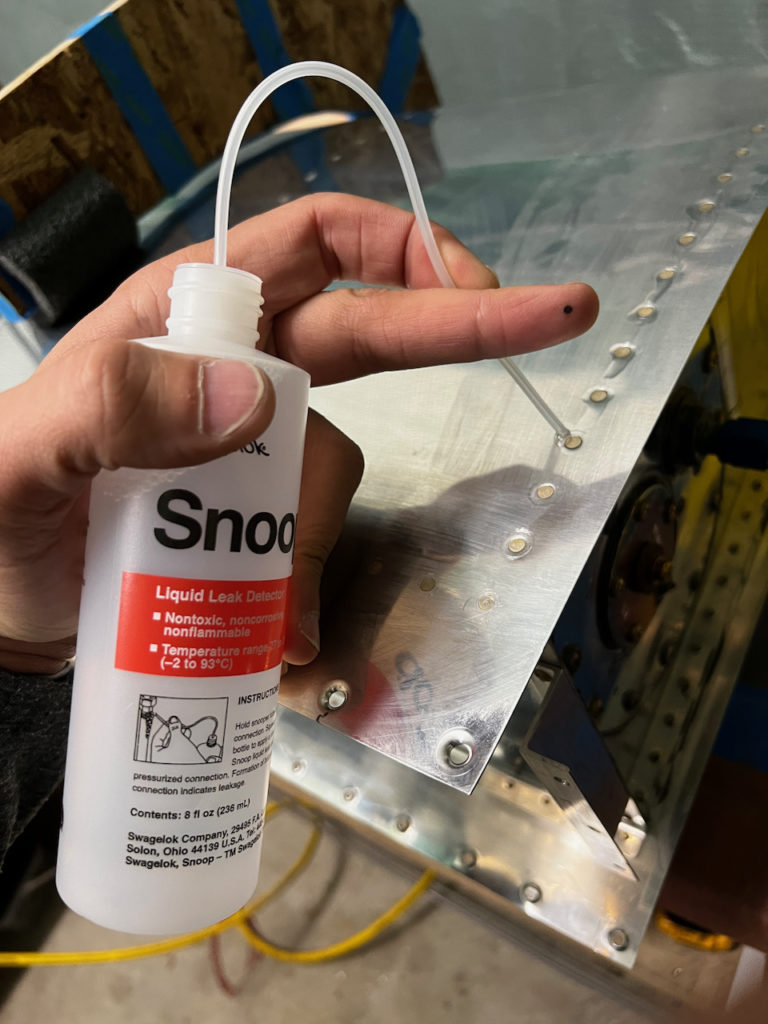
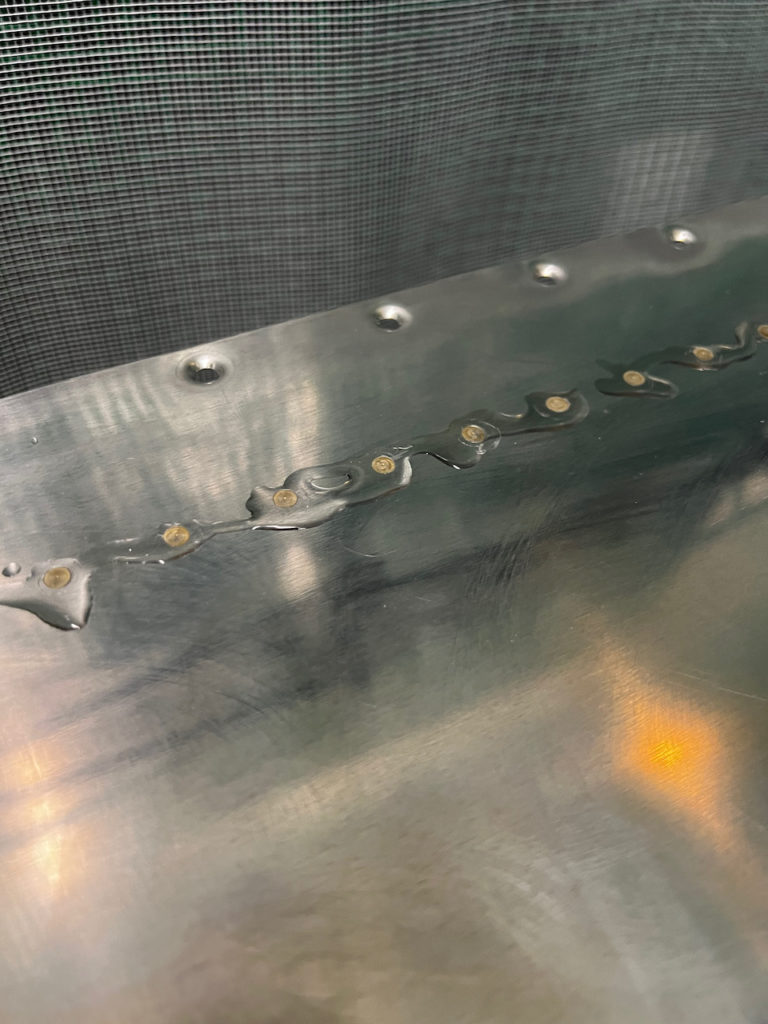
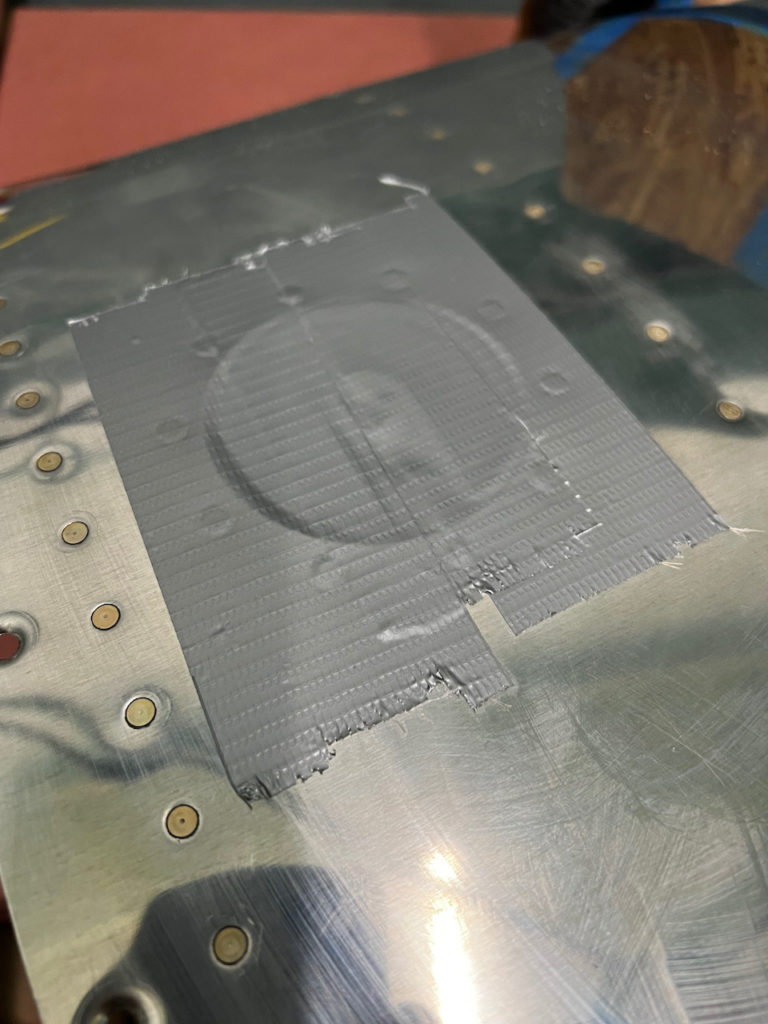
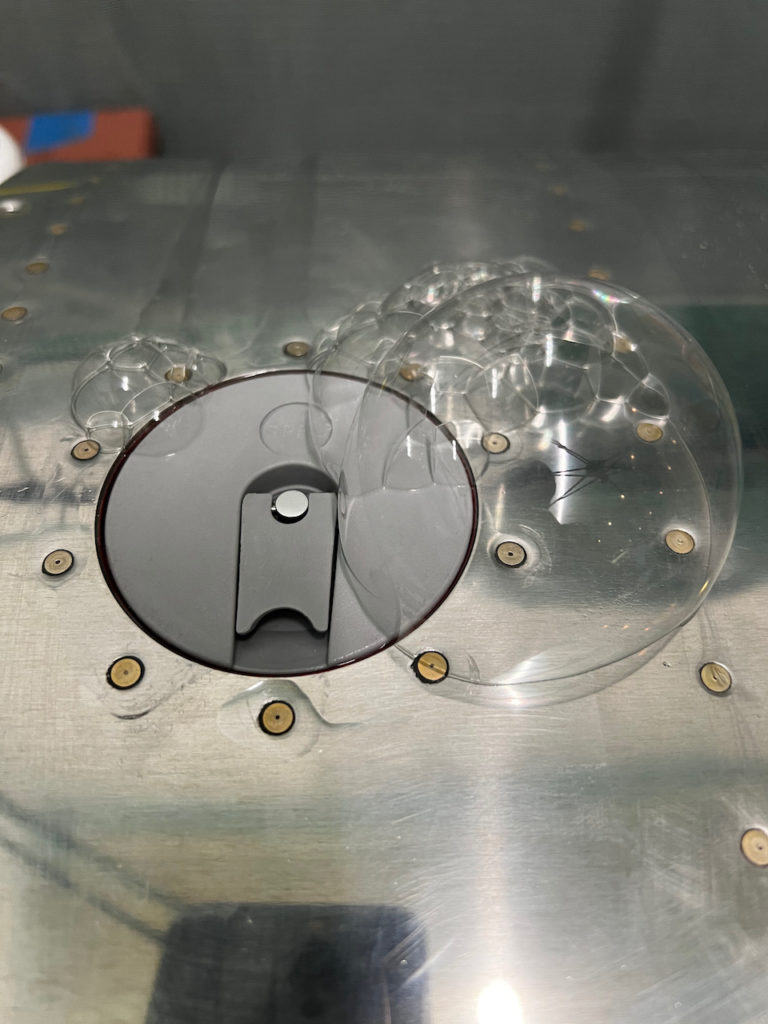
Once the balloon inflated I sat quietly, to listen for any obvious leaks. AAAANNNNDDDD……..No sound! Whew!! That would have been really bad if there was a major leak, but obviously, the real test was looking for pin hole leaks. This requires a special liquid called “snoop” that detects miniscule air leaks by generating bubbles when on the location in question. (Yes…could probably have used soapy water, but this is much more effective). With the balloon holding steady I started covering all the possible leak points in snoop, and besides the tiny bubbles being generated from squeezing the liquid out of the bottle, there were no detectable leaks! I was starting to question my technique, so I removed the duct tape covering the fuel cap, and verified that leaking happened (as is expected at the cap). Definitely saw the bubbles (see below). No leaks except the expected ones!
So that is it! The left tank is officially done. It will go on top of the wing, where it will be (mostly) attached while I build out the leading edge assembly. With the confidence from the left tank pressure test, I am planning on closing up the right tank this week. Hopefully tomorrow so I can pressure test the right side this coming weekend but we’ll see how the week goes. Until then, Happy Building!!
4 comments
Wow! I’m going to have to add some snoop…..to my tool chest. Been looking for leaks using dish soap on gas lines and inflatable boats. Snoop looks way better.
Yikes, fuel tank built in your shop. That’s impressive. And it flies.
Yeah Gary, Snoop is pretty cool…with barley any liquid over the fuel cap, it bubbled up like crazy. I don’t think I’d be able to miss a leak with this stuff.
What a great milestone. Congratulations. Happy building.
a balloon ! low tech leak test !