As usual… what I thought would be a short effort ended up being quite some time but in the end I have some moving flaps! Well… for now, but I’ll leave that little story to the end if you are so inclined (Hint: SL-00085 anyone?).
So the primary work tasks for flap installation is:
Put flaps on using the piano hinges
Clean up any inboard interference with the fuselage
Create Flap Rods
Attach Flap Rods to Flap Weldment
Move them up and down, removing material for any interference
Attach motor and test
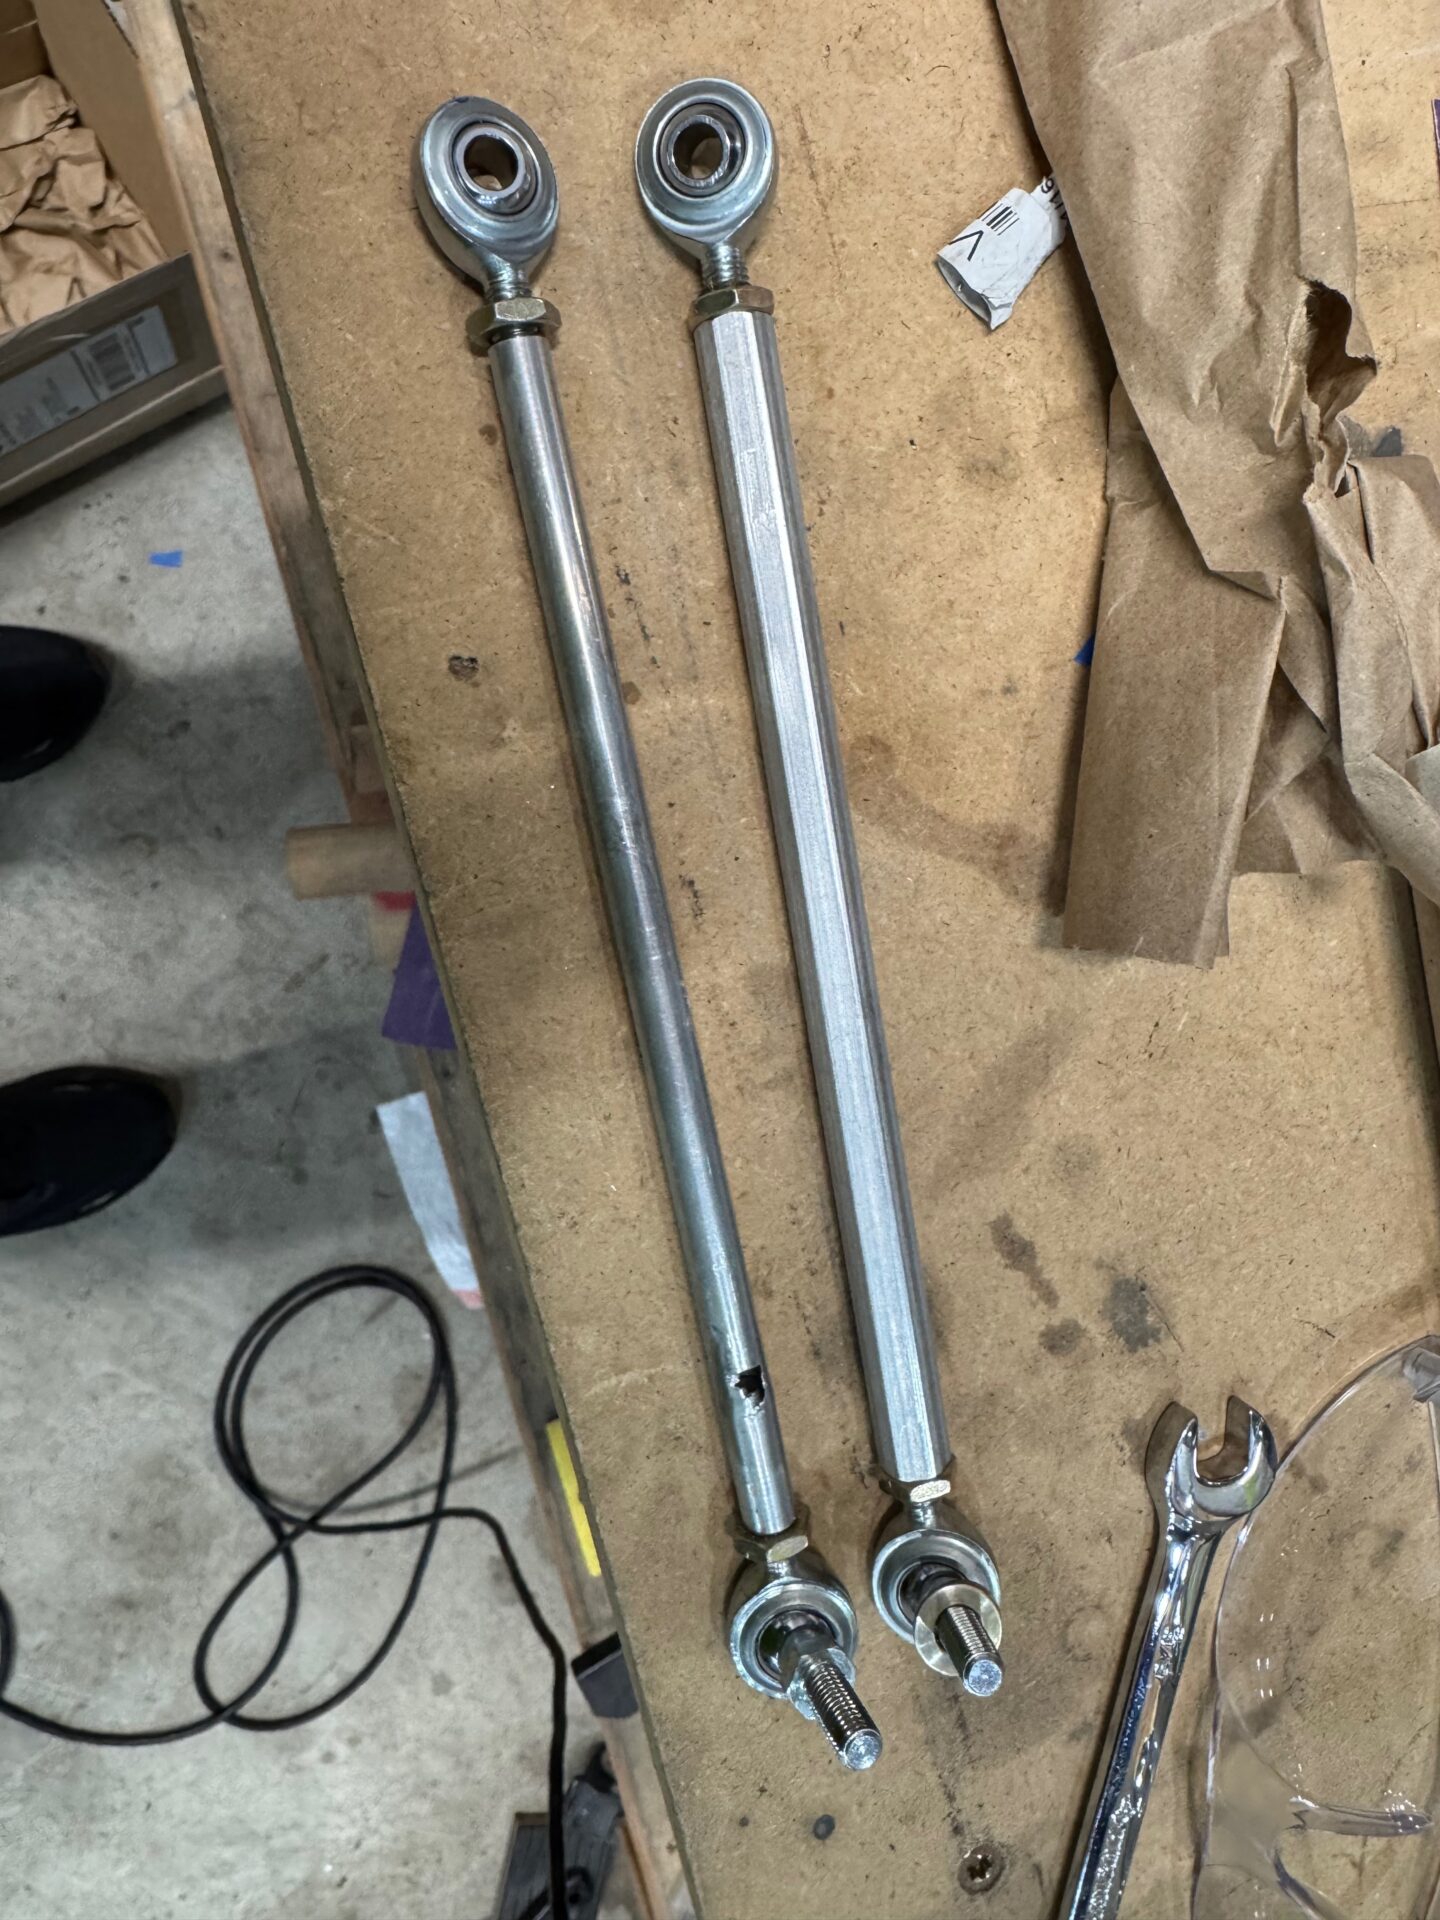
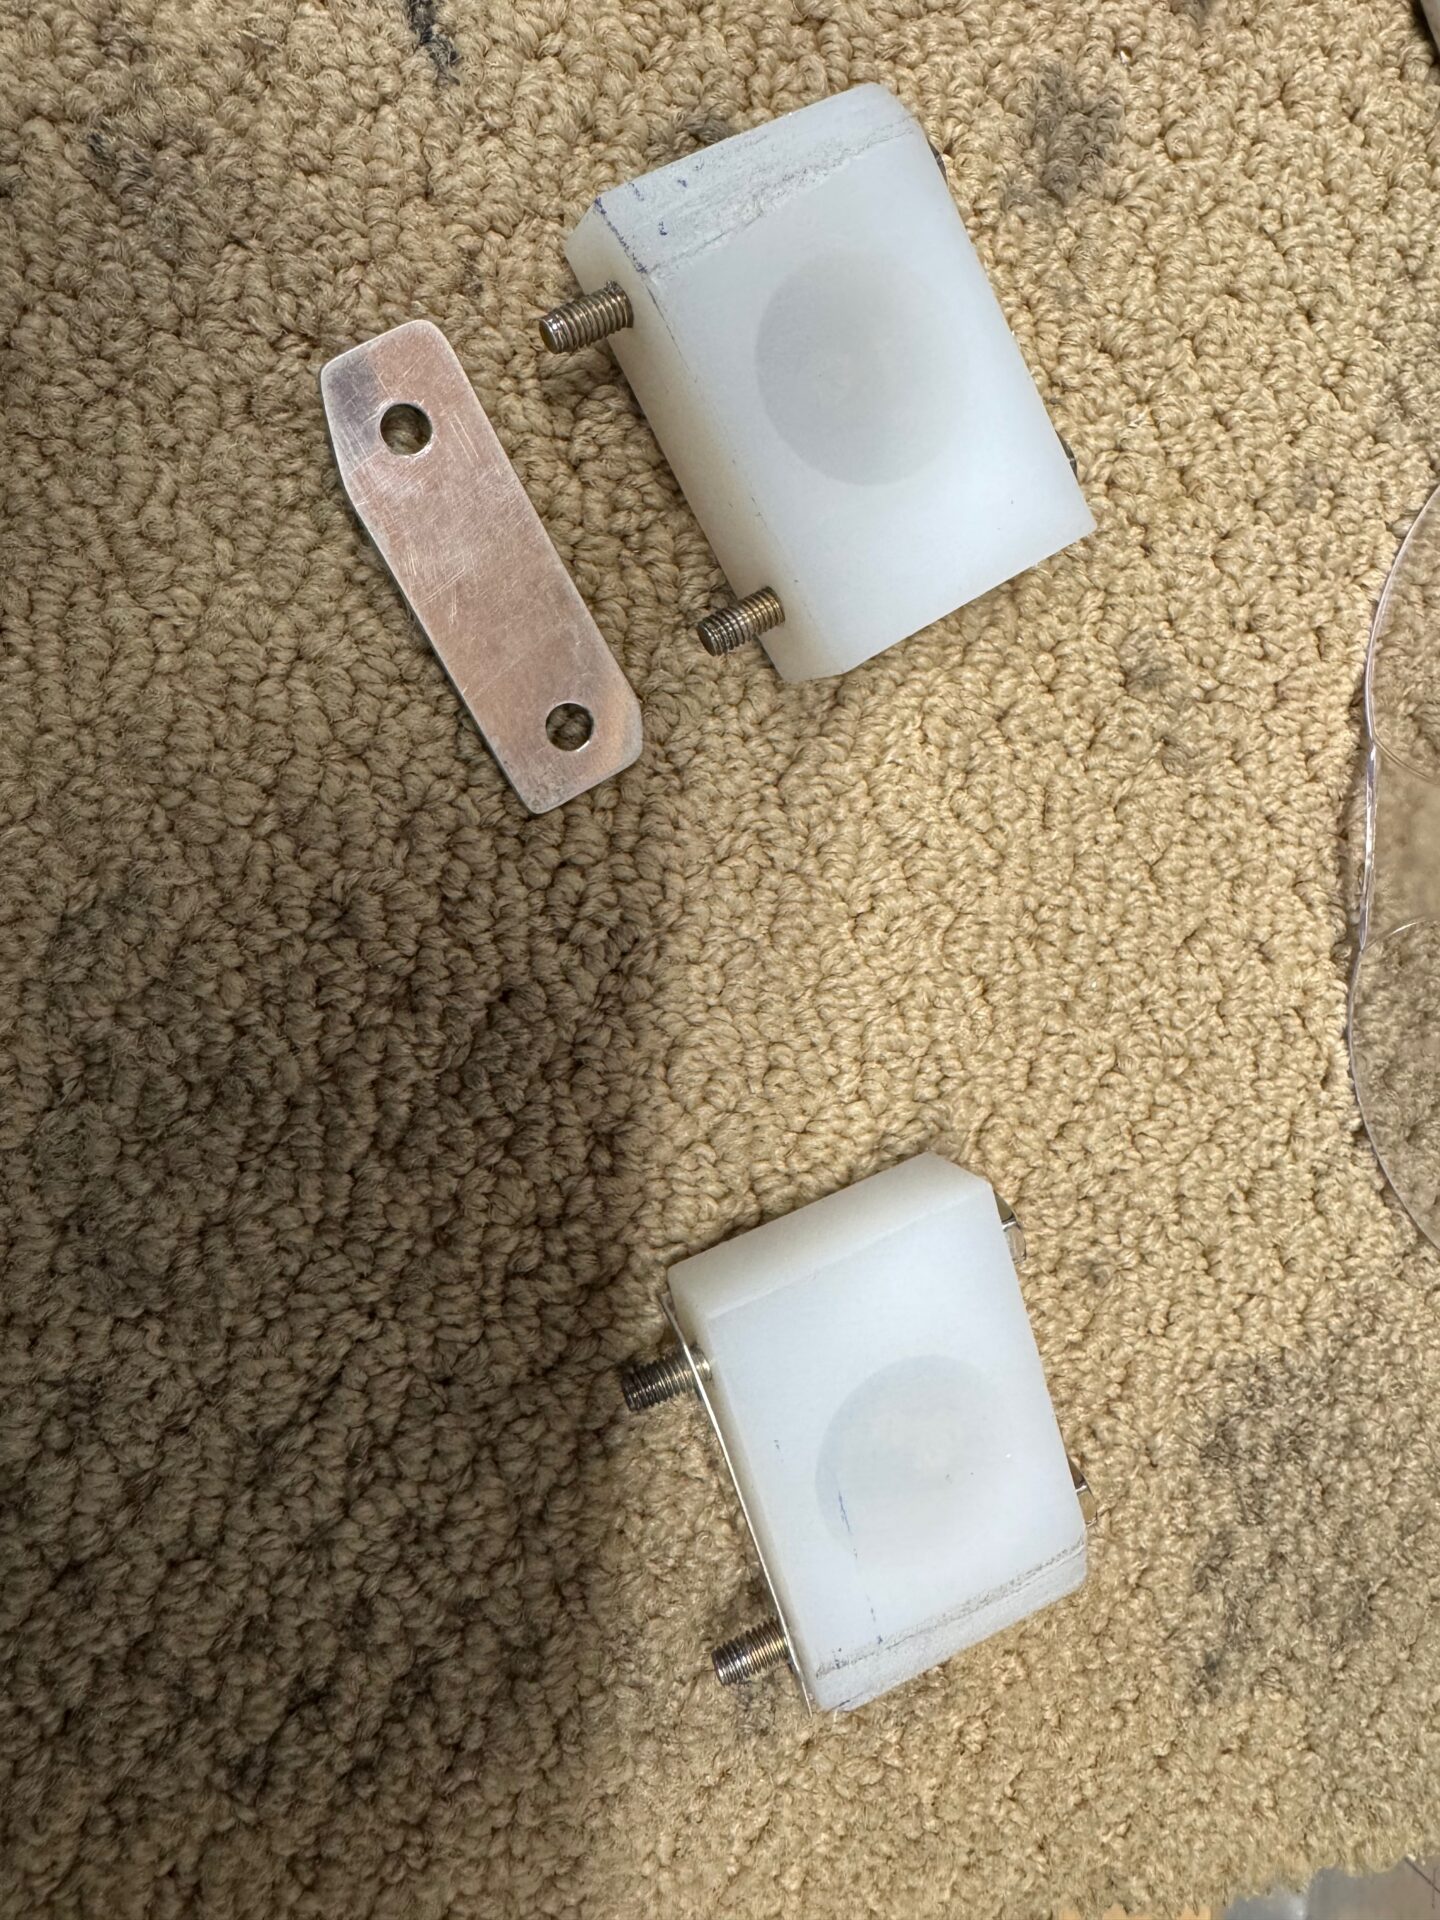
Steps 2, 3, and mostly 5 ended up taking way more time that I thought. On the flap rod creation, I alluded in my last post that I didn’t like the quality of the rods I created by hand. I purchased the pre-made beefier ones meant for the RV-7 and was much happier. The only issue is that they are a larger diameter so it negatively effected step 5. In the end it was just a big loop of install, test, uninstall, remove material, repeat. The good news is that I only had to remove the flap rod, not the whole flap. I must have done 50+ iterations of that, so it just takes a long time. I was having a really hard time seeing what was causing interference at a certain point because you’ve got the two layers of possible interference. The fuselage skin/structure, and the cockpit floor. Things started moving a lot faster after I decided to remove the flooring, create equivalent spacers (to get the heights correct), and focus on cleaning up material one layer at a time.
Another short cut I took was once I had one side done, I created a template that allowed me to accelerate the initial major material removal on the other side. This probably saved me 40 out of the 50 iterations on the second flap.
home made flap rod vs factory made. Notice the diameter difference.
In Step 2, Lots of iterating on getting the inboard upper edge of flaps to clear the fuselage correctly. Oddly enough I didn’t have to do some much on the other side.
Creating flap weldment spacers so I could remove material one layer at a time.
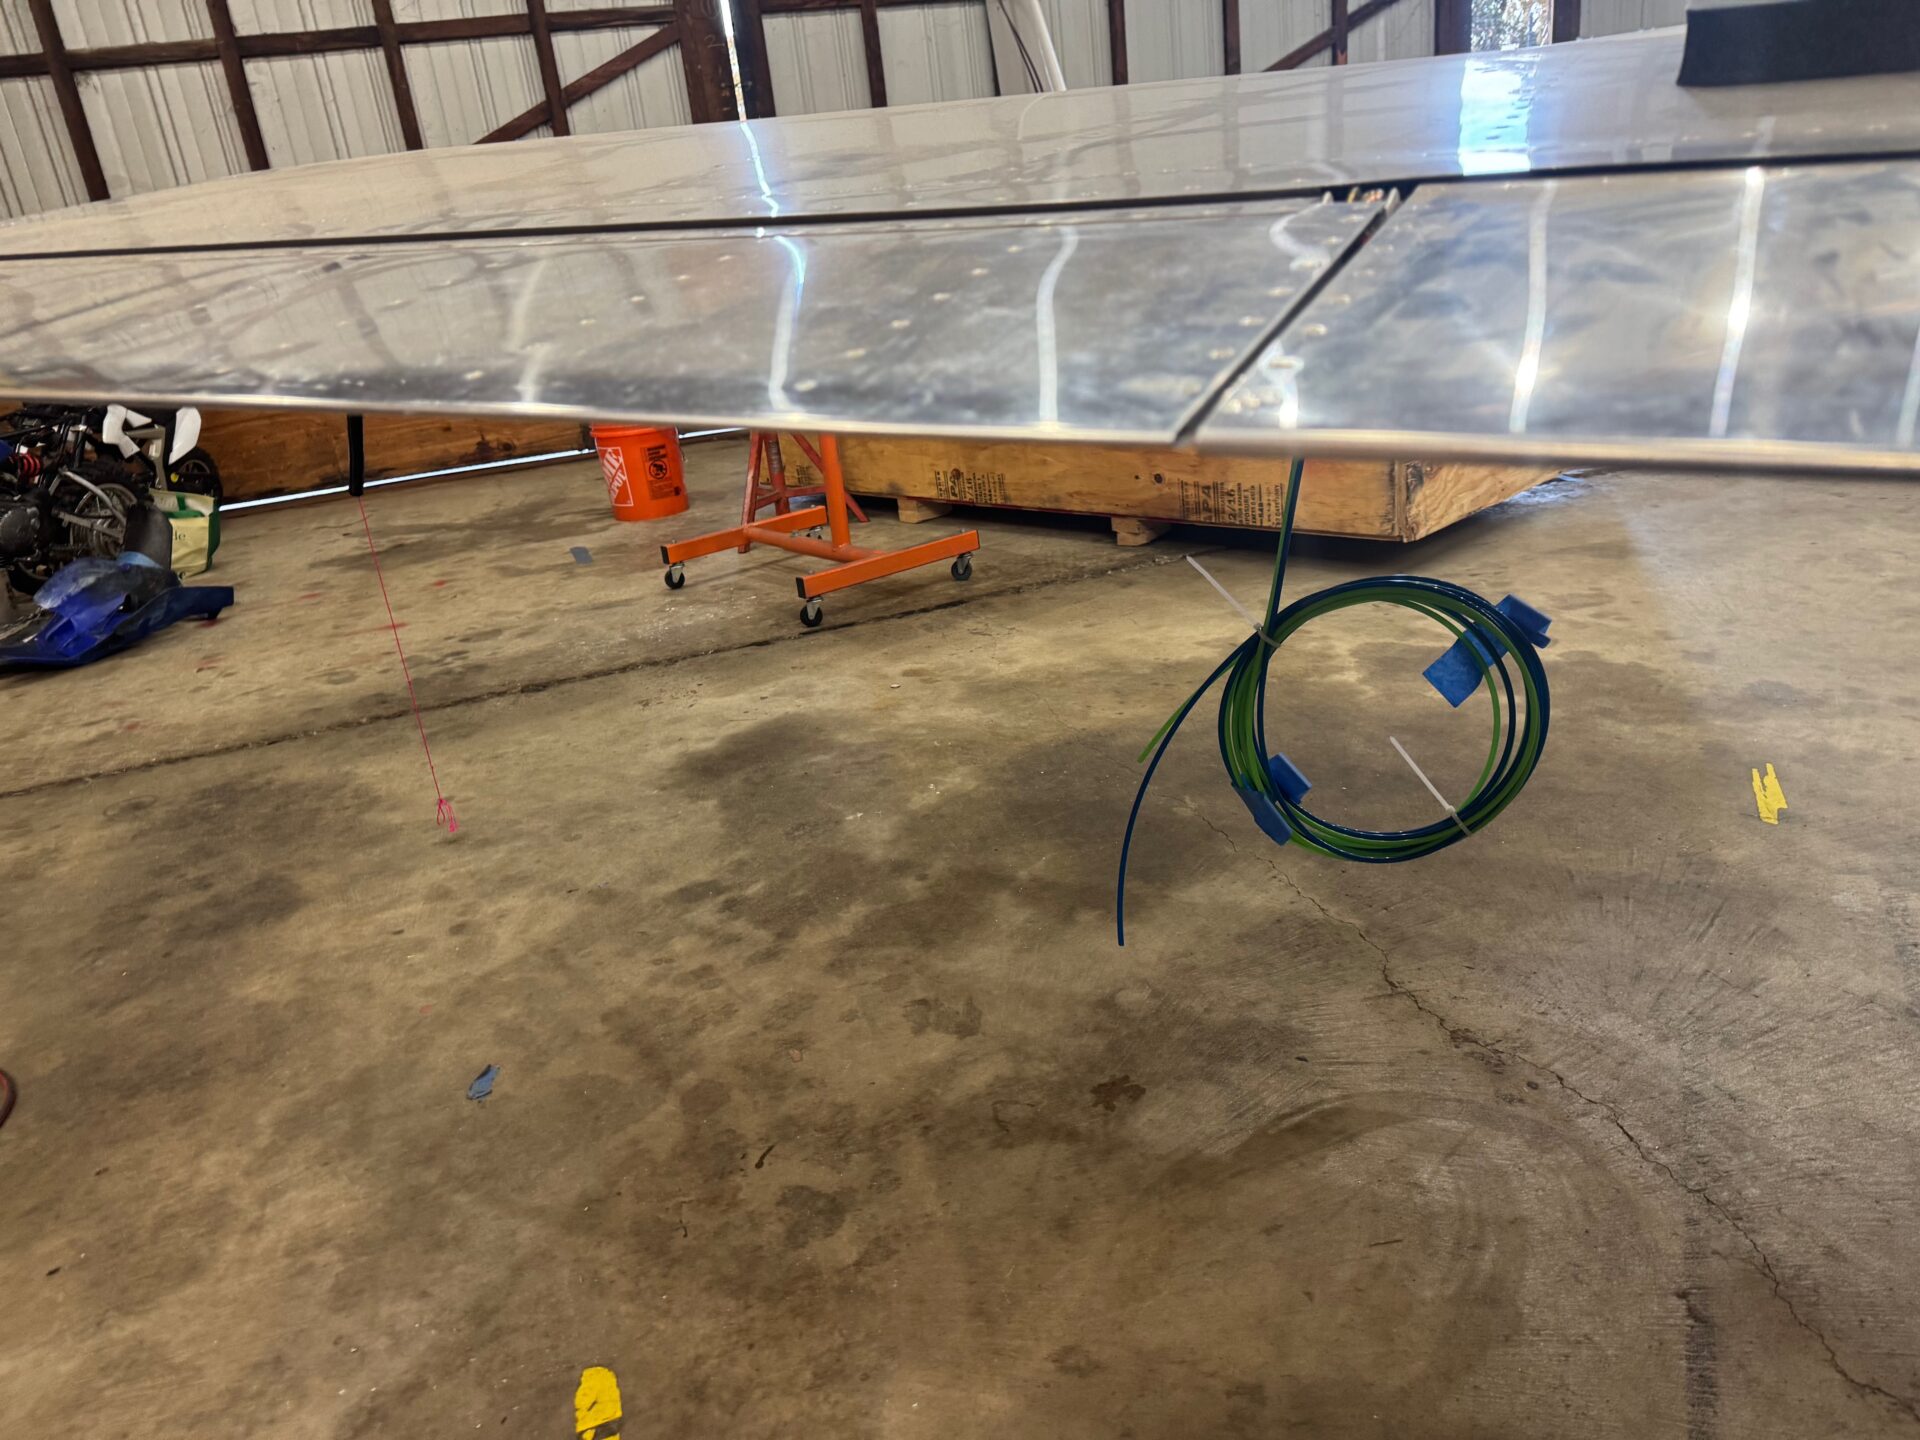
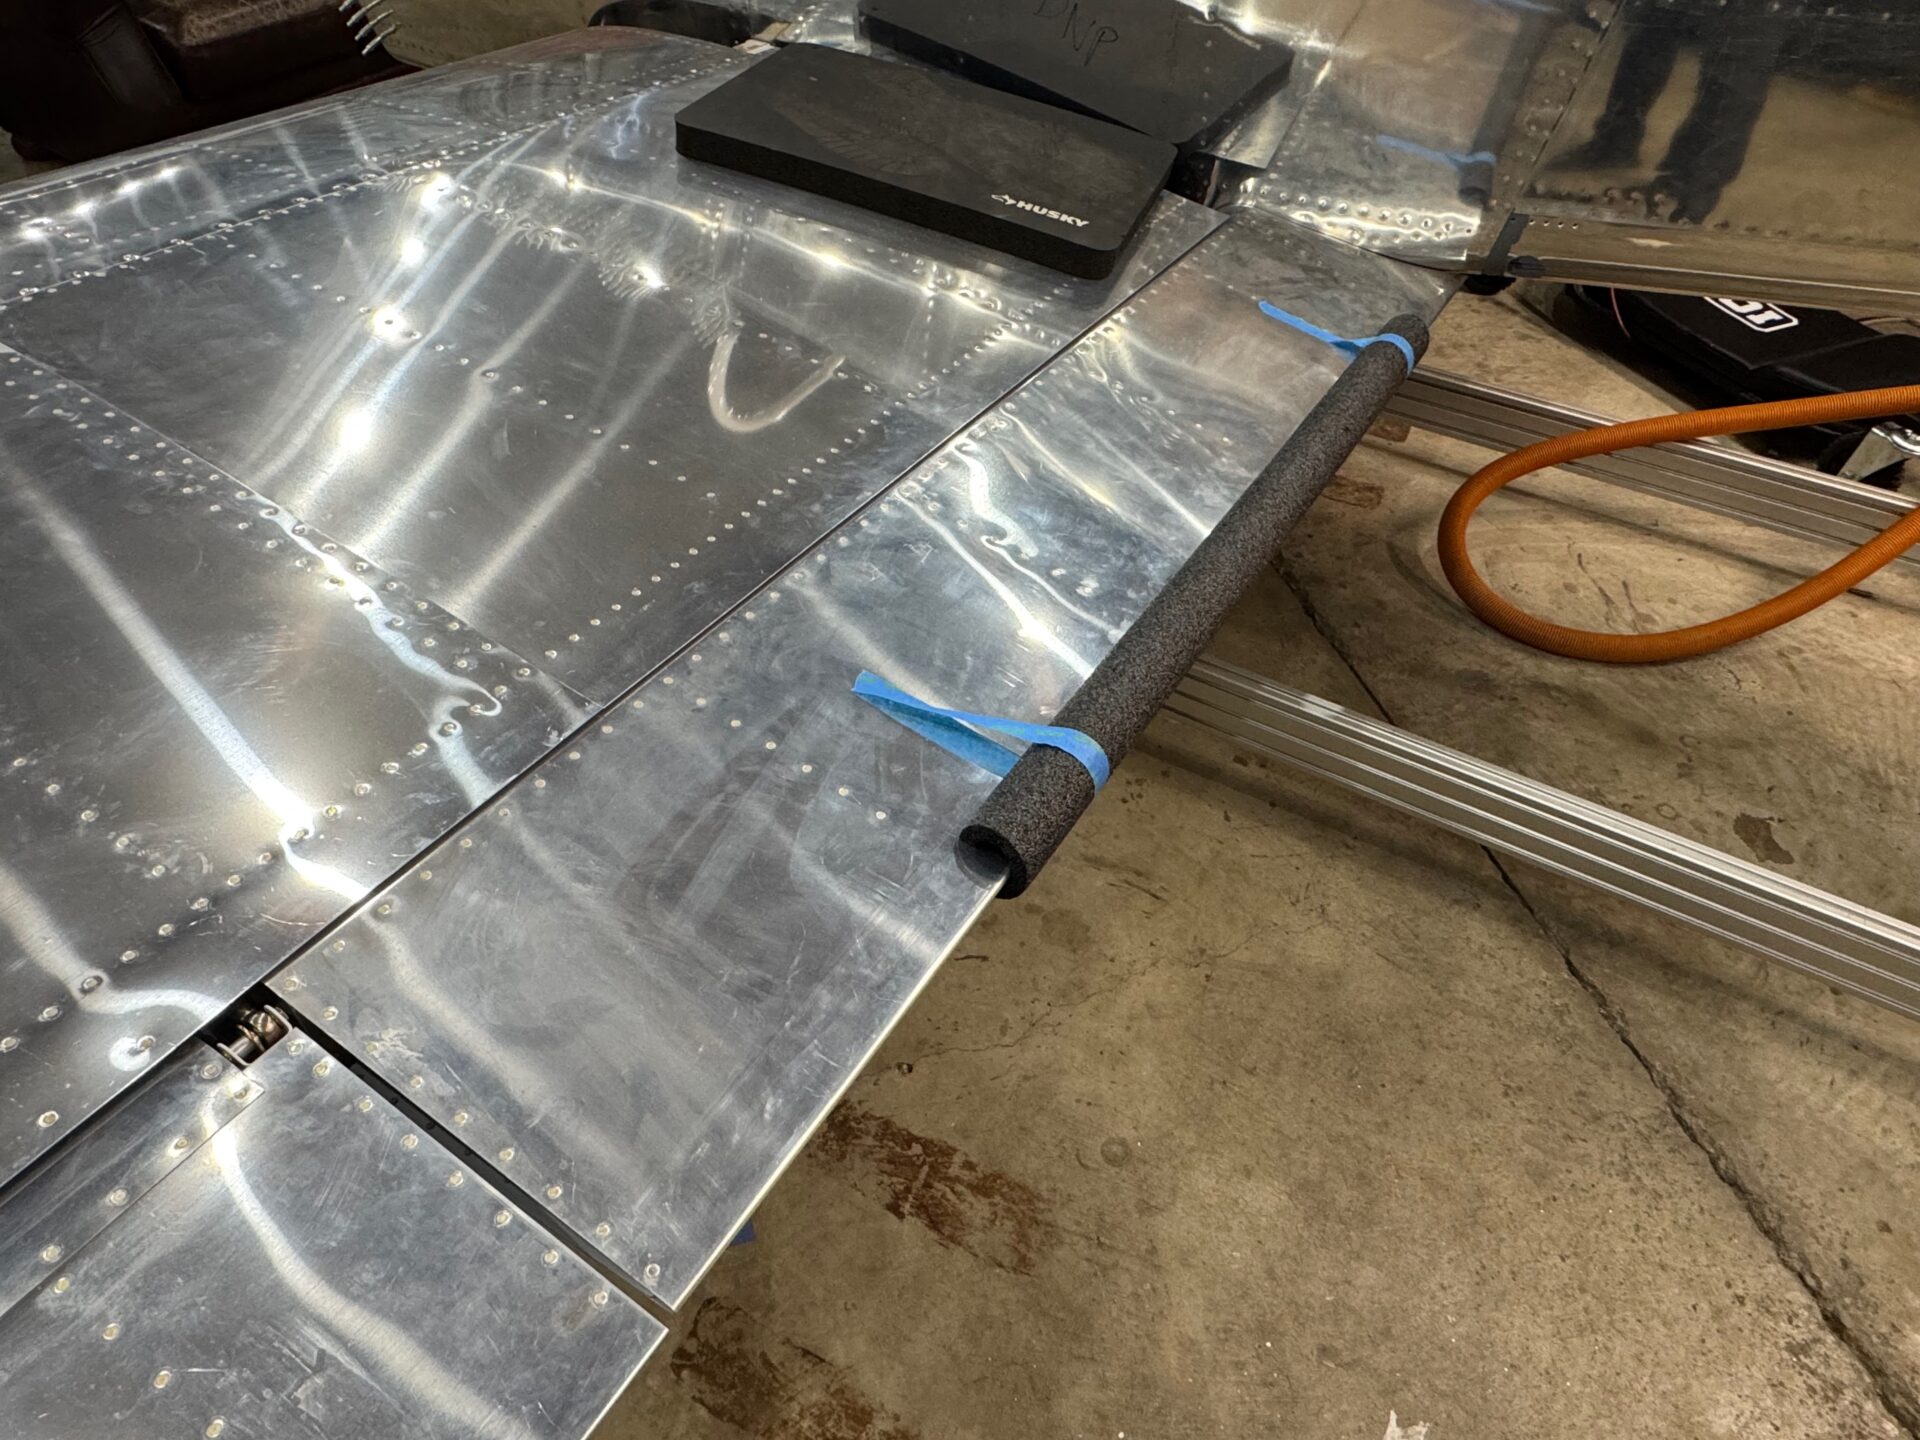
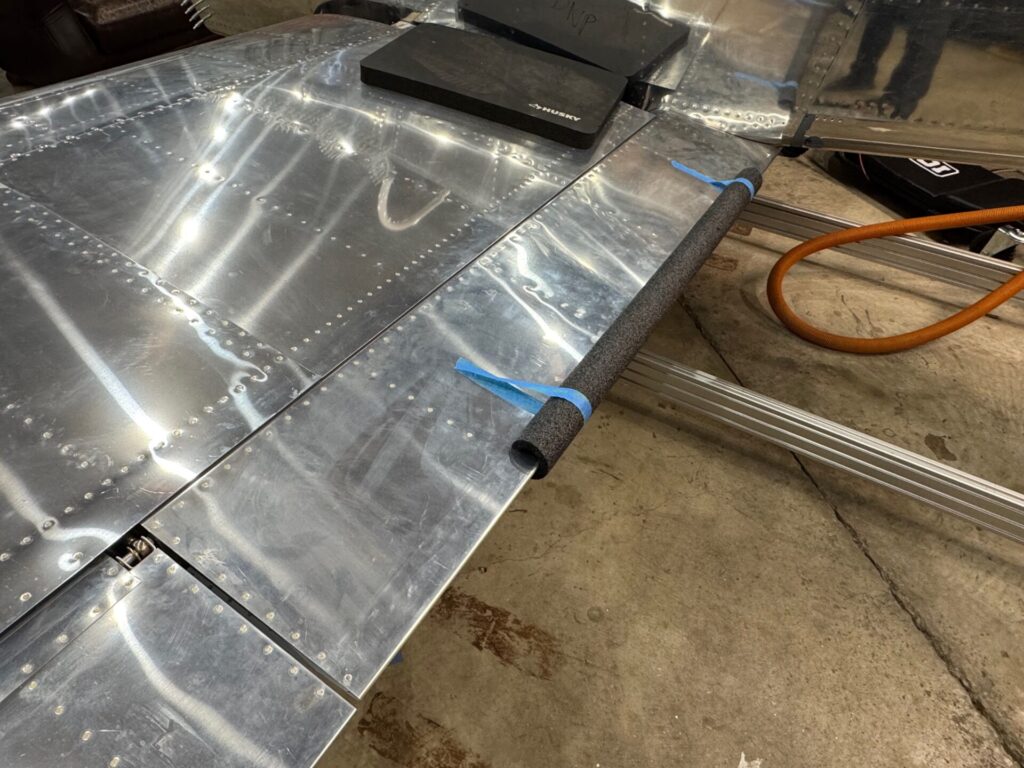
trailing edges of the flaps and ailerons align nicely!
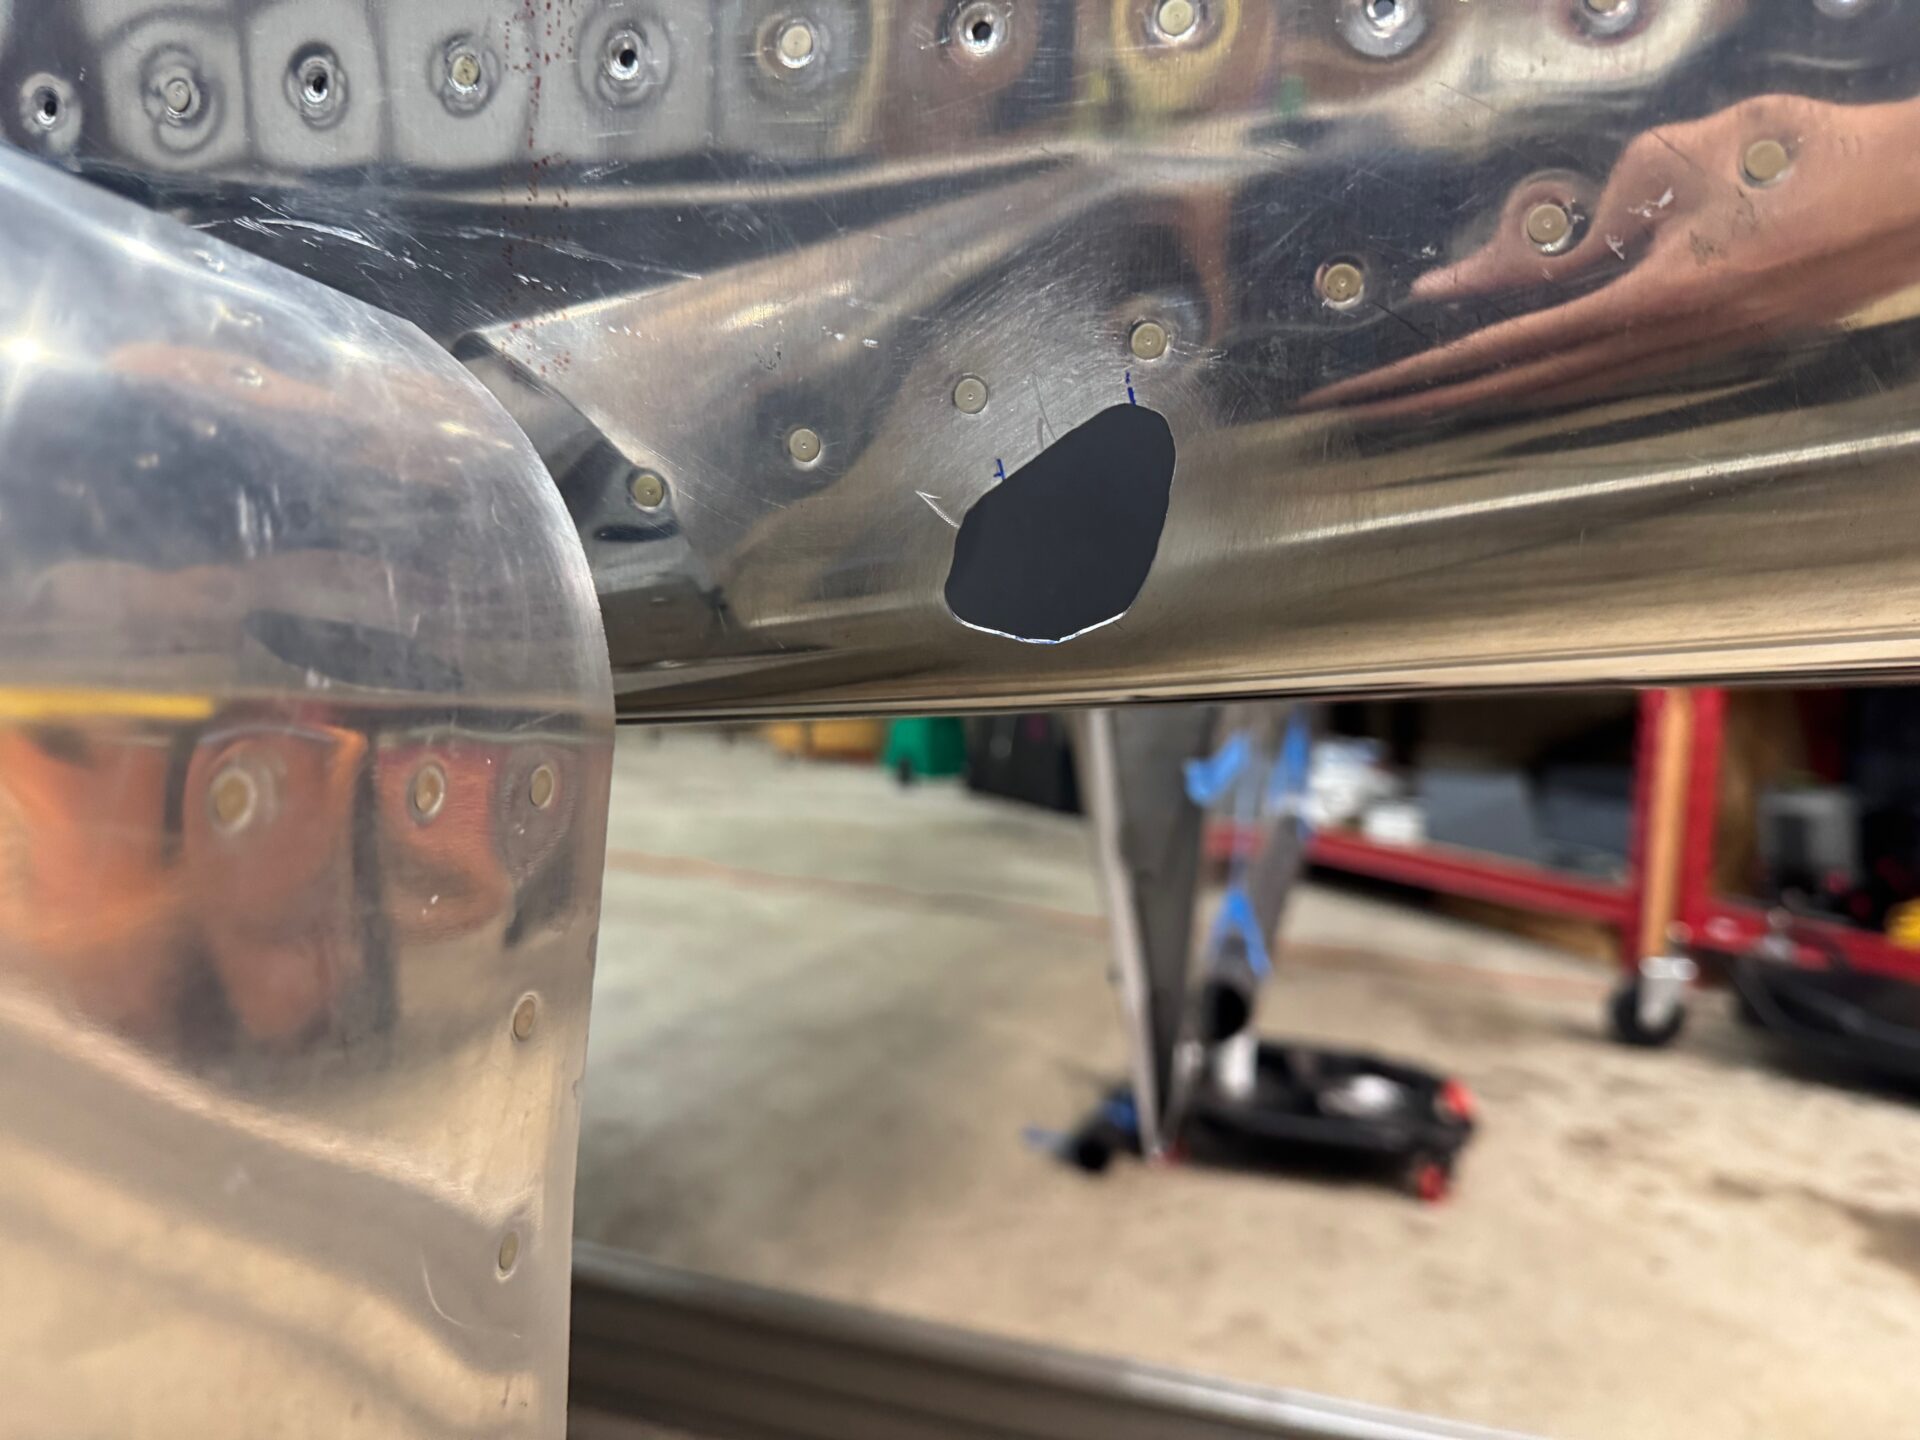
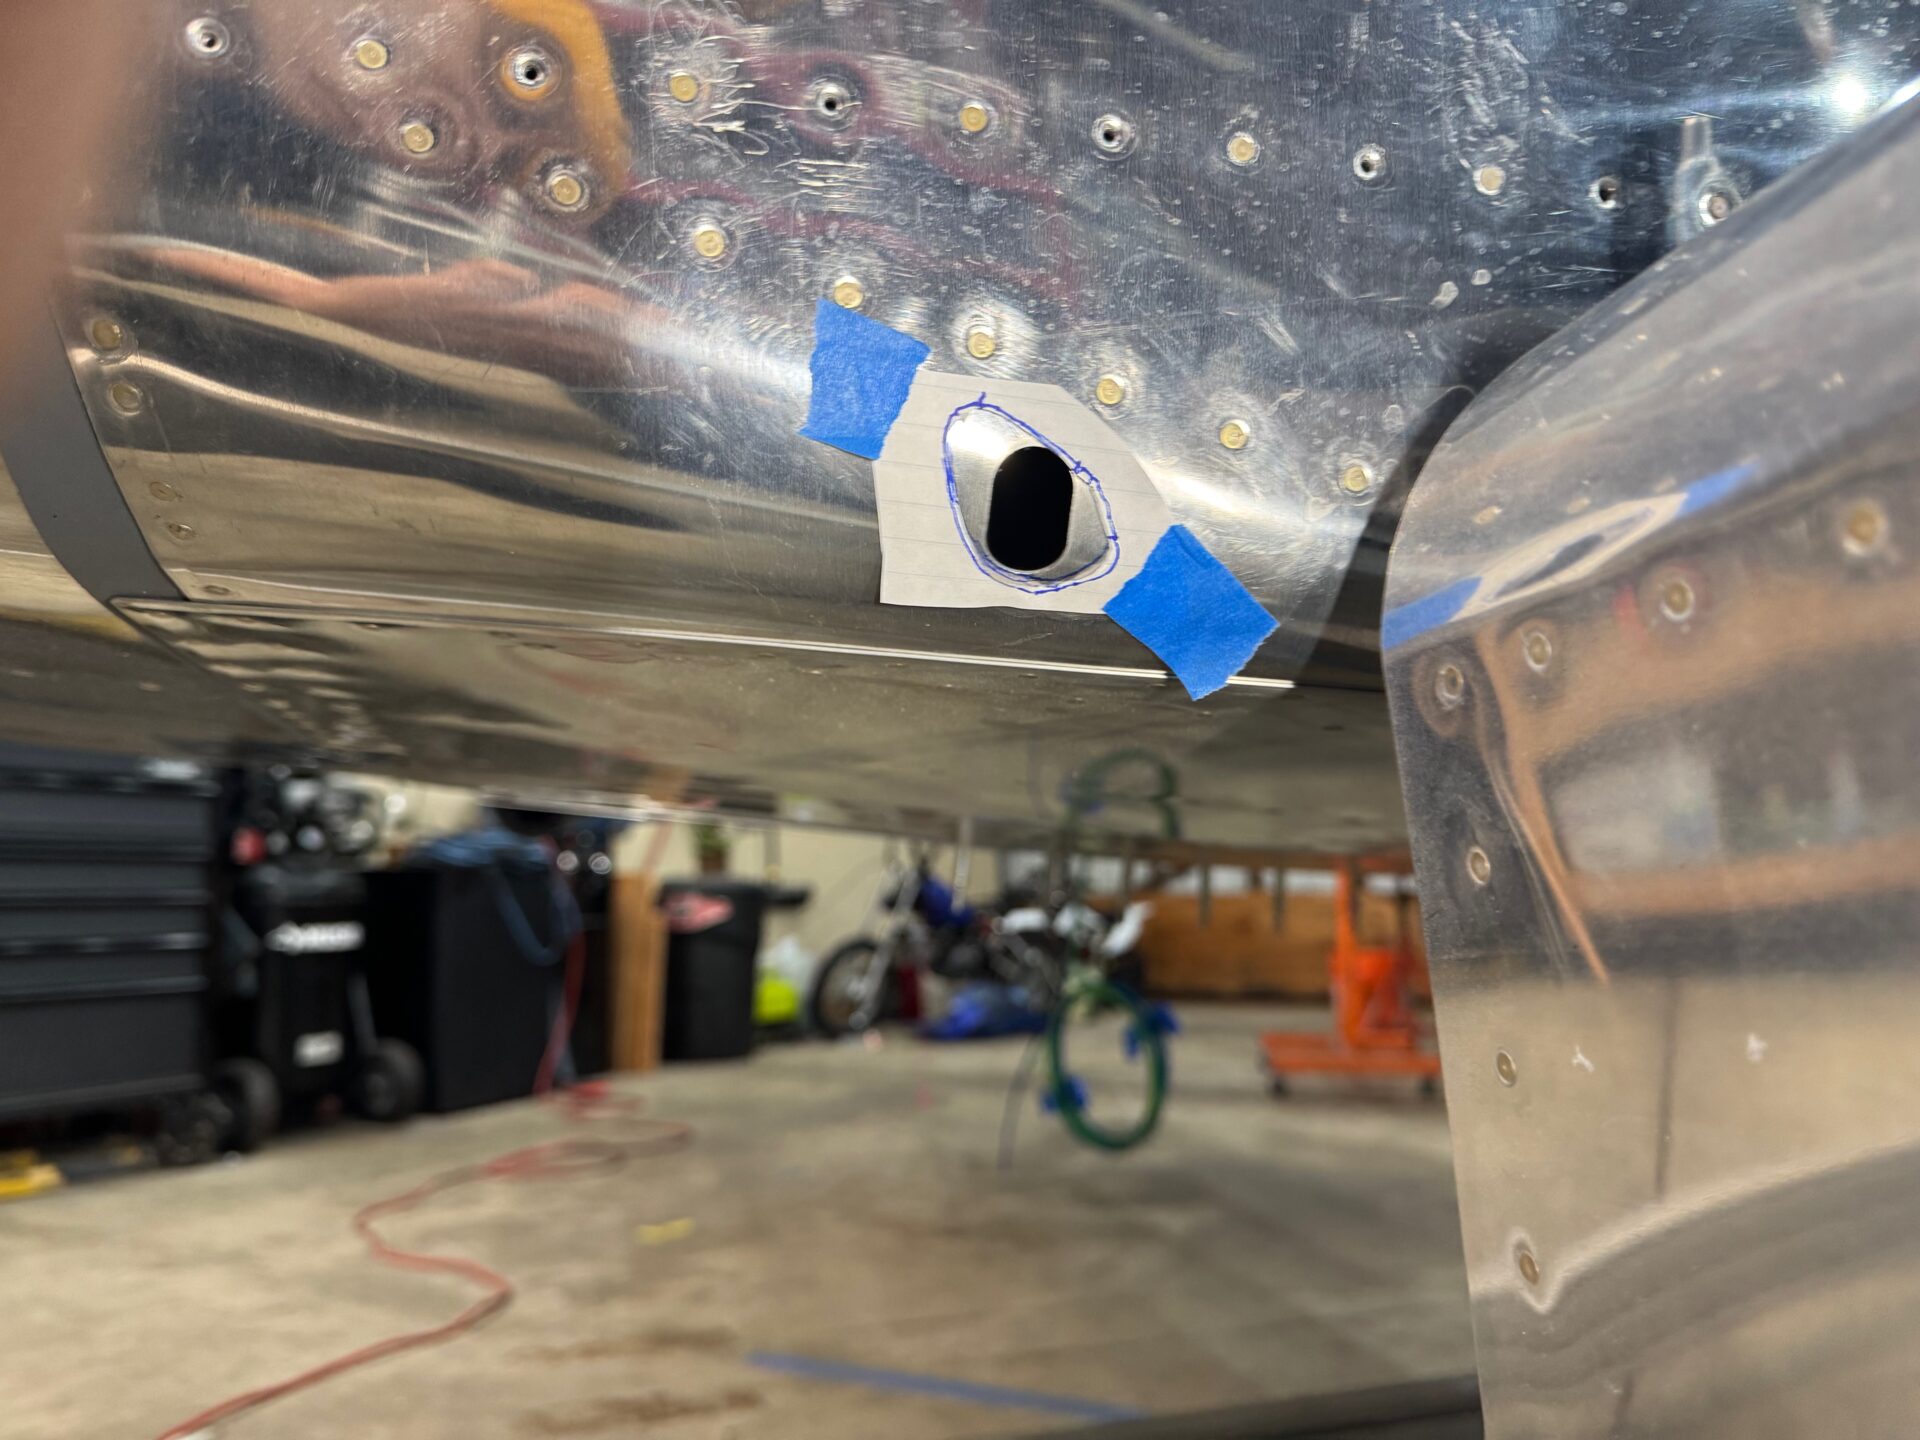
Final hole for left side flap rod. (Will probably clean up the shape at some point)
Used a template on the right side as a shortcut for material removal. Lots to remove!
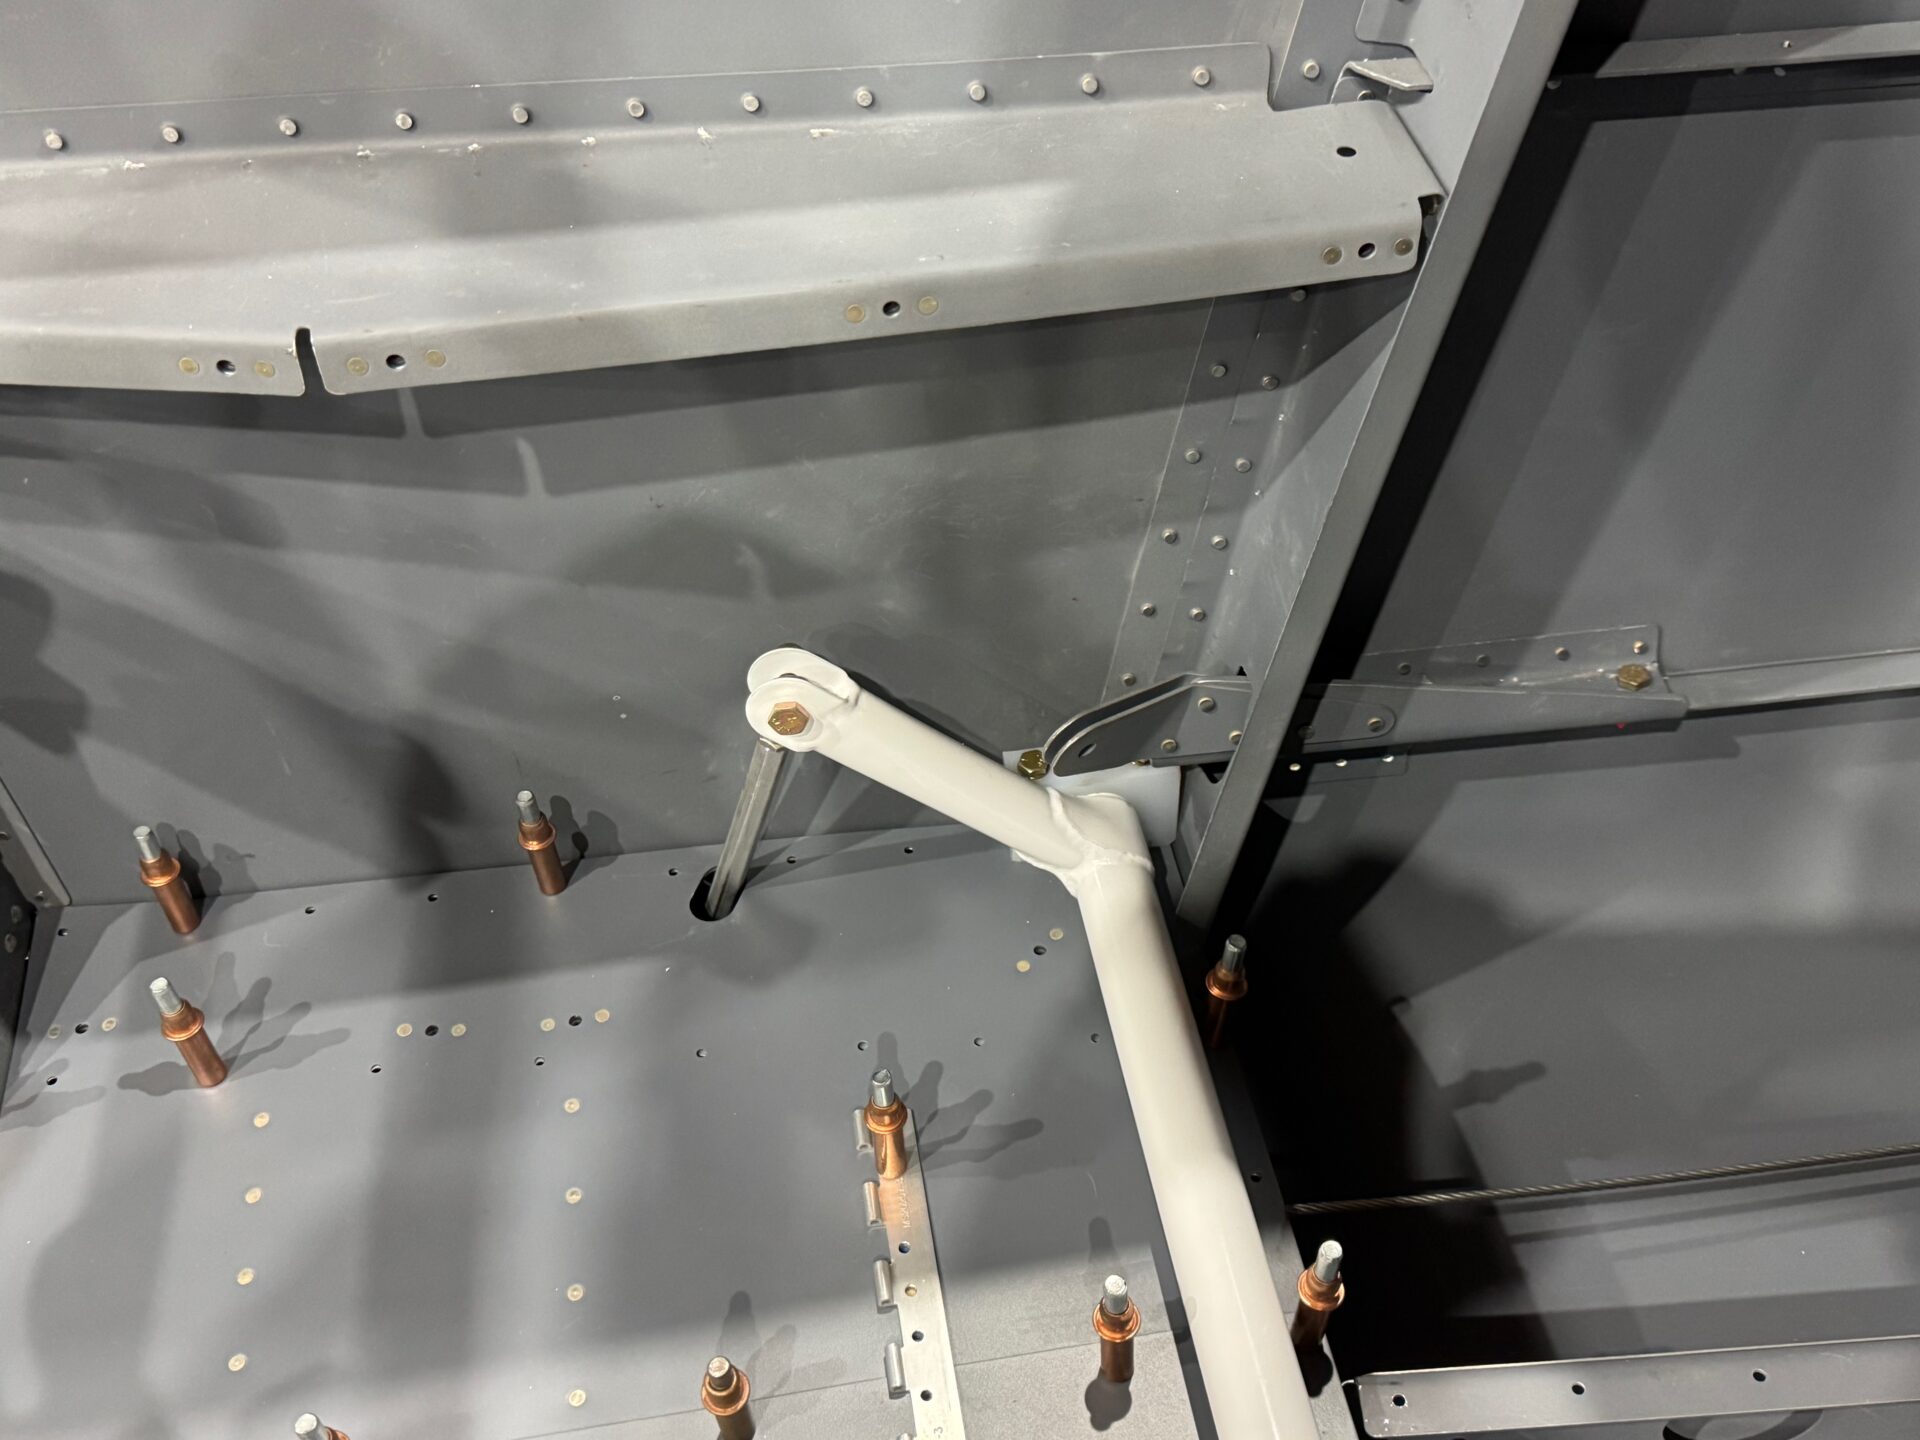
Flap in installed and flap rod moves clealy.
right side of flap weldment after floor was reinstalled
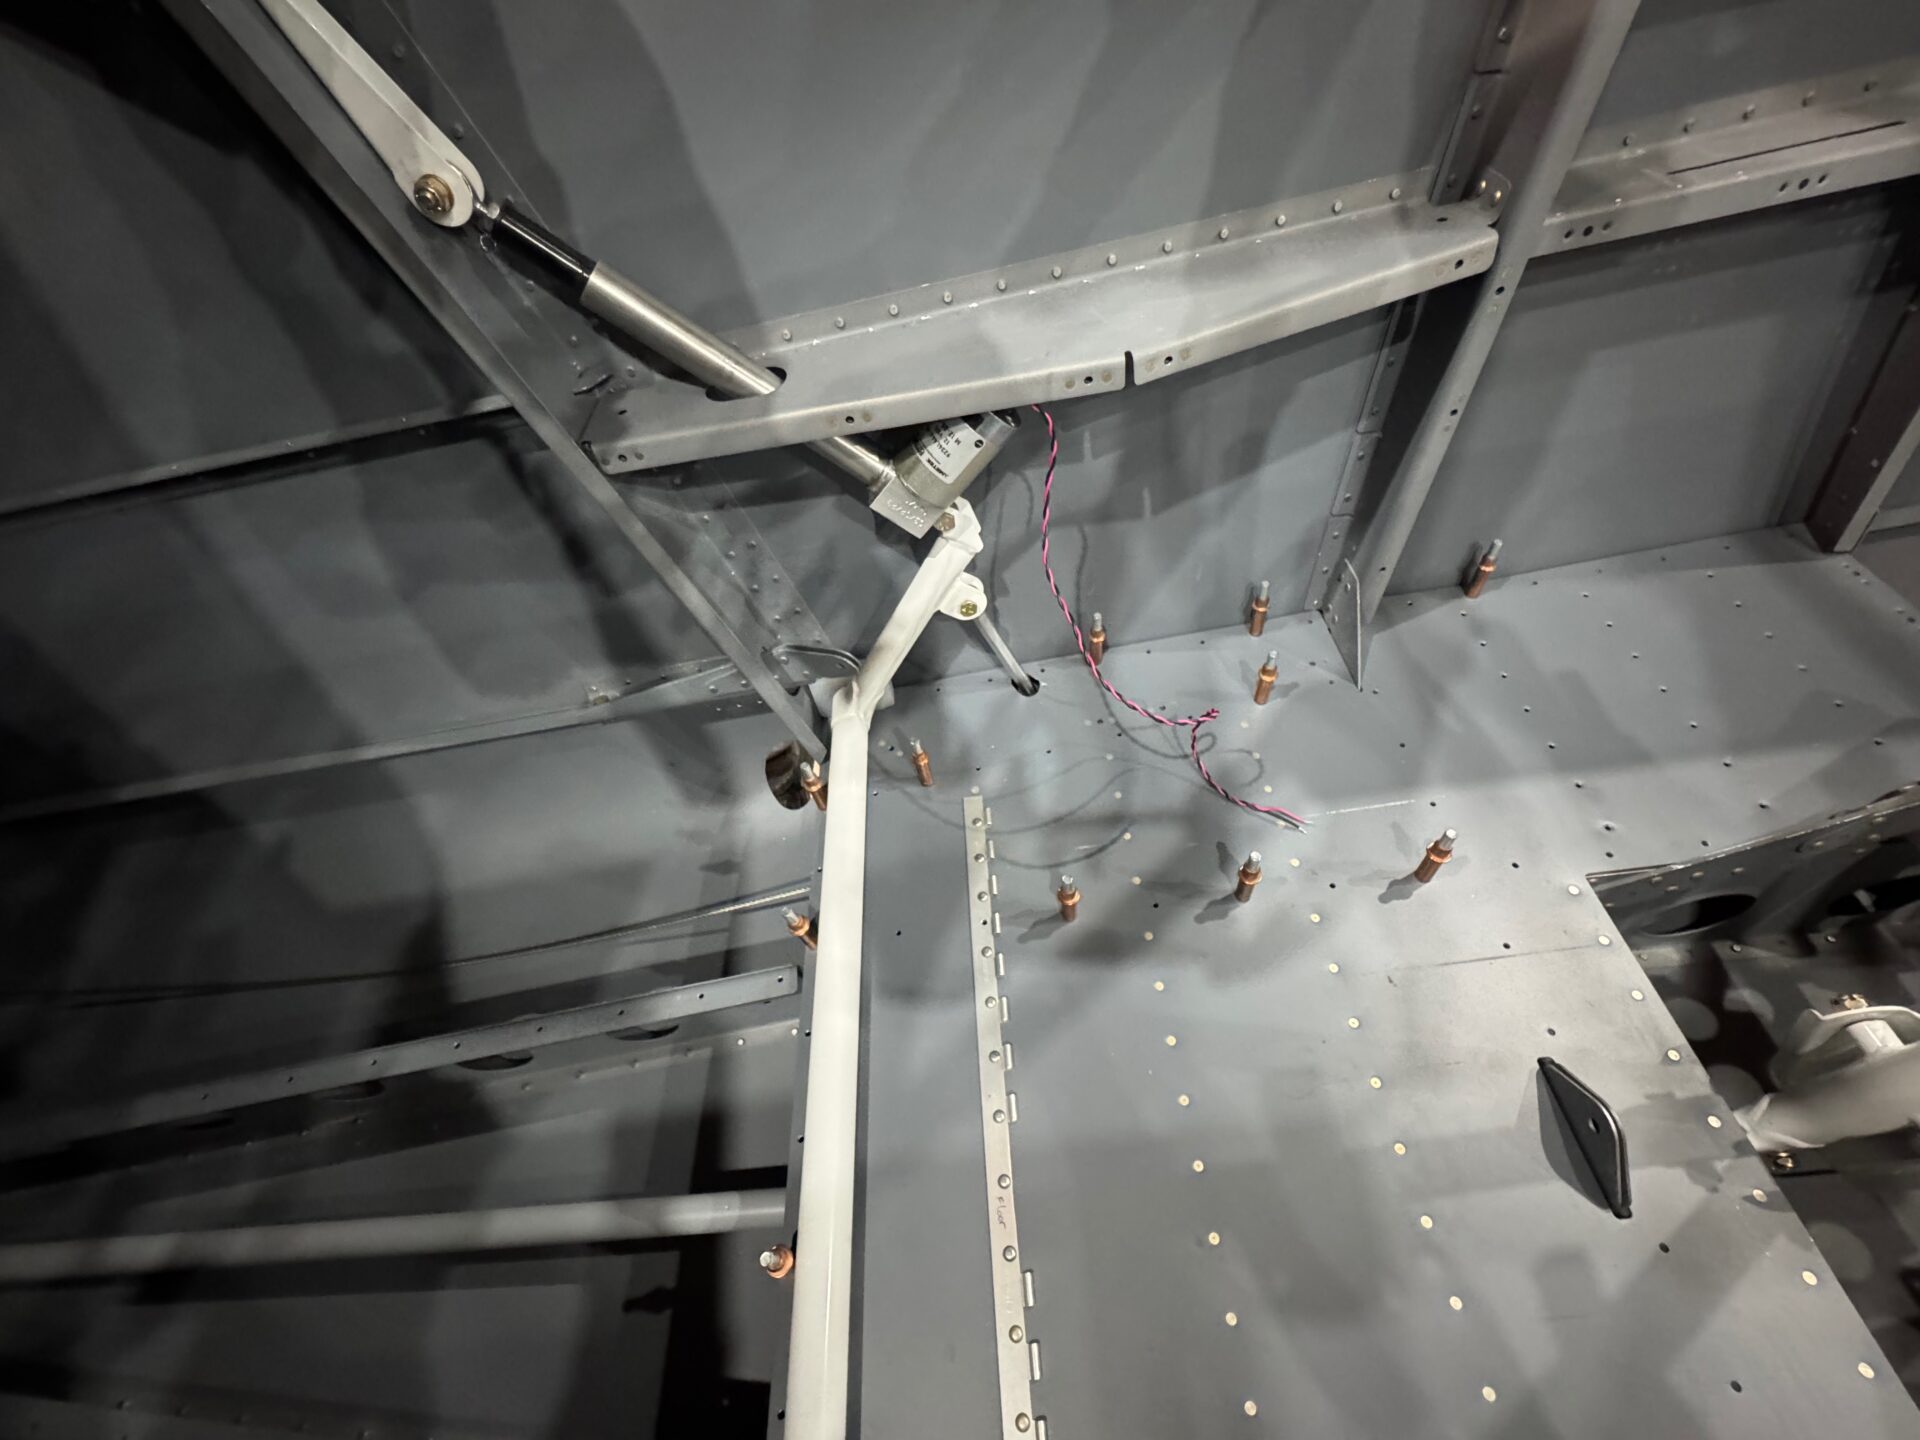
Left side with the flap motor.
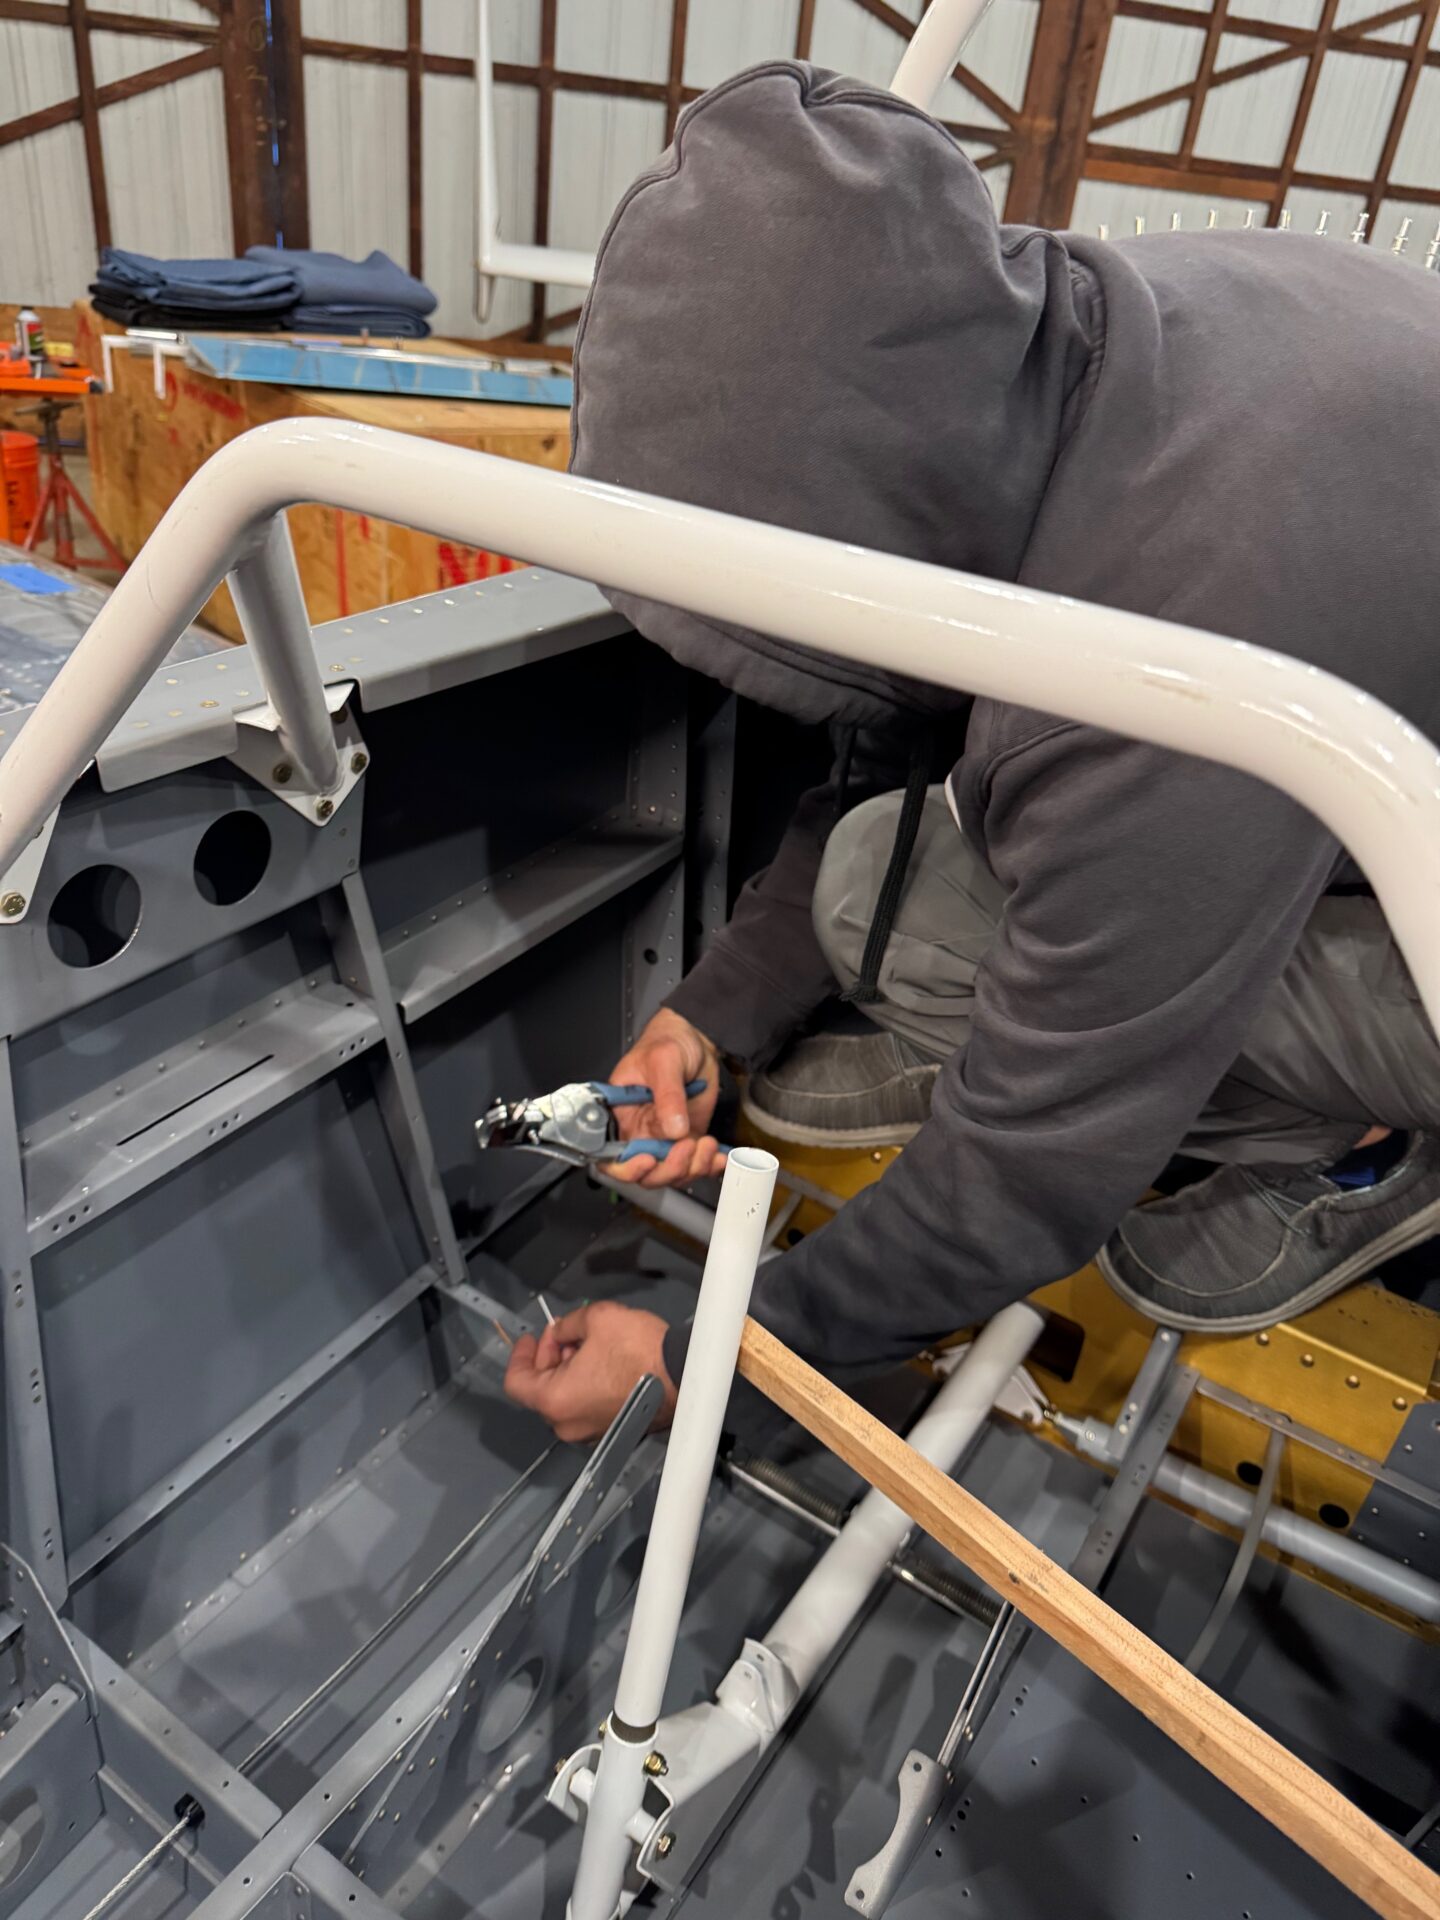
Sam helping get the aileron trim motor set properly
With a good 10 hours of time into making a couple holes, I of course had to video the actual movement. Turns out you can use a 9V battery (barely) to move the motor in and out. I went through two batteries moving things up and down, so I purchased a power supply for future work. But check out the video!
Now back to the “for now” statement about the Flaps being done. It turns out the day I was wrapping up the motor installation work, Van’s released a Service Letter (SL-00085 – RV-8 Flap Actuator Retrofit) noting the current flap motor is EOL, and a new improved motor with a built in Potentiometer (to understand position) was replacing it. There’s a kit to retrofit this into the current version. There is nothing wrong with the current version, but after talking with Van’s, there are a few downsides to the old motor, and only 1 major downside to the new setup.
Downsides of old motor:
end of life’d, can’t get replacements
no potentiometer, so you have to install a separate mechanism to measure position.
flap motor moving parts exposed to back seat passengers
cost is really high (was $795) for motor when you could still get it.
Downsides of new motor:
It’s a big larger and so it takes up some of the arm rest space of the rear seat passenger.
I have to do the retrofit work.
After considering the work i will need to do to retrofit, against the expected work for the potentiometer install, I figured it was a wash for me. Being able to sell the old motor for close to even with the new retrofit kit, the $$ were also not a big decision. In the end I decided to go the retrofit direction since this newer style motor is being used on all the RV’s now, and would like to have the support going forward. Might as well do it with the plane still opened up and in a non-finished state.
Old Style - ES 85615-157-1
New Style - ES-FA-PA-270-12-5
So that’s it! Next up will be this retrofit of the flap motor, and getting back to those tank attach brackets I royally screwed up last month. Looking forward to more progress in April, but happy to have gotten a big step out of the way! Until then…. Happy Building!


1 comment
Tough mindedness… that’s a lot of patience…