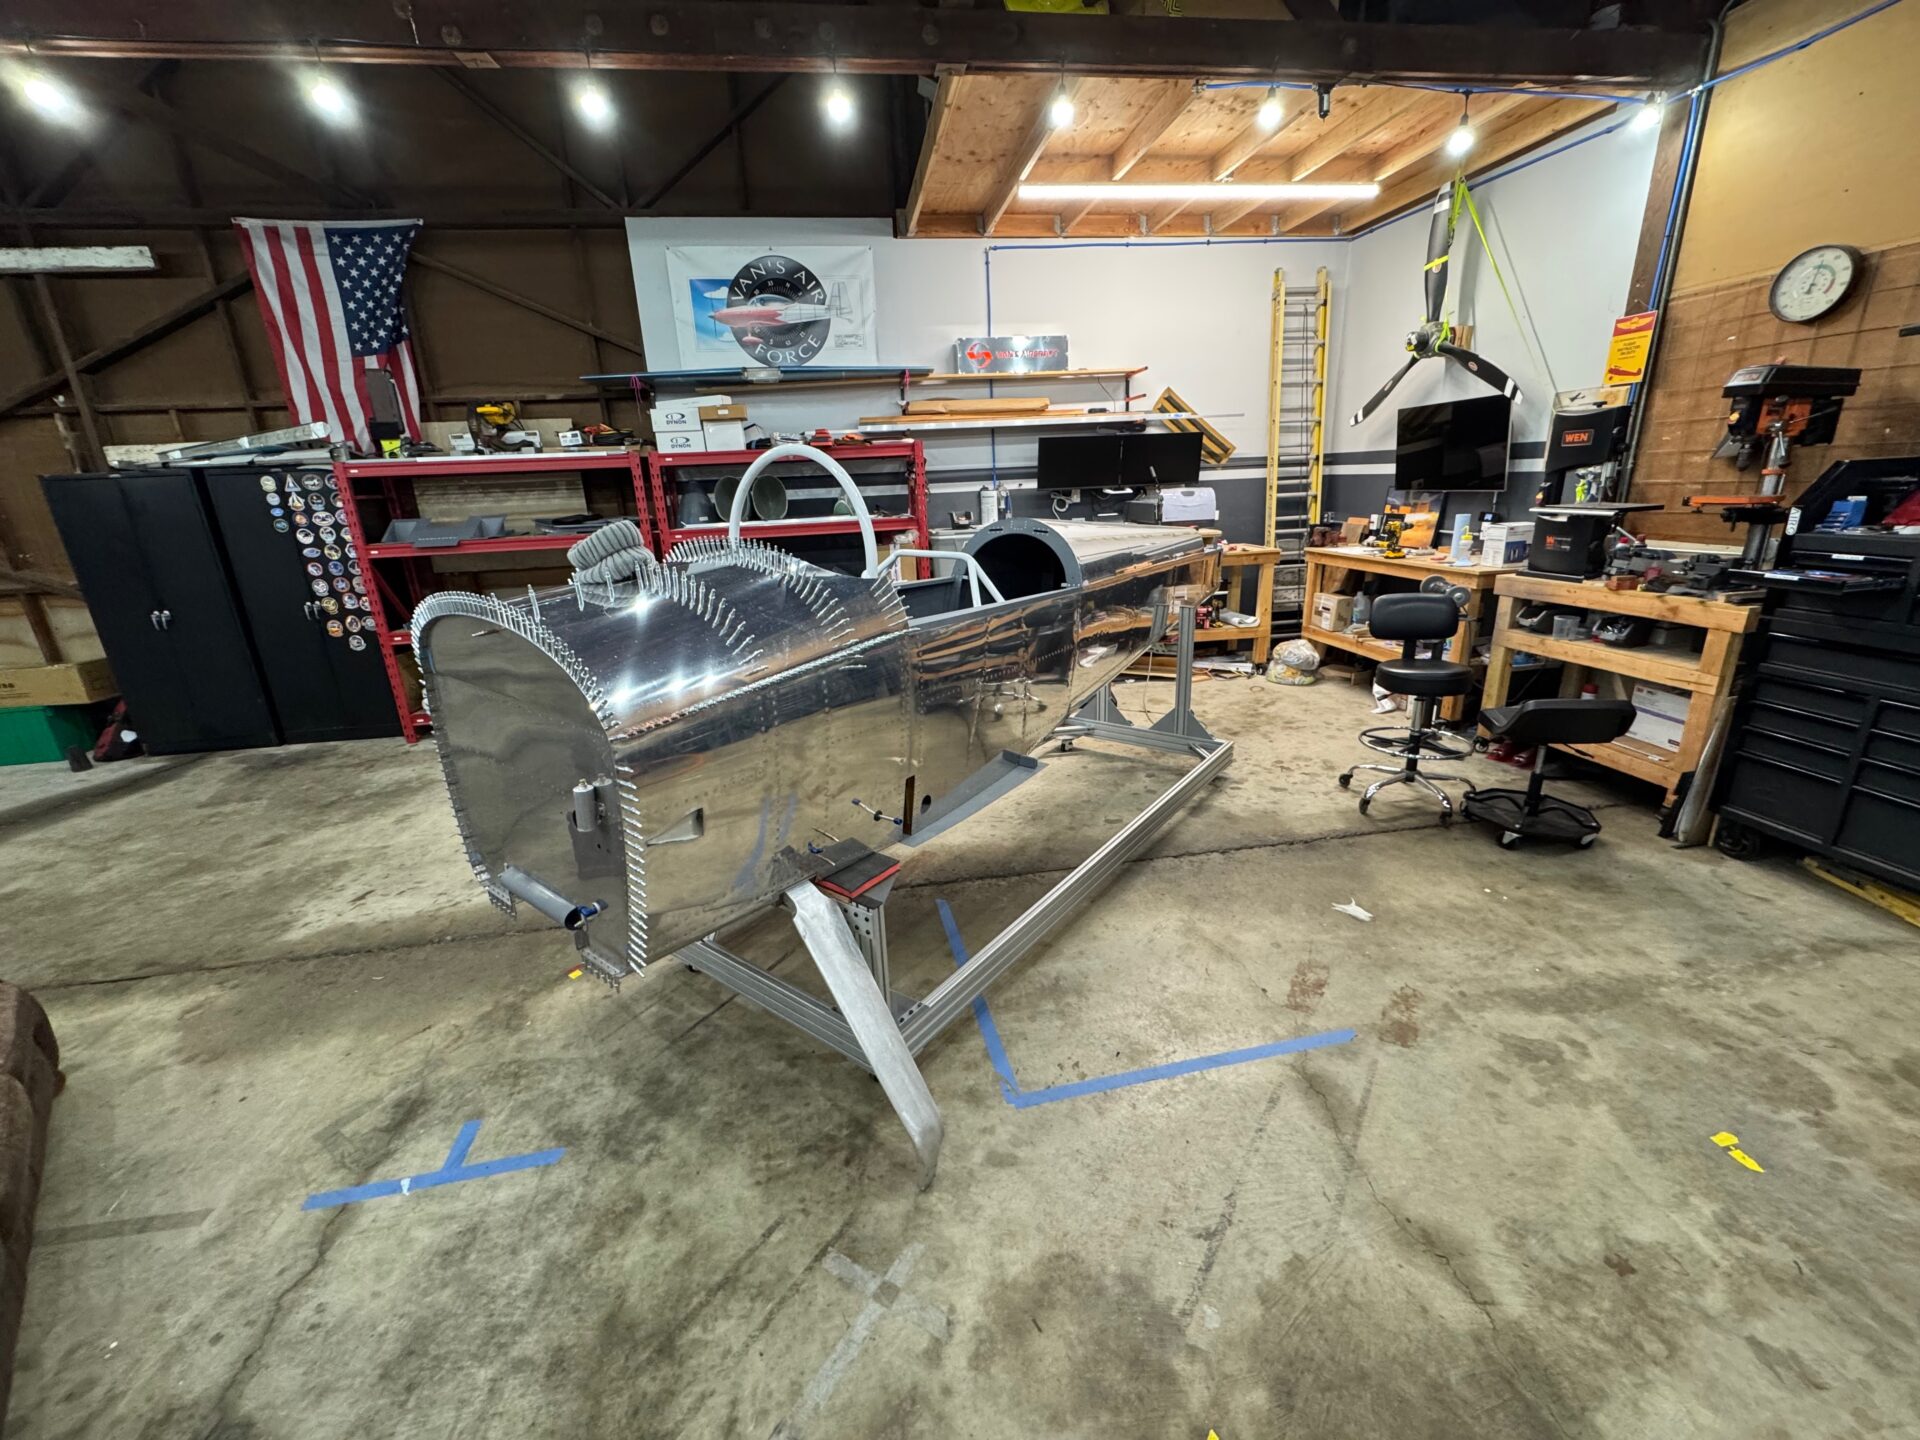
Getting the wings fitted for the first time is a big milestone. Not only does it represent significant progress on the fuselage completion state (only 4 pages to go!), but it also is the last major “squaring” step that defines how your plane will fly. This process takes multiple bodies to get it done, and I wasn’t going to have access to Sam and Jack for a while, so I went ahead and got a few other tasks done before getting to the main event.
Electric Aileron Trim Install
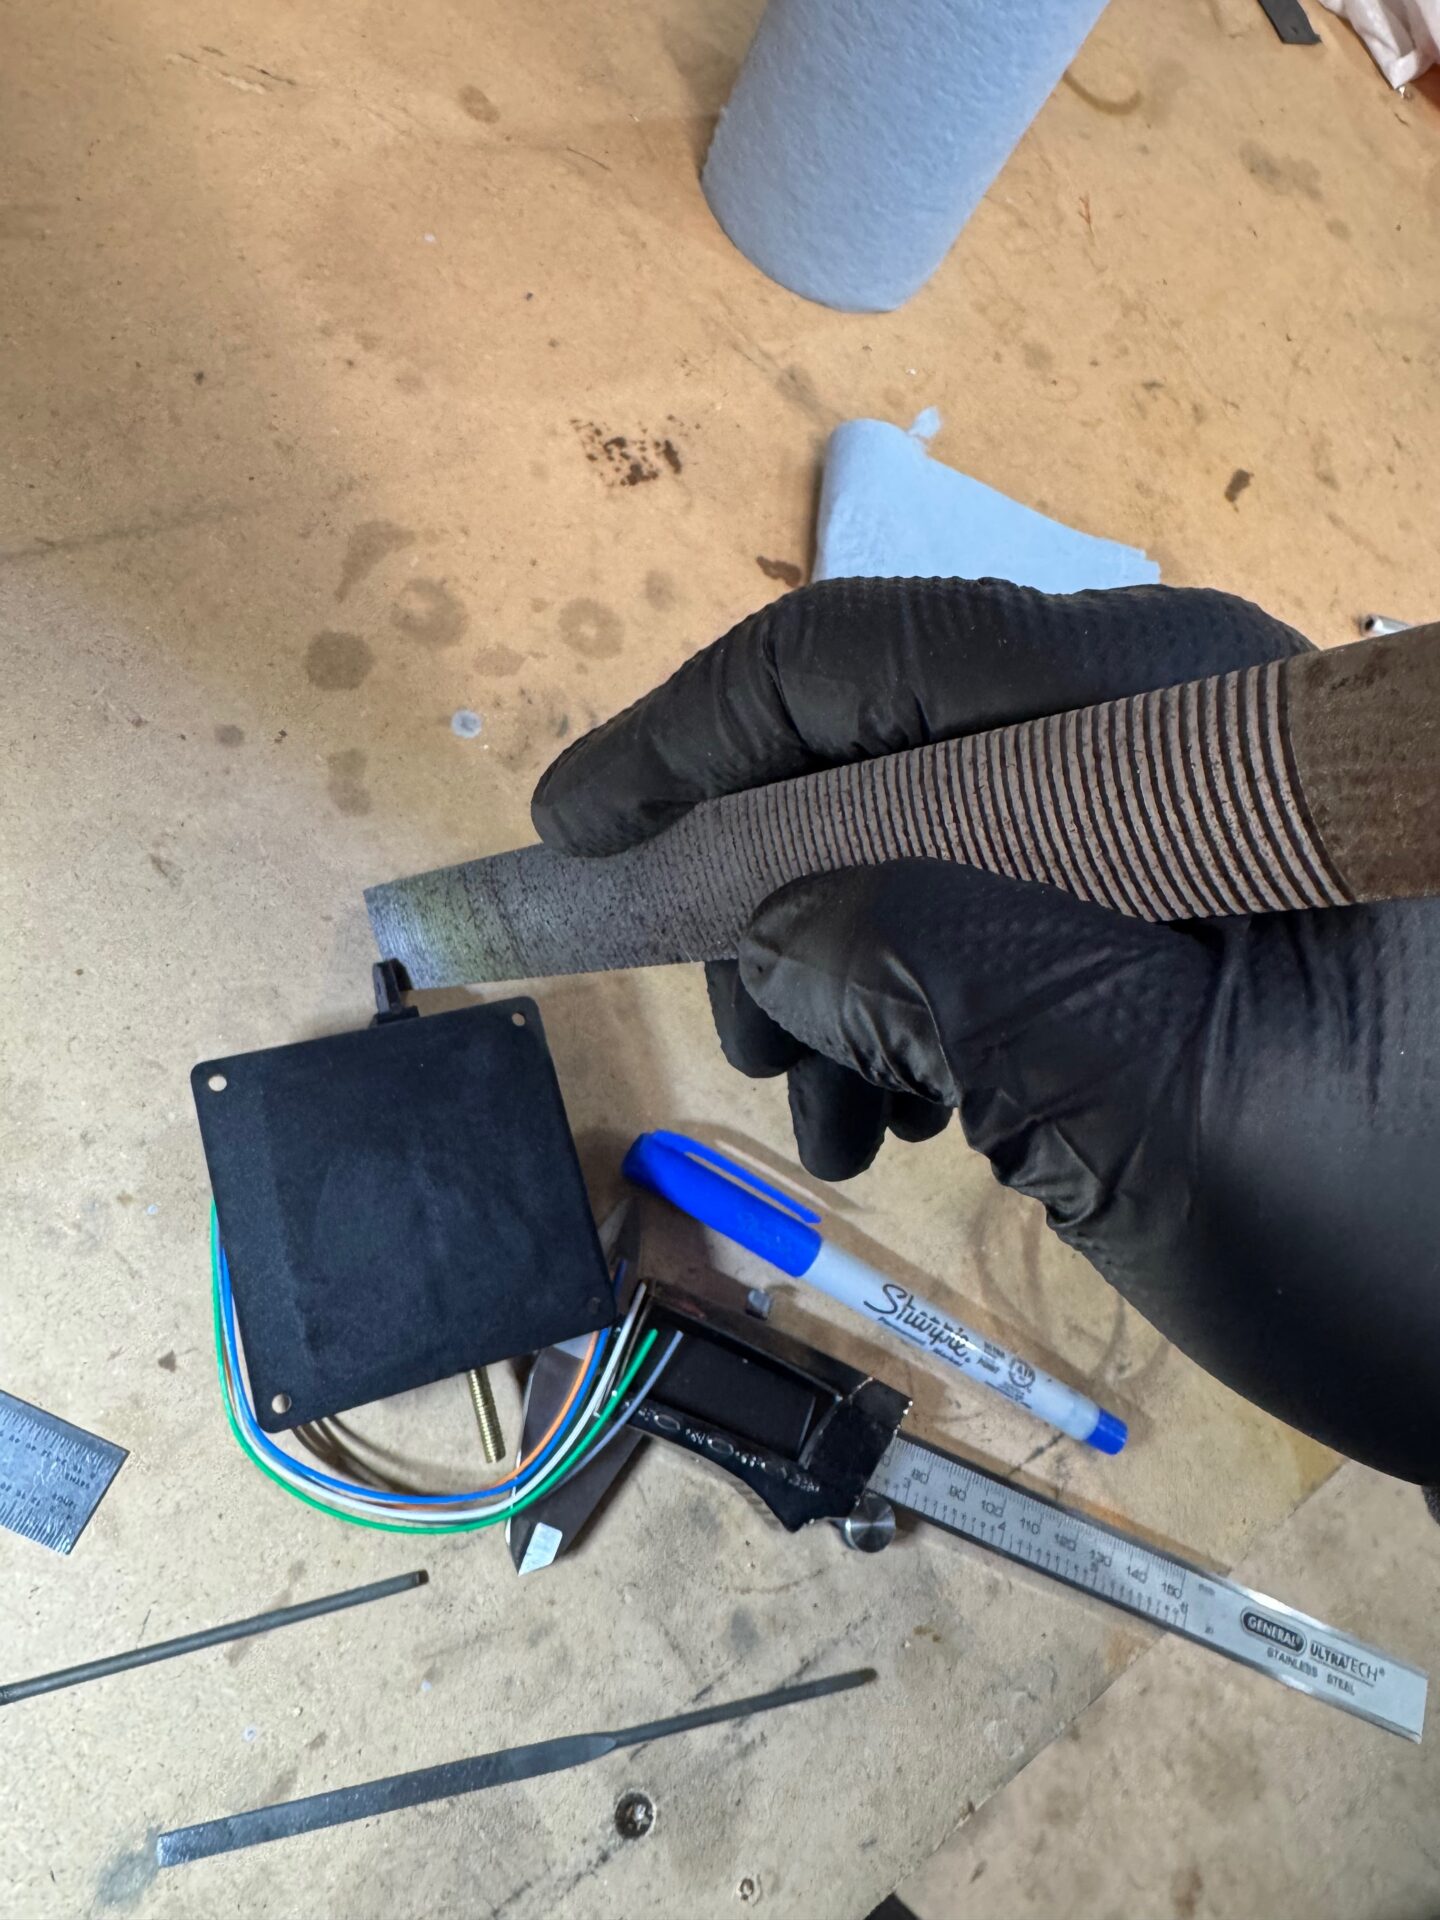
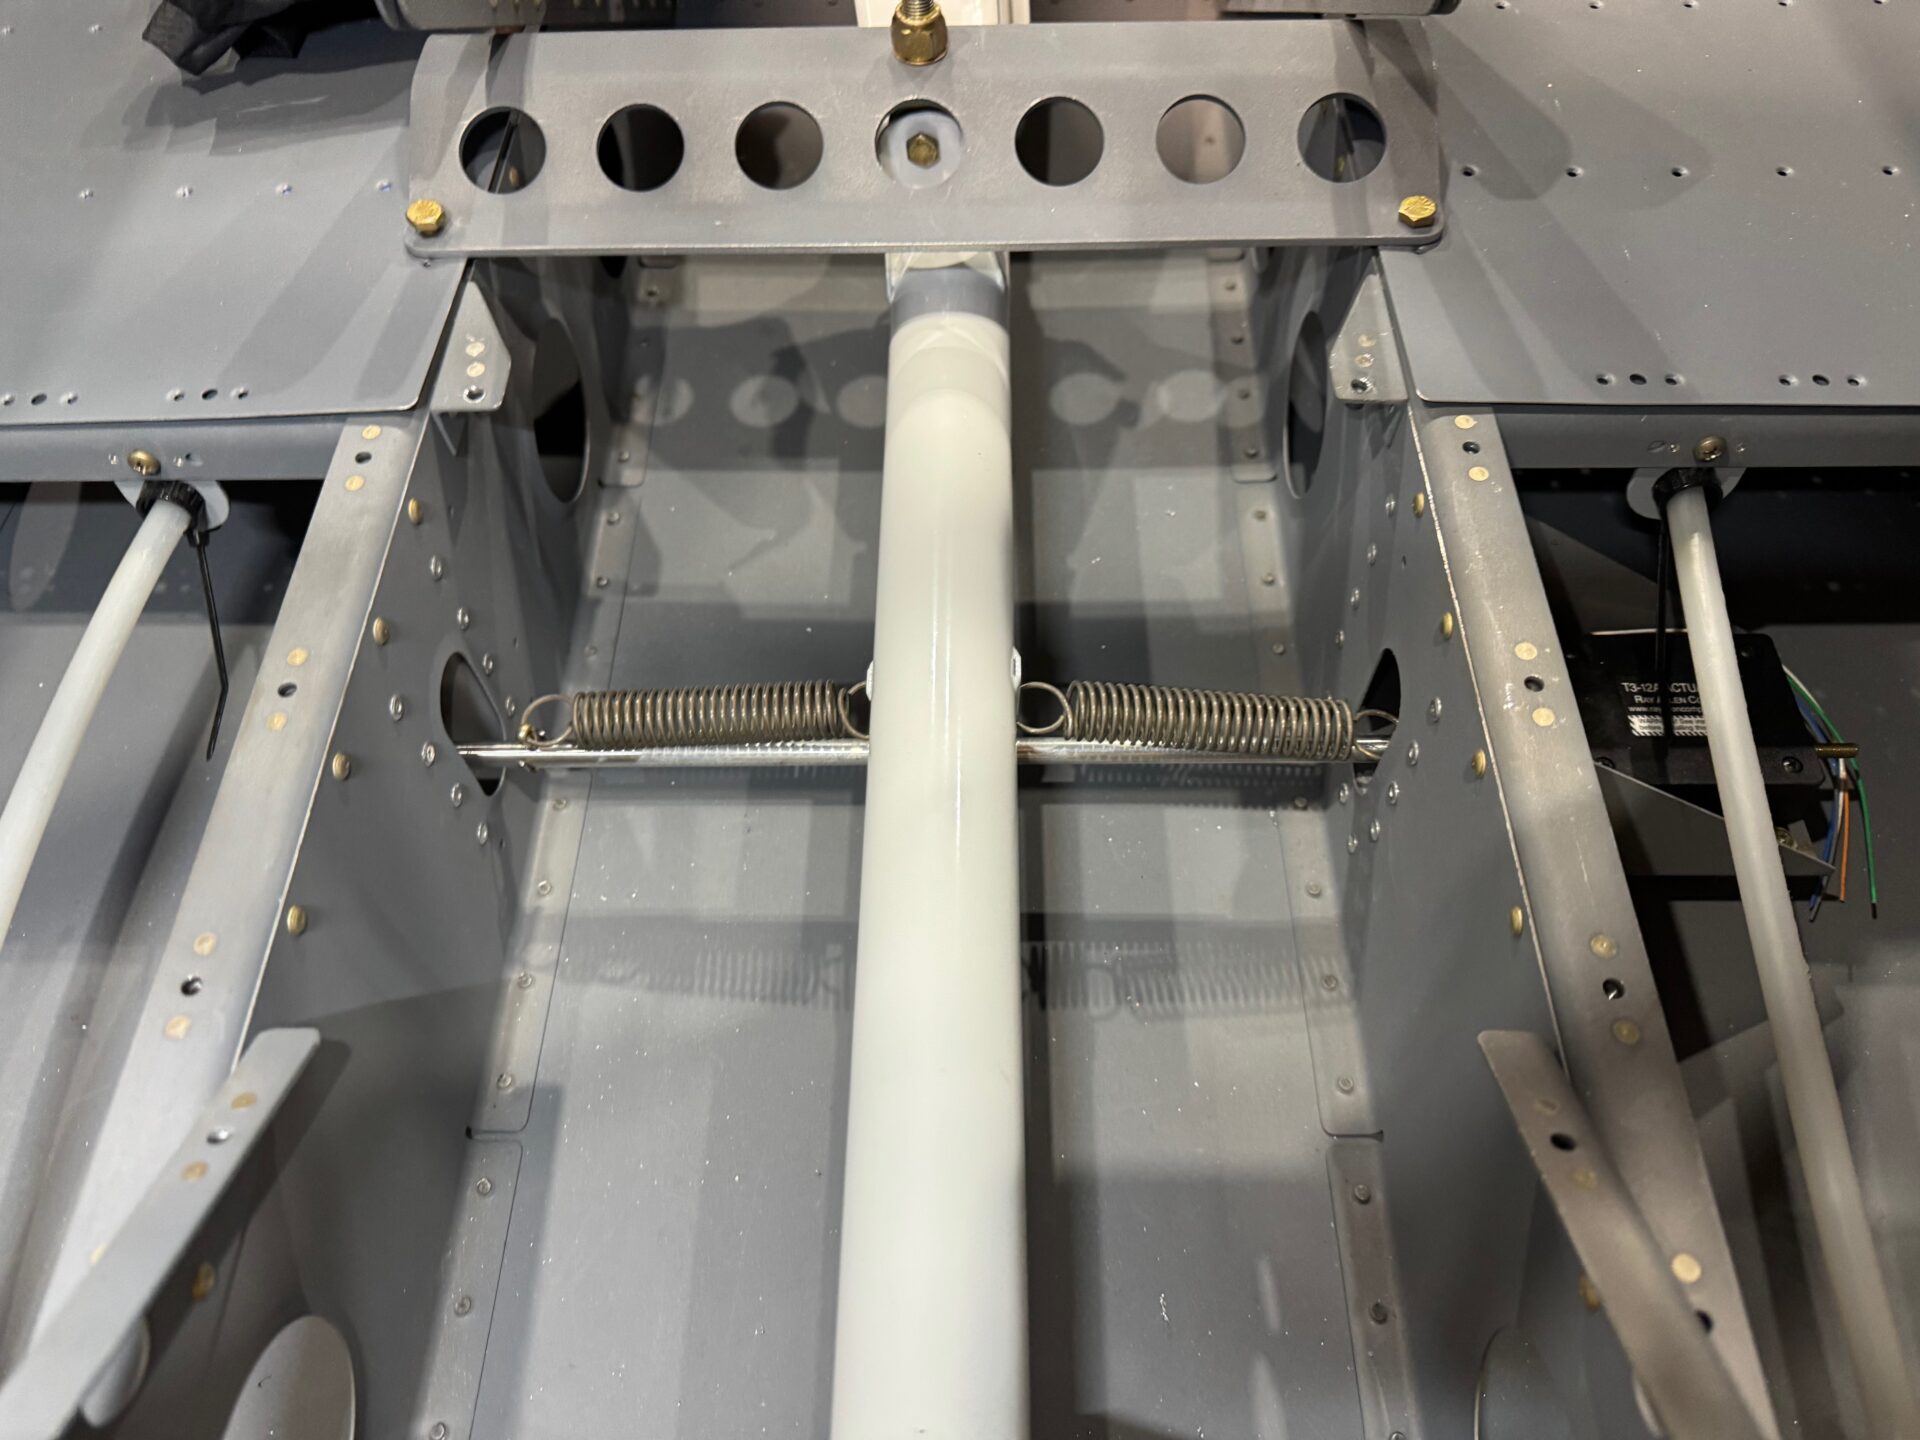
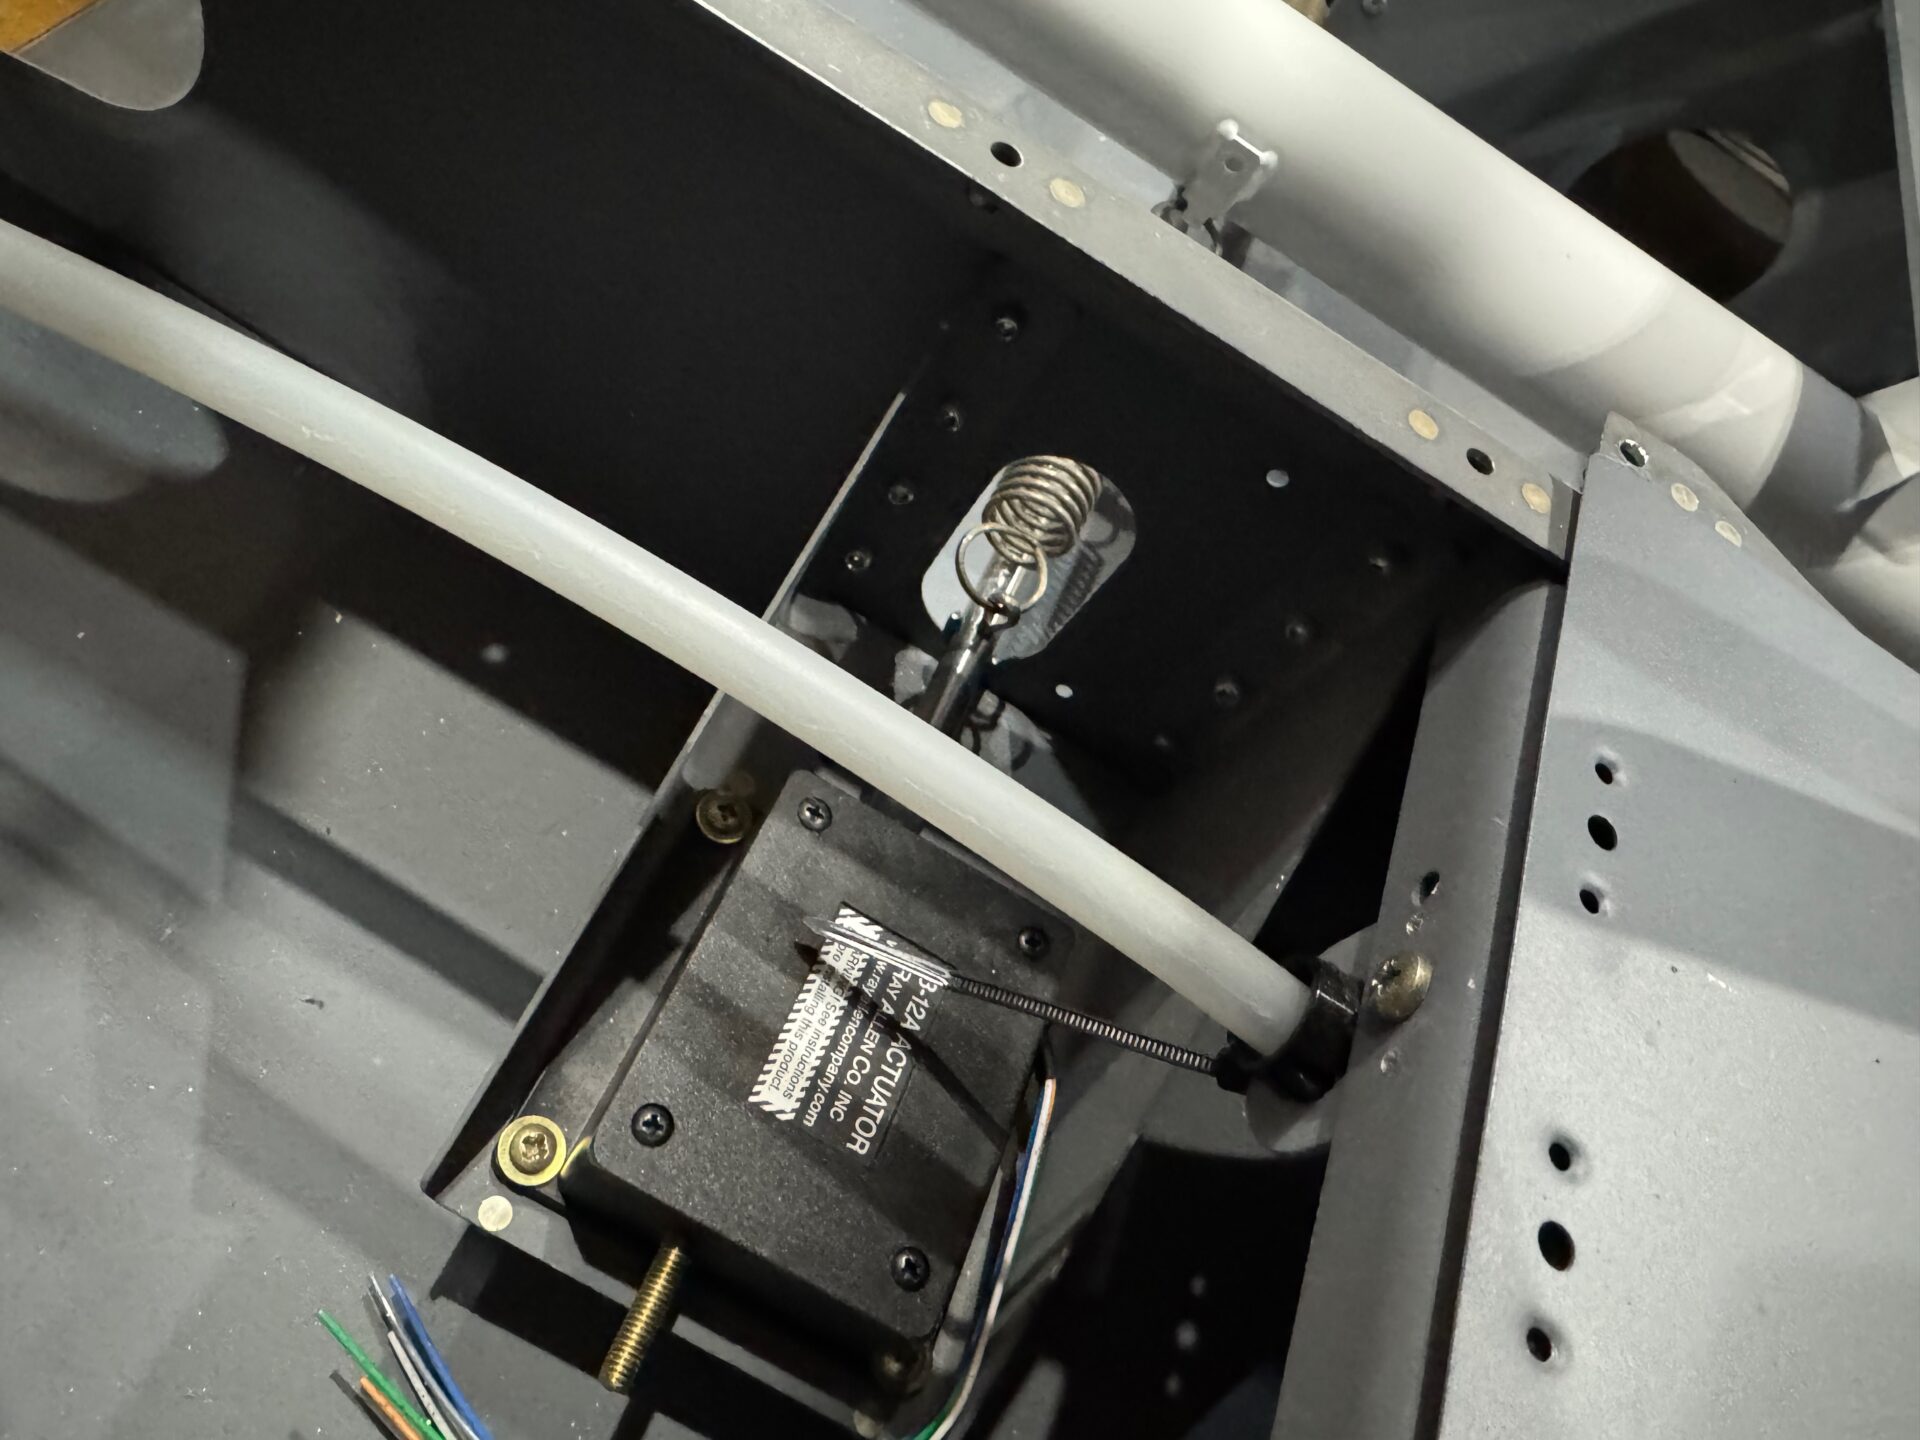
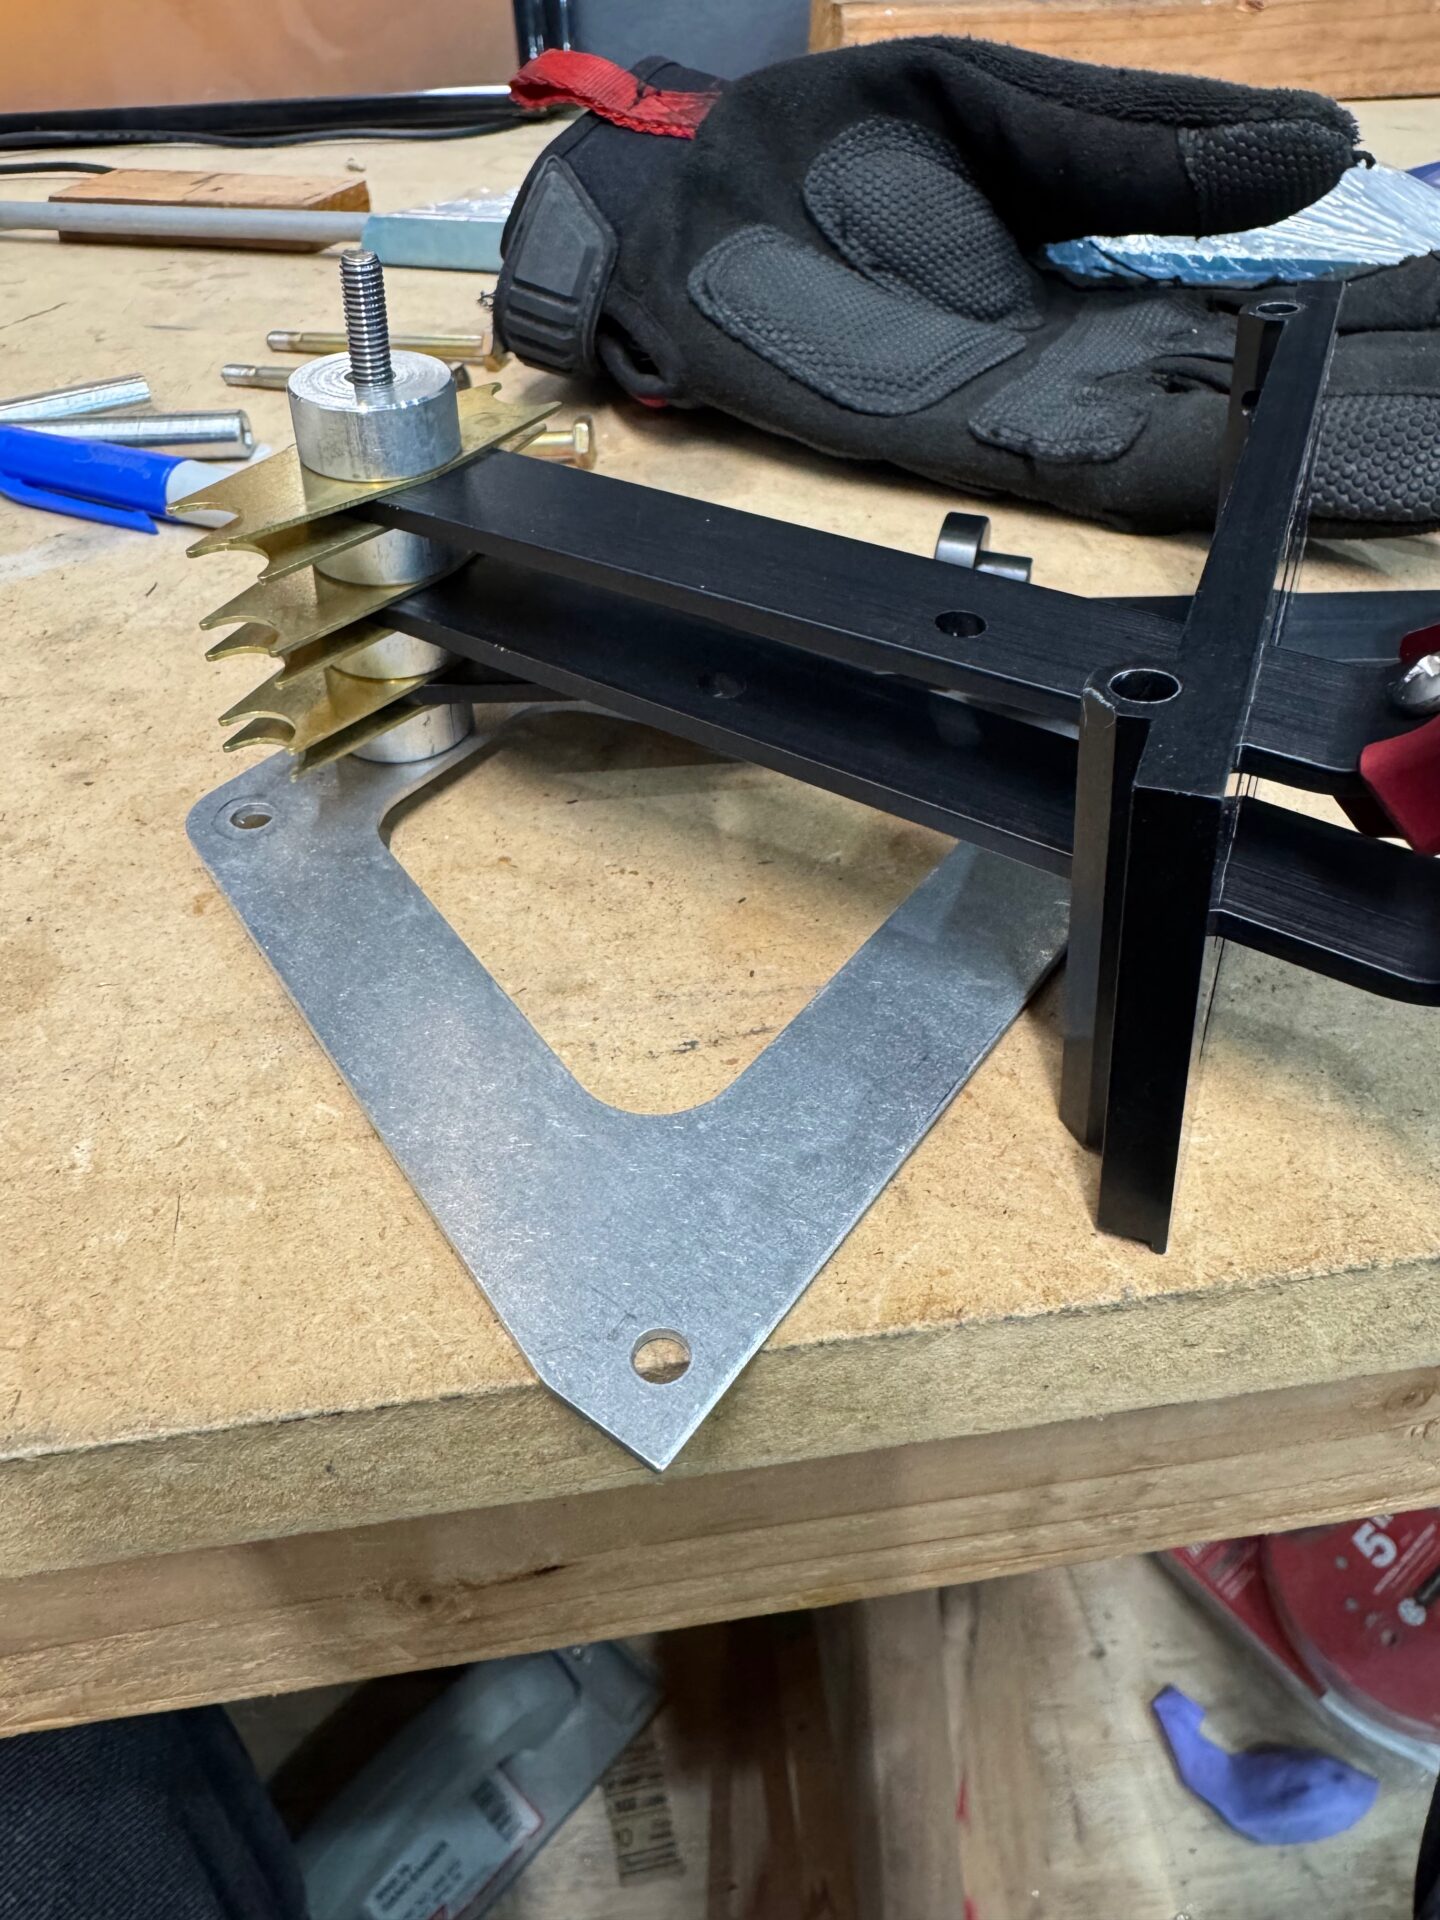
First up was the electric aileron trim. There are quite a few small tasks like this which are great to fill time between the major projects. This one was a fun one as it required fabrication of a unique push rod. It’s amazing what you can create out of basic aluminum tubing. One unexpected task was trimming down the actuator rod end to fit in the fabricated pushrod, but all’s well that ends well.
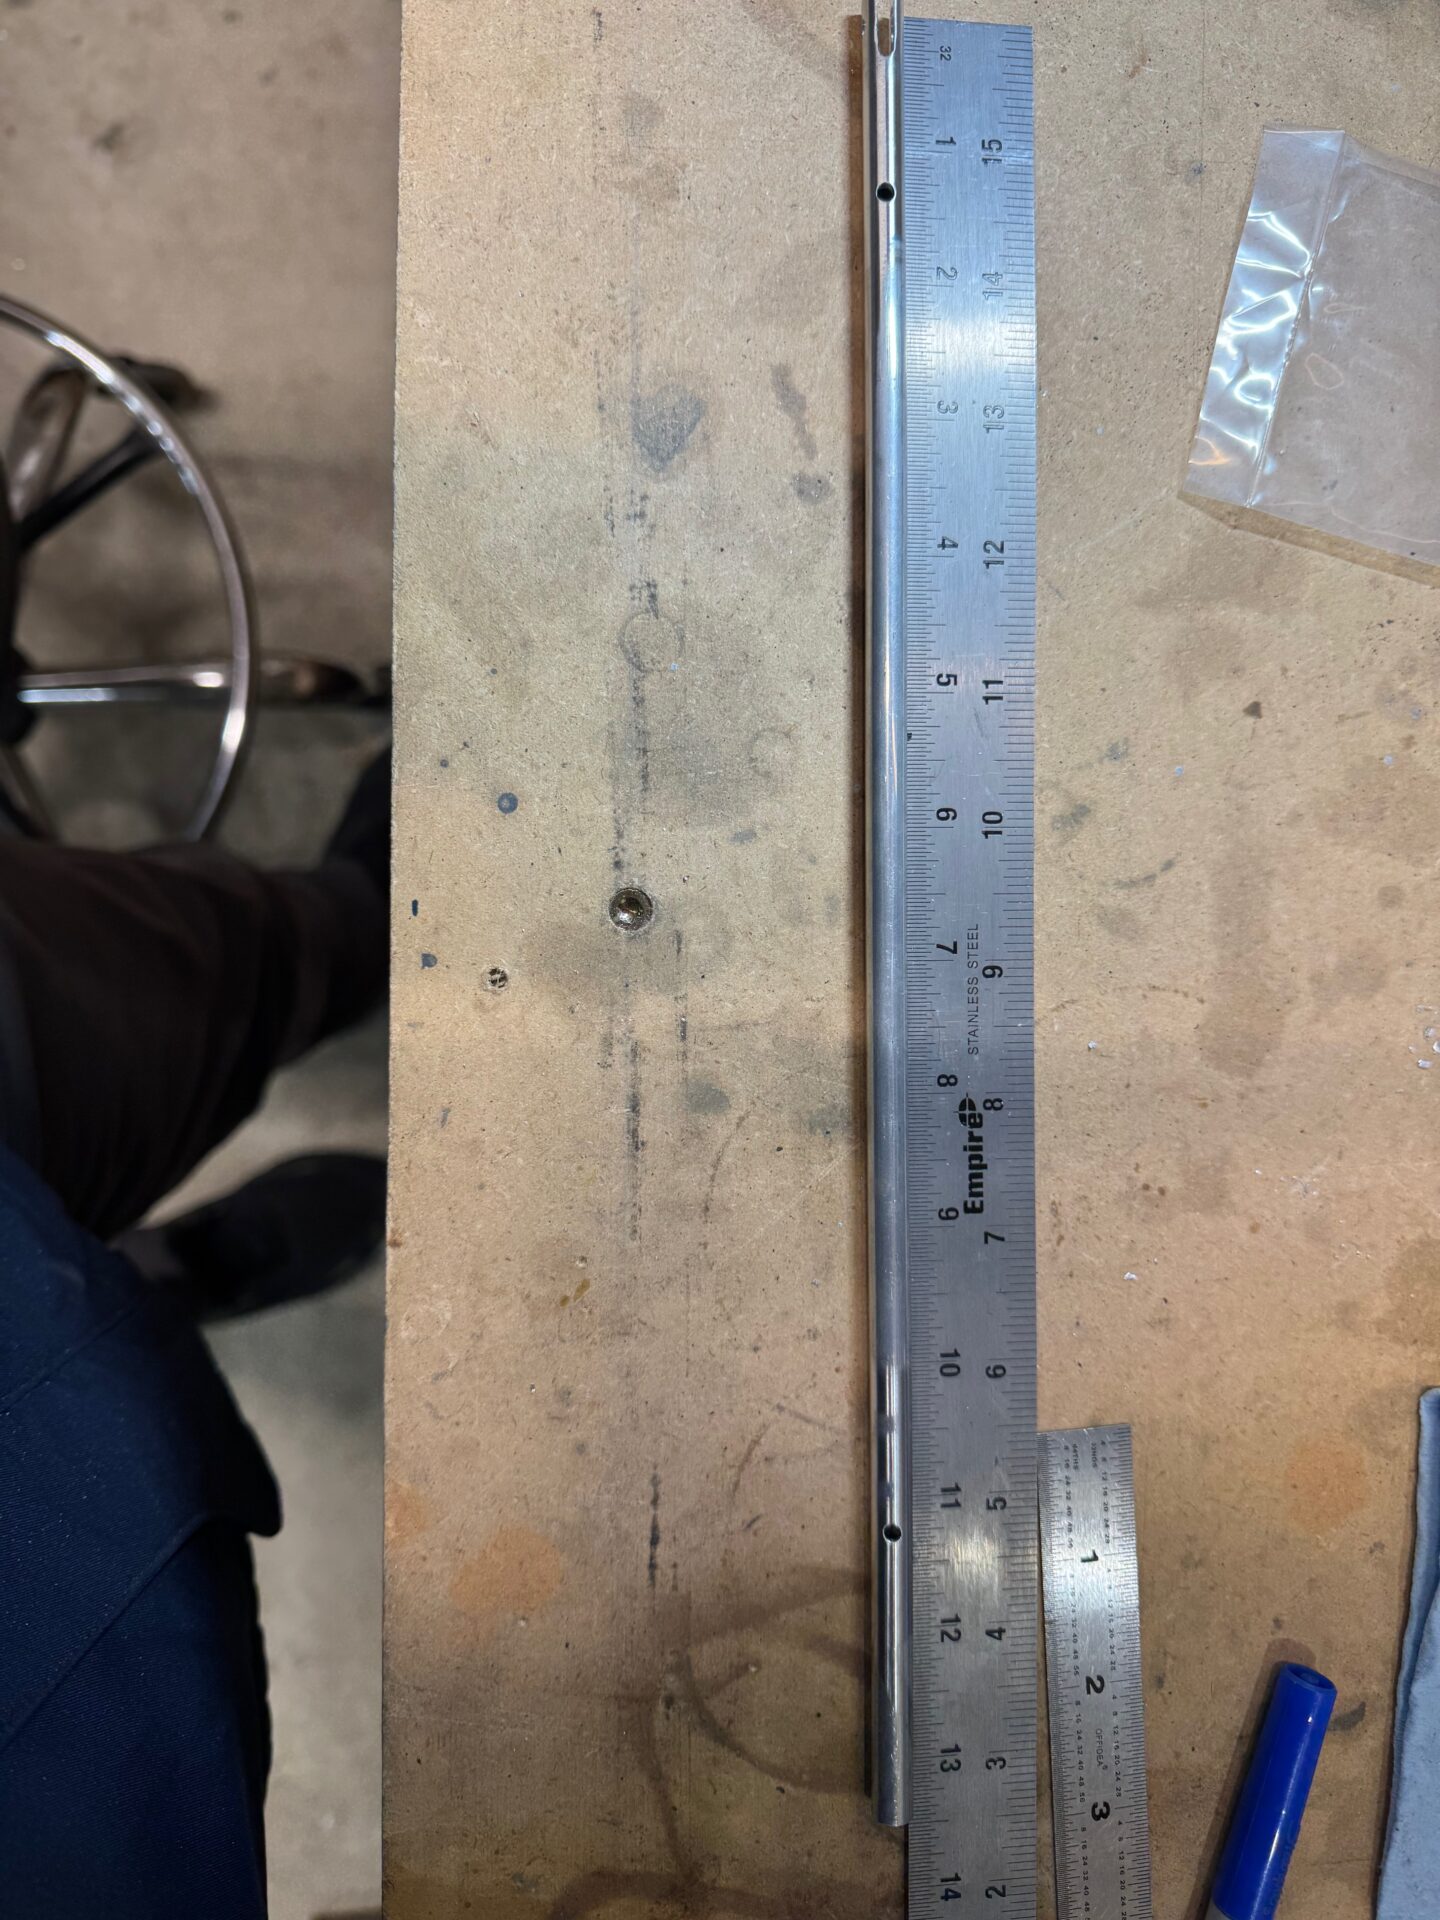
Pushrod measured
specs for the push rod required some shaving down of the trim mechanism
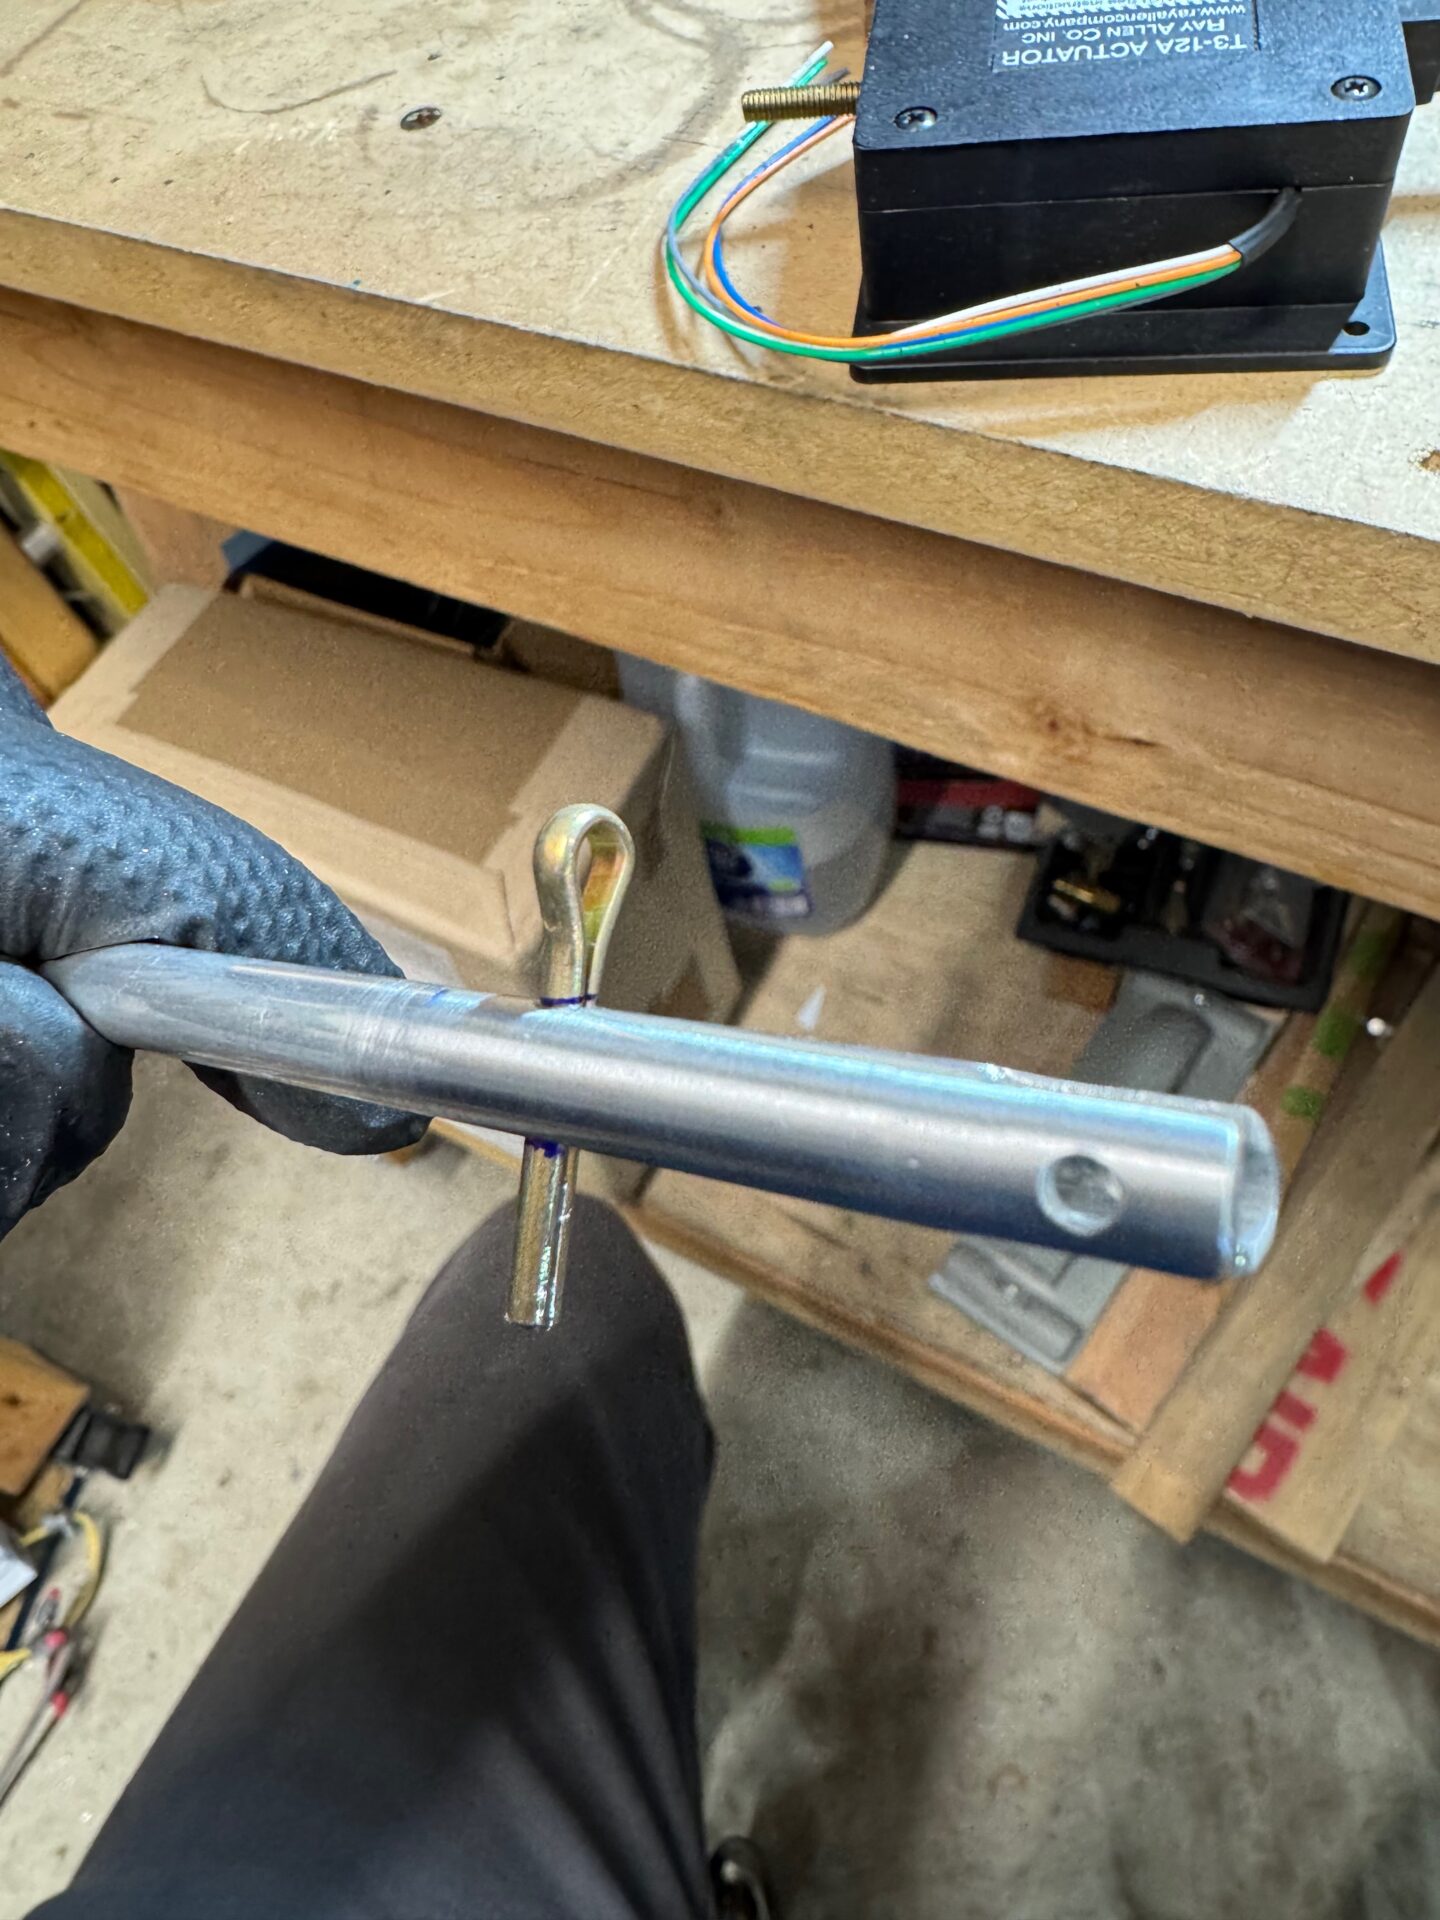
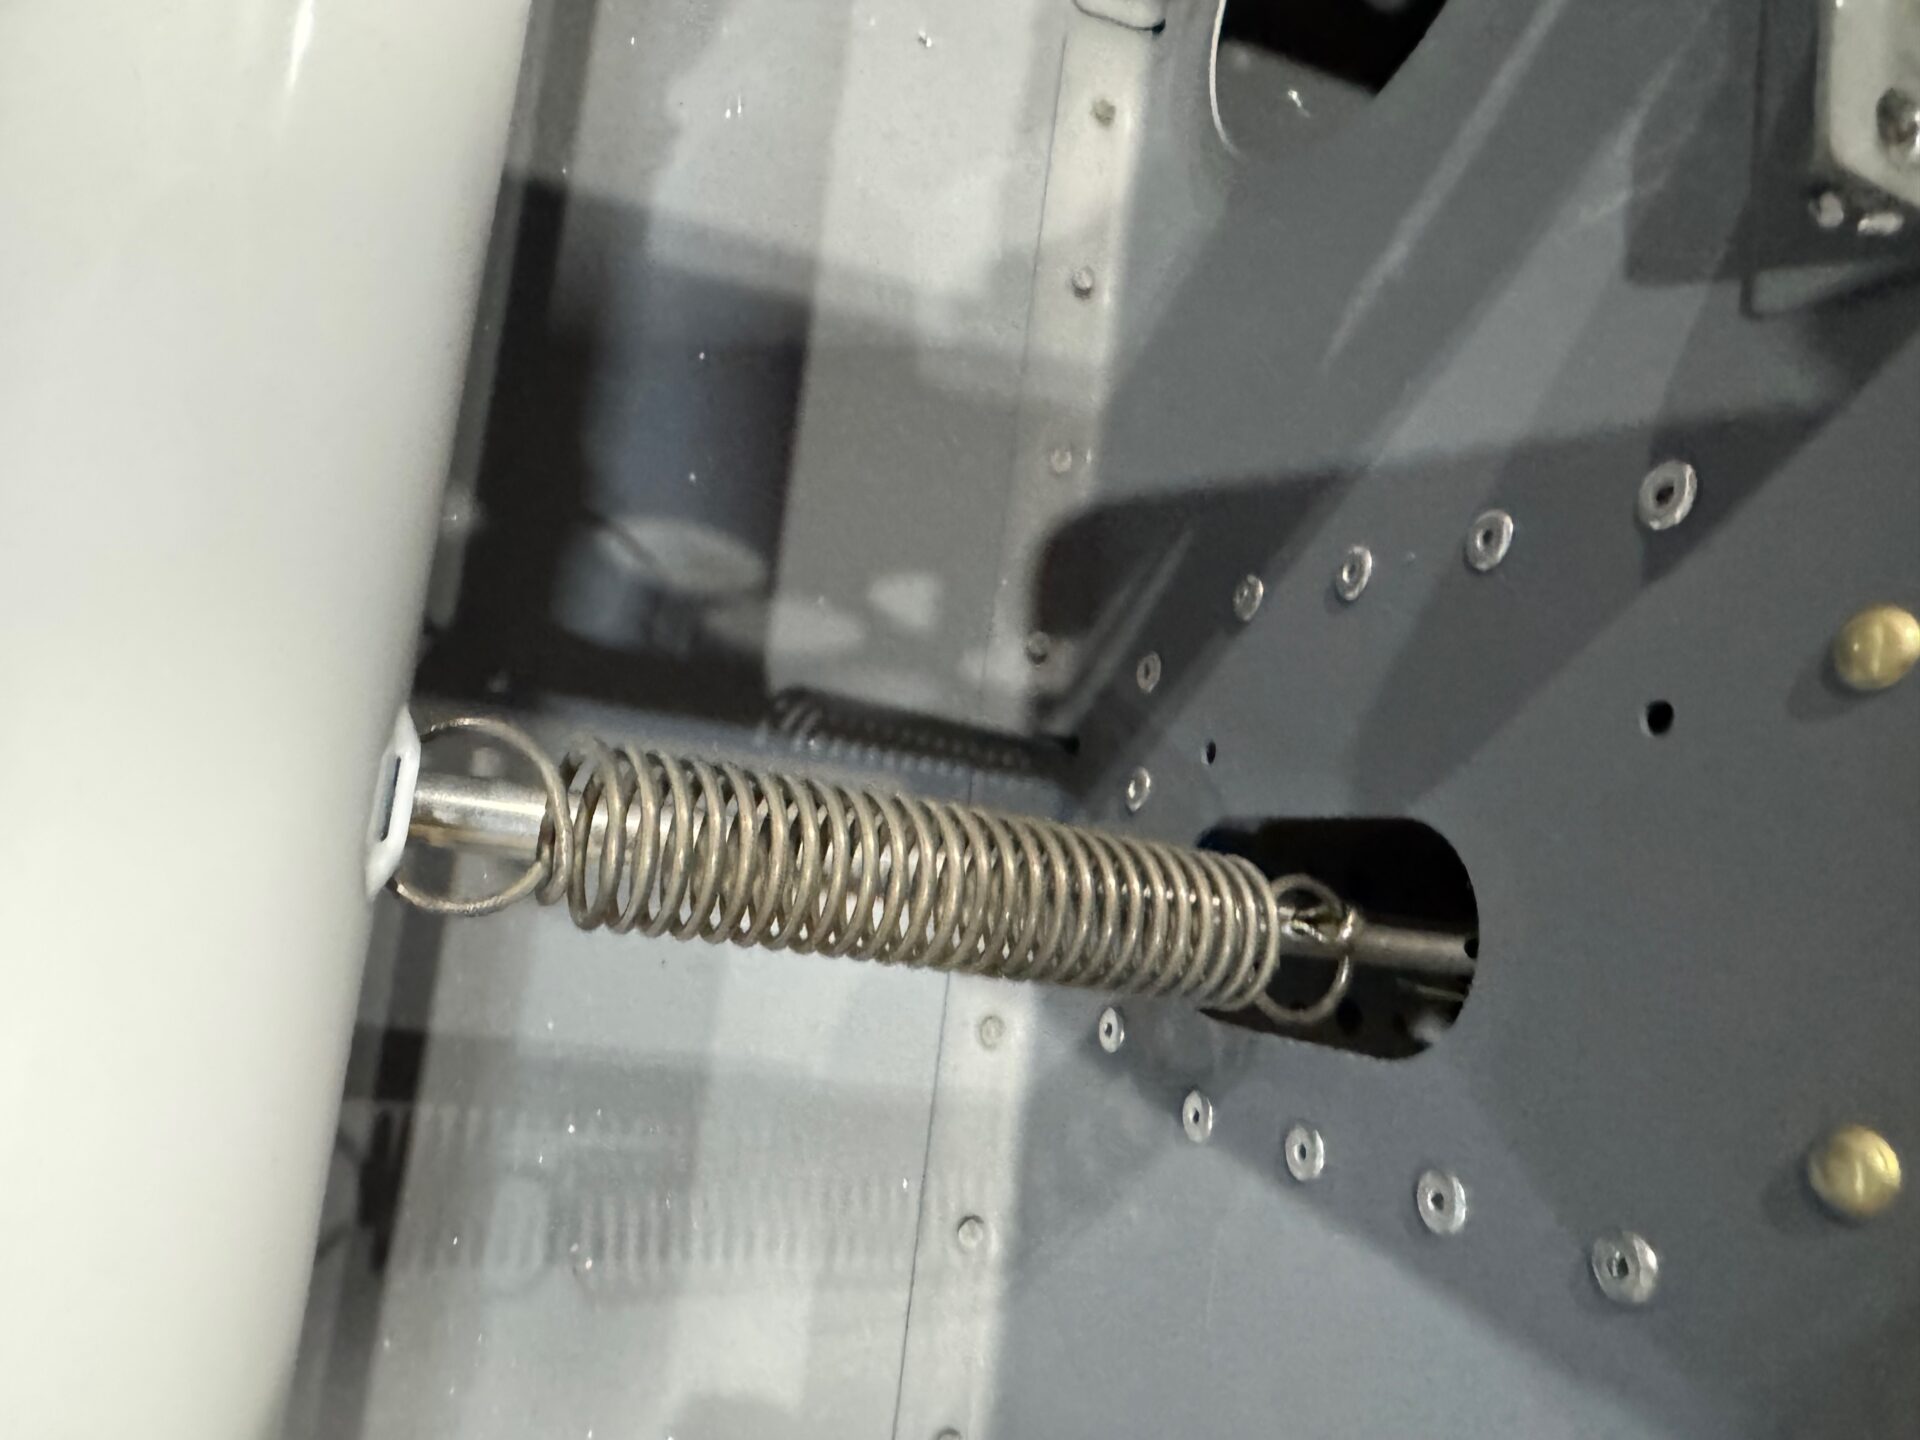
Cotter pins will act as the spring retention system
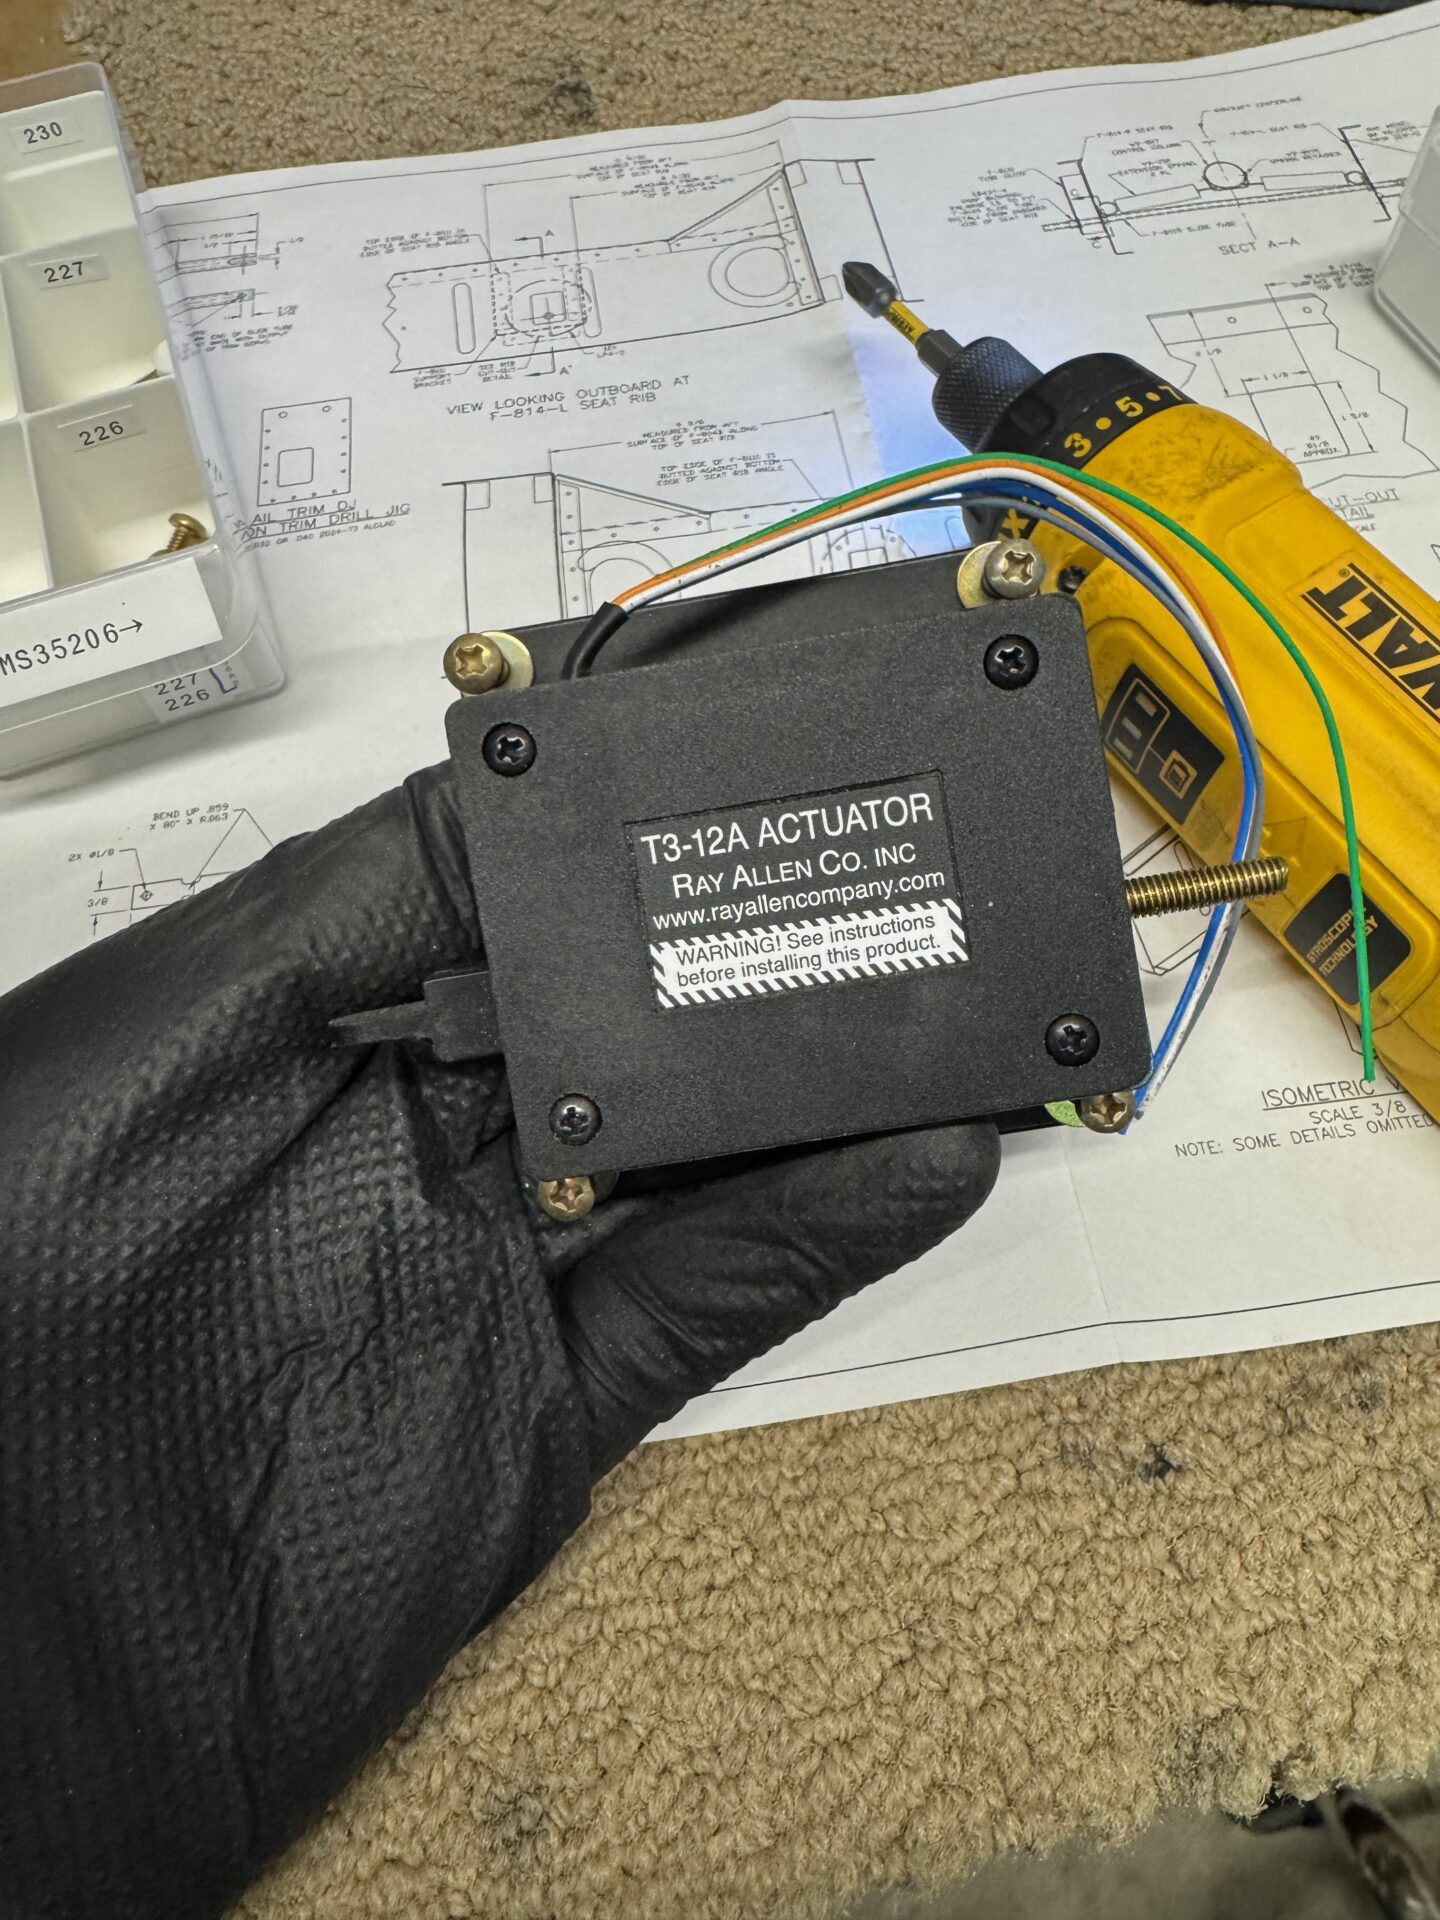
Ray Allen Trim system
Springs are in!
note the spring is slightly offset…. wonder if I can center it better
Last view from the trim side
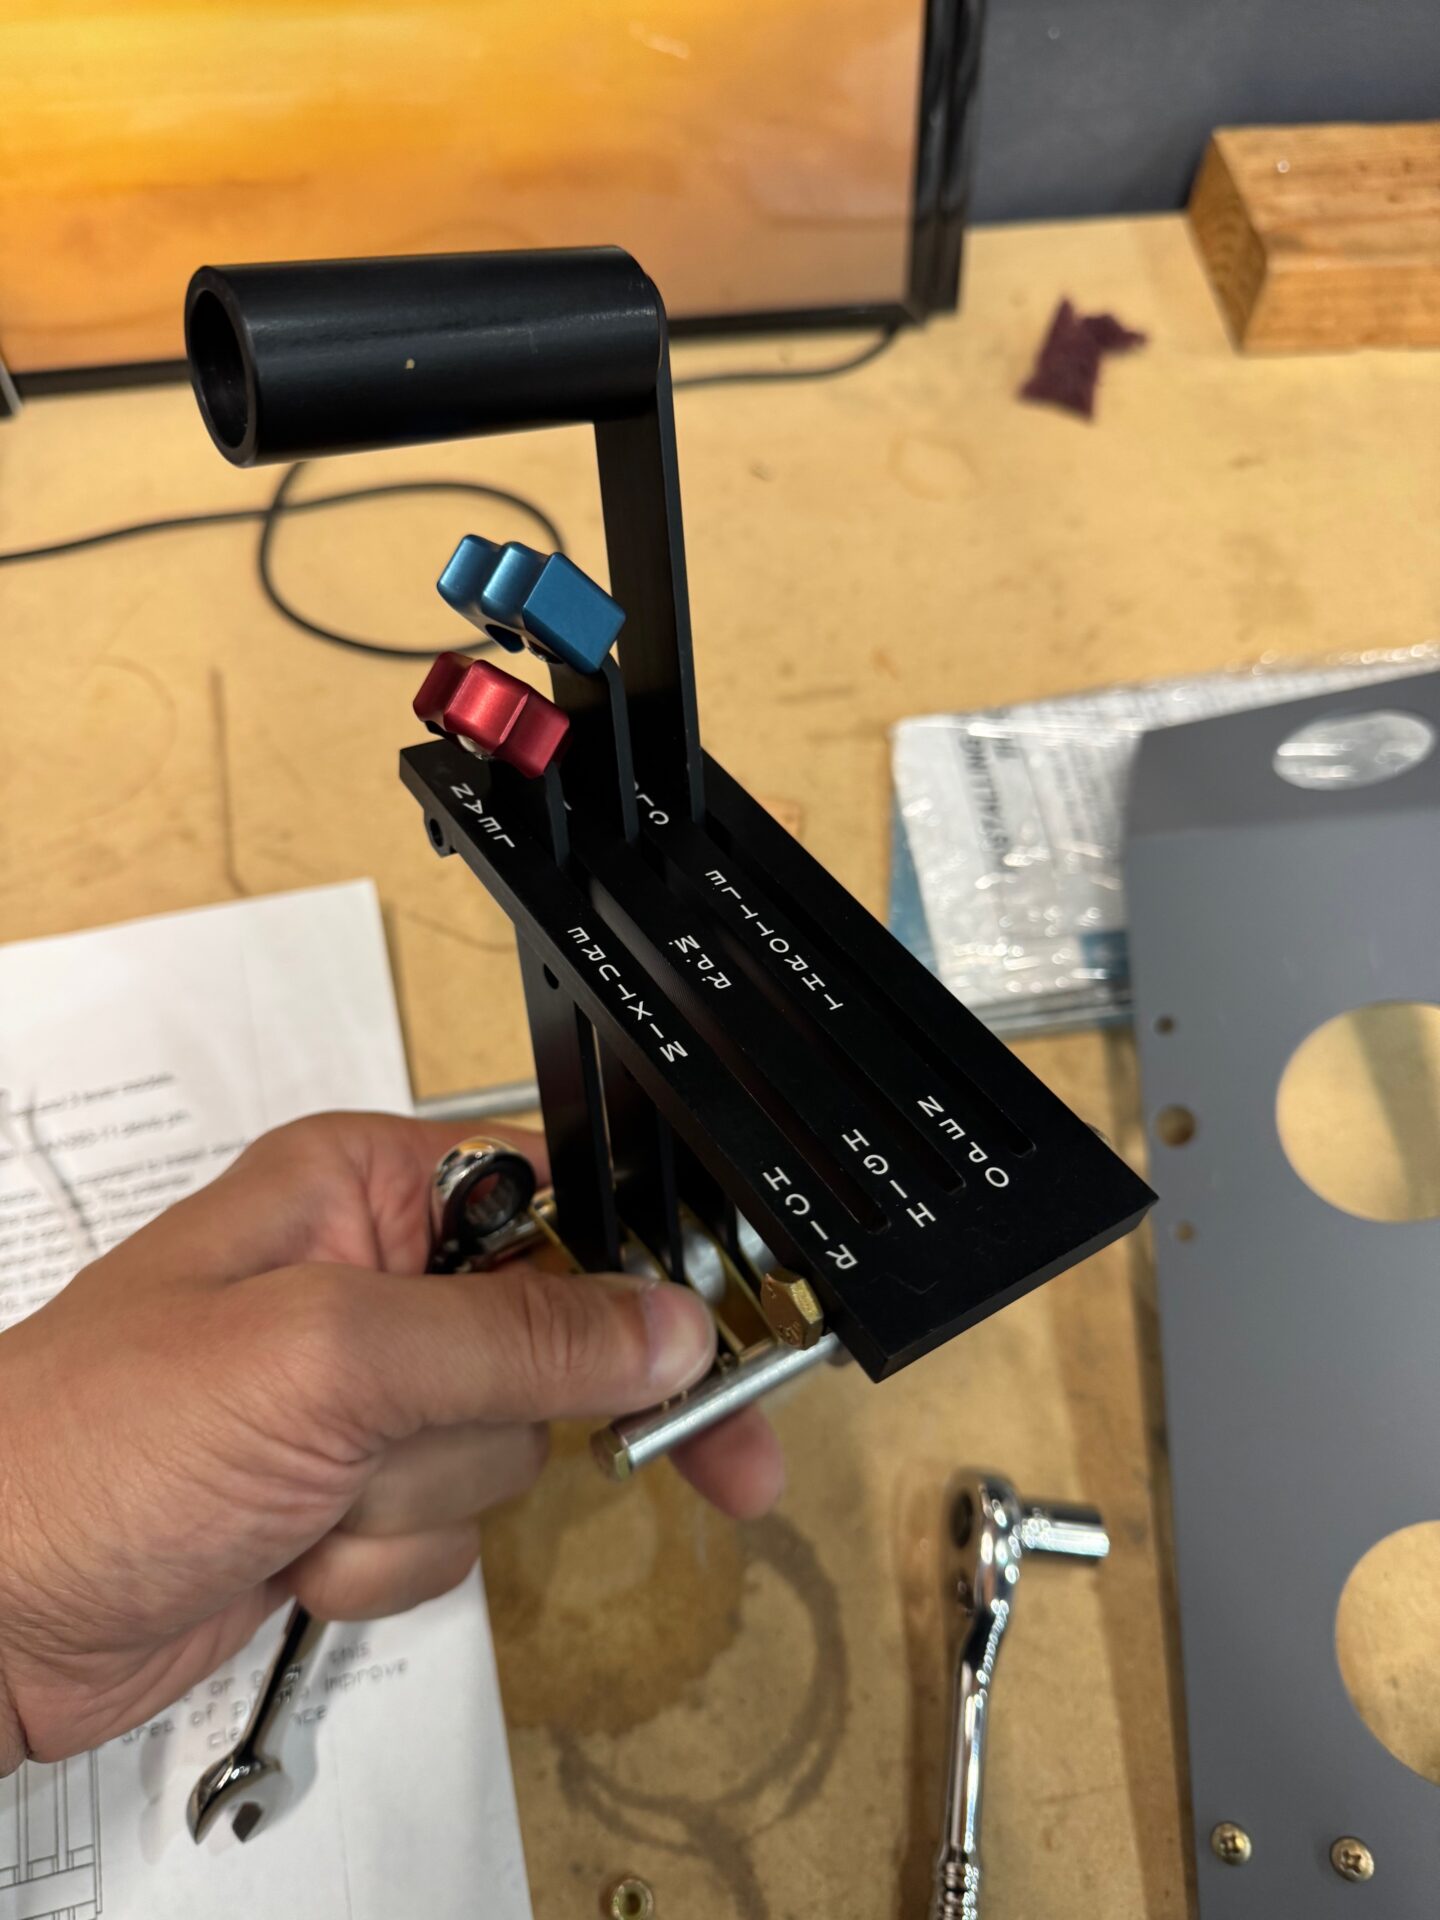
Throttle Quadrant Fitting
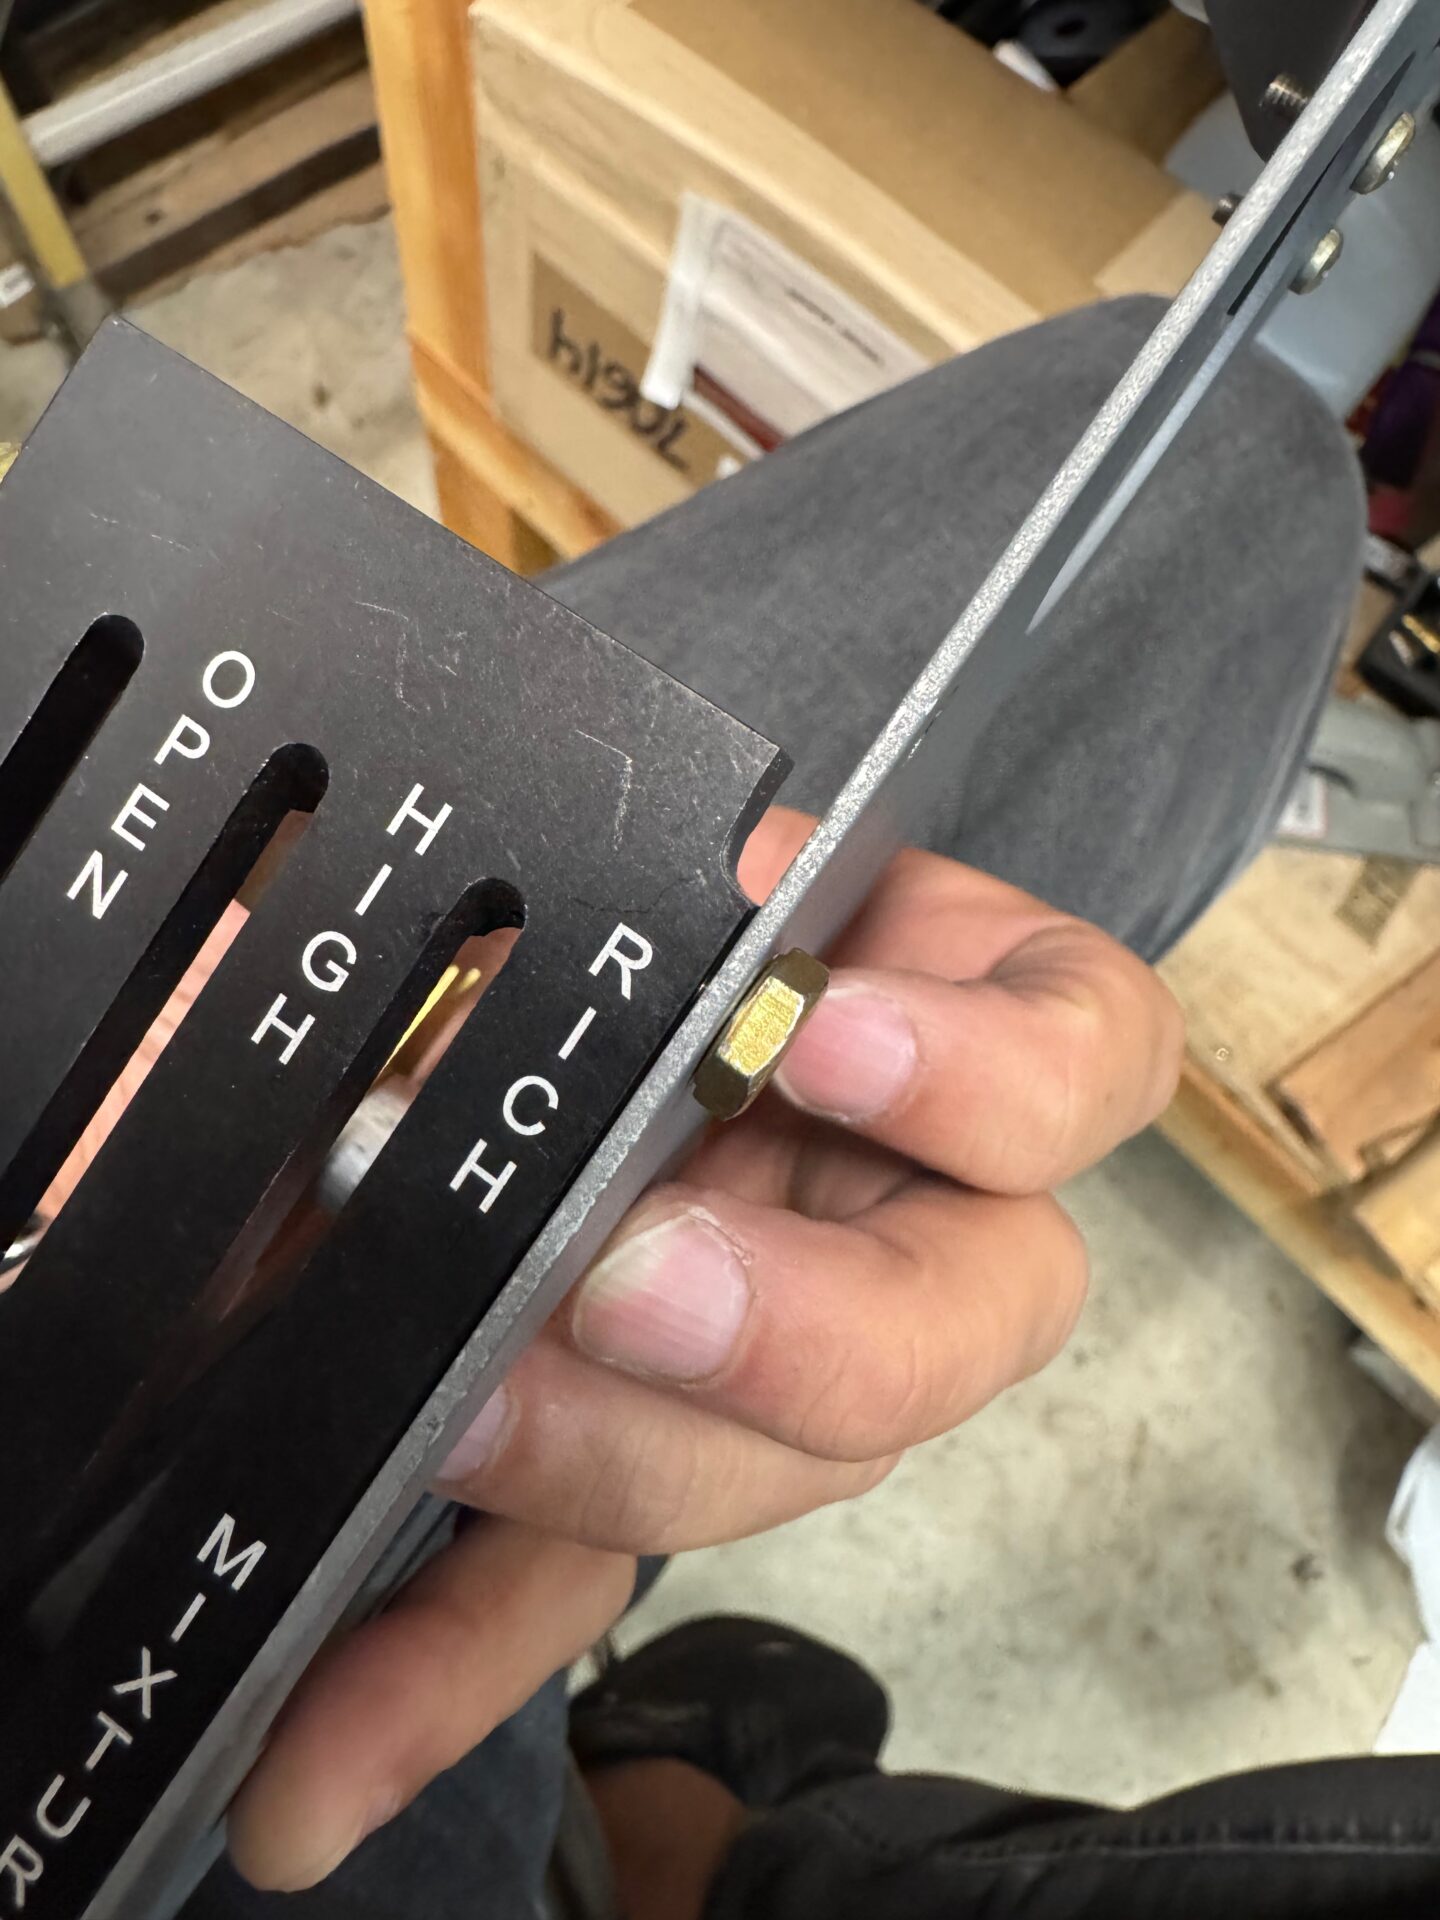
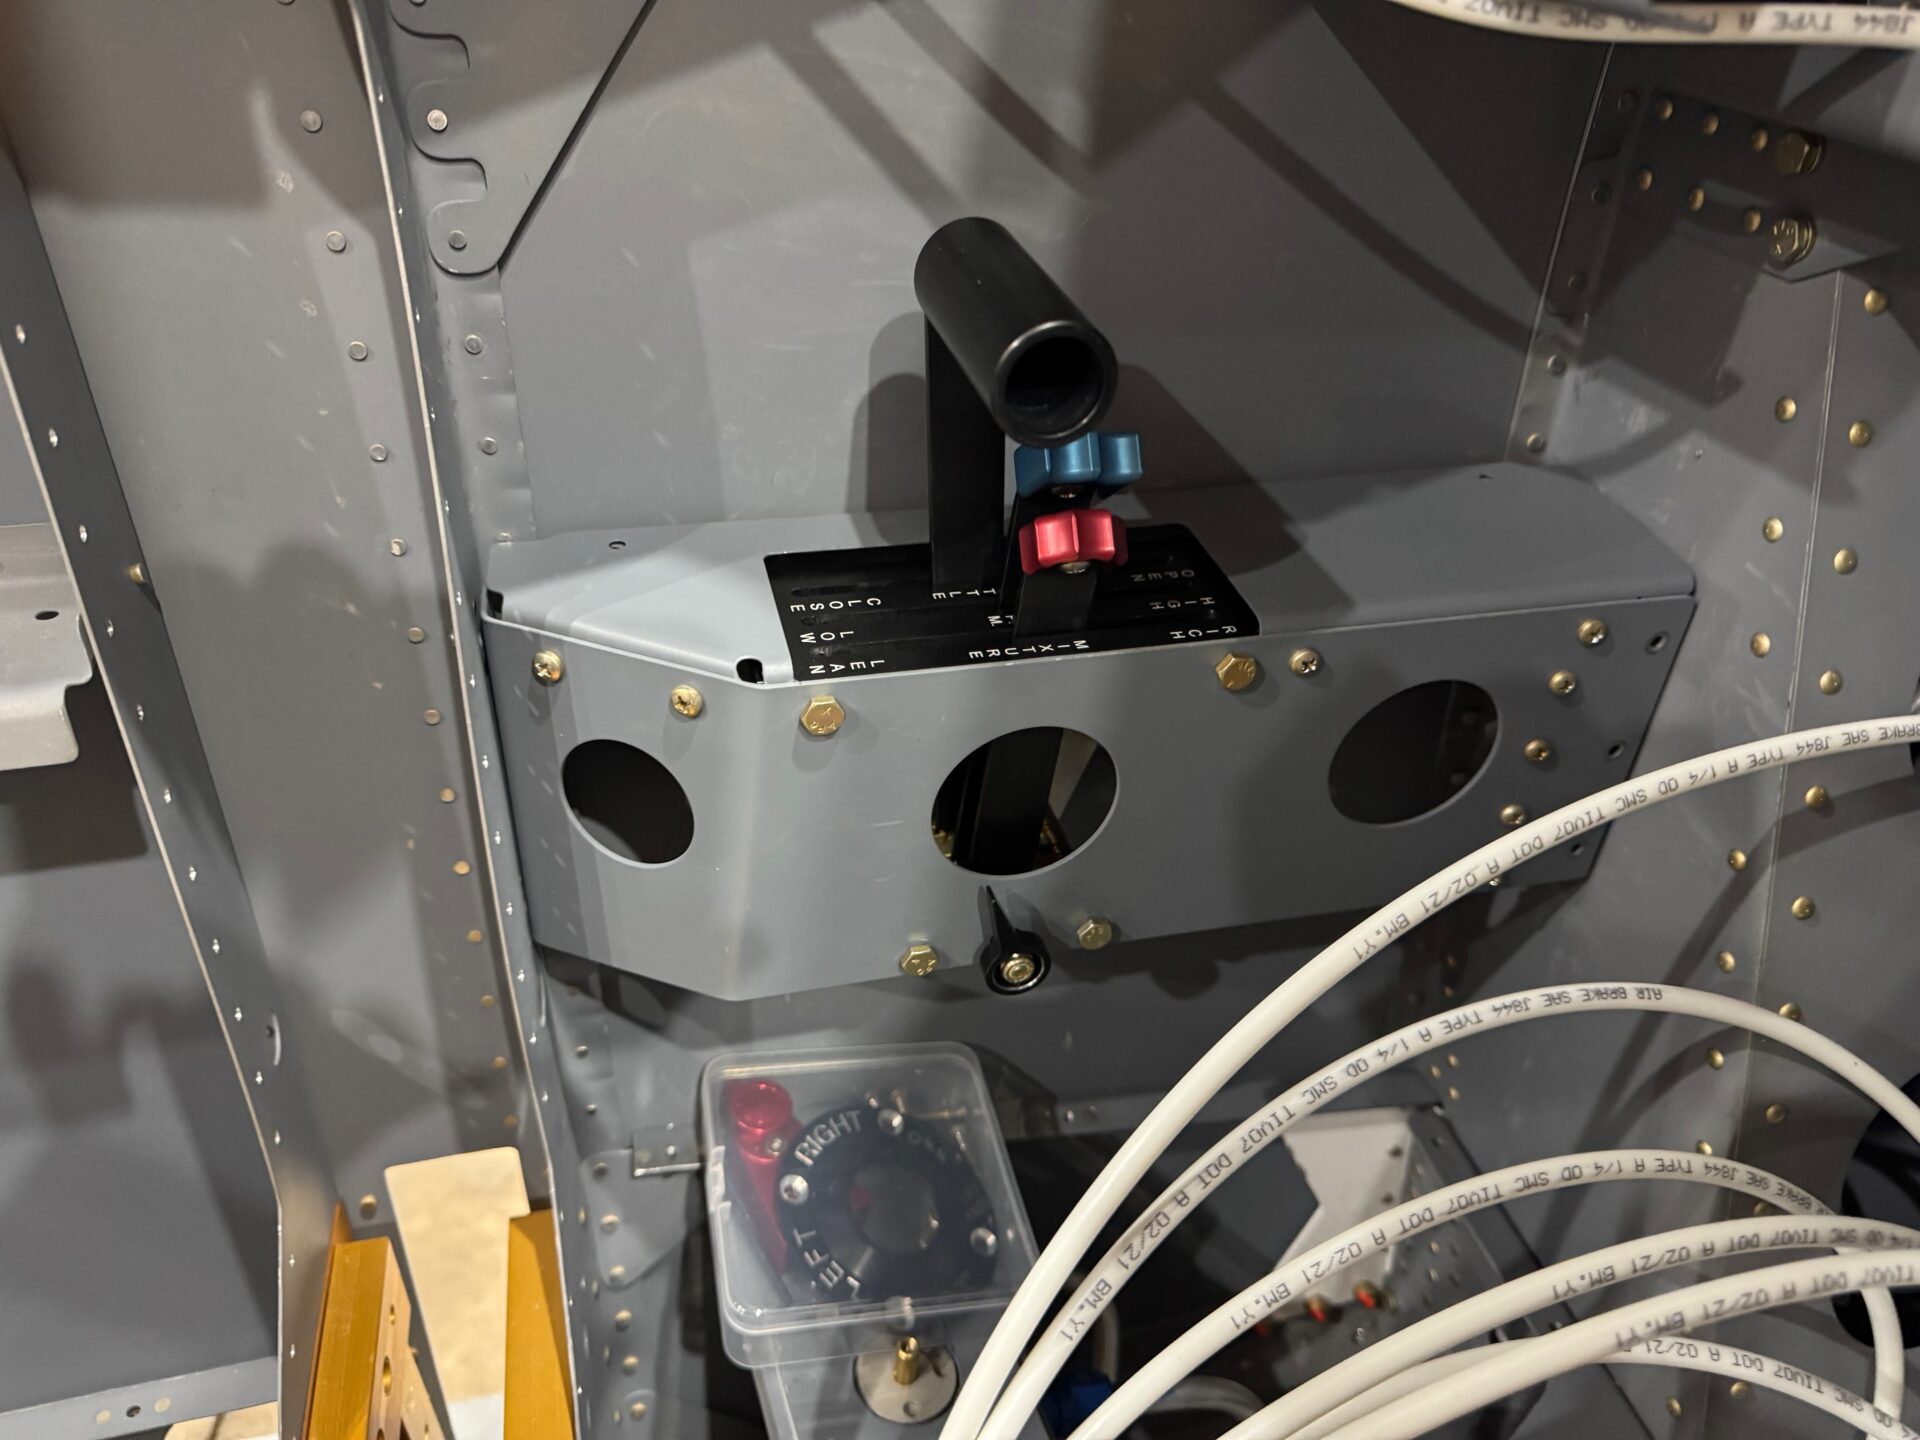
I’ve had this fancy throttle quadrant for over 2 years. It’s exciting to finally see what this will look like in the plane. The one surprise was the need to modify the top plate to account for some nutplate interference. Can’t wait to get this attached to the engine!
cool. These are going to be sweet.
Had to disassemble to get it installed on the aircraft mount
I had to modify the throttle plate to relieve some nutplate interference
I can practically hear the engine coming alive!
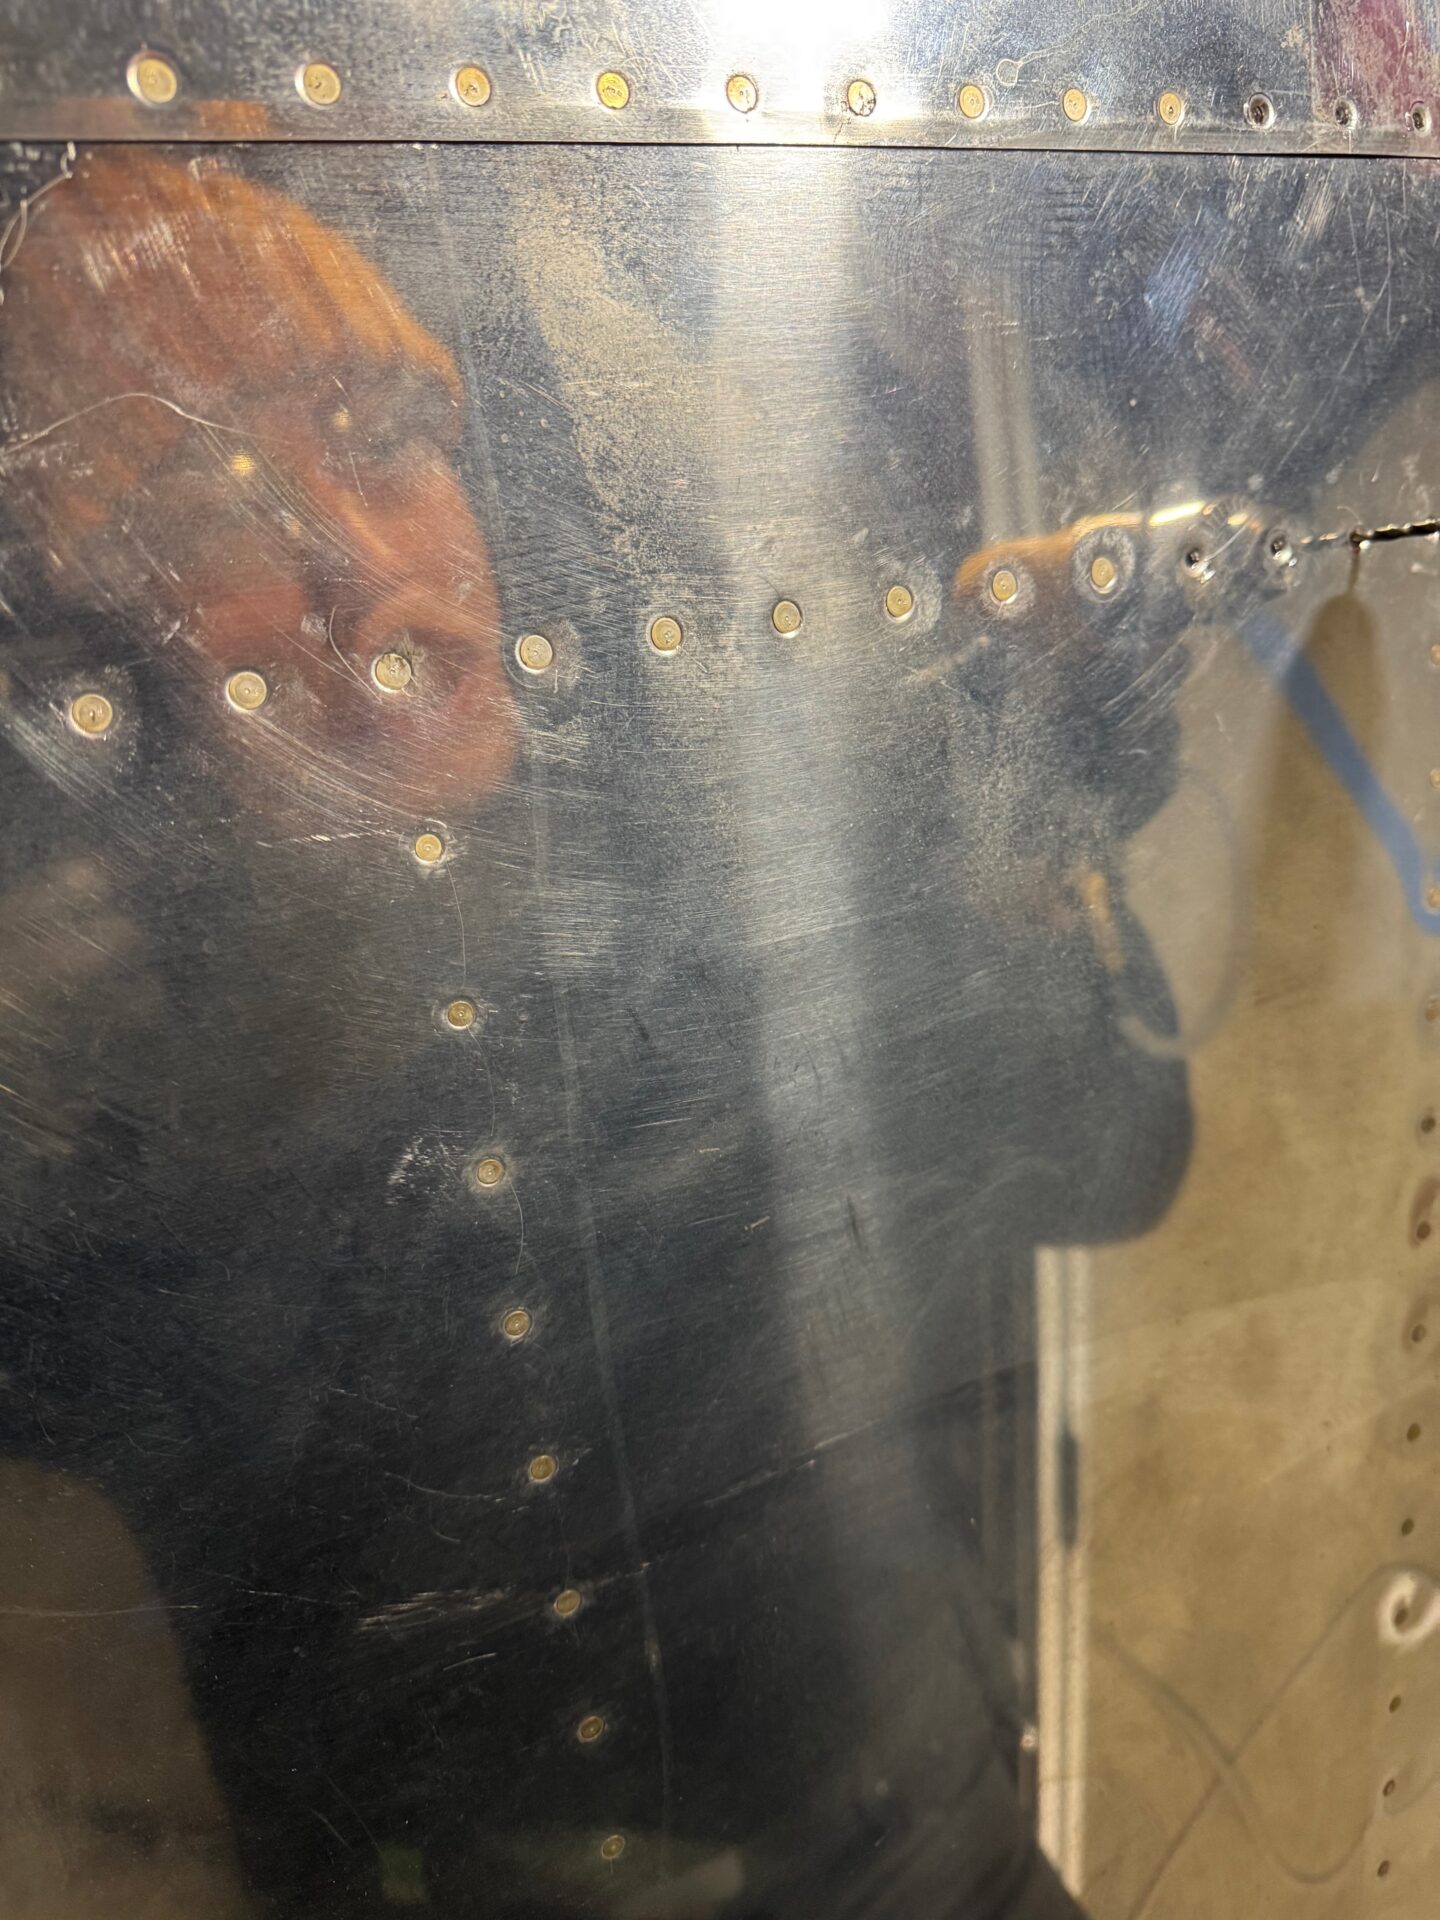
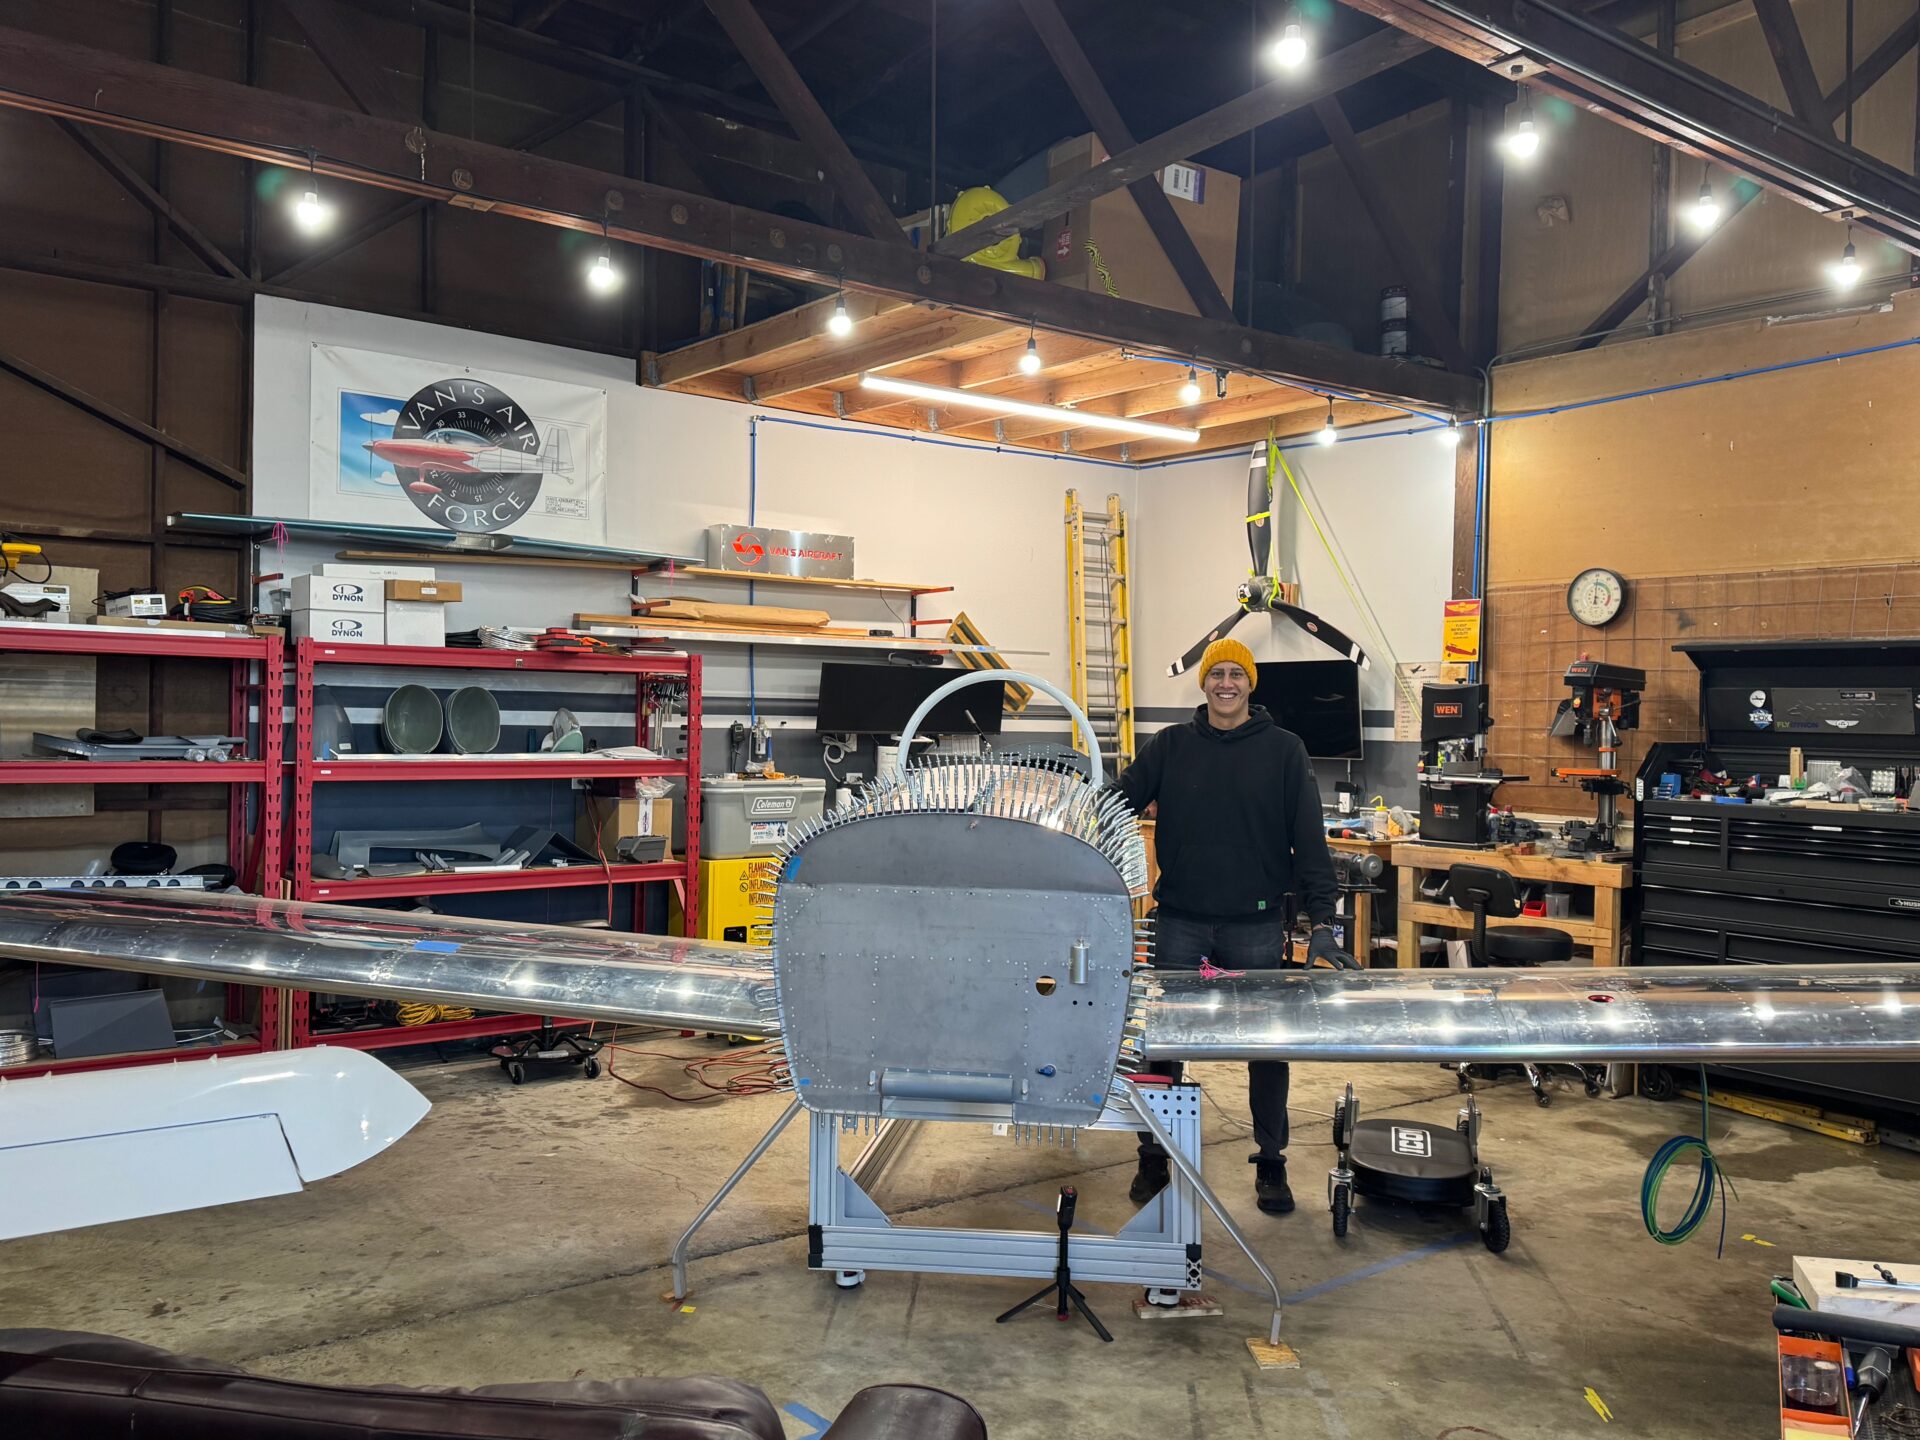
Wing Fitting Attempt 1
And then comes the main event. The wing fitting. I got up super early to prep for the activity since Sam and Jack would be arriving at sunrise. After moving the wings over from my friends hangar, I squared and leveled the fuselage and made sure it was all ready to go. Lots of Boelube for ease of sliding the wing in…. should be easy! When Jack and Sam arrived we were all giggling with the anticipation of seeing a fuselage with wings attached. With careful coordination we carried the wing into place, and….. and….. IT DIDN’T FIT. No matter what we tried to do, it seemed the wing would not go into the center spar. Careful measurements revealed the slot was smaller than the wing spar by a few thousandths of an inch. OK, deep breaths before we do anything stupid. We decided to put the wings back in the cradle and walk away. It would take a few more days until I could talk to Van’s support, so no plane today…:(.
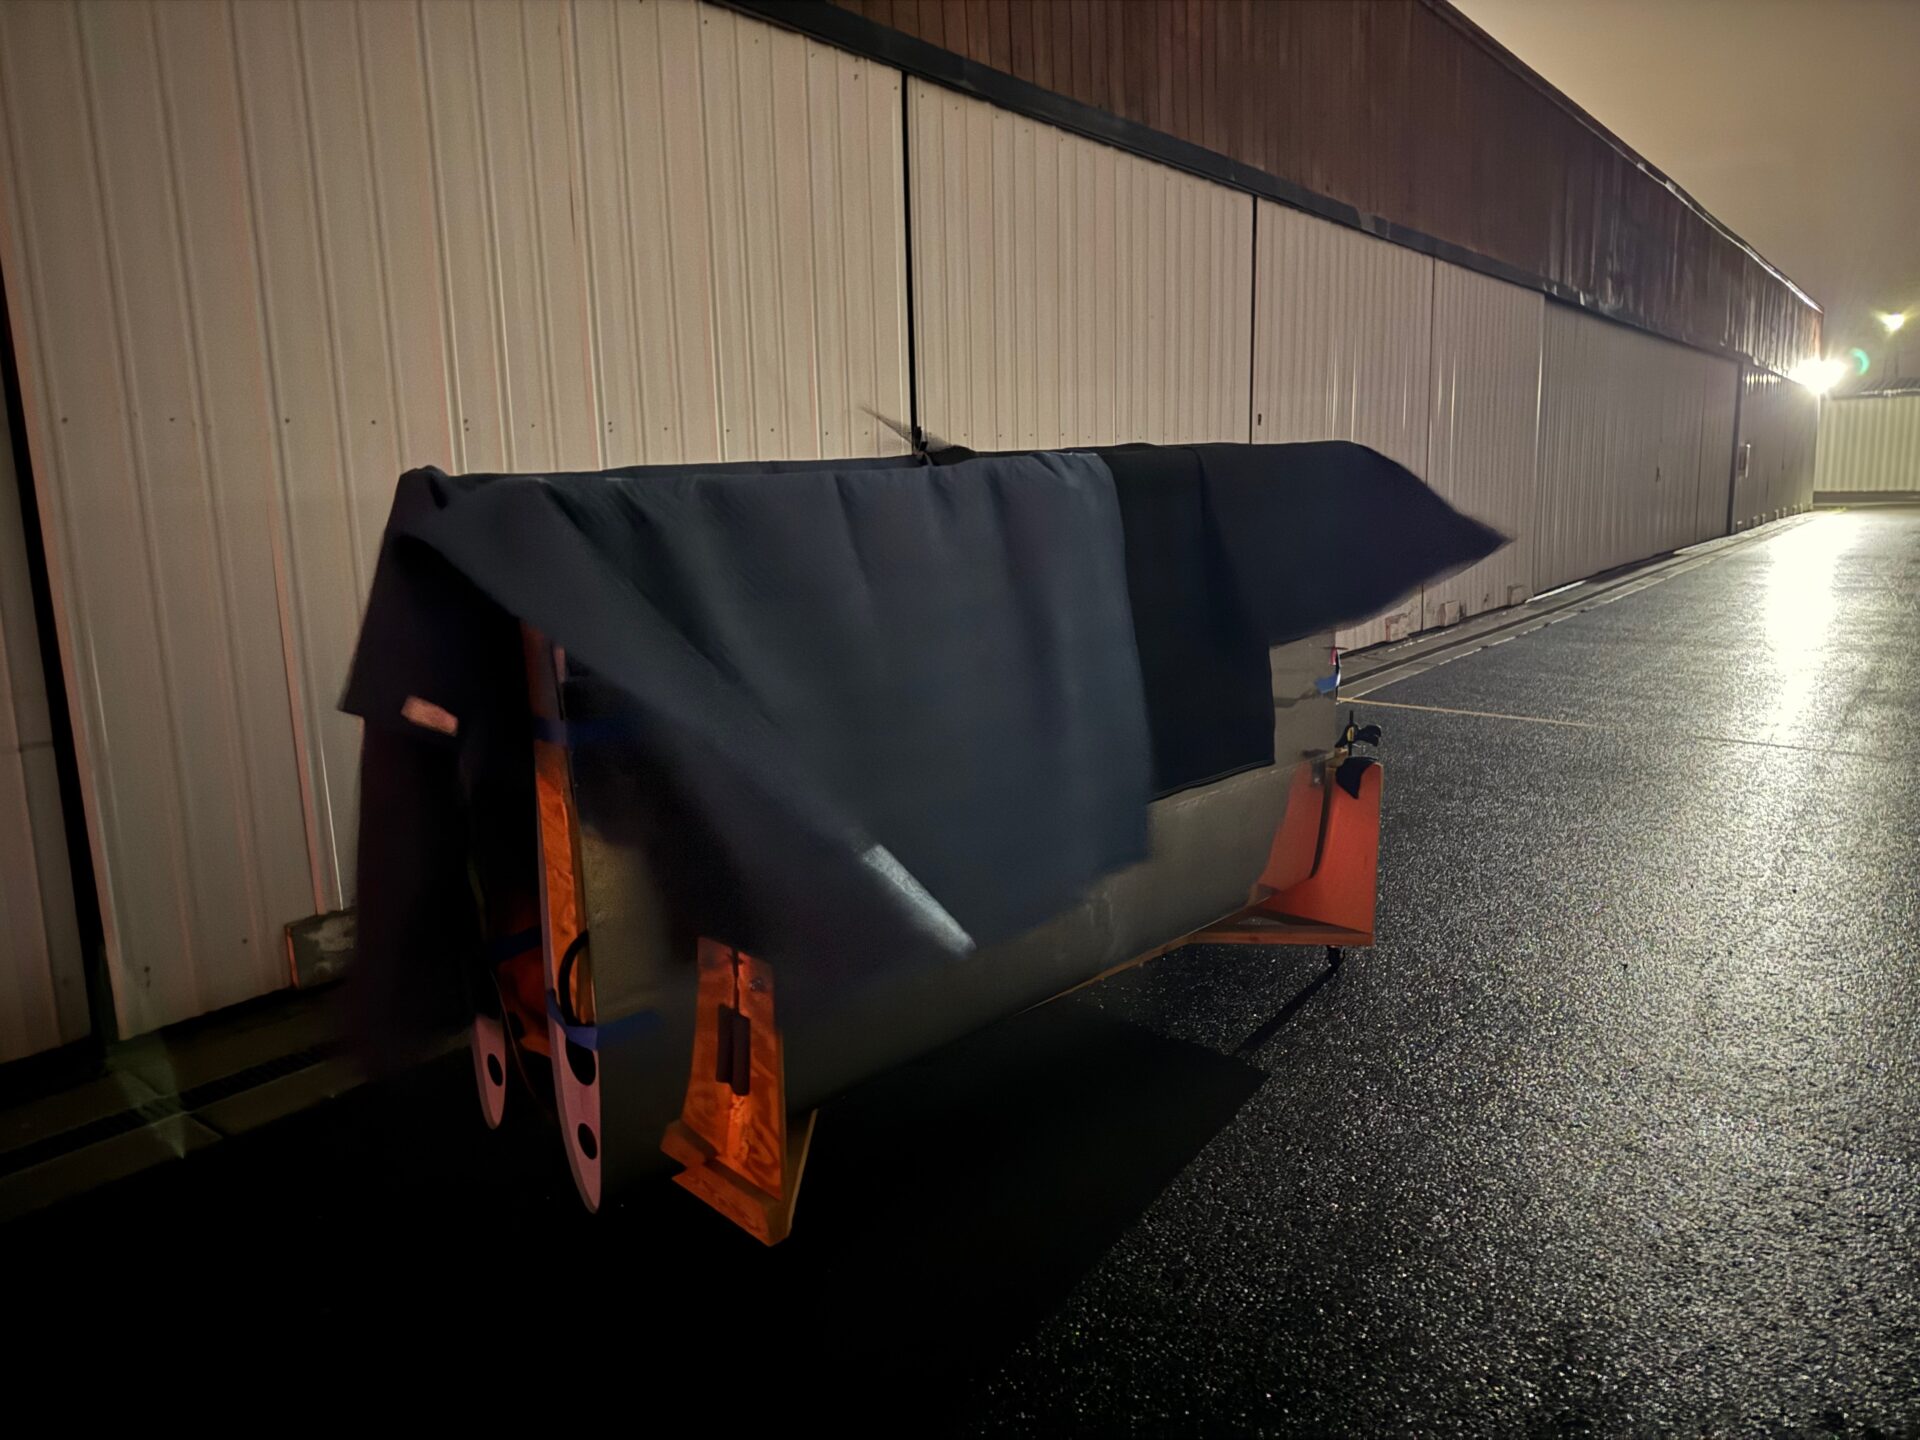
The wings long journey back to my hangar for fitting.
fuselage repositioned for space to install the wings
All leveled and ready to go.
lateral level looking good.
Boys have arrived, and time to do this!
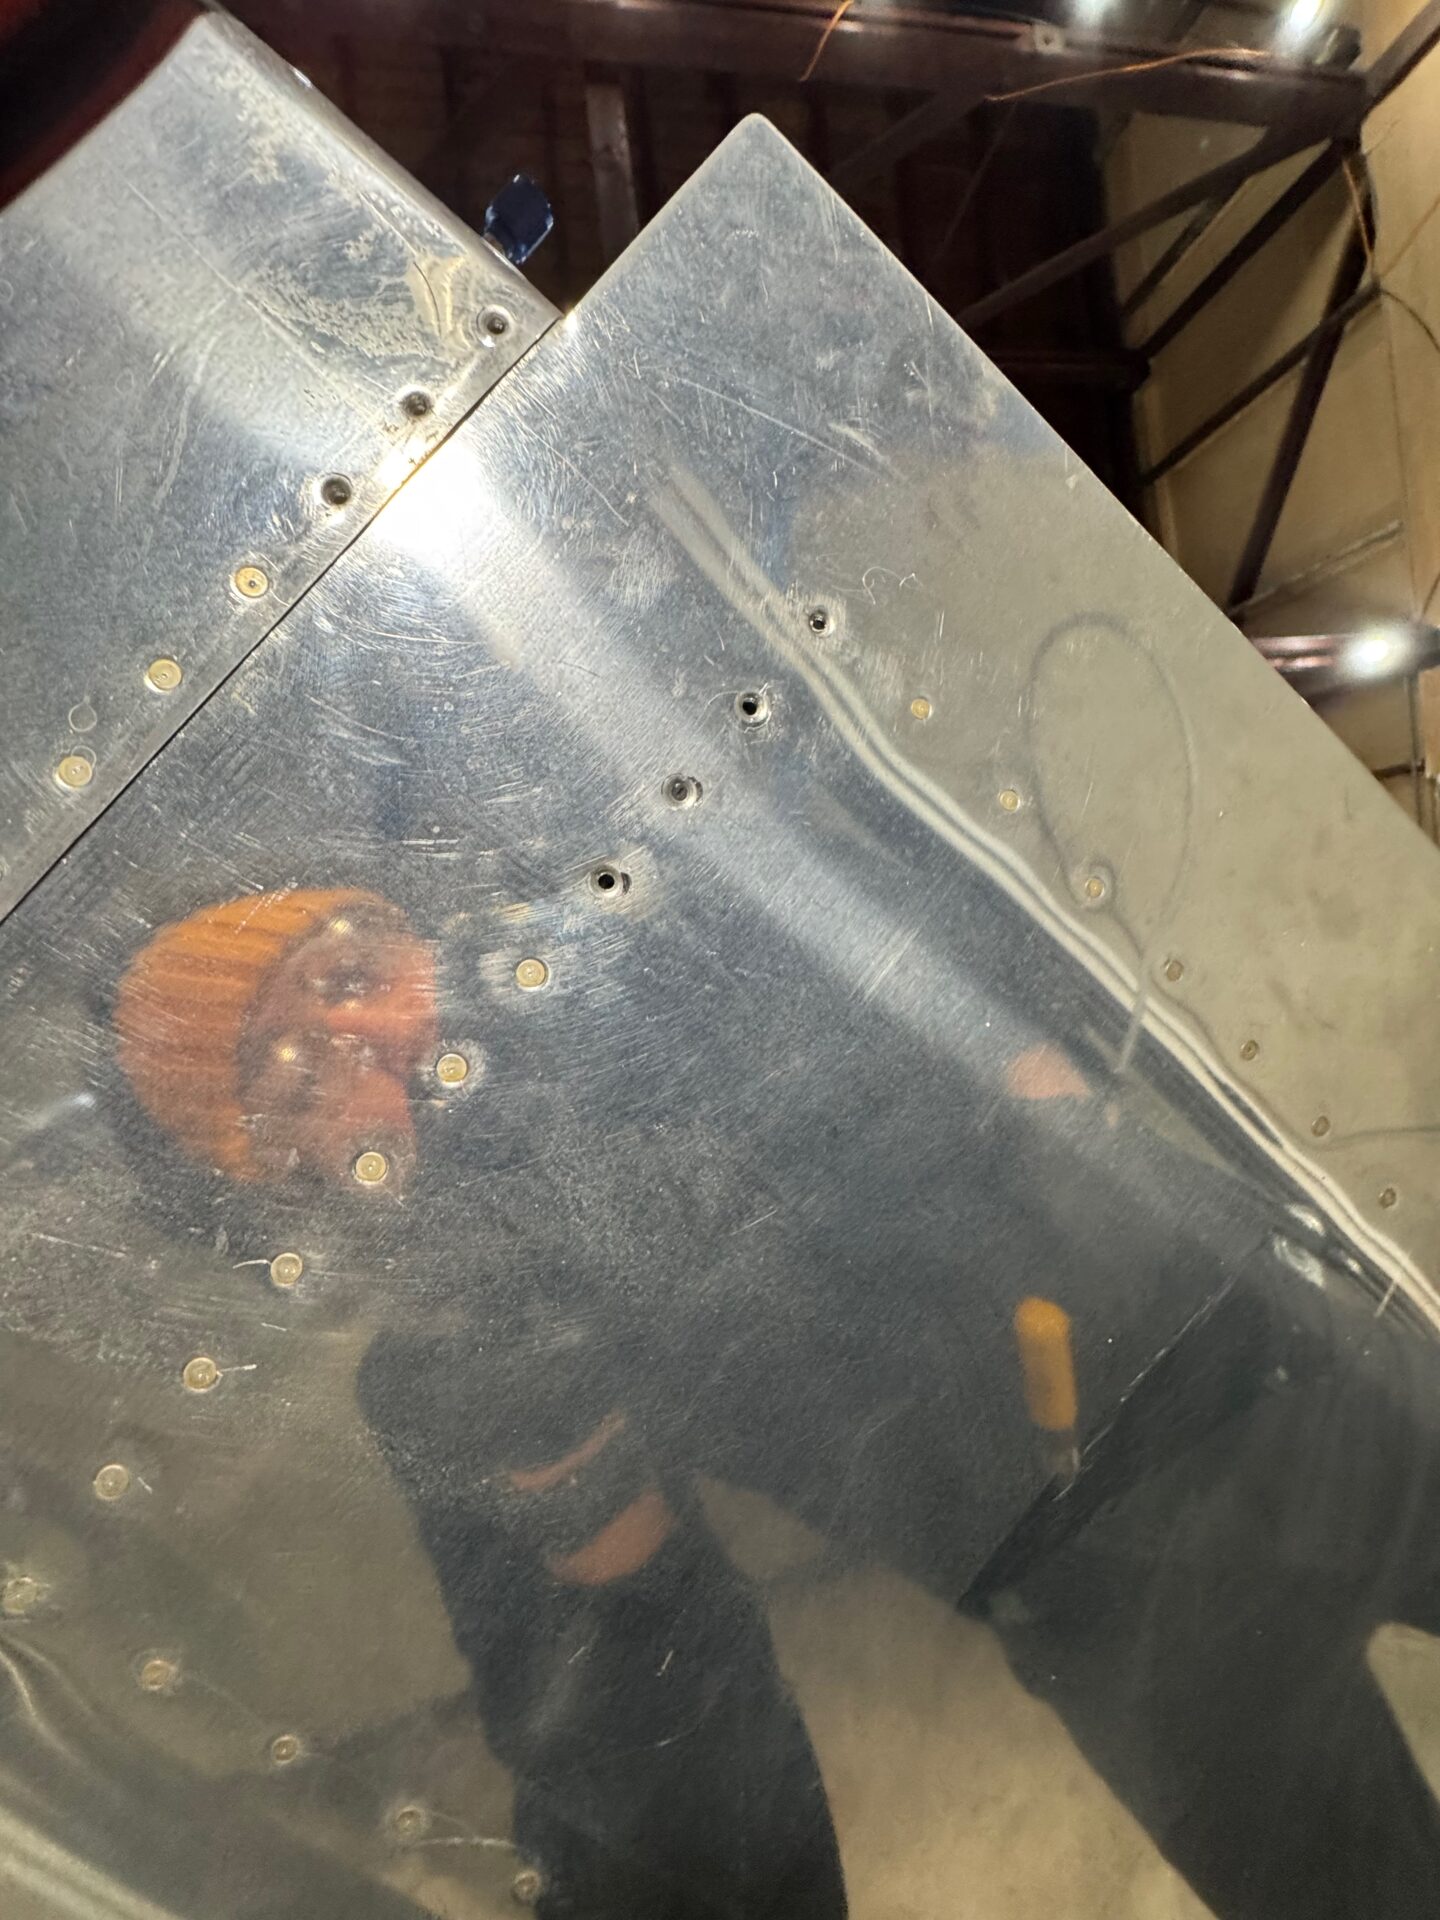
ugh… although the wood spacers fit, it appears the left wing did not.
In hindsight, it’s not clear if my solution was really required, but it ended up working. How was I going to widen the center spar slot with all the surrounding structures locked in? After talking with Van’s, and consulting with some previous builders, it turns out that the rivets that hold the width are easily accessible to drill out and relieve pressure. I went ahead and did that on the left side and built some spacers to expand the spar from the inside. Then I figured we would put the wing spar in, and then re-rivet while the spar is in. This should give us a solid fit.
under belly rivets to drill out.
mostly out, and ready for spacers
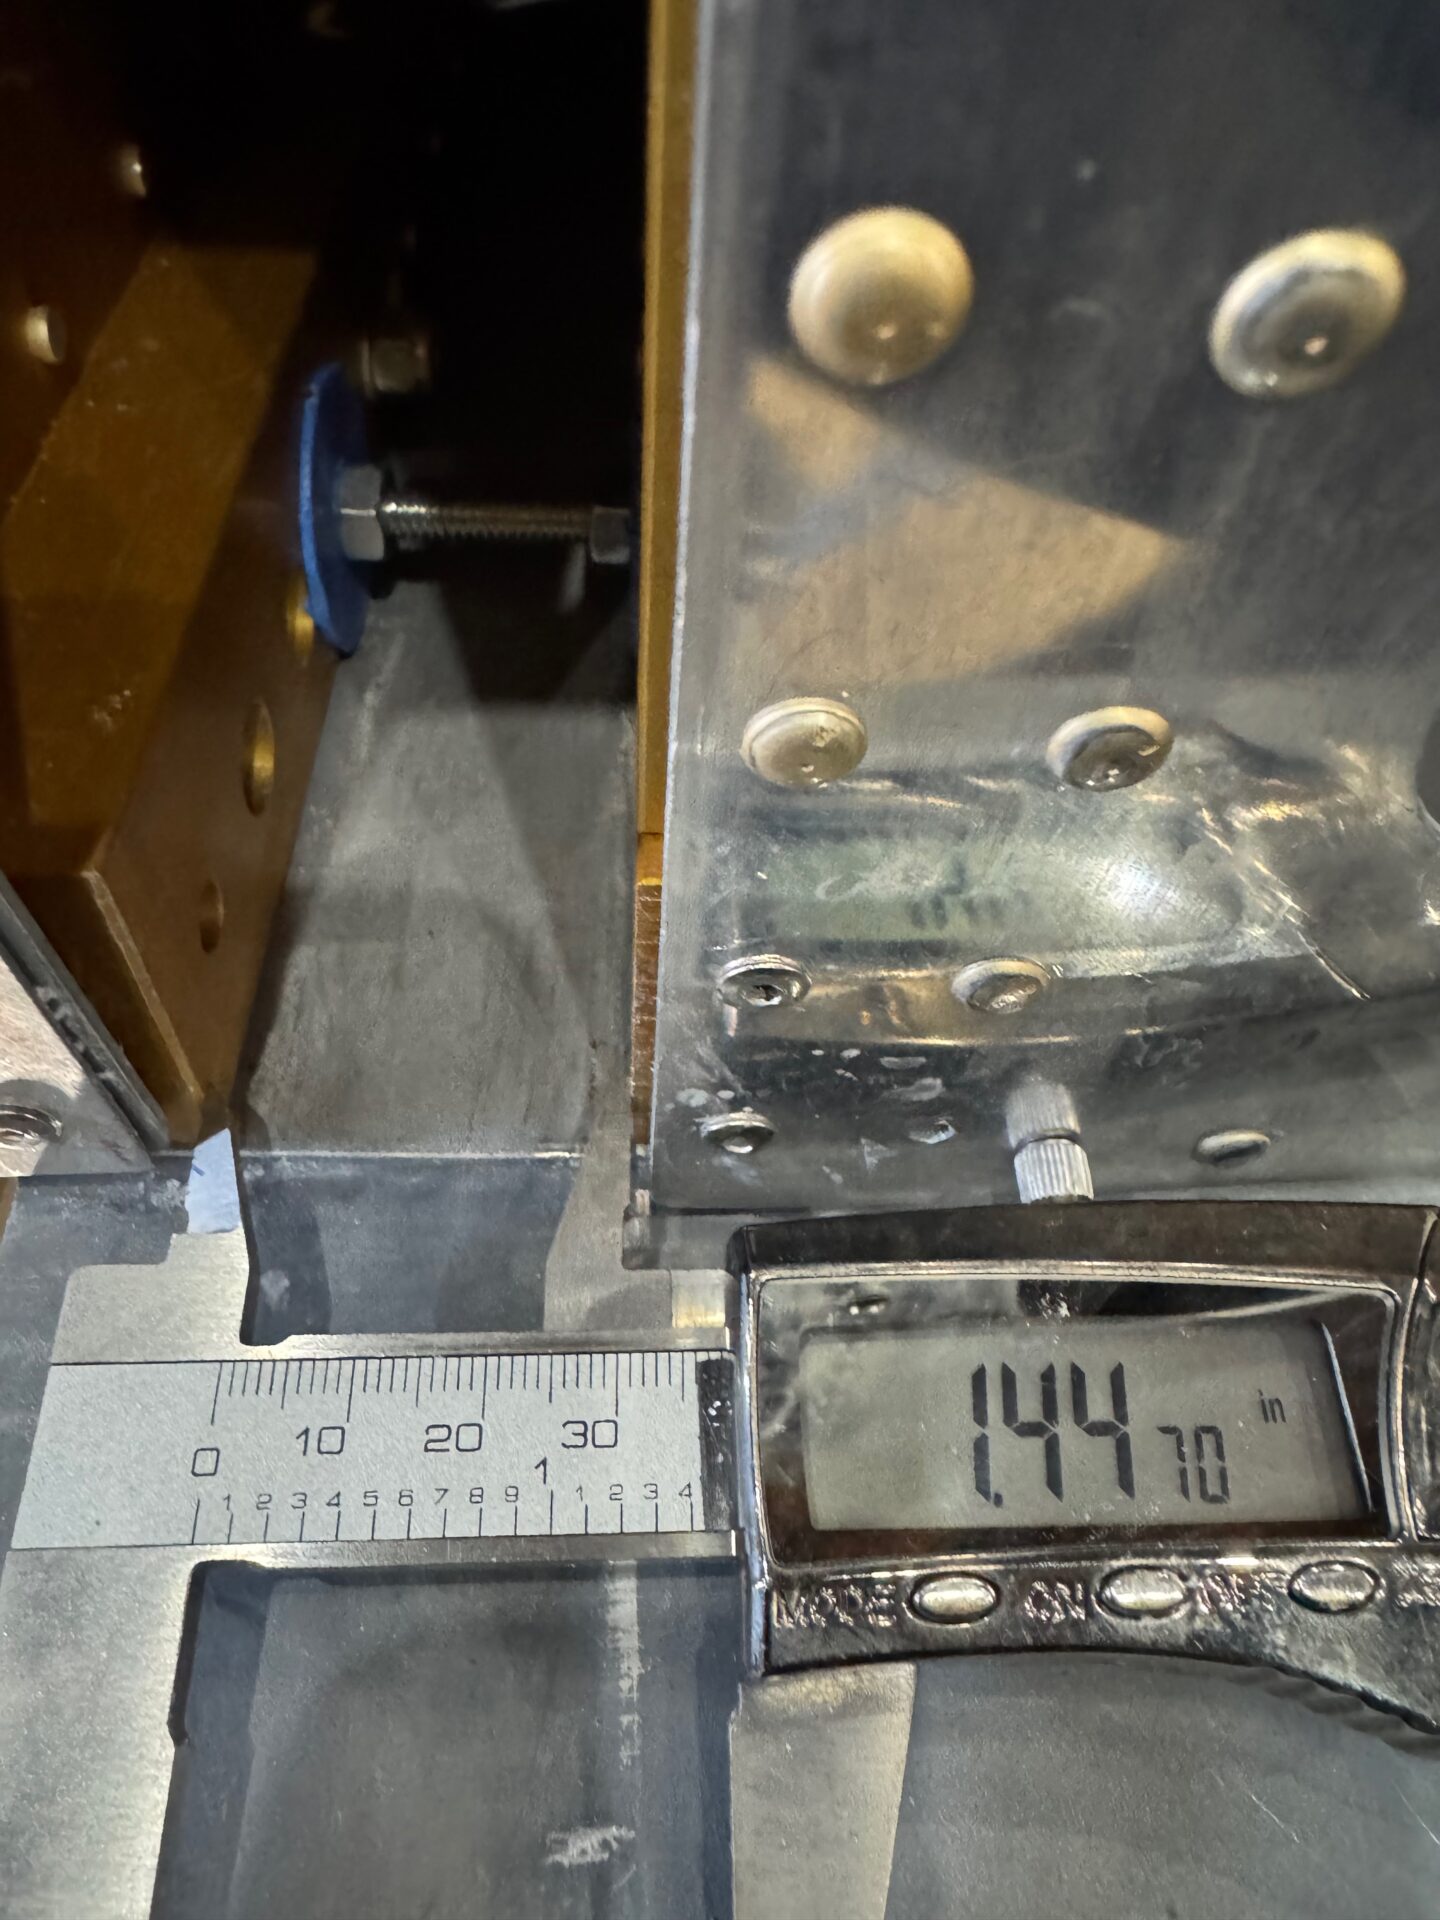
With the spacers I was able to expand the slot by a few thousandths.
new calipers gave me confidence I was measuring accurately
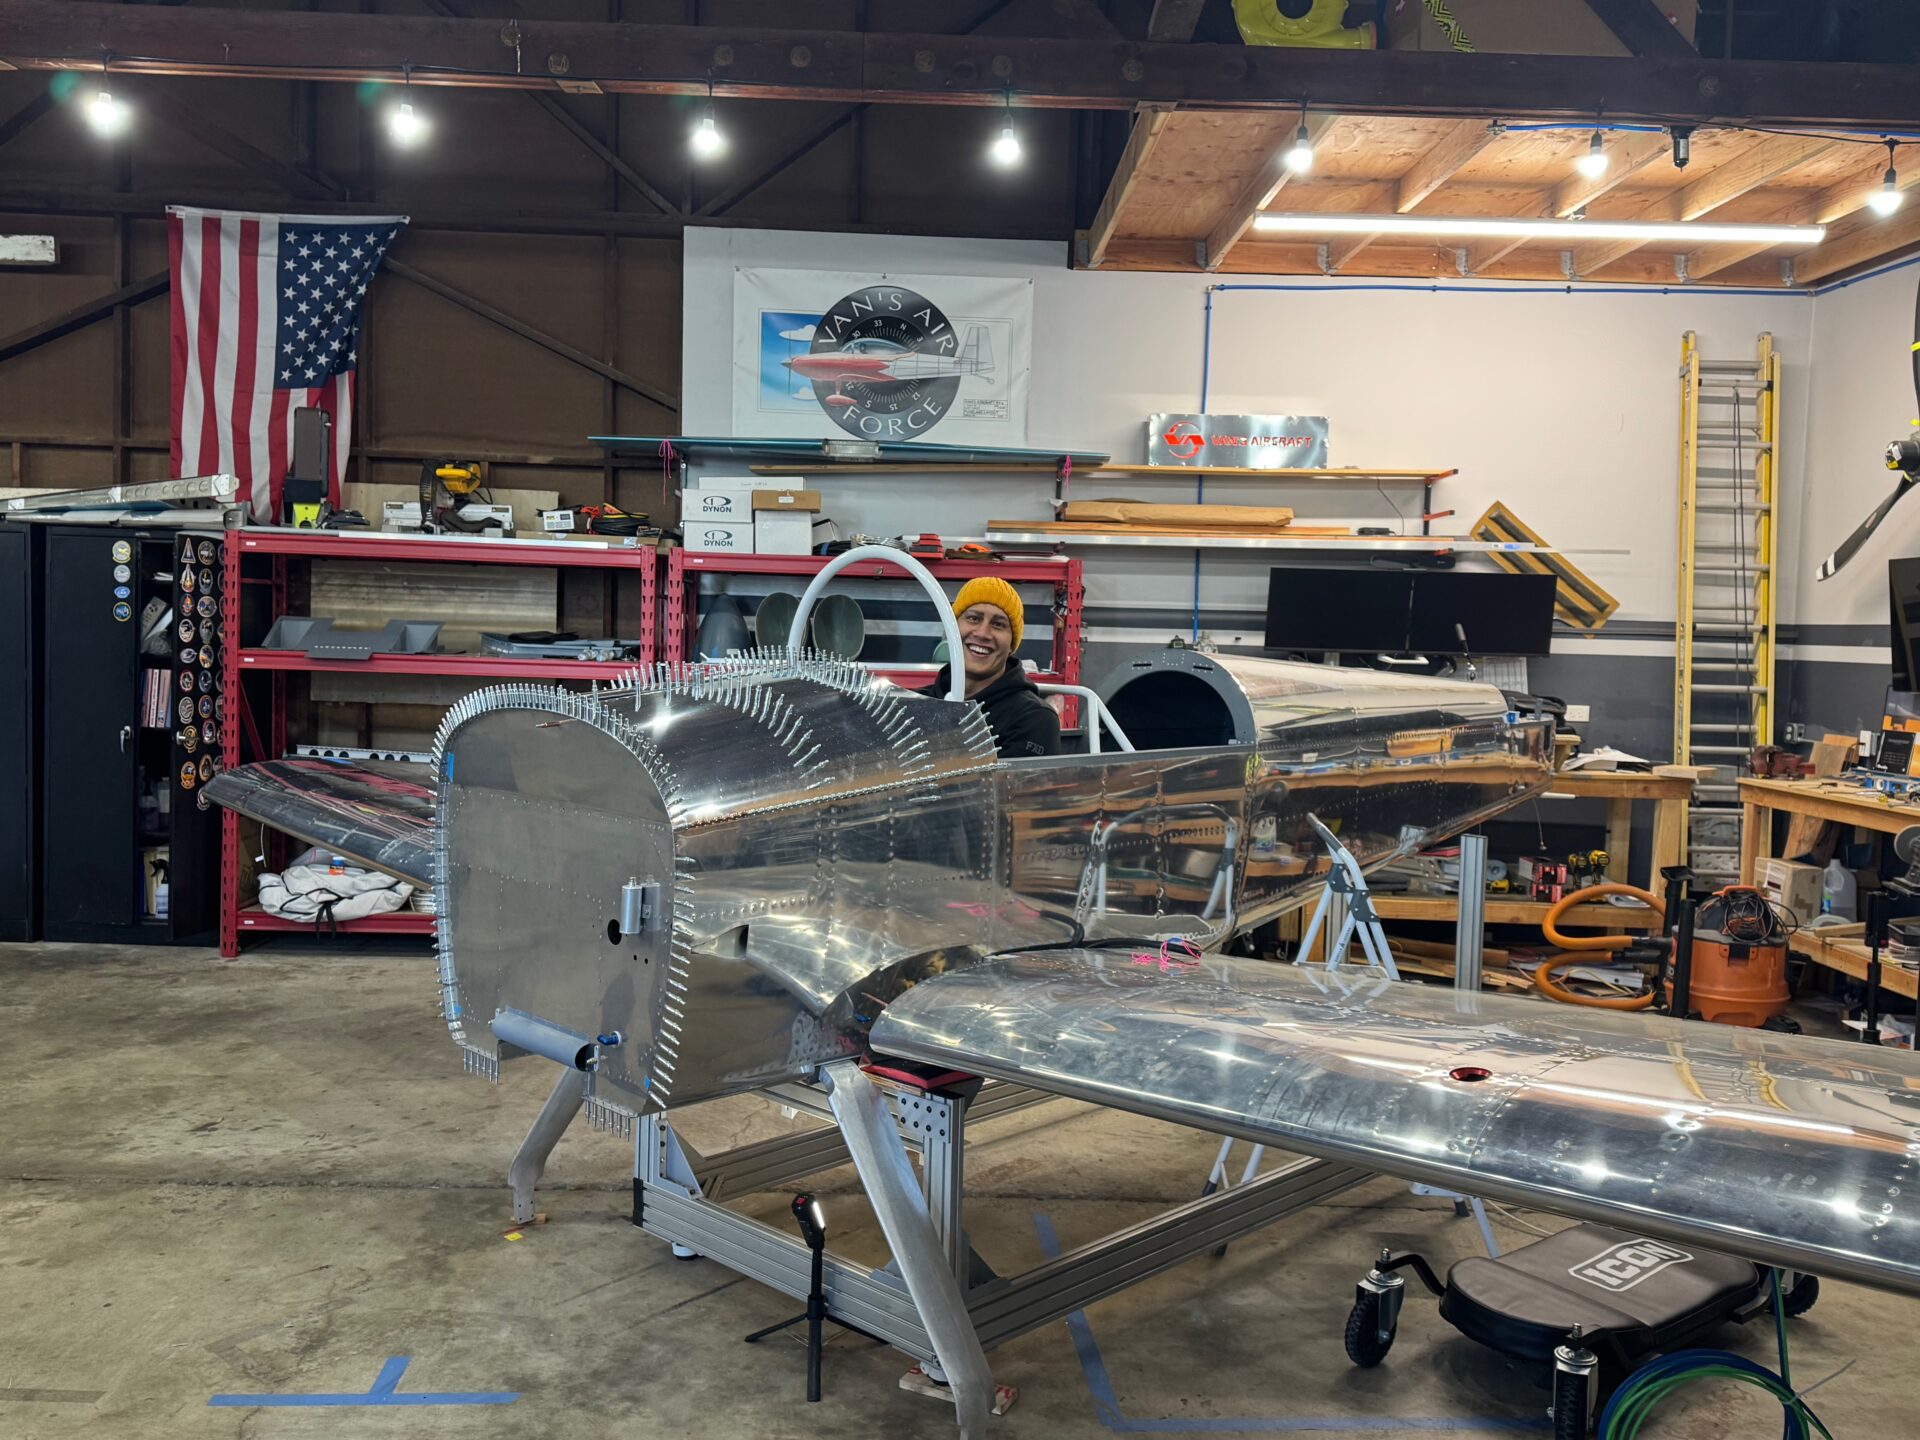
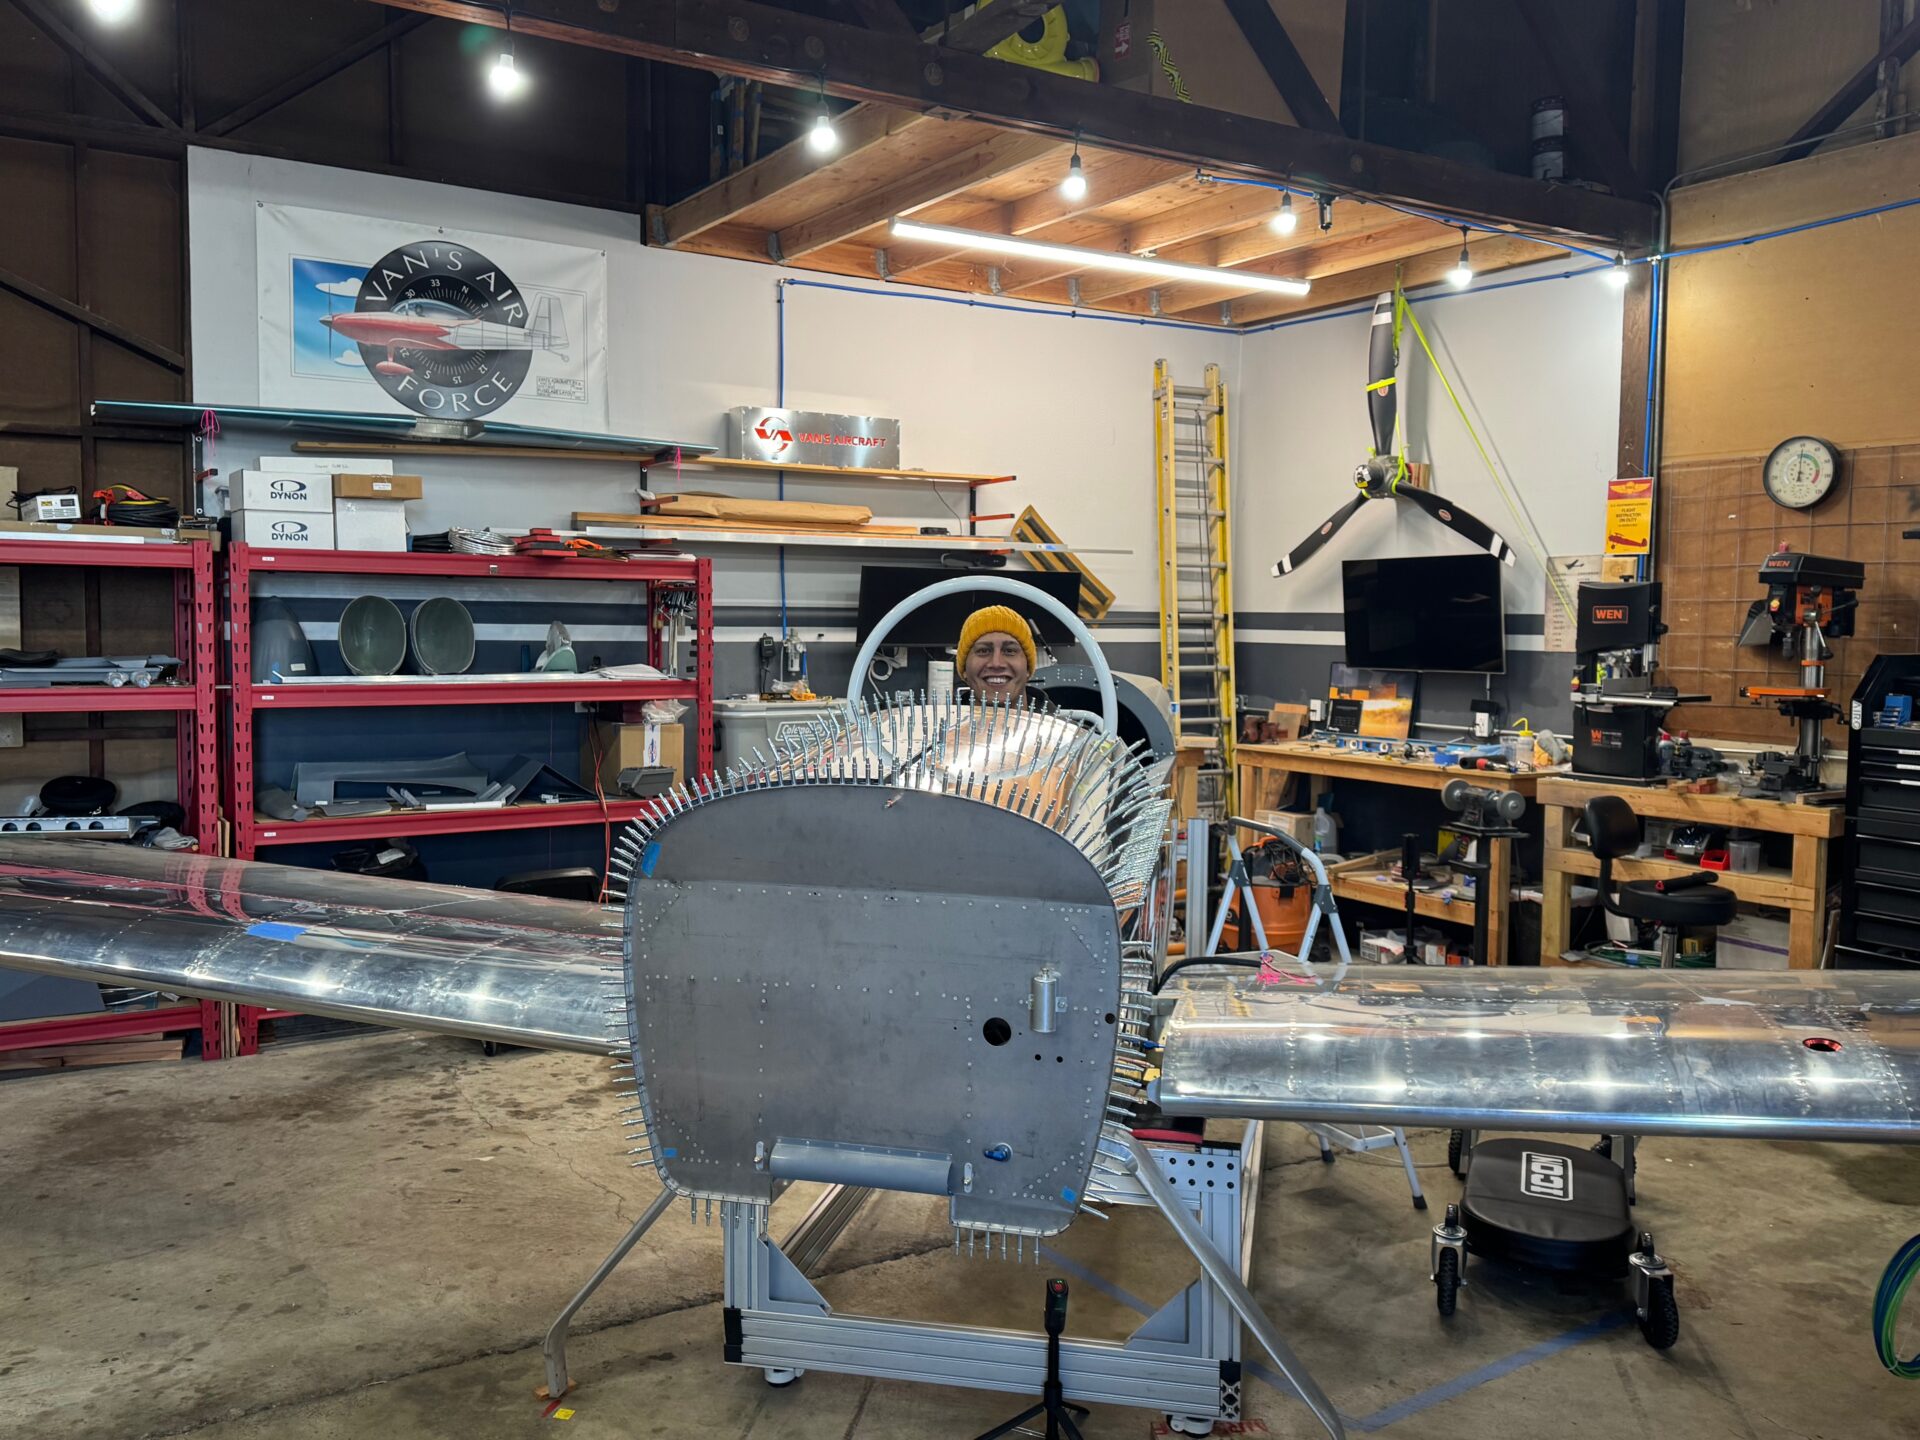
Wing Fitting Attempt 2
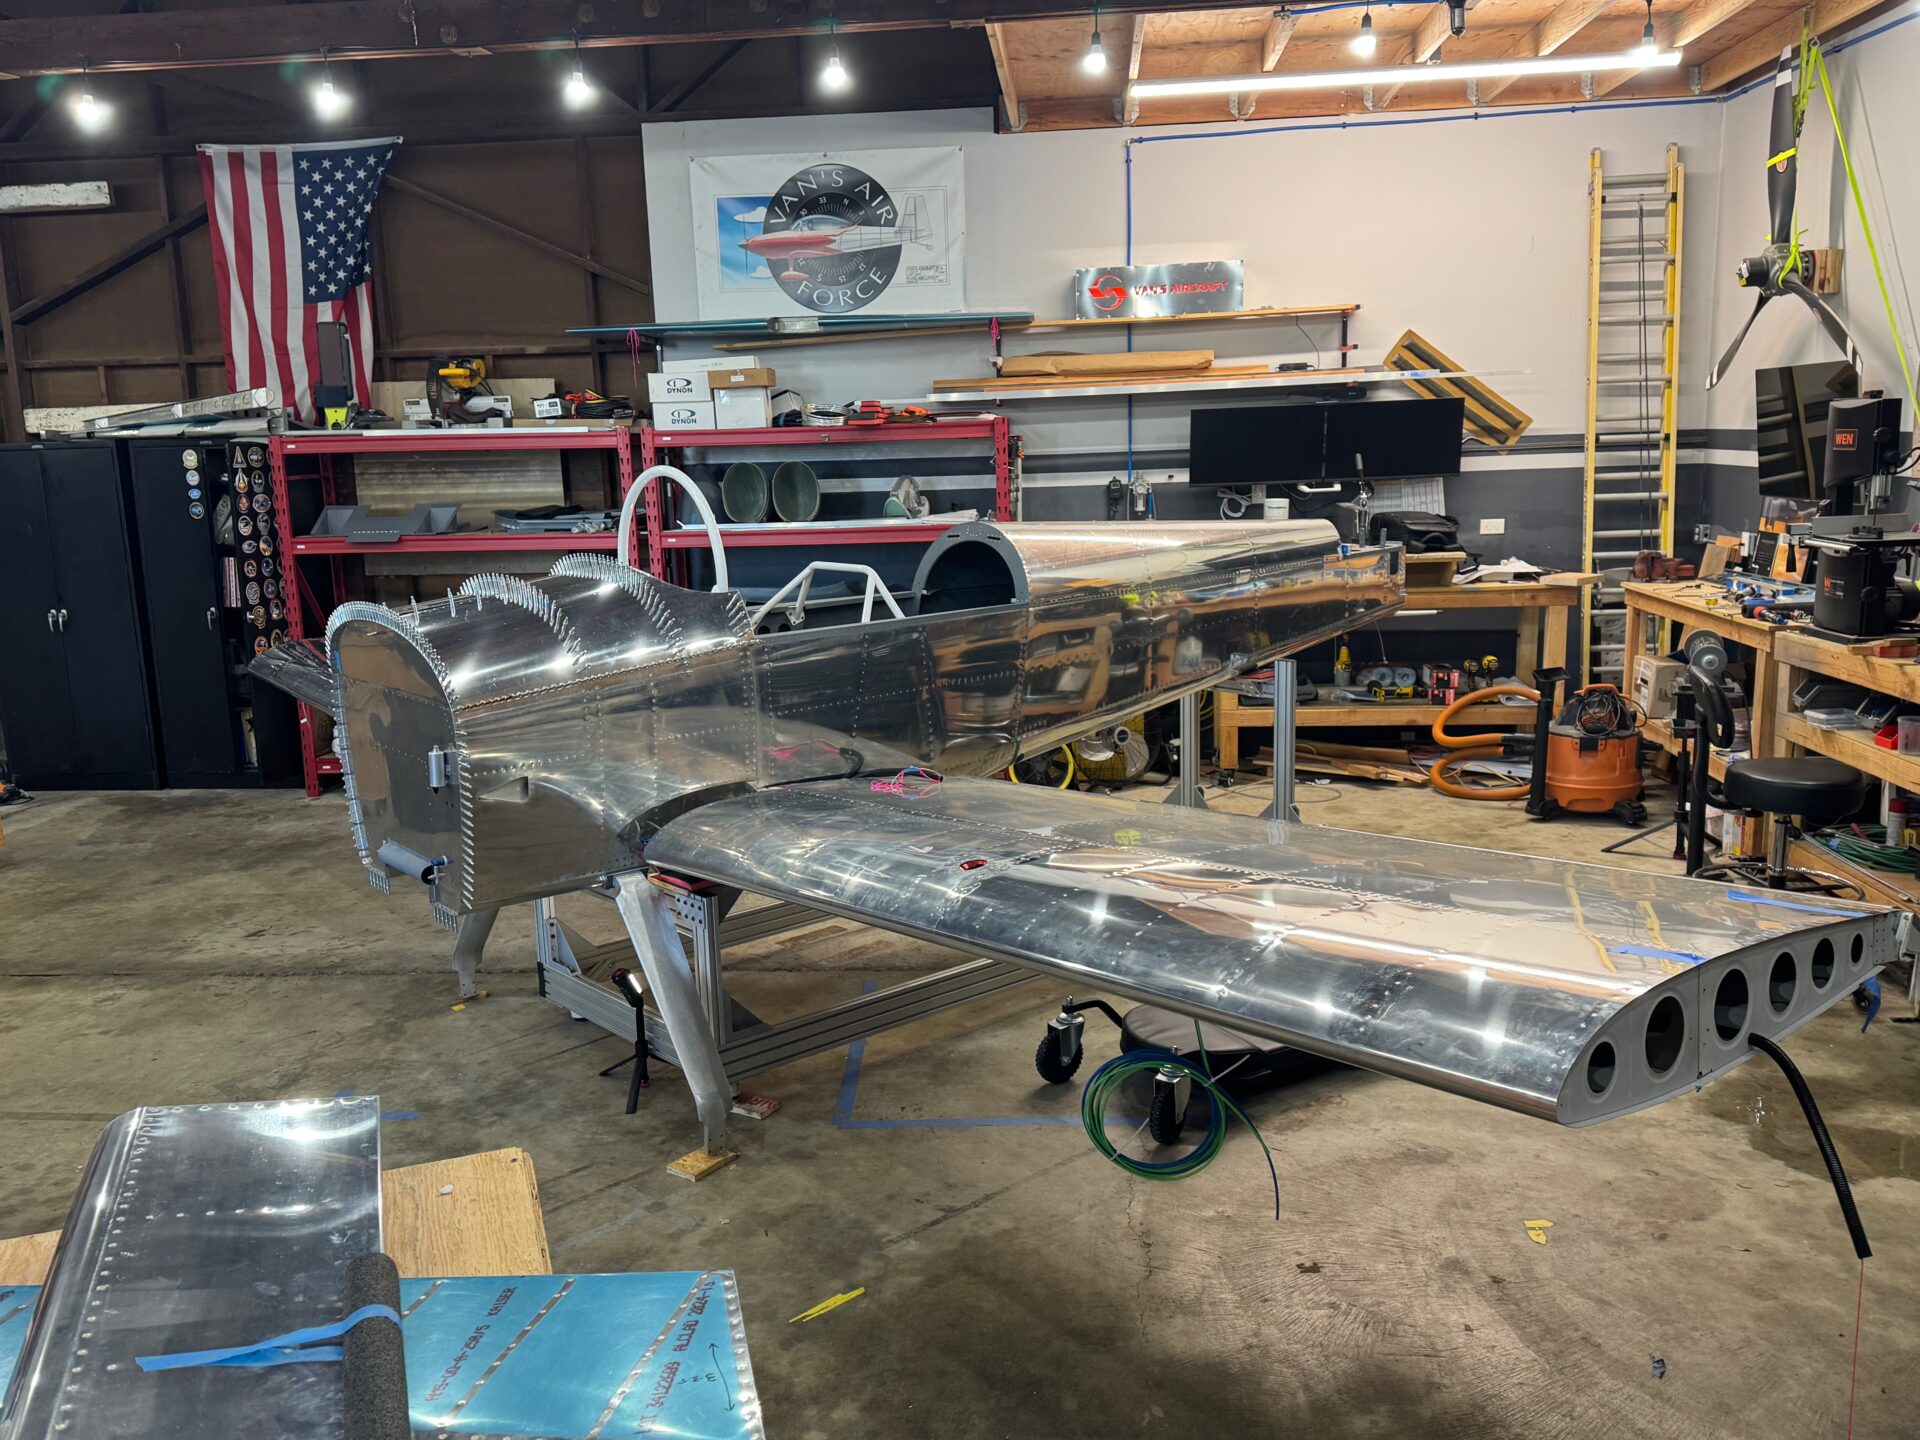
I thought I handled myself quite well during the week between attempt 1 and attempt 2. Two years ago I would have been in a complete panic thinking the project is ruined and I would have to start all over (ok.. maybe a little dramatic). This time around I was only in a minor panic, and knew that Van’s would have a solution for me. Getting the crew back together, we were able to repeat the previous weeks activities, this time with much less fan fare, more caution, and a little wiser. Long story short, the wing fit in nicely. After a couple tweaks to the spacing, we re-riveted the center spar belly rivets, and were able to get the drift pins (fabricated temporary bolts) in to lock the wing in place. We went ahead and tried the right wing, but I assumed it also would need to be spaced similar to the left wing. Turns out, it just fit! So wait.. did we just not have the left wing aligned properly? Were we not patient enough trying to align the center spar on that side? Who knows, but with hindsight, I probably should have tried the right wing before doing all the re-work, and maybe that would have built the confidence to re-try the left wing. Again… all’s well that ends well. Sam and I celebrated with some victory photos.. and then it was off to work.
Spar fits!
Re-riveting newly spaced center spar
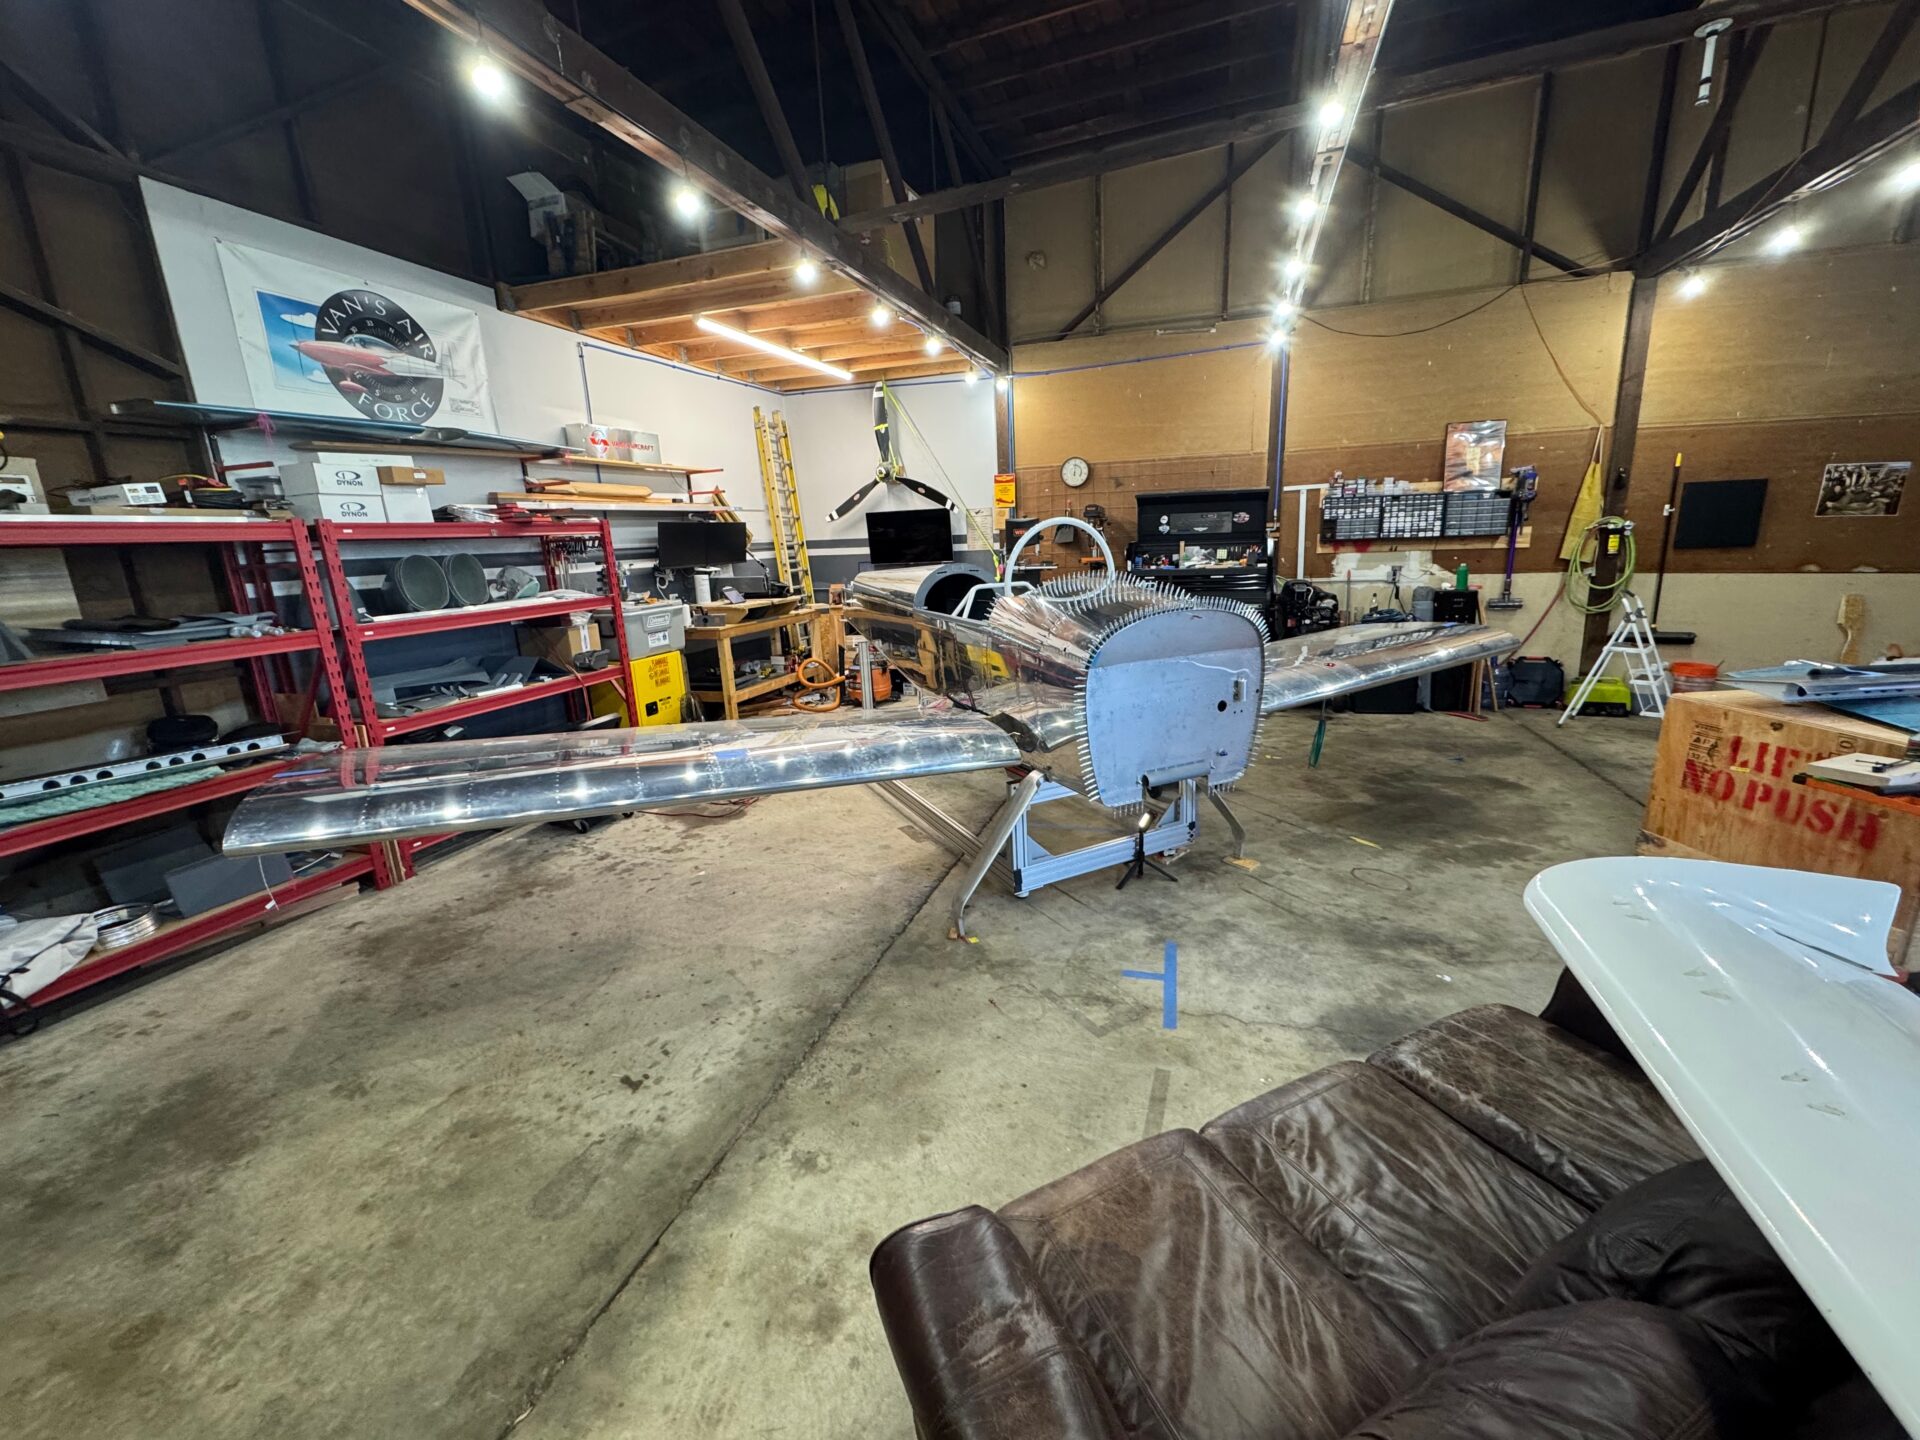
Look at that! Looks like a plane
and of course the isometric view.
woo hoo!
of course I needed to get in…:)
missles locked!
Sam is always there when I need a helping hand. Thanks!
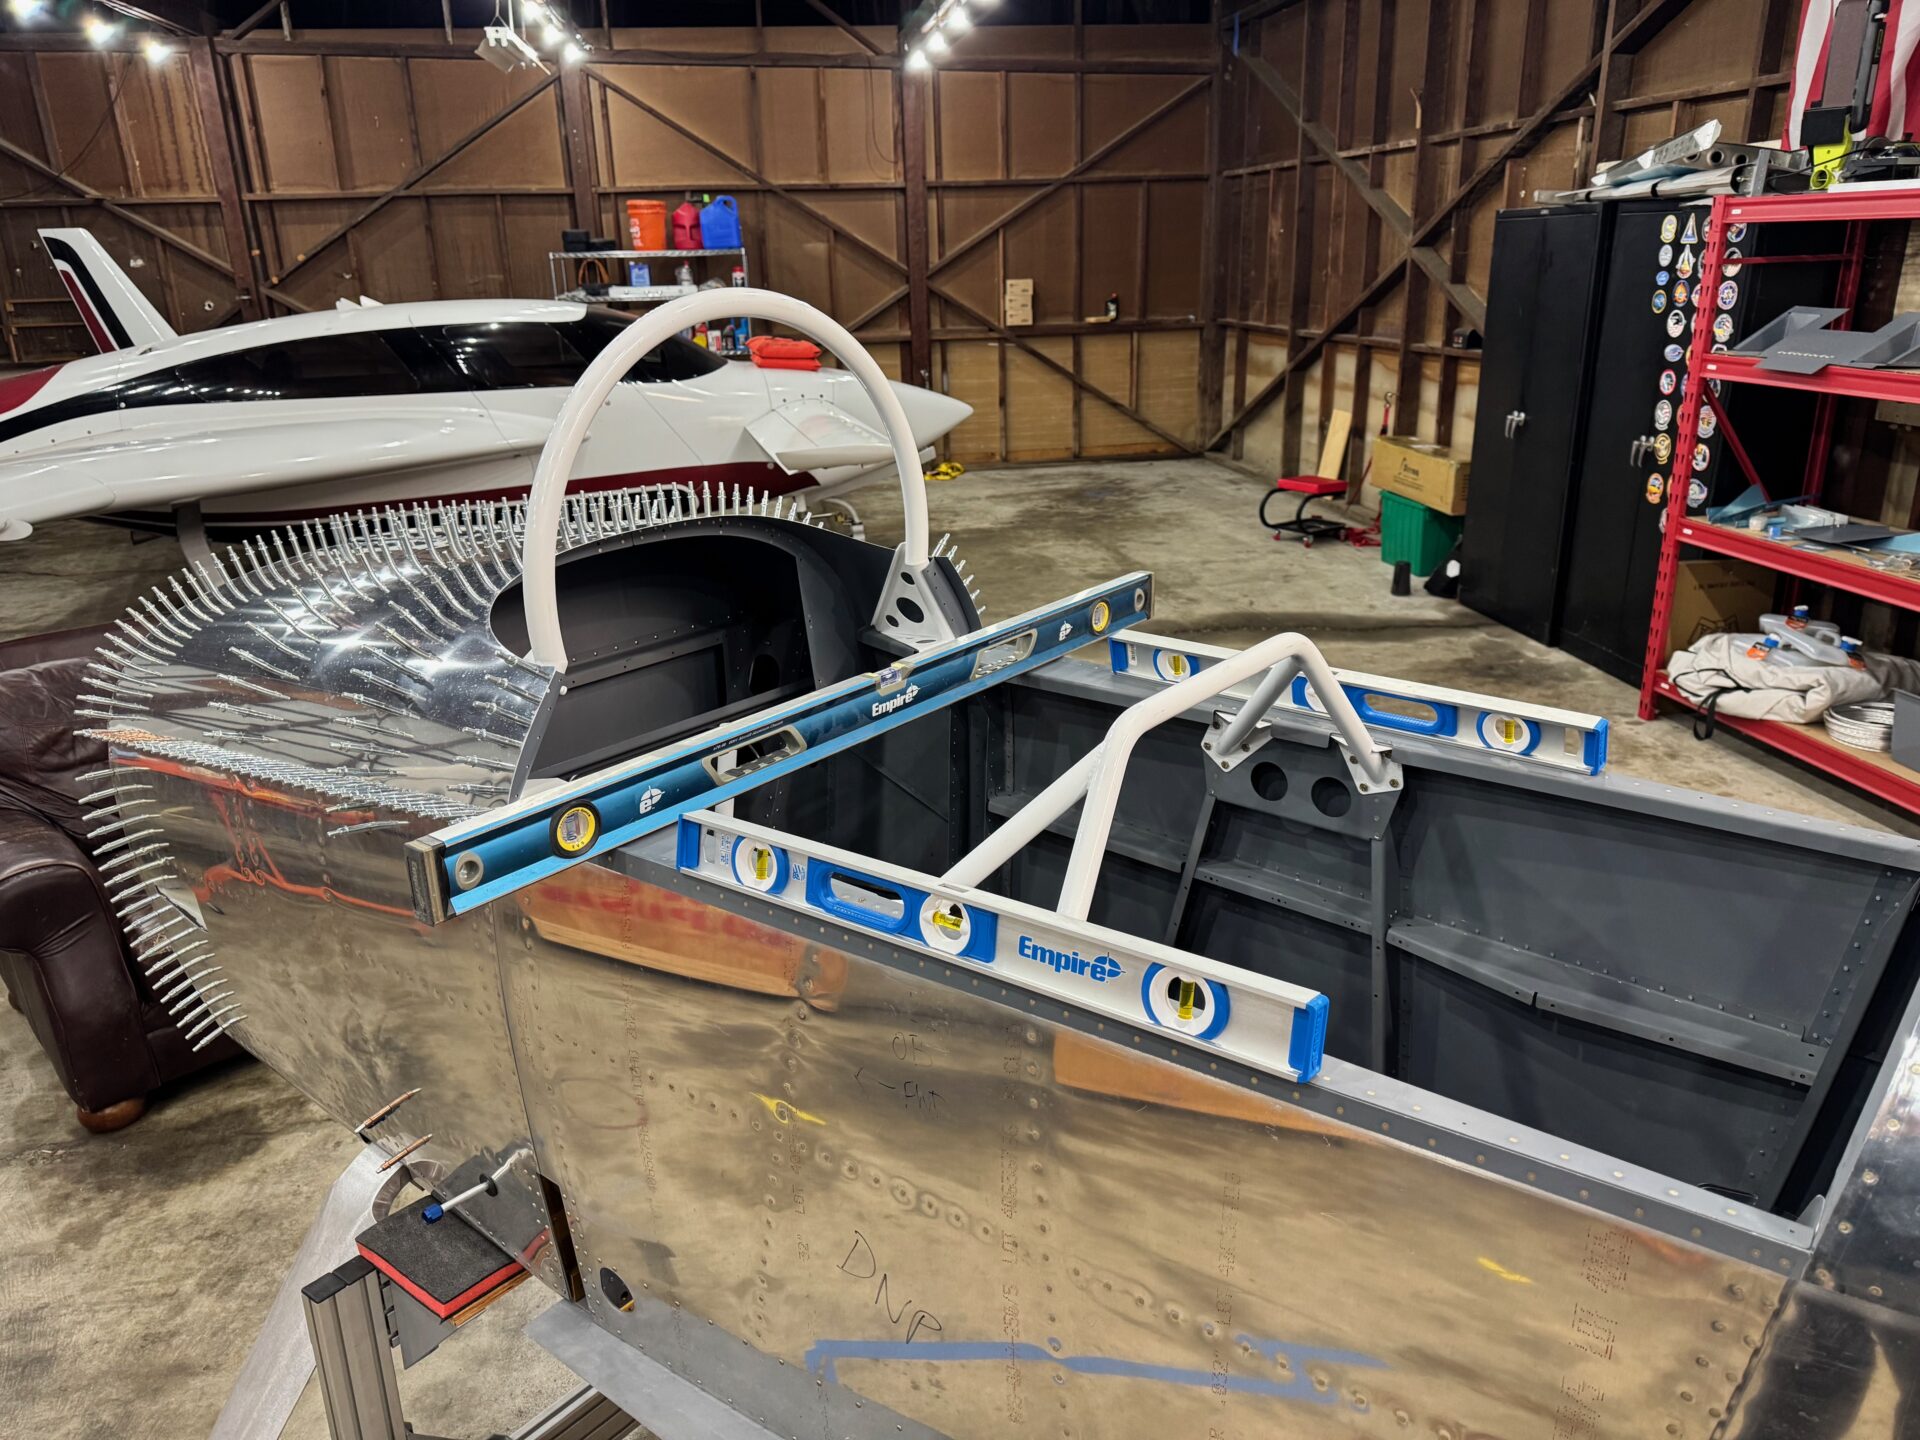
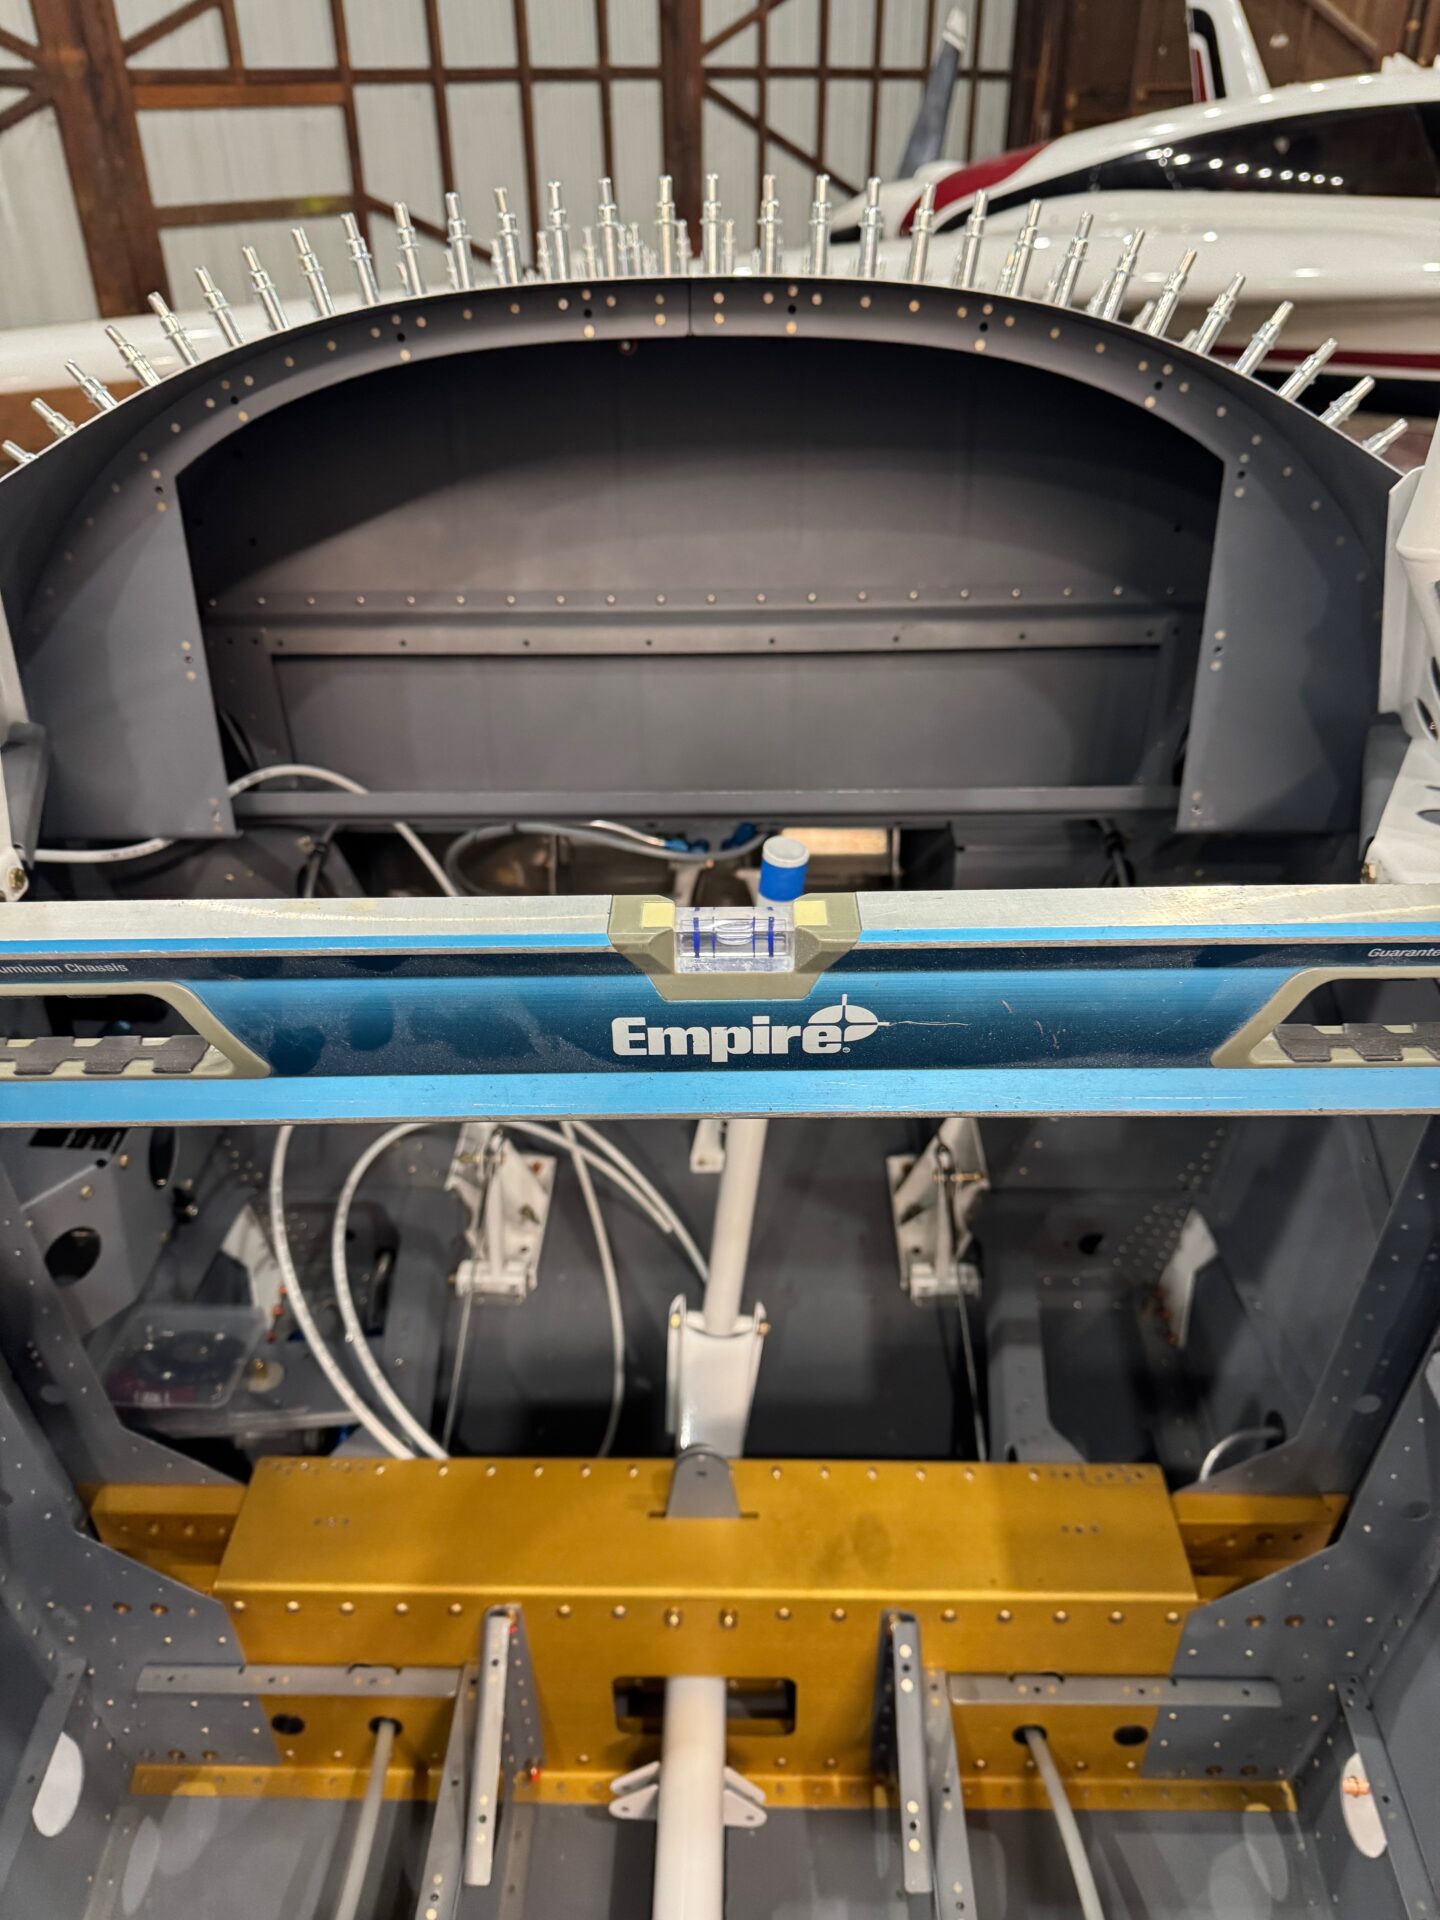
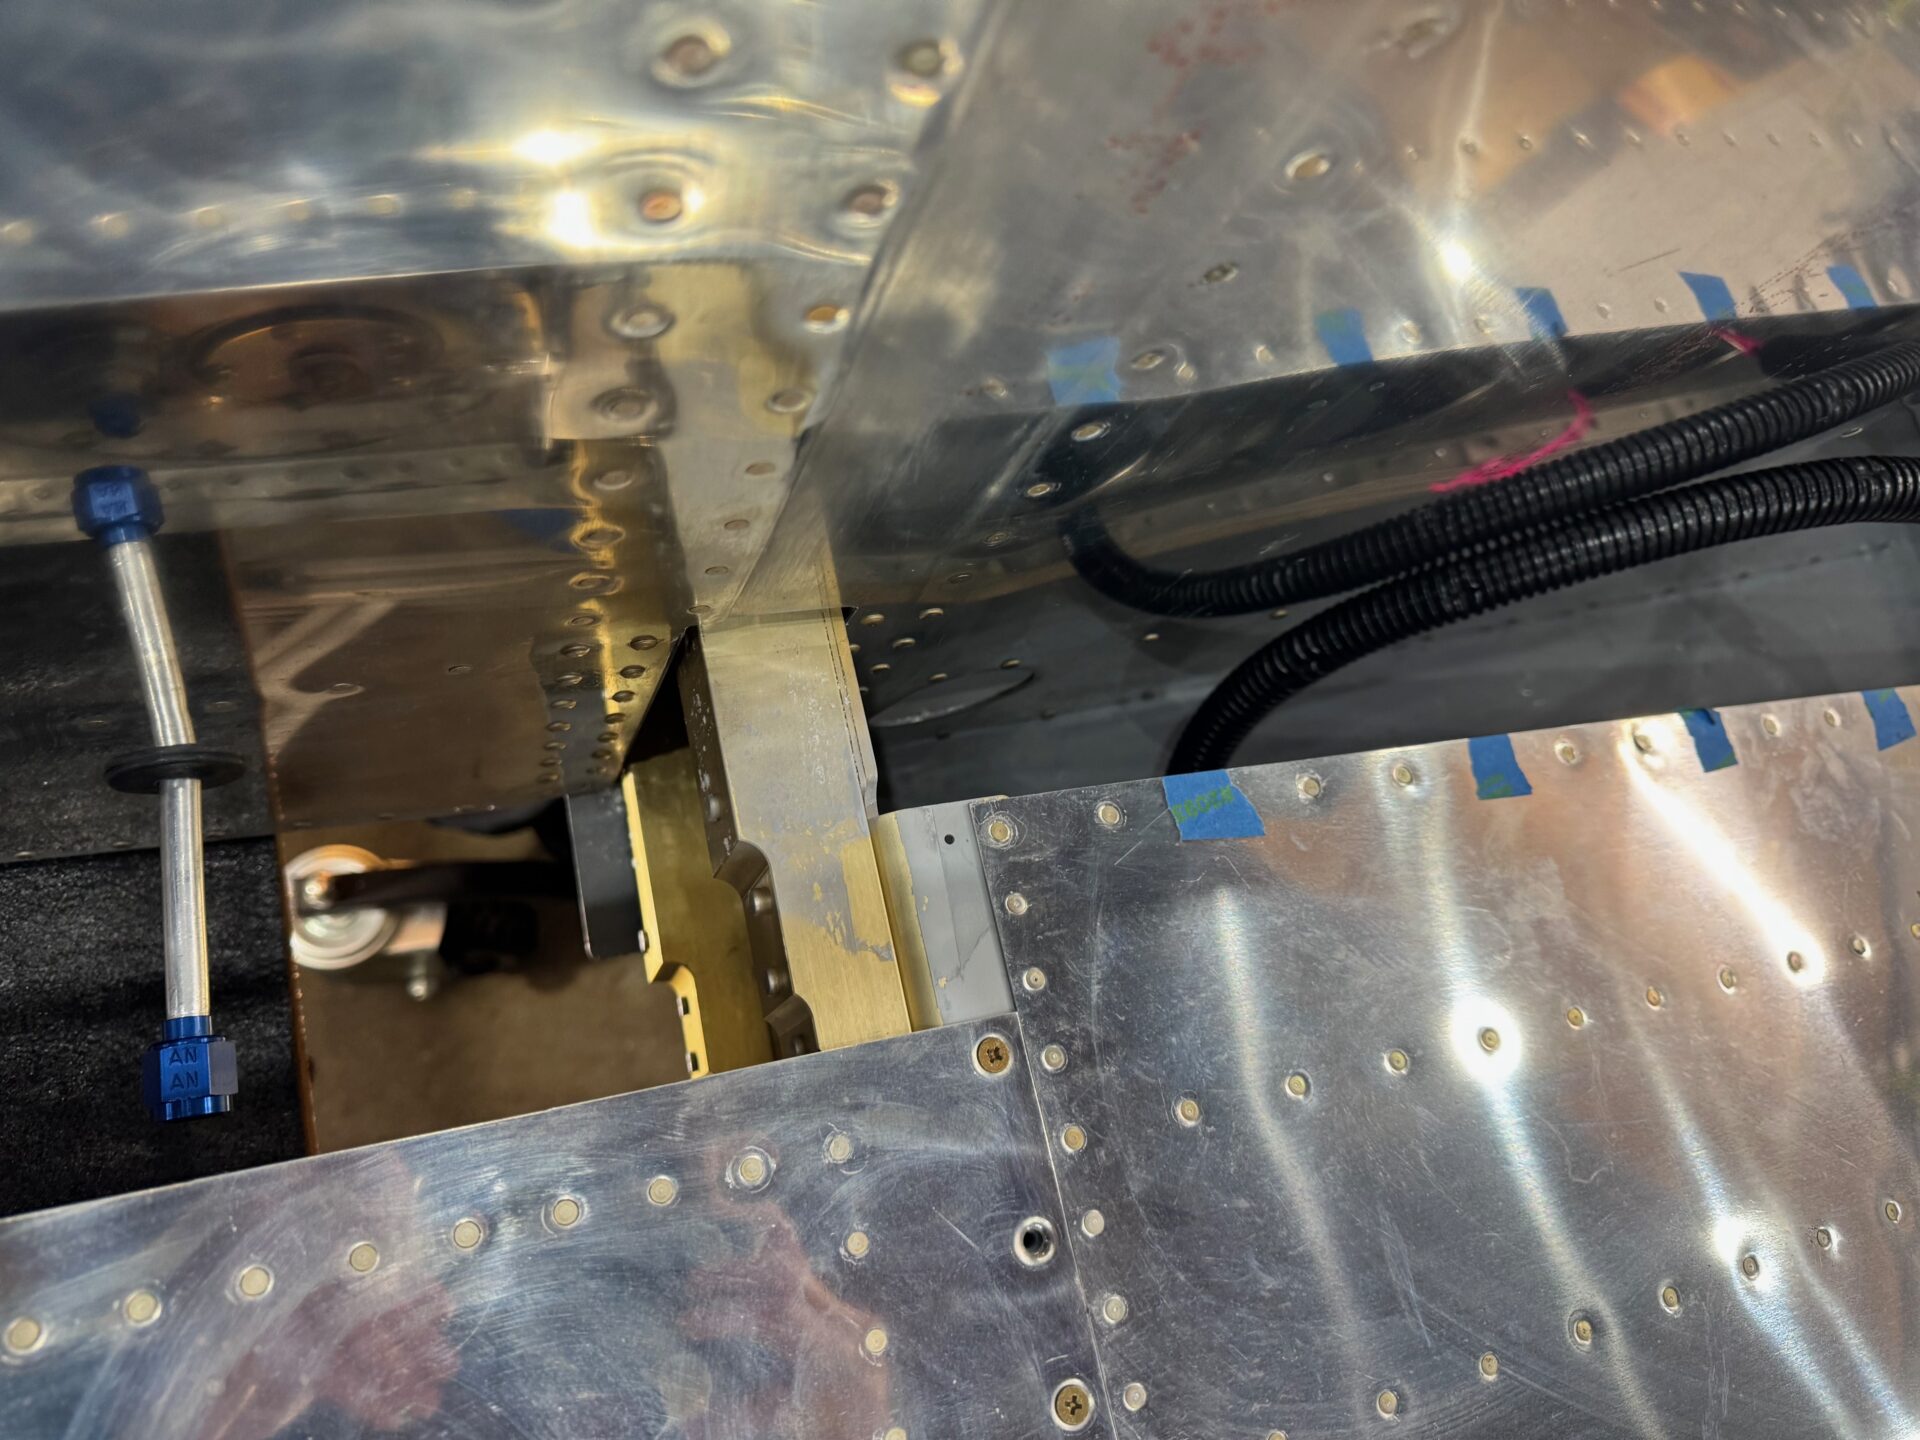
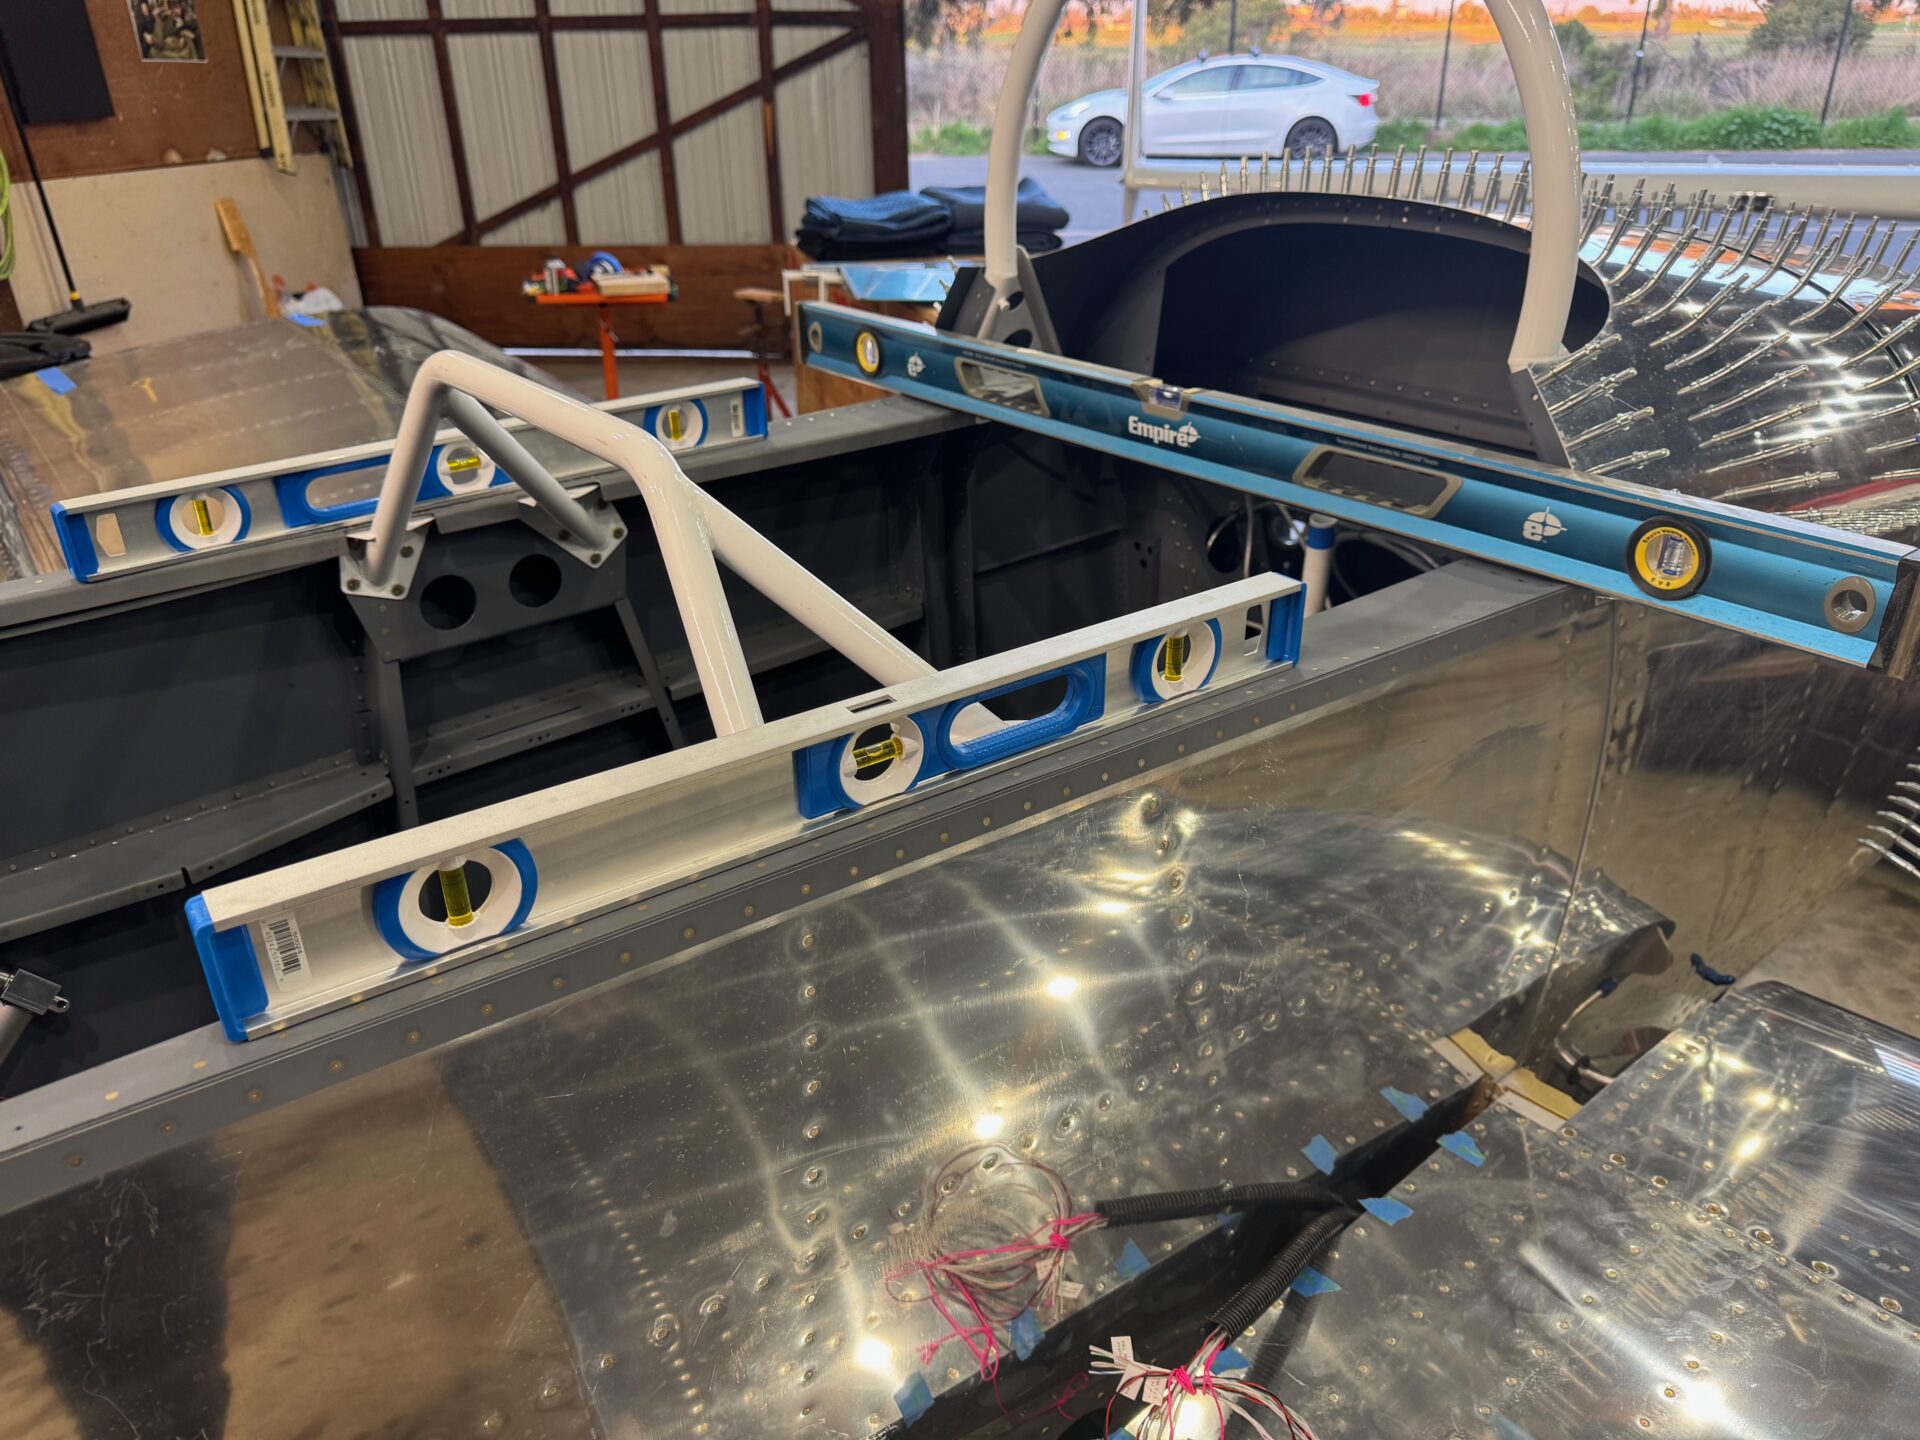
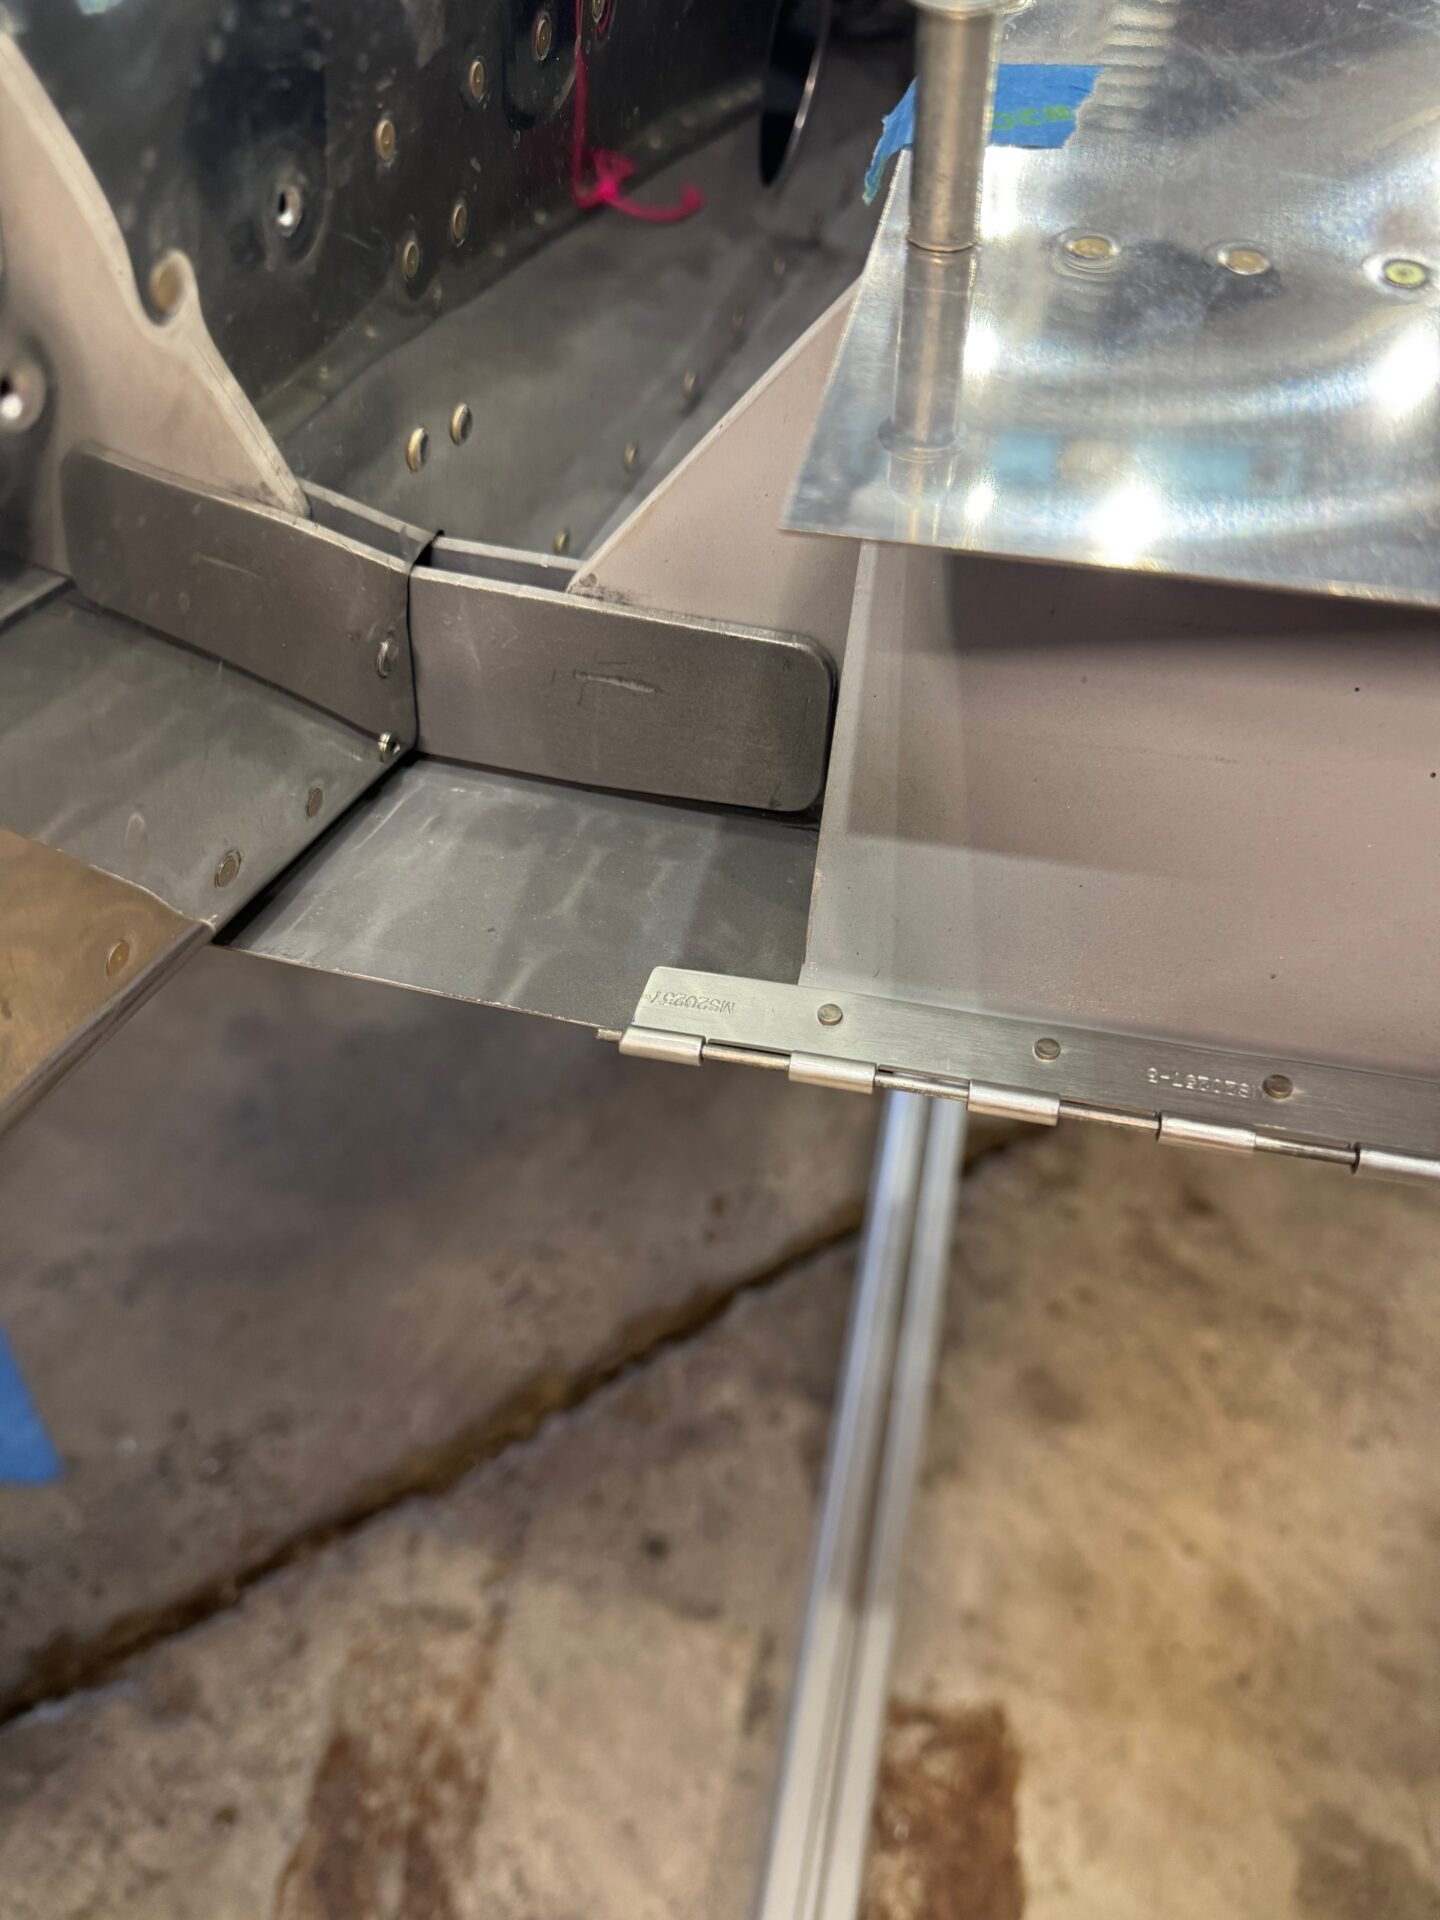
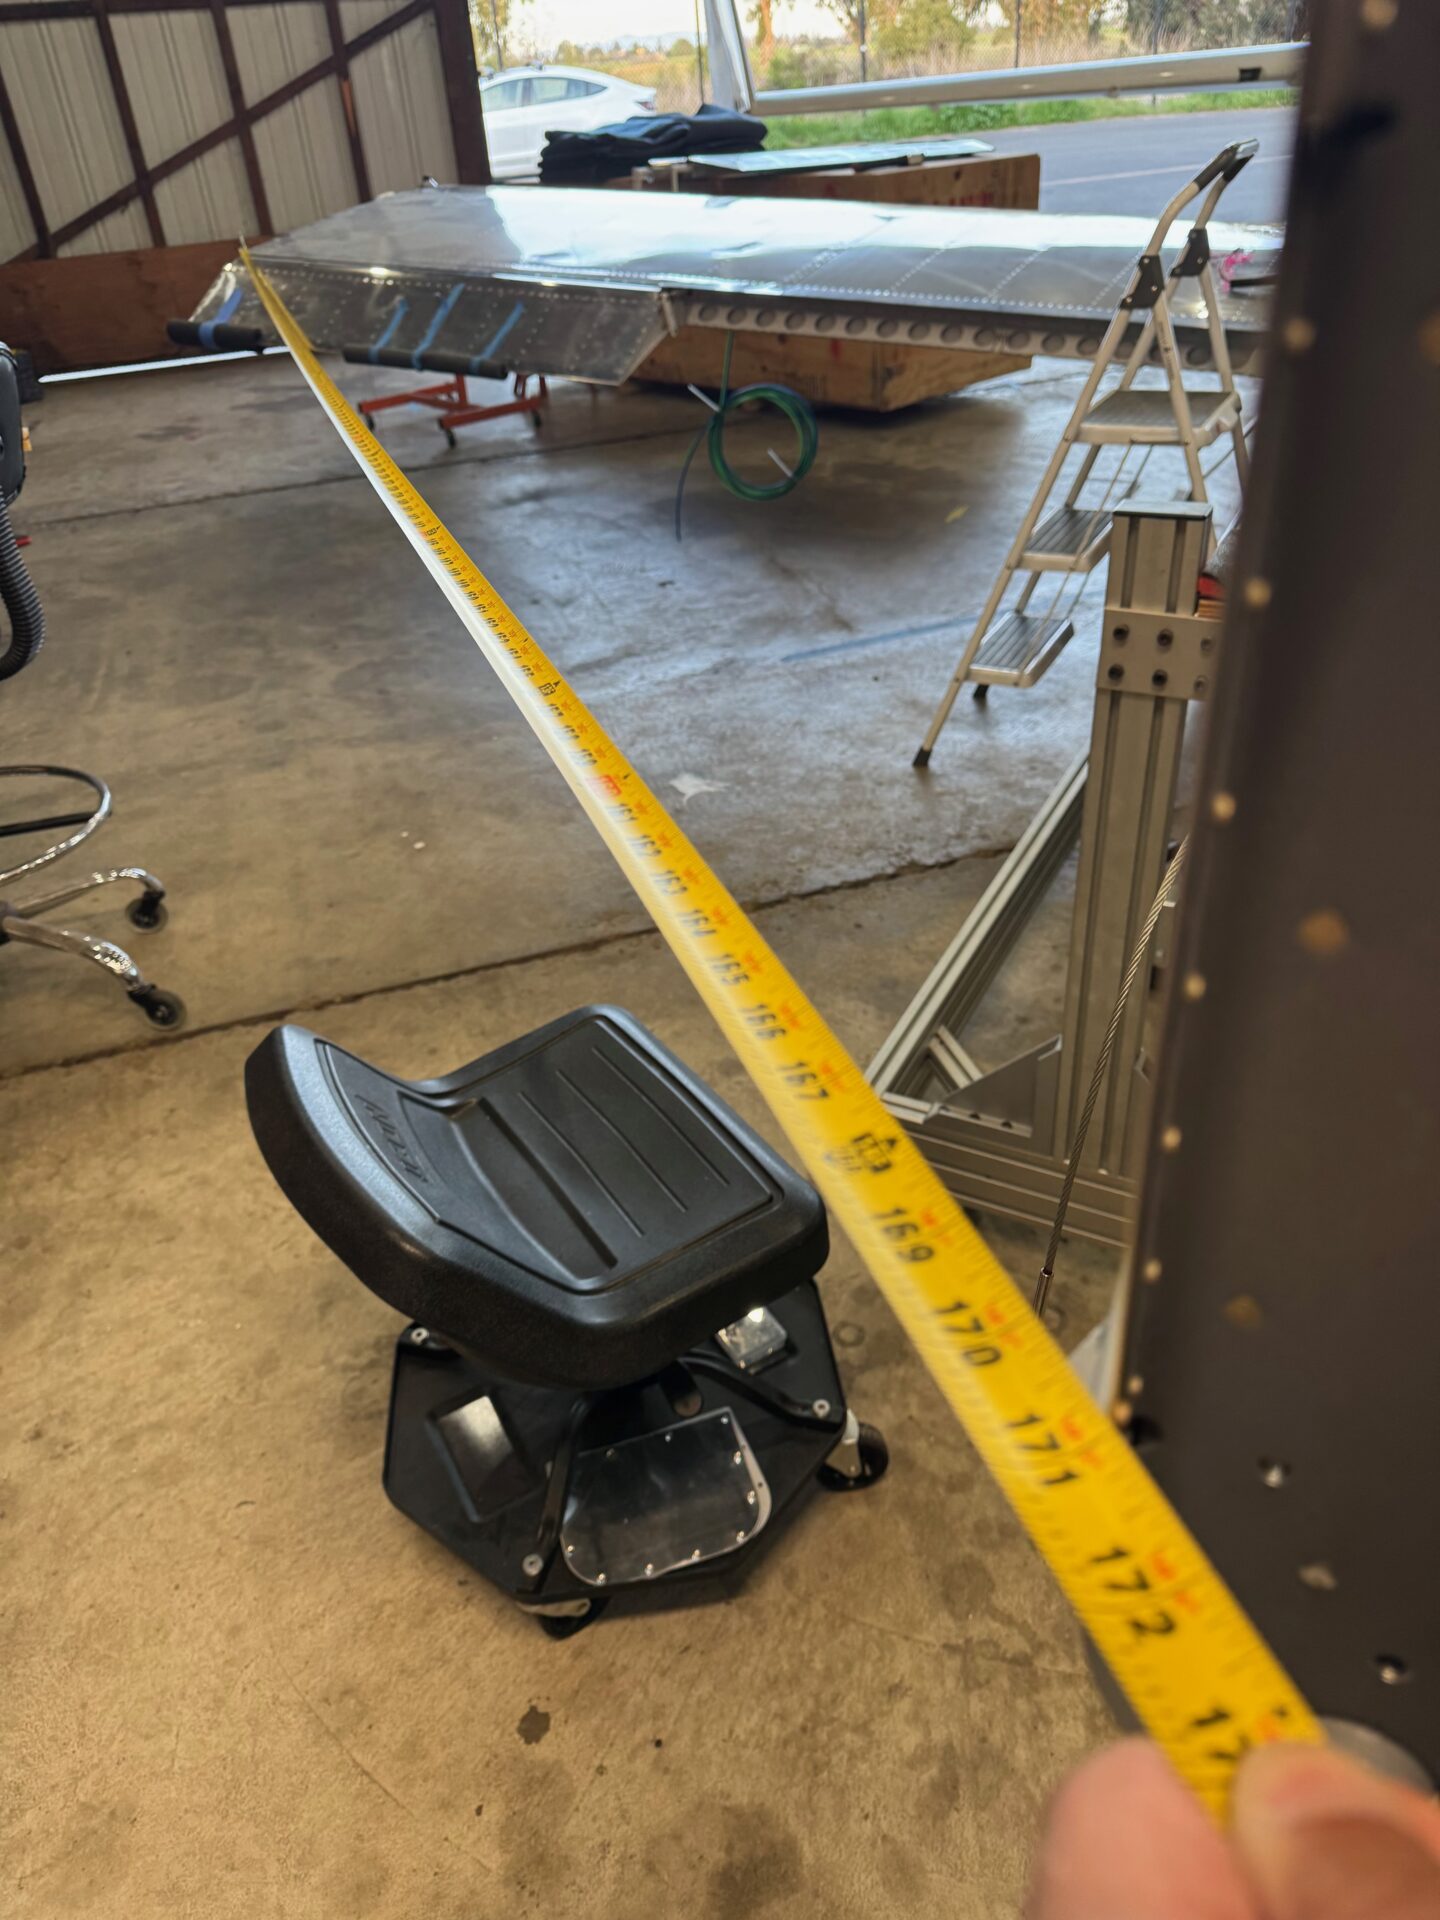
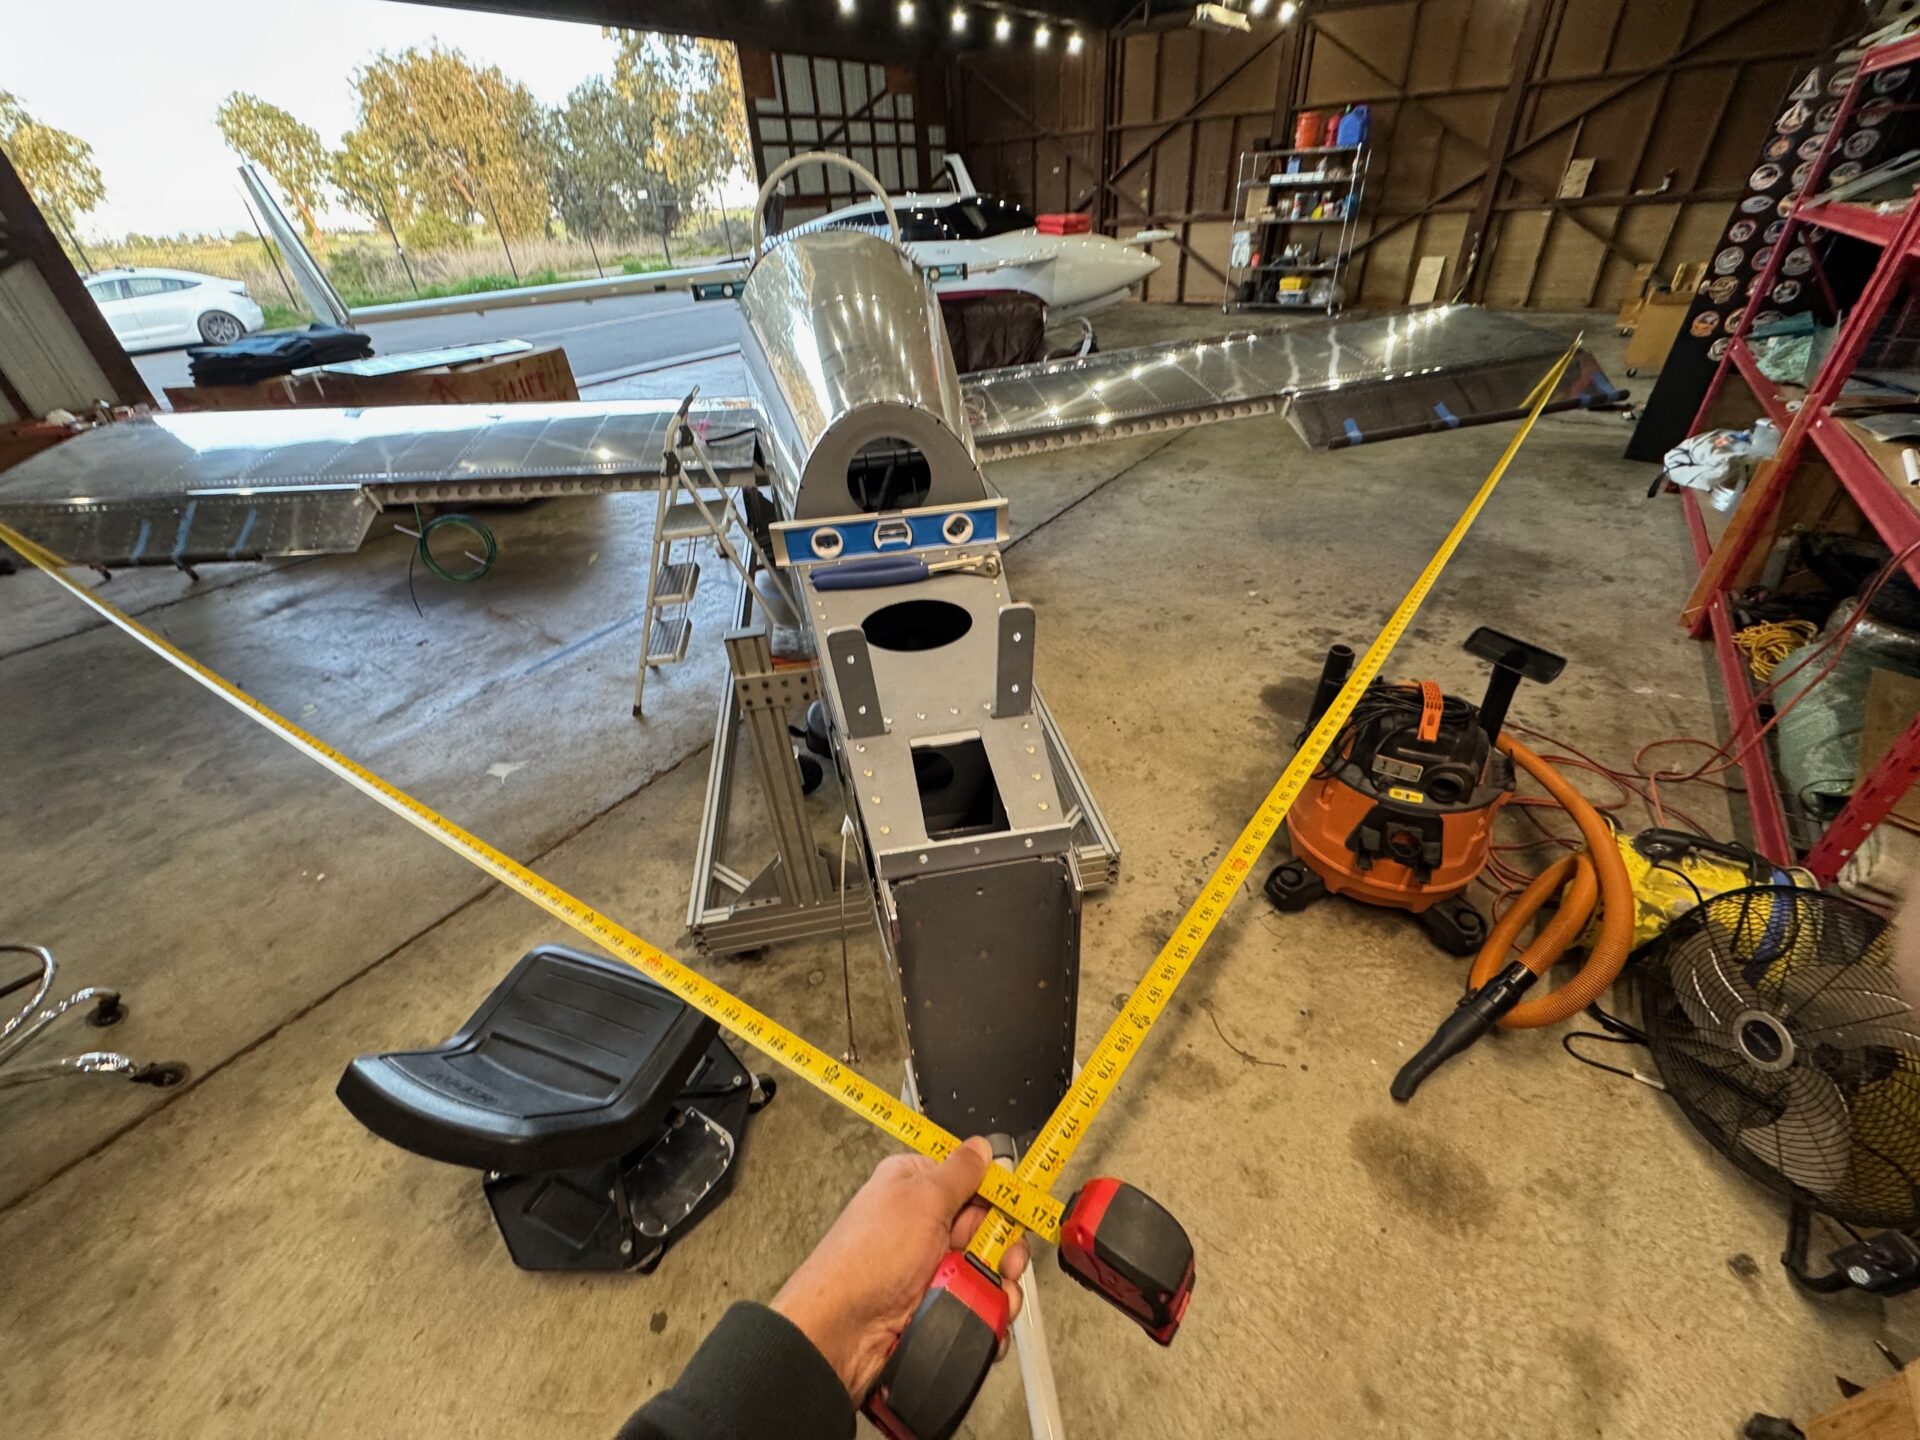
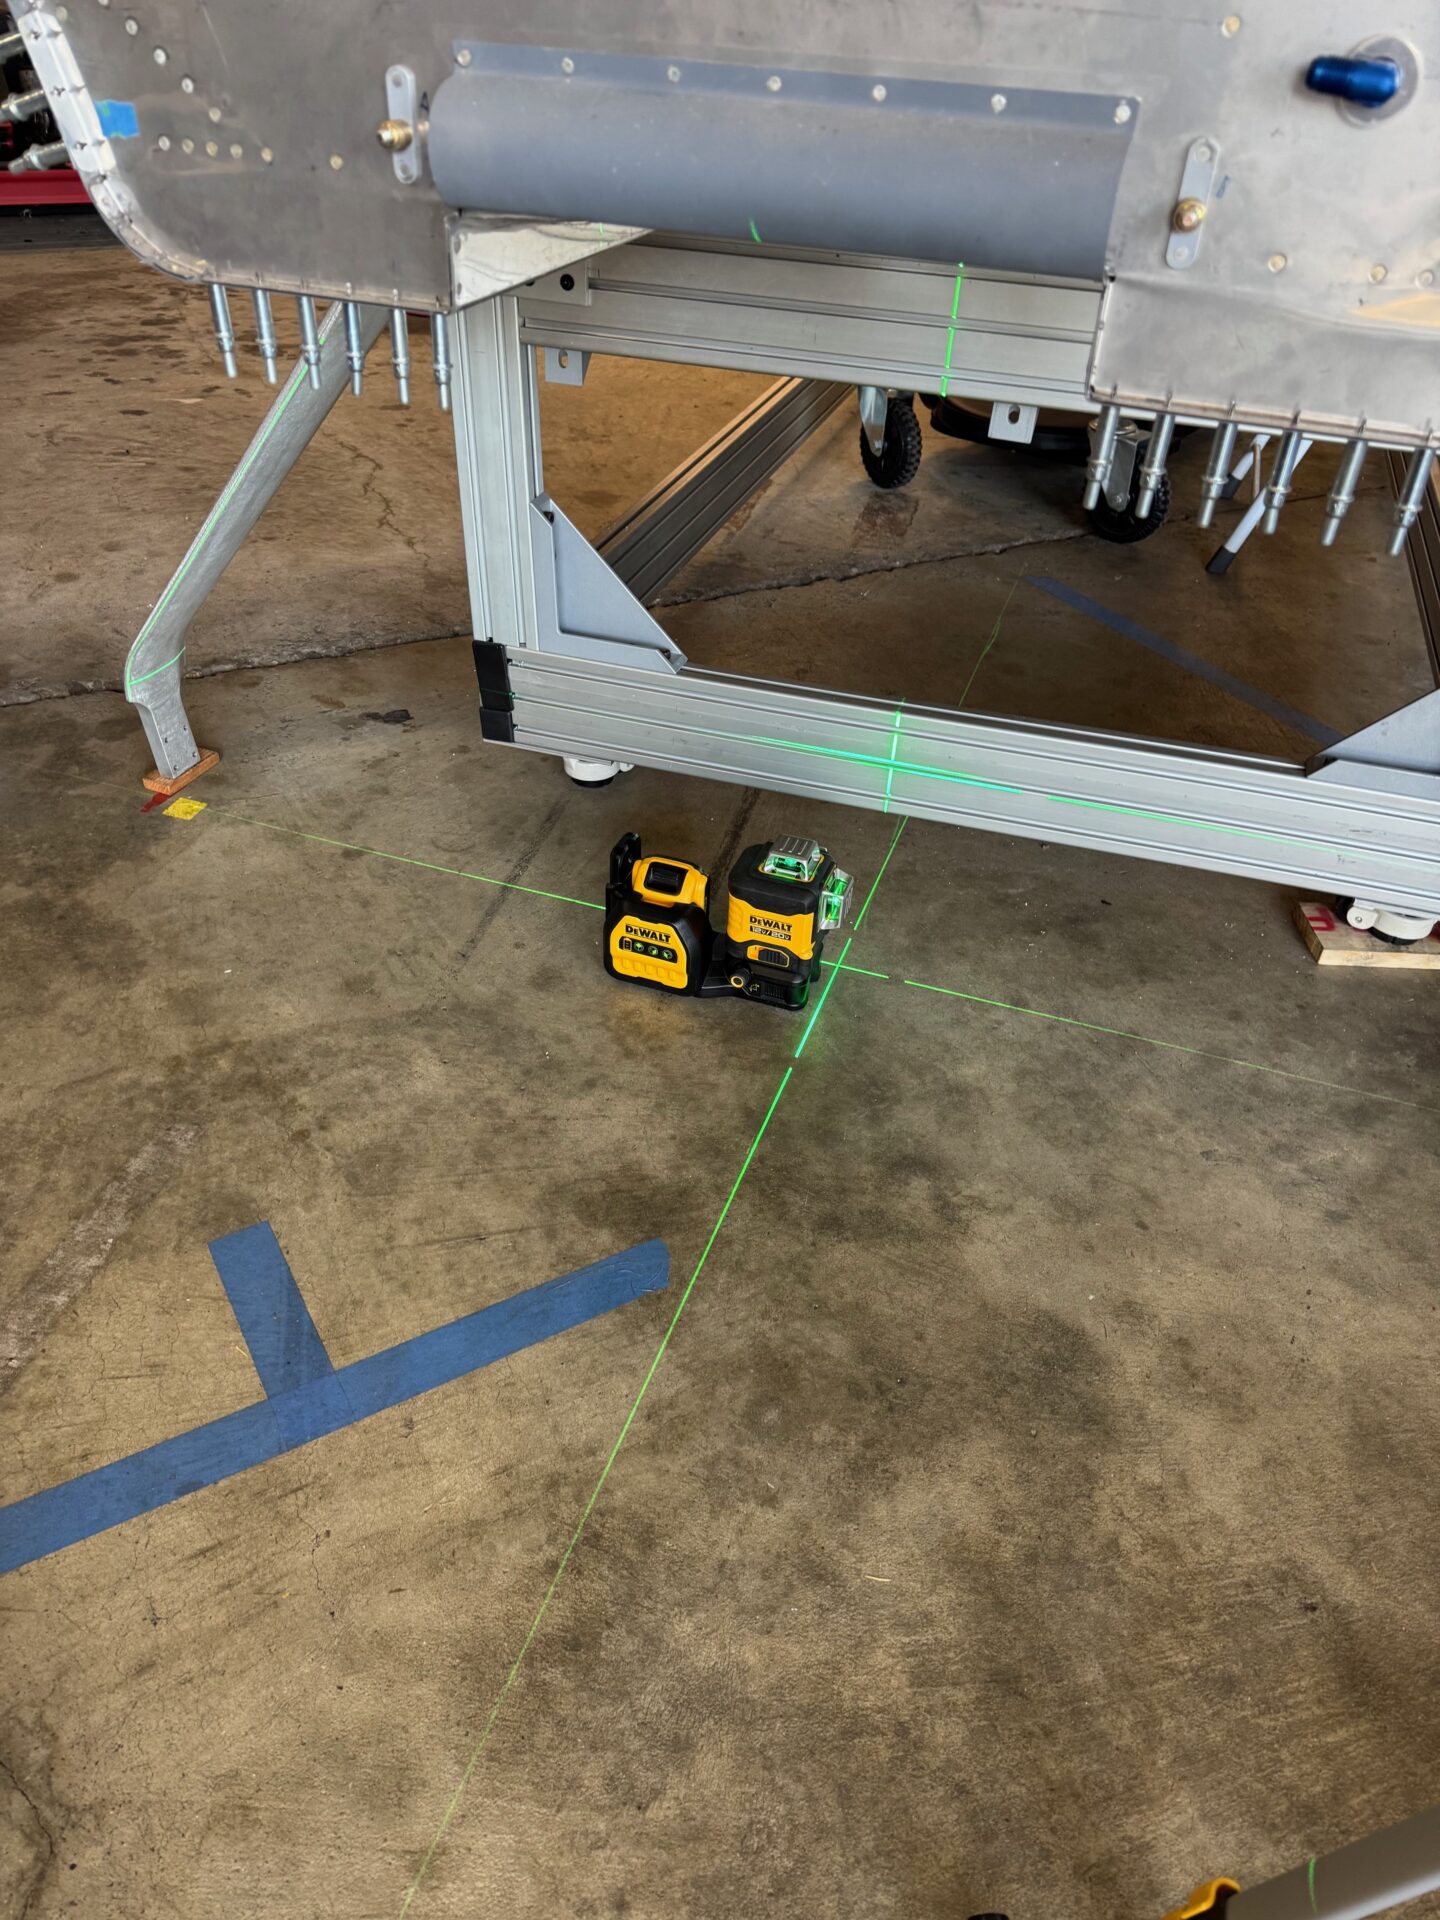
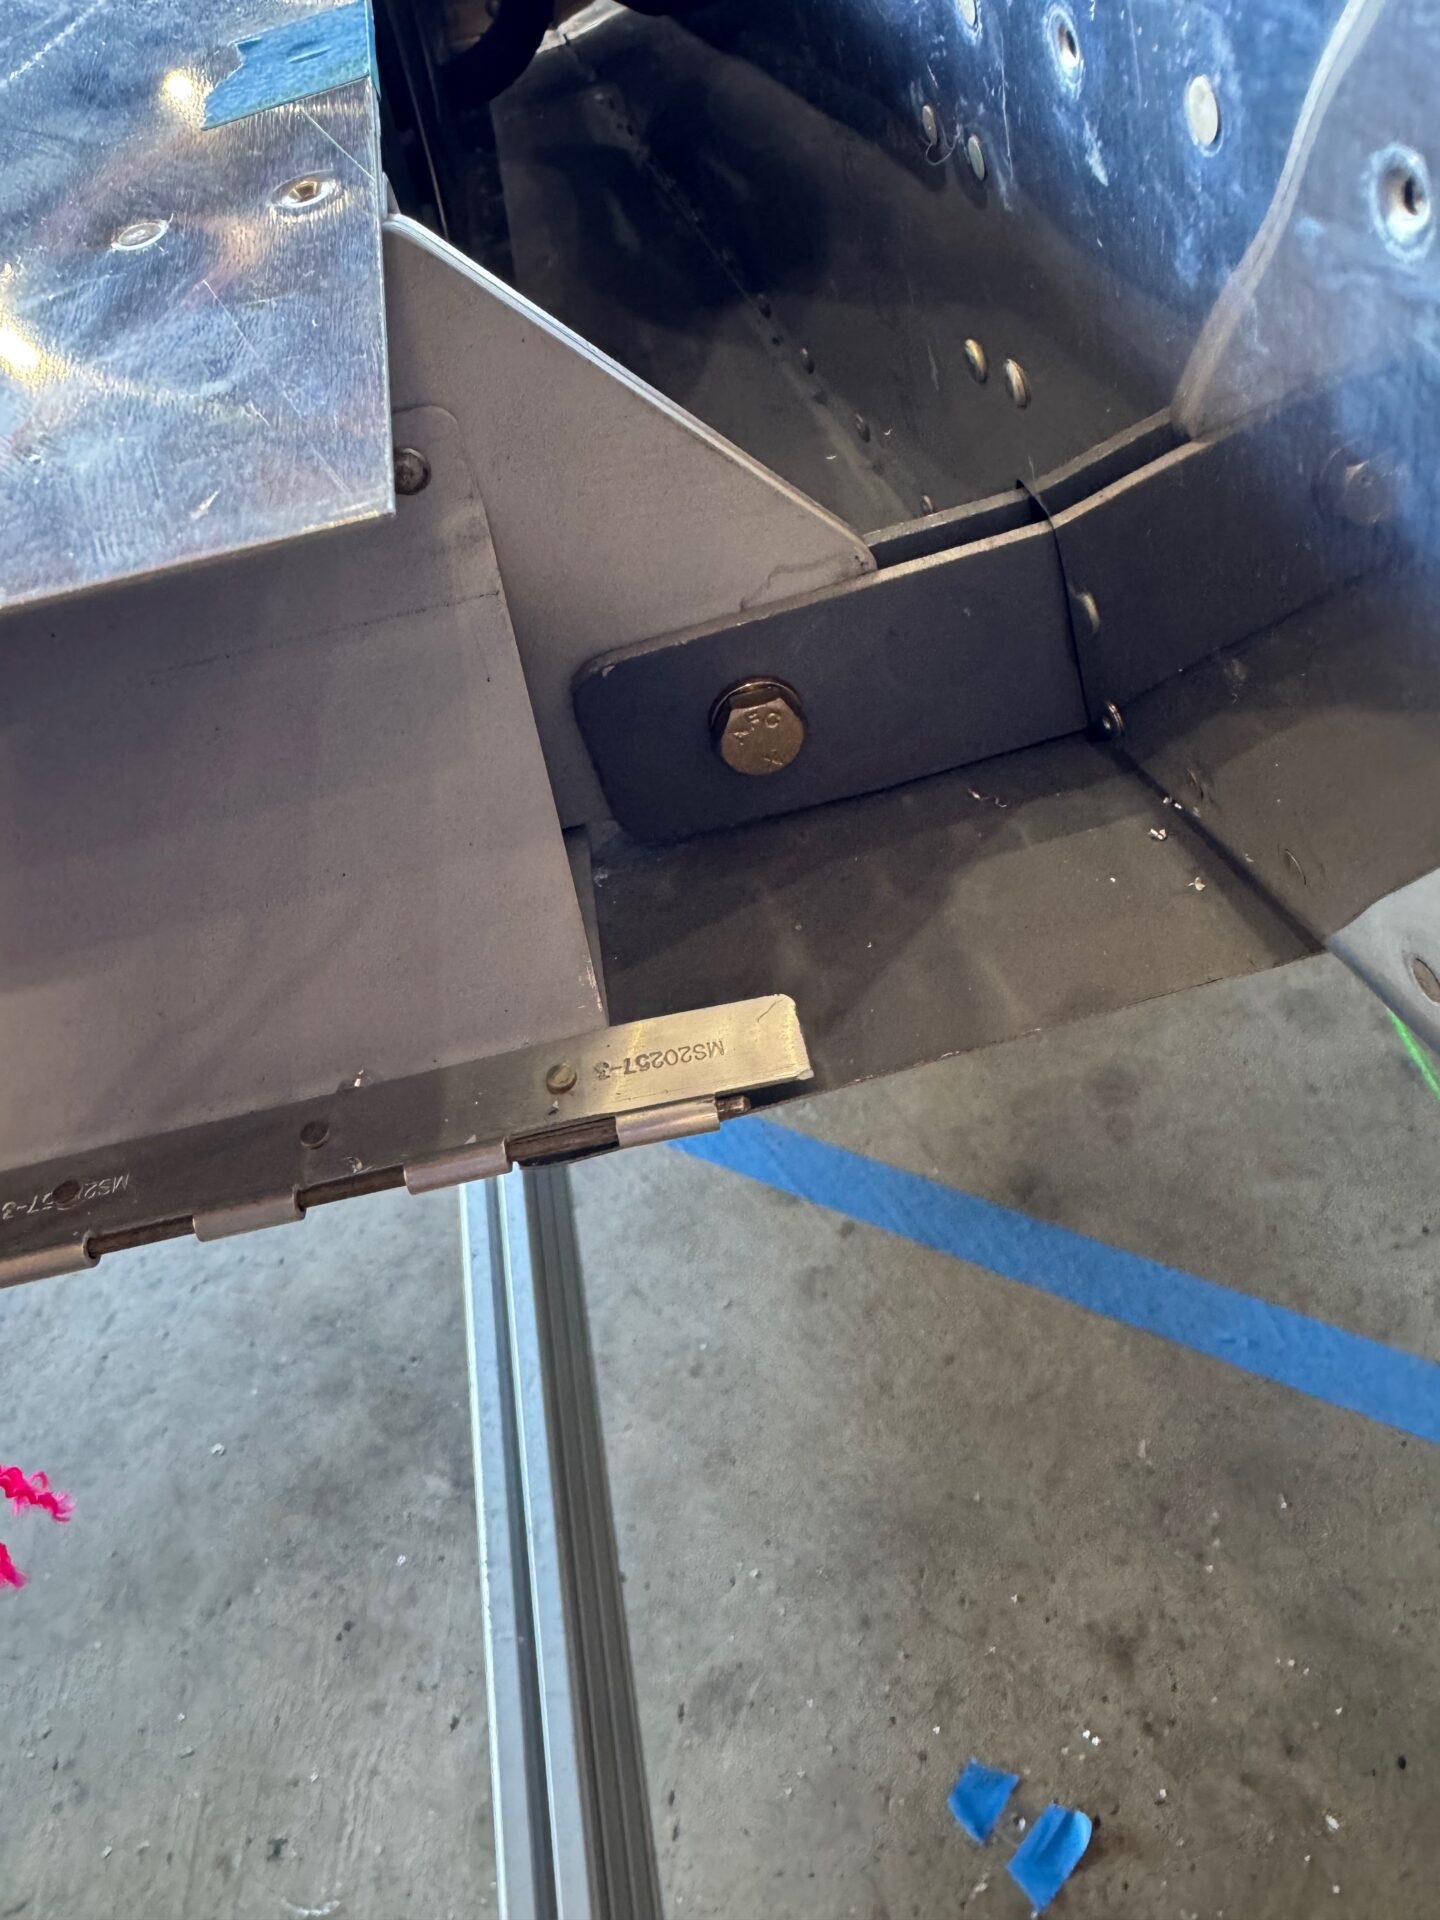
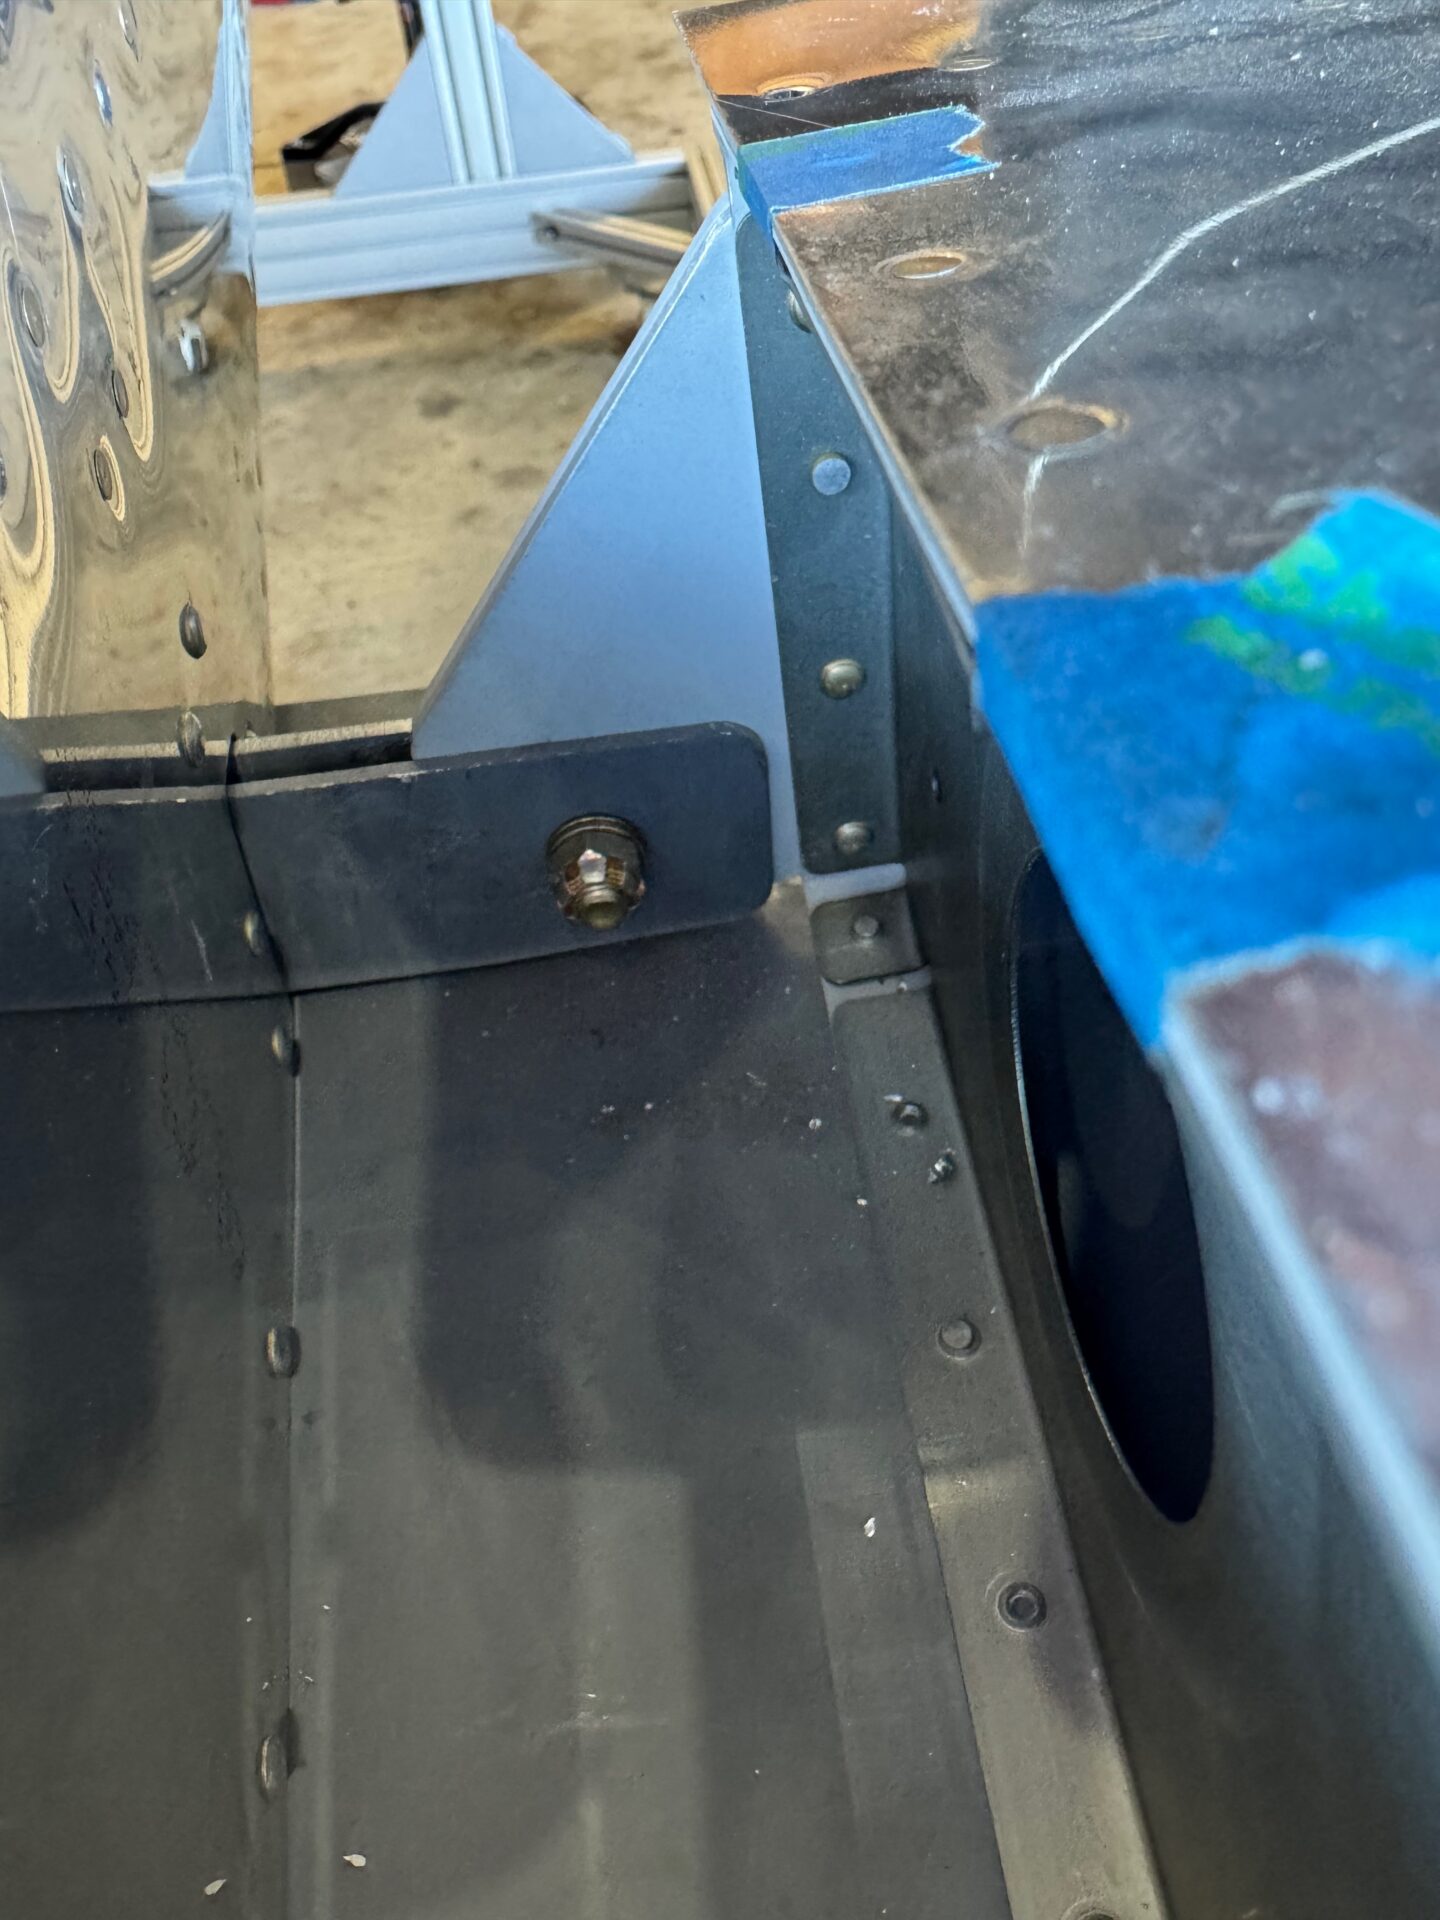
Squaring and Drilling Rear Spar
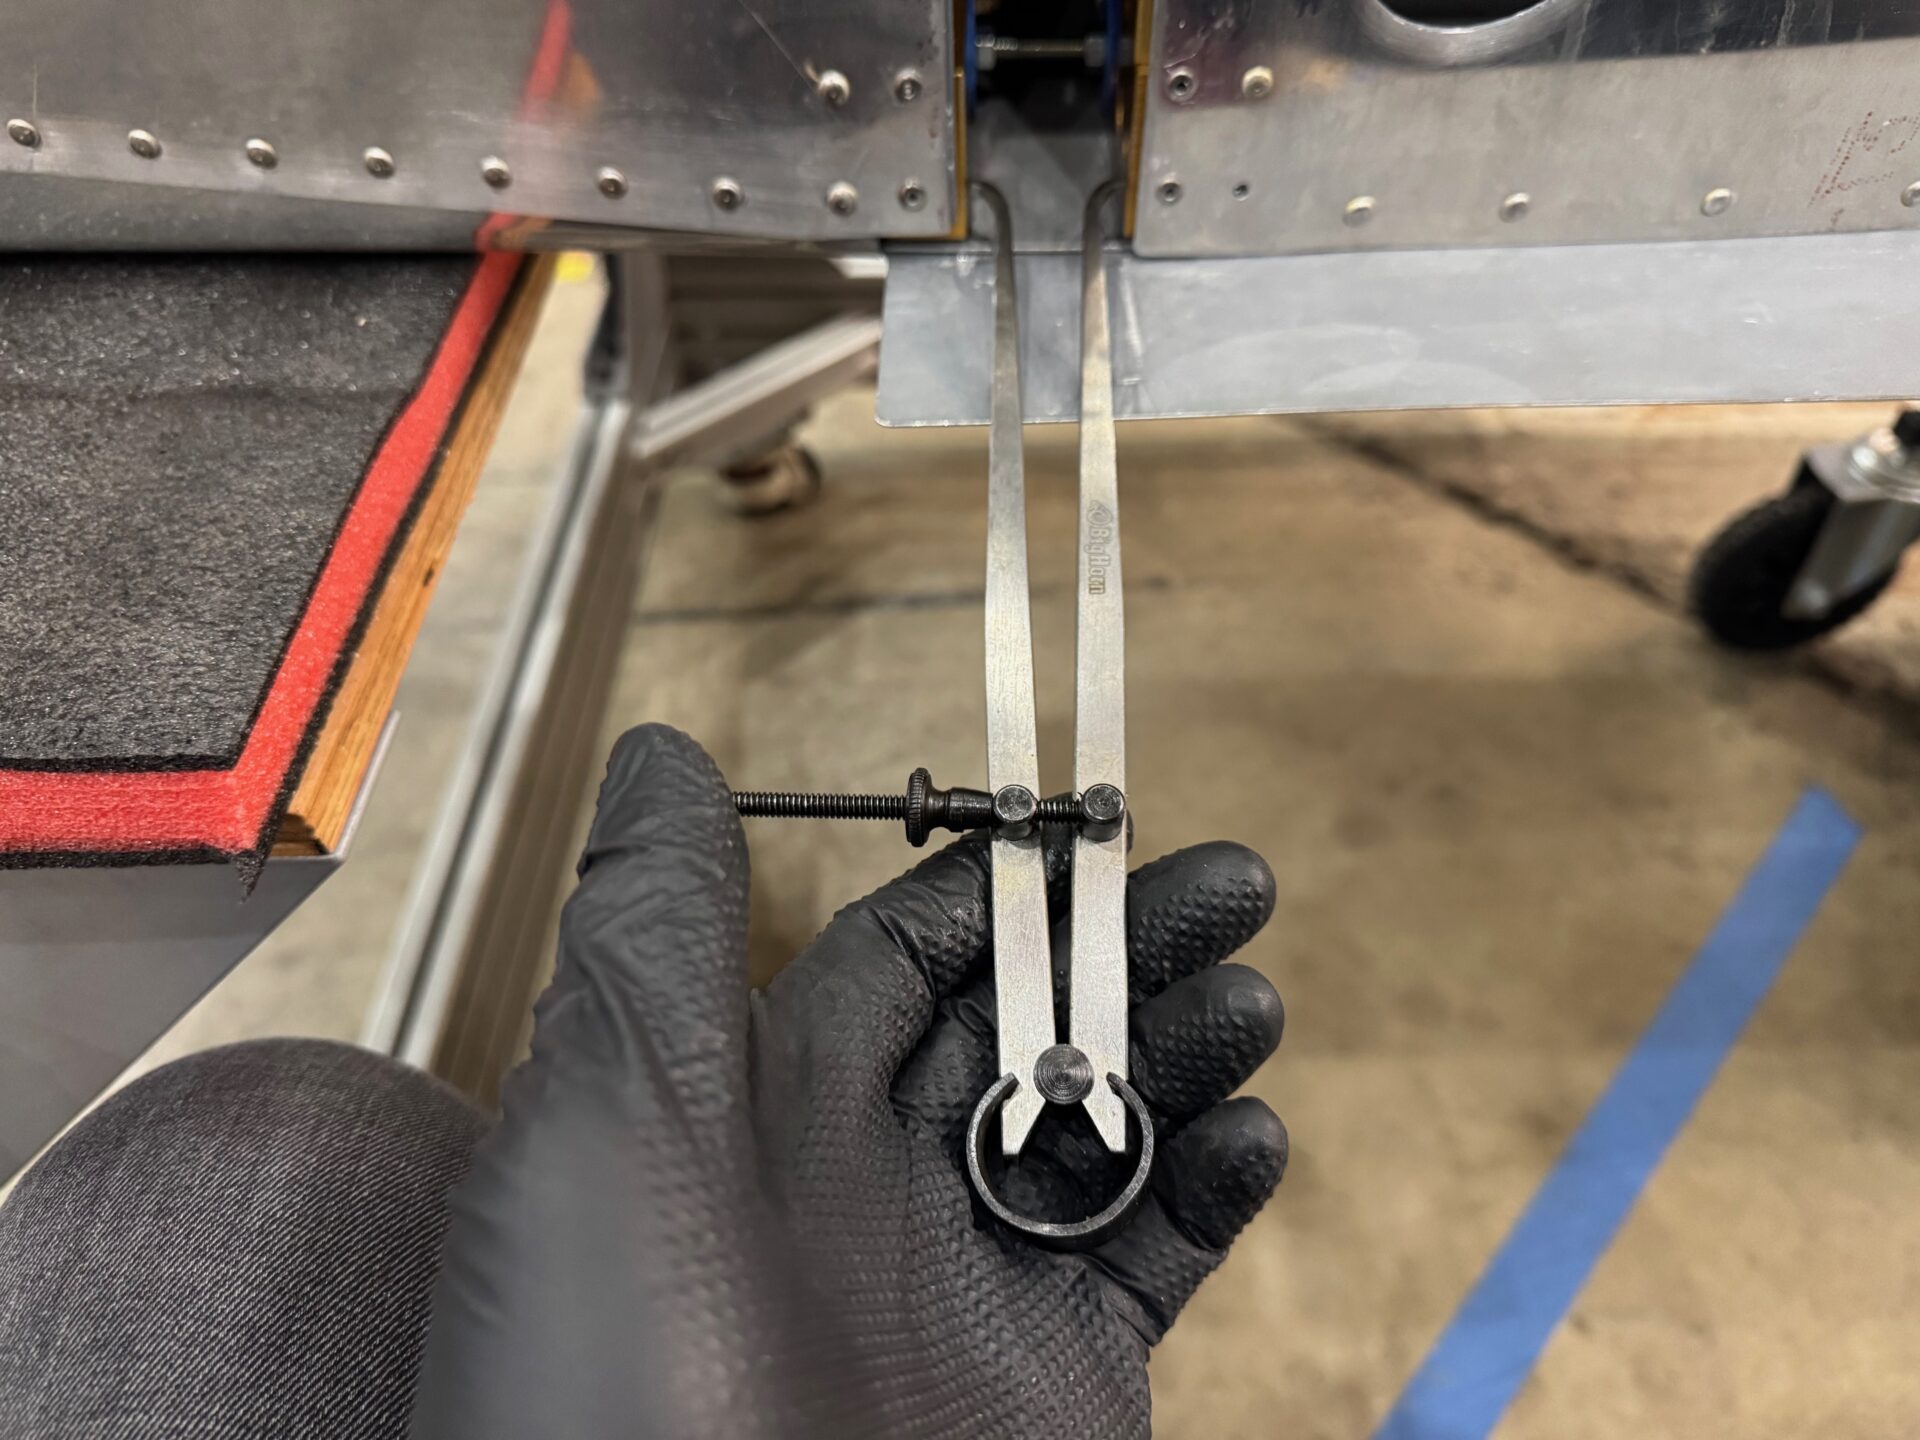
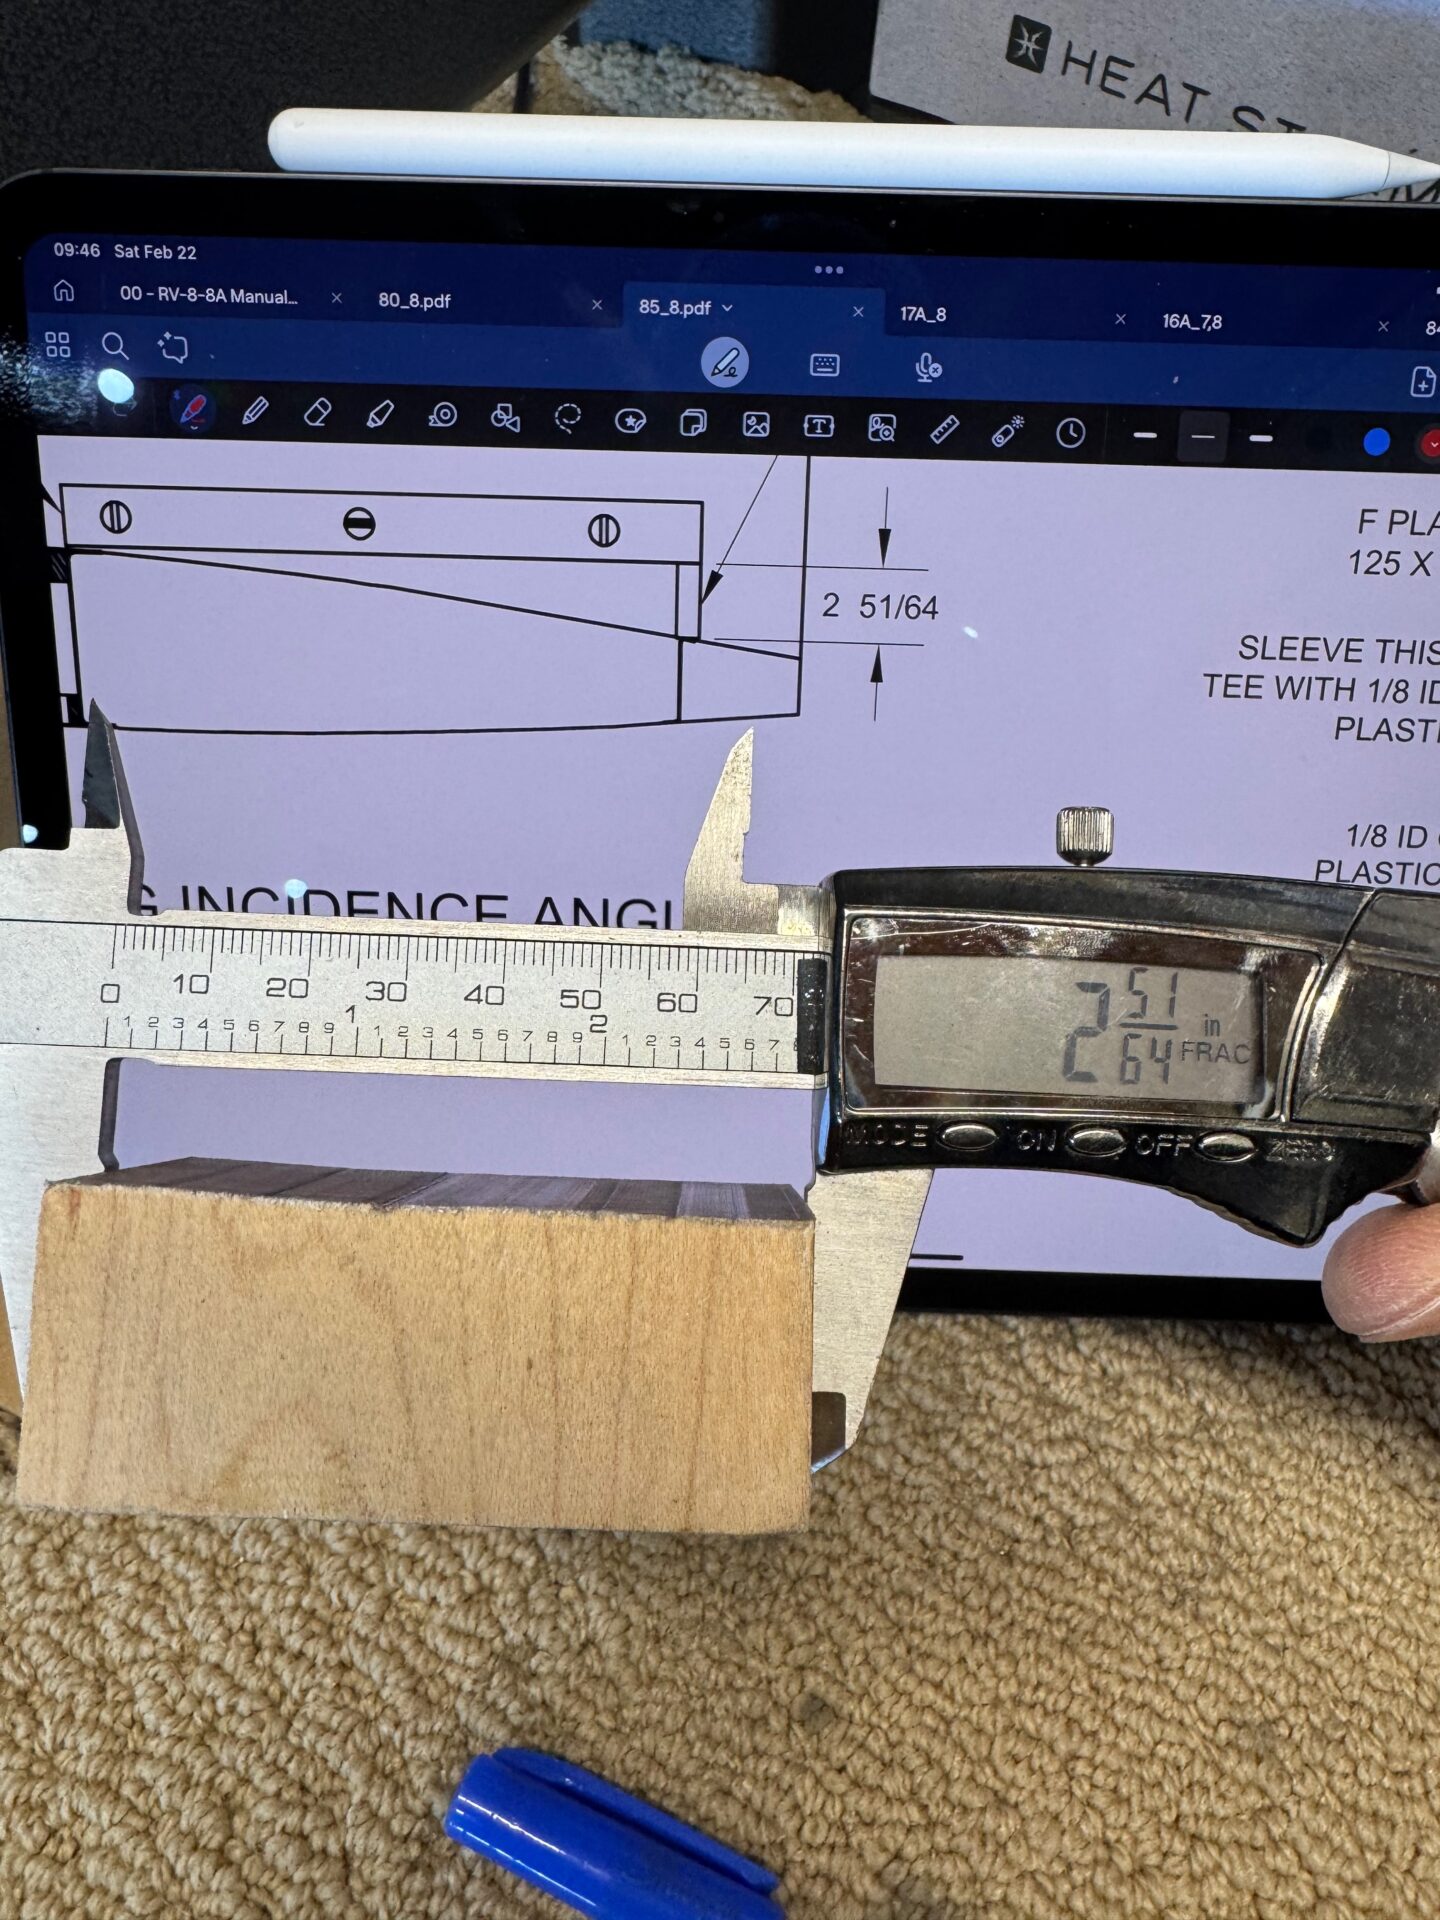
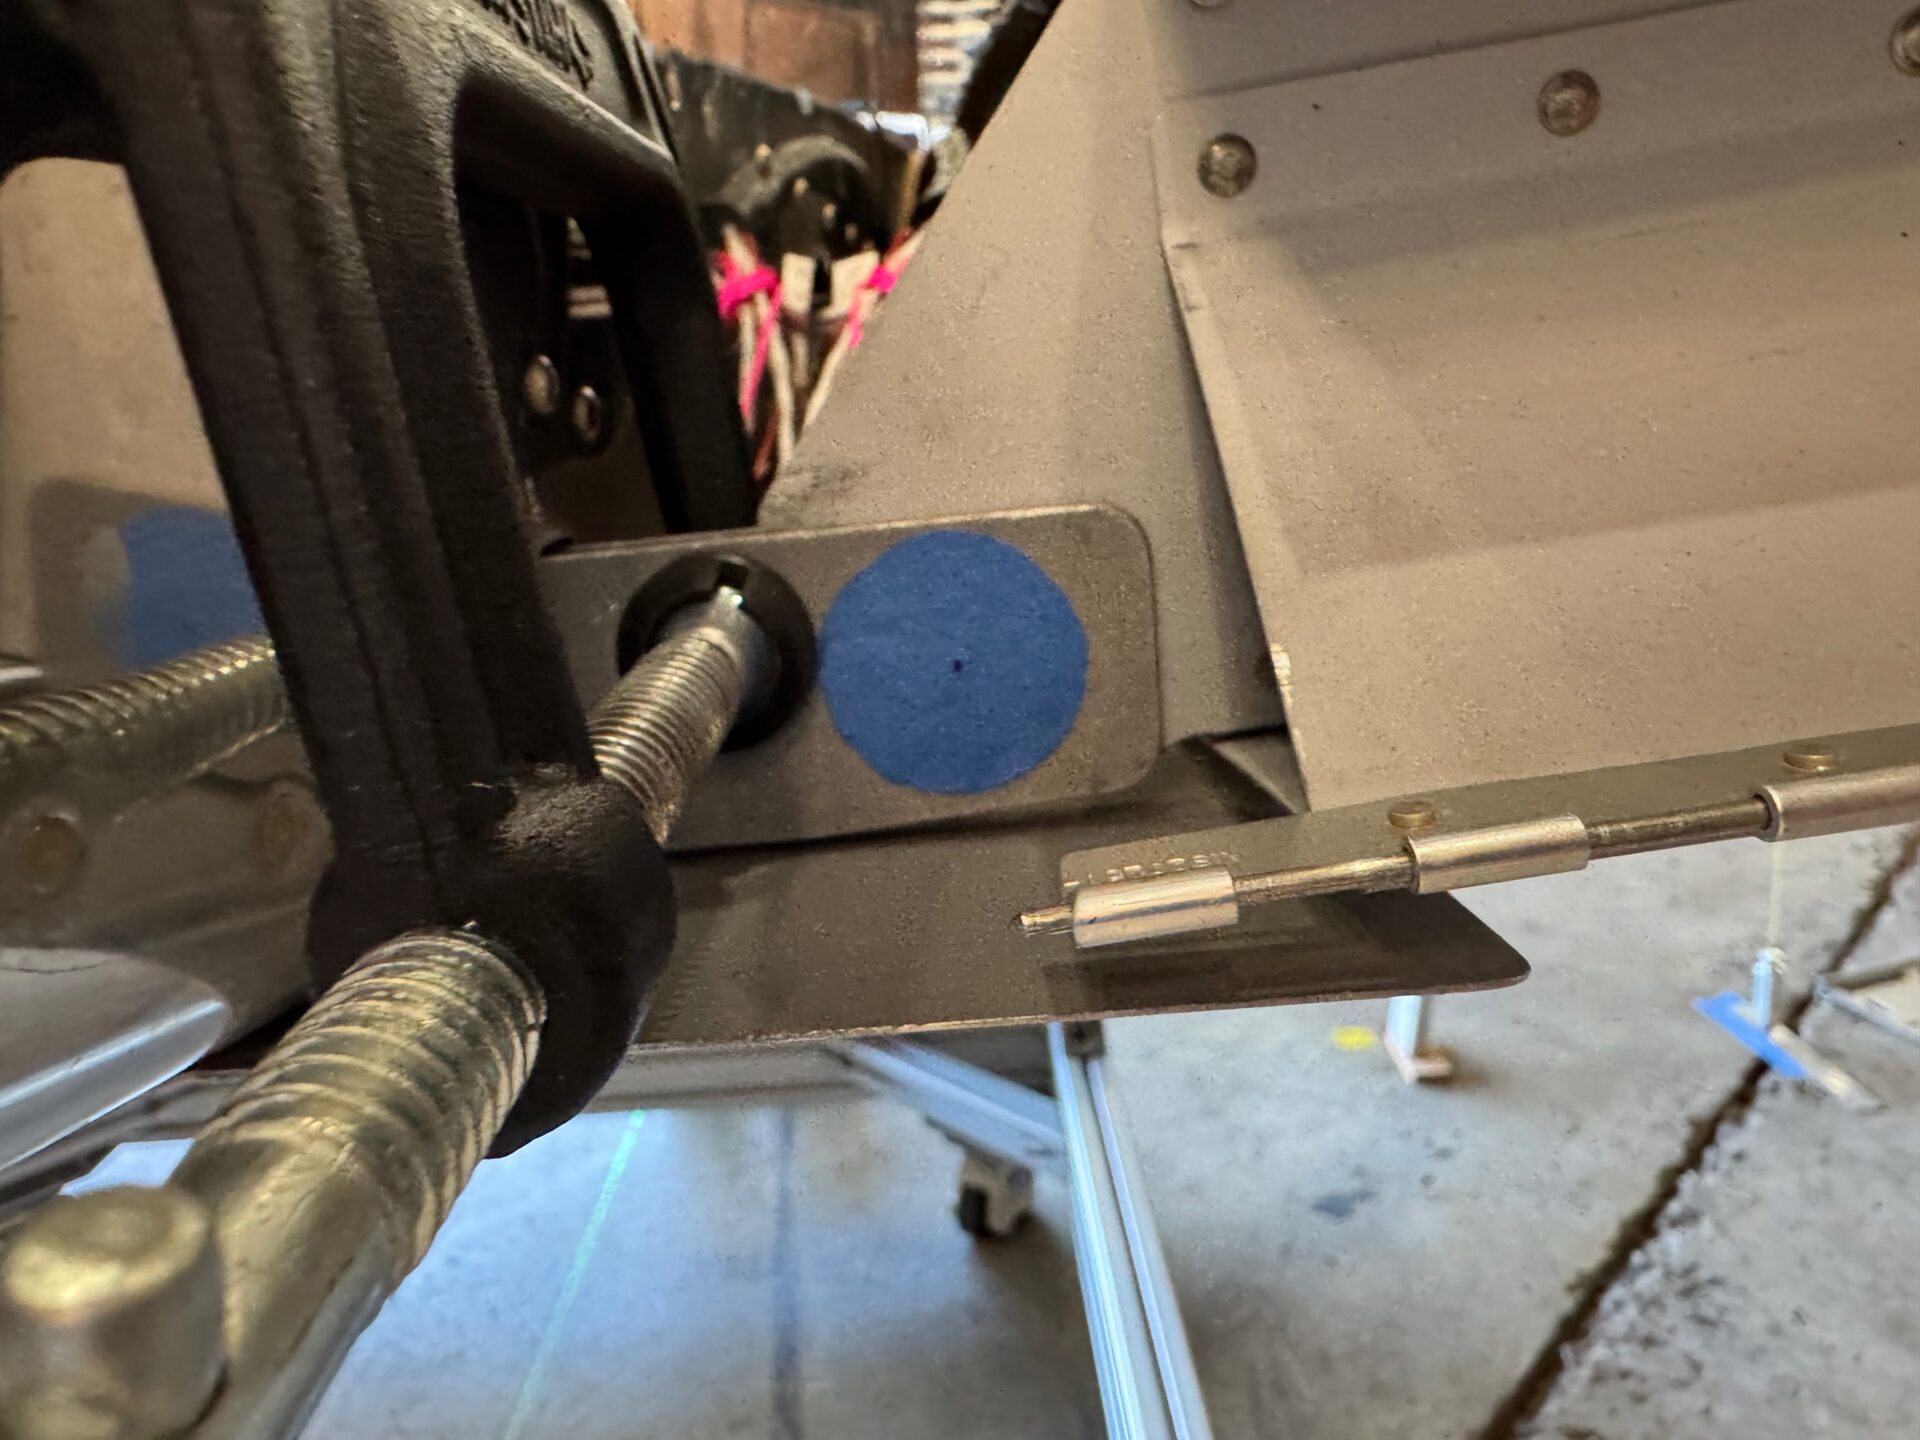
So just because the wings are in, doesn’t mean I can breath again. Before I can relax, I need to do final squaring of the wings,ensuring equivalent wing sweep, and setting the critical angle of incidence. Ensuring that both sides are equivalent in both square and incidence is key to how your plane flies later on. Although minor variations are all fixable, my goal was everything within 1/8″ in all dimensions, which is about as close as I can get given my measurement techniques. Squaring the wing and measuring sweep required a series of measurements, plumb bobs, and laser levels. Angle of Incidence required a specific spacer (2 51/64″!) to ensure you set the appropriate incidence. Once everything is set to your satisfaction, you ensure you have enough edge distance (5/8″) from center at the rear spar and then you drill! After that you are locked in…so quadruple check before you drill!
recheck level one last time!
all looks good.
rear spar where drilling will happen.
measure once..
… measure ten times!
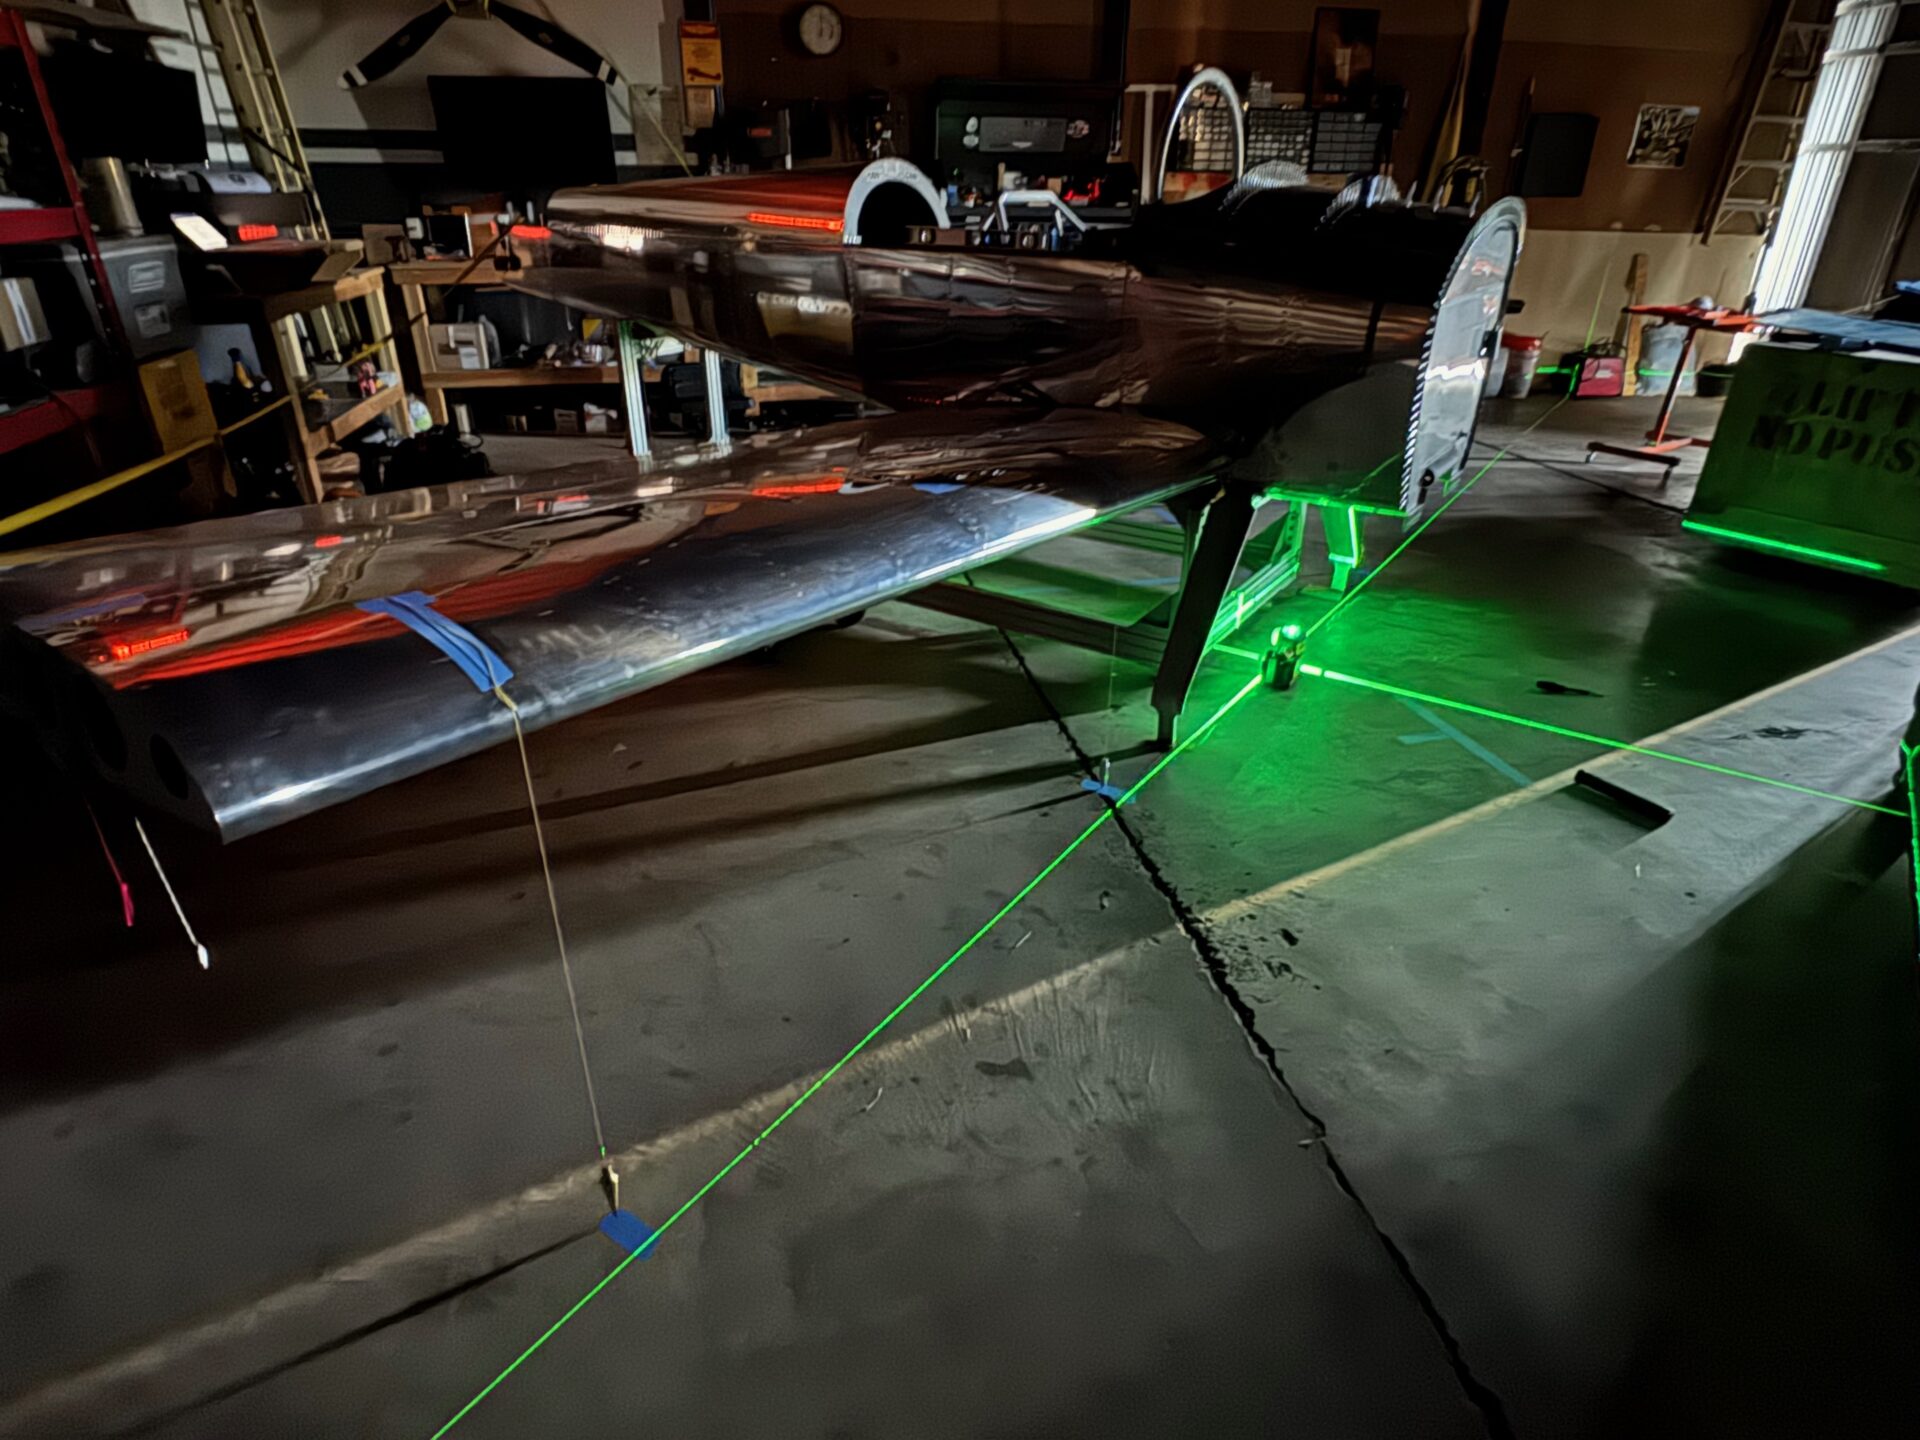
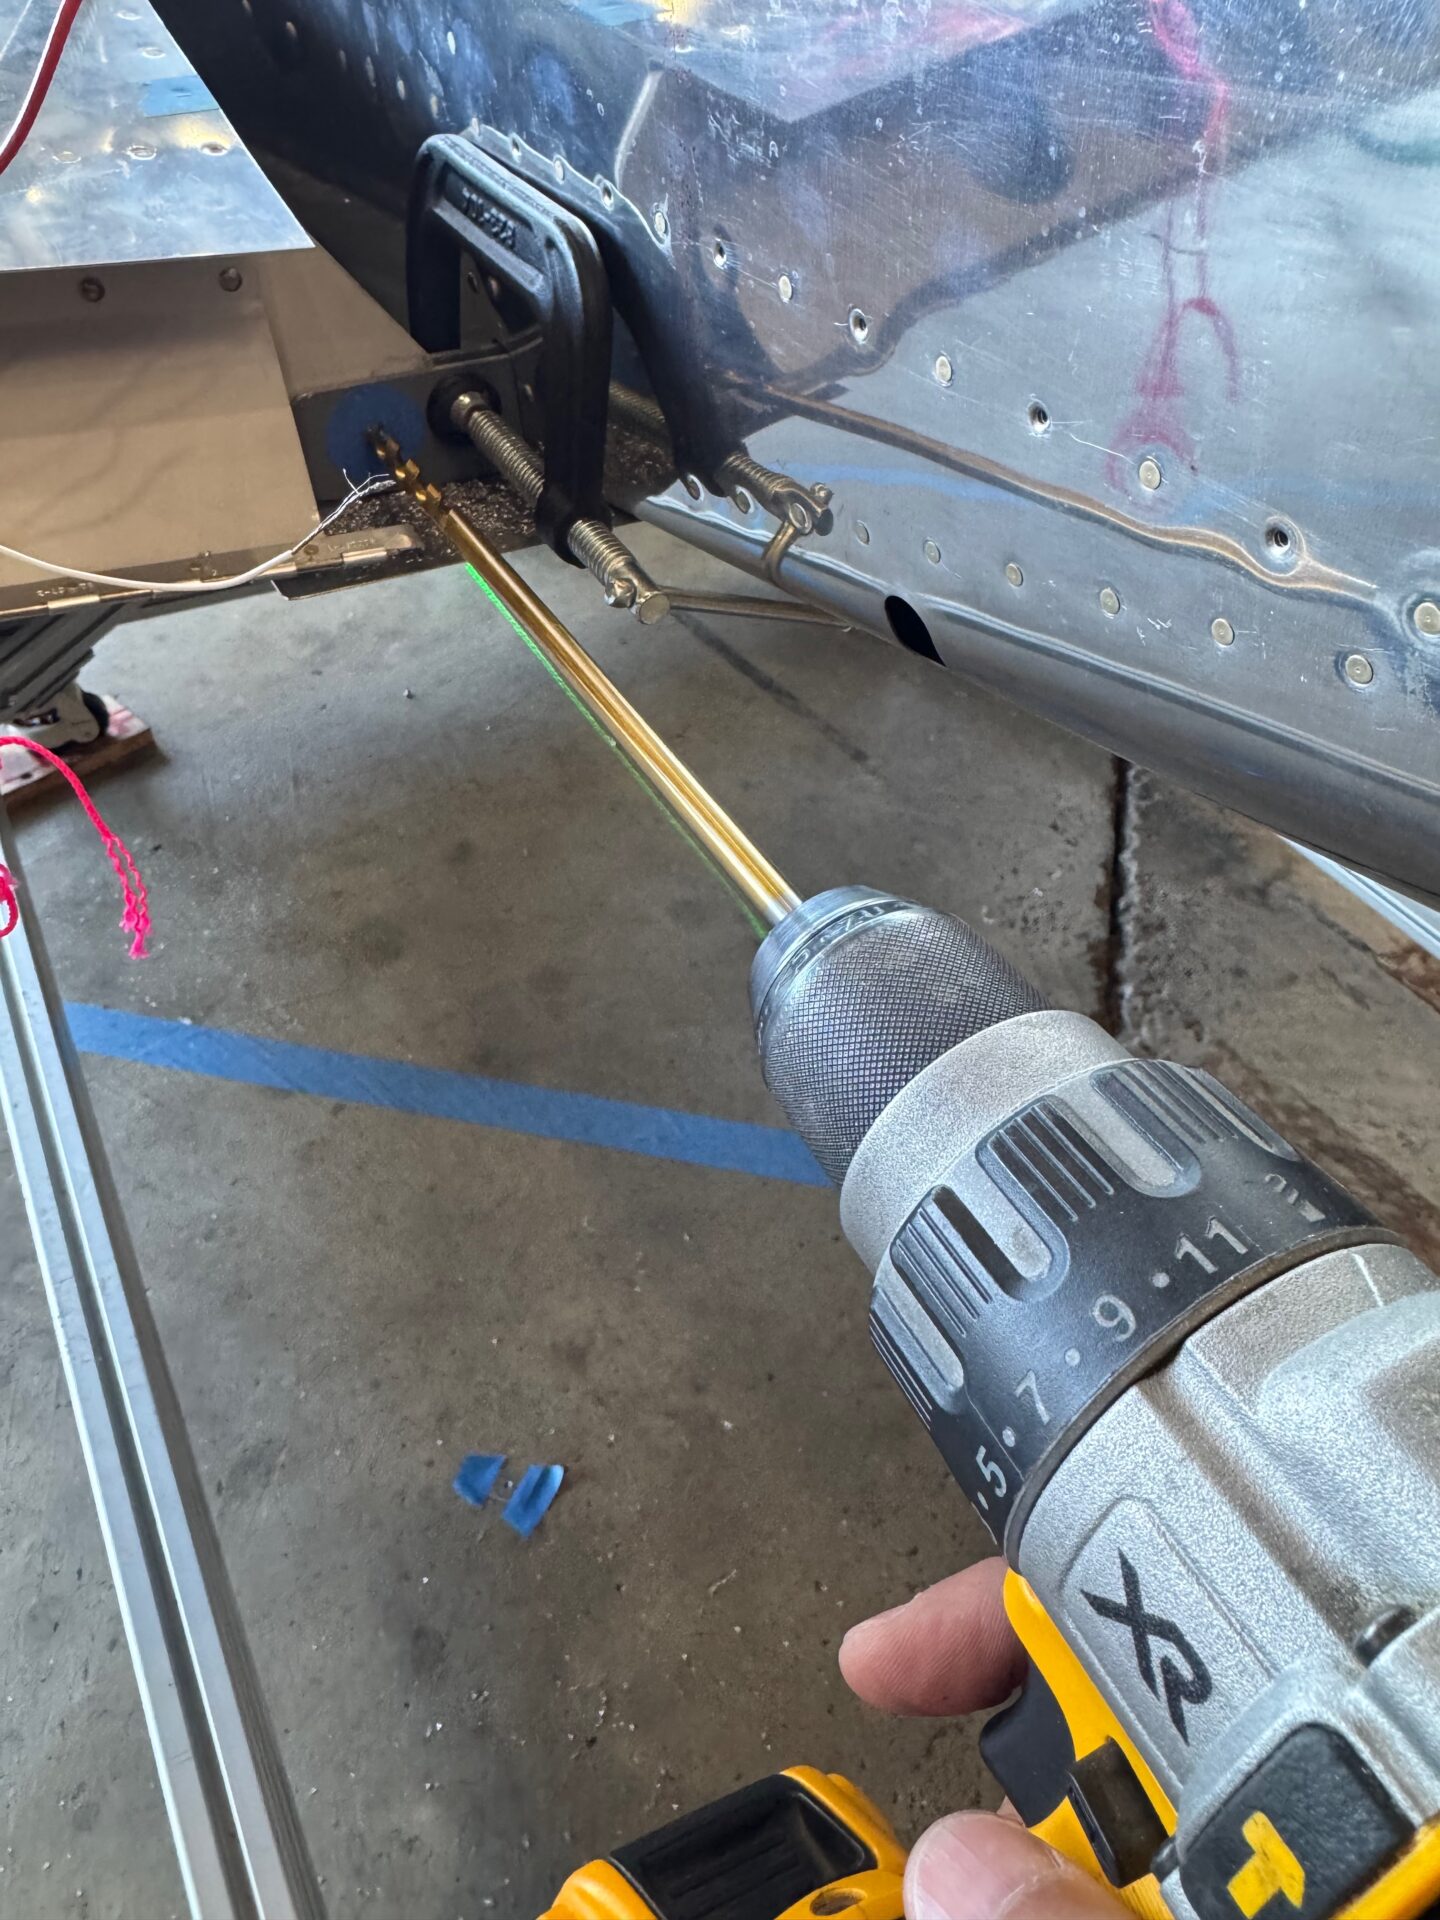
Laser level to check wing sweep.
with hangar doors closed I had a pretty sweet set up.
perfect spacer! (Forgot to take pictures of the verification setup, but trust me.. it was correct!)
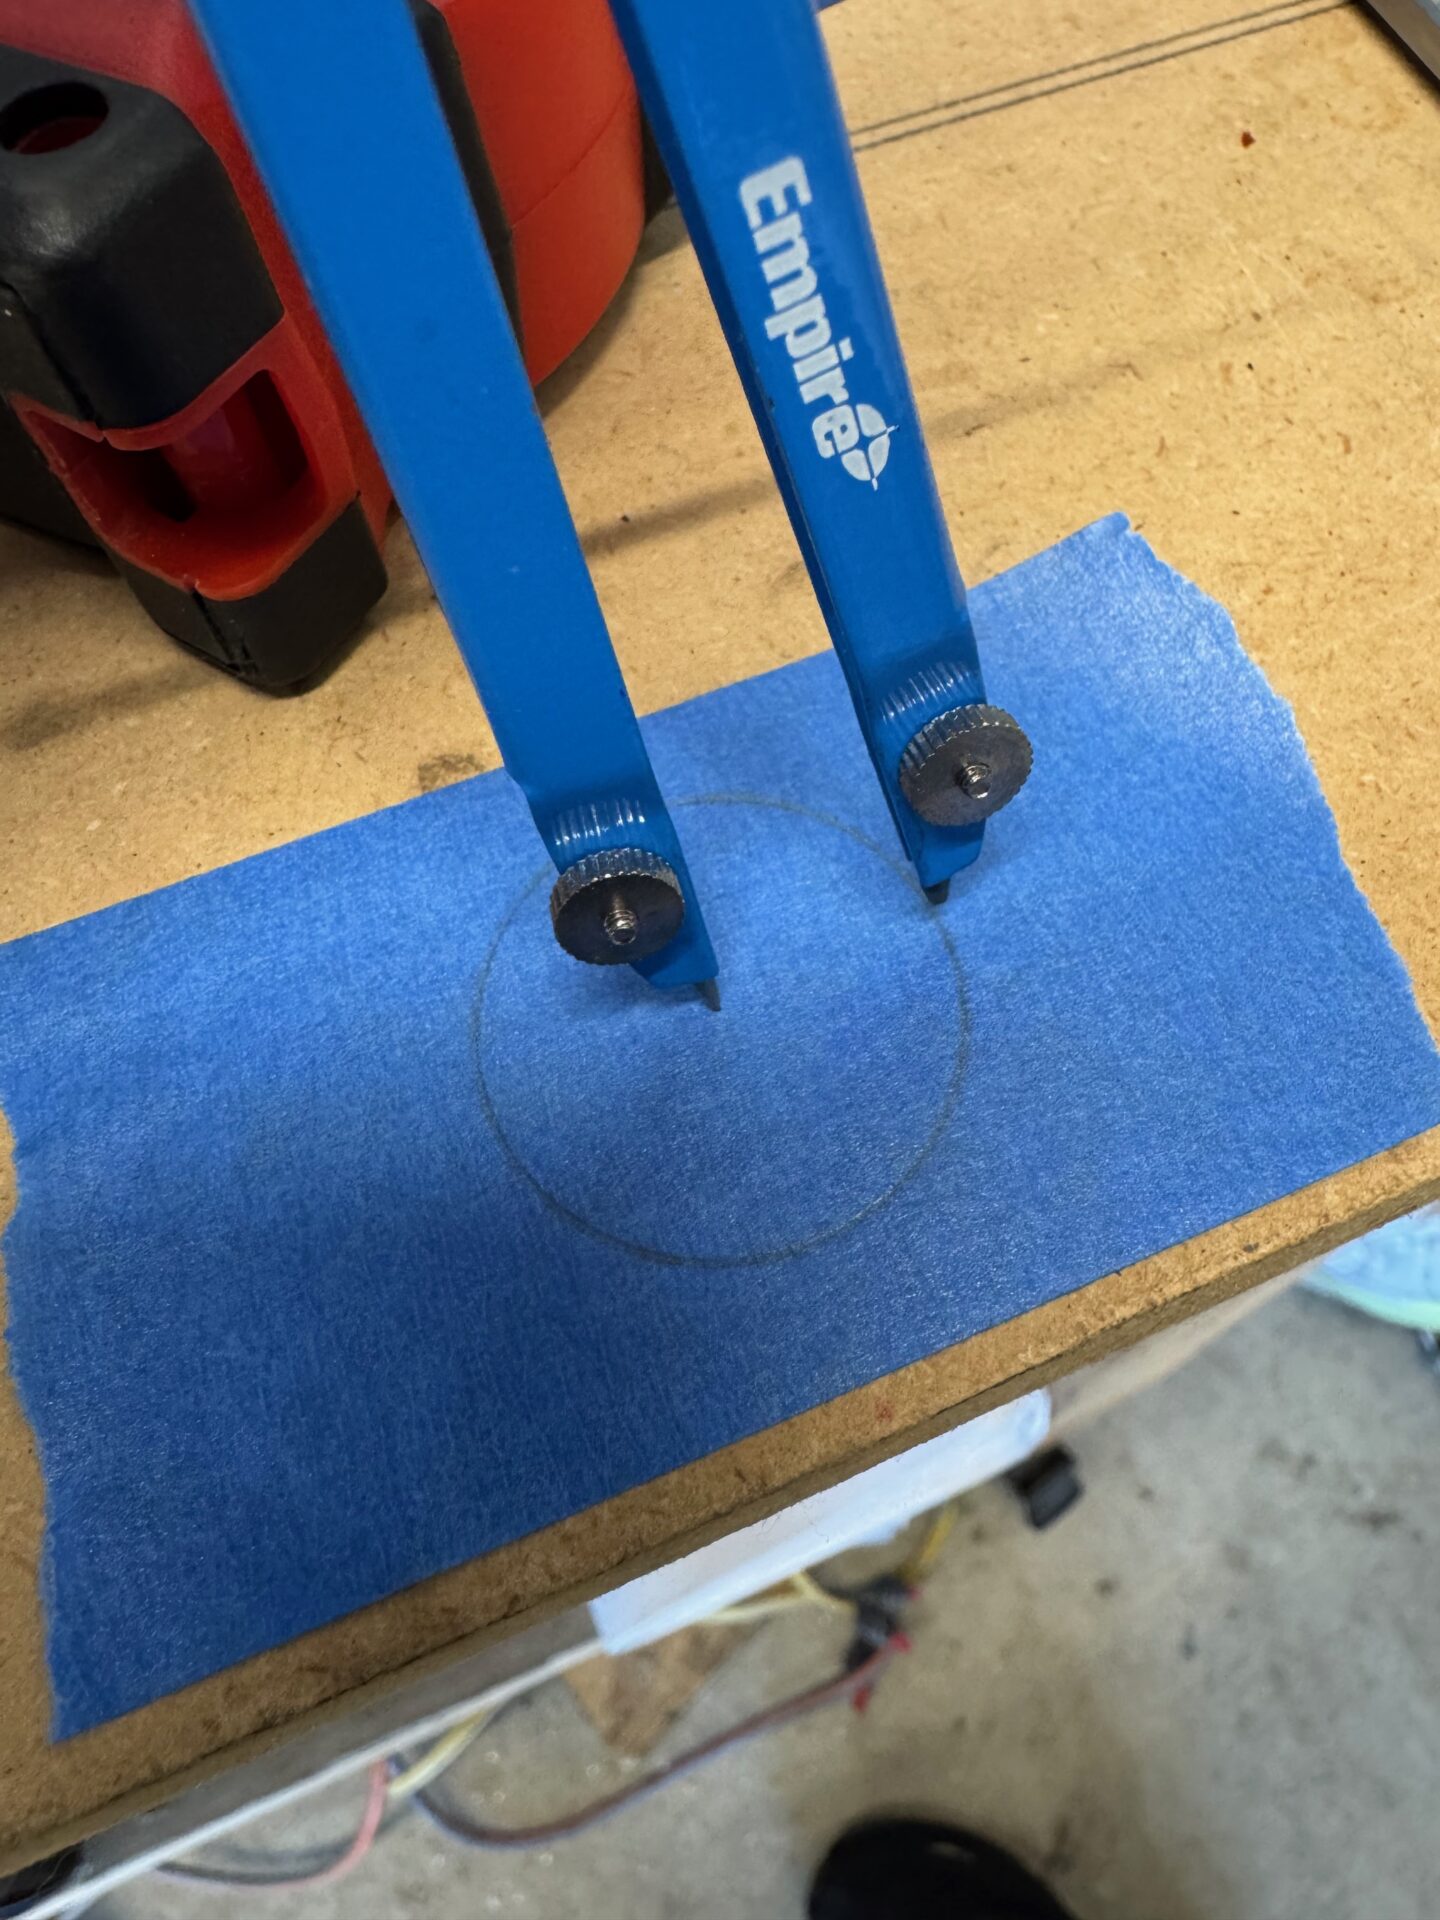
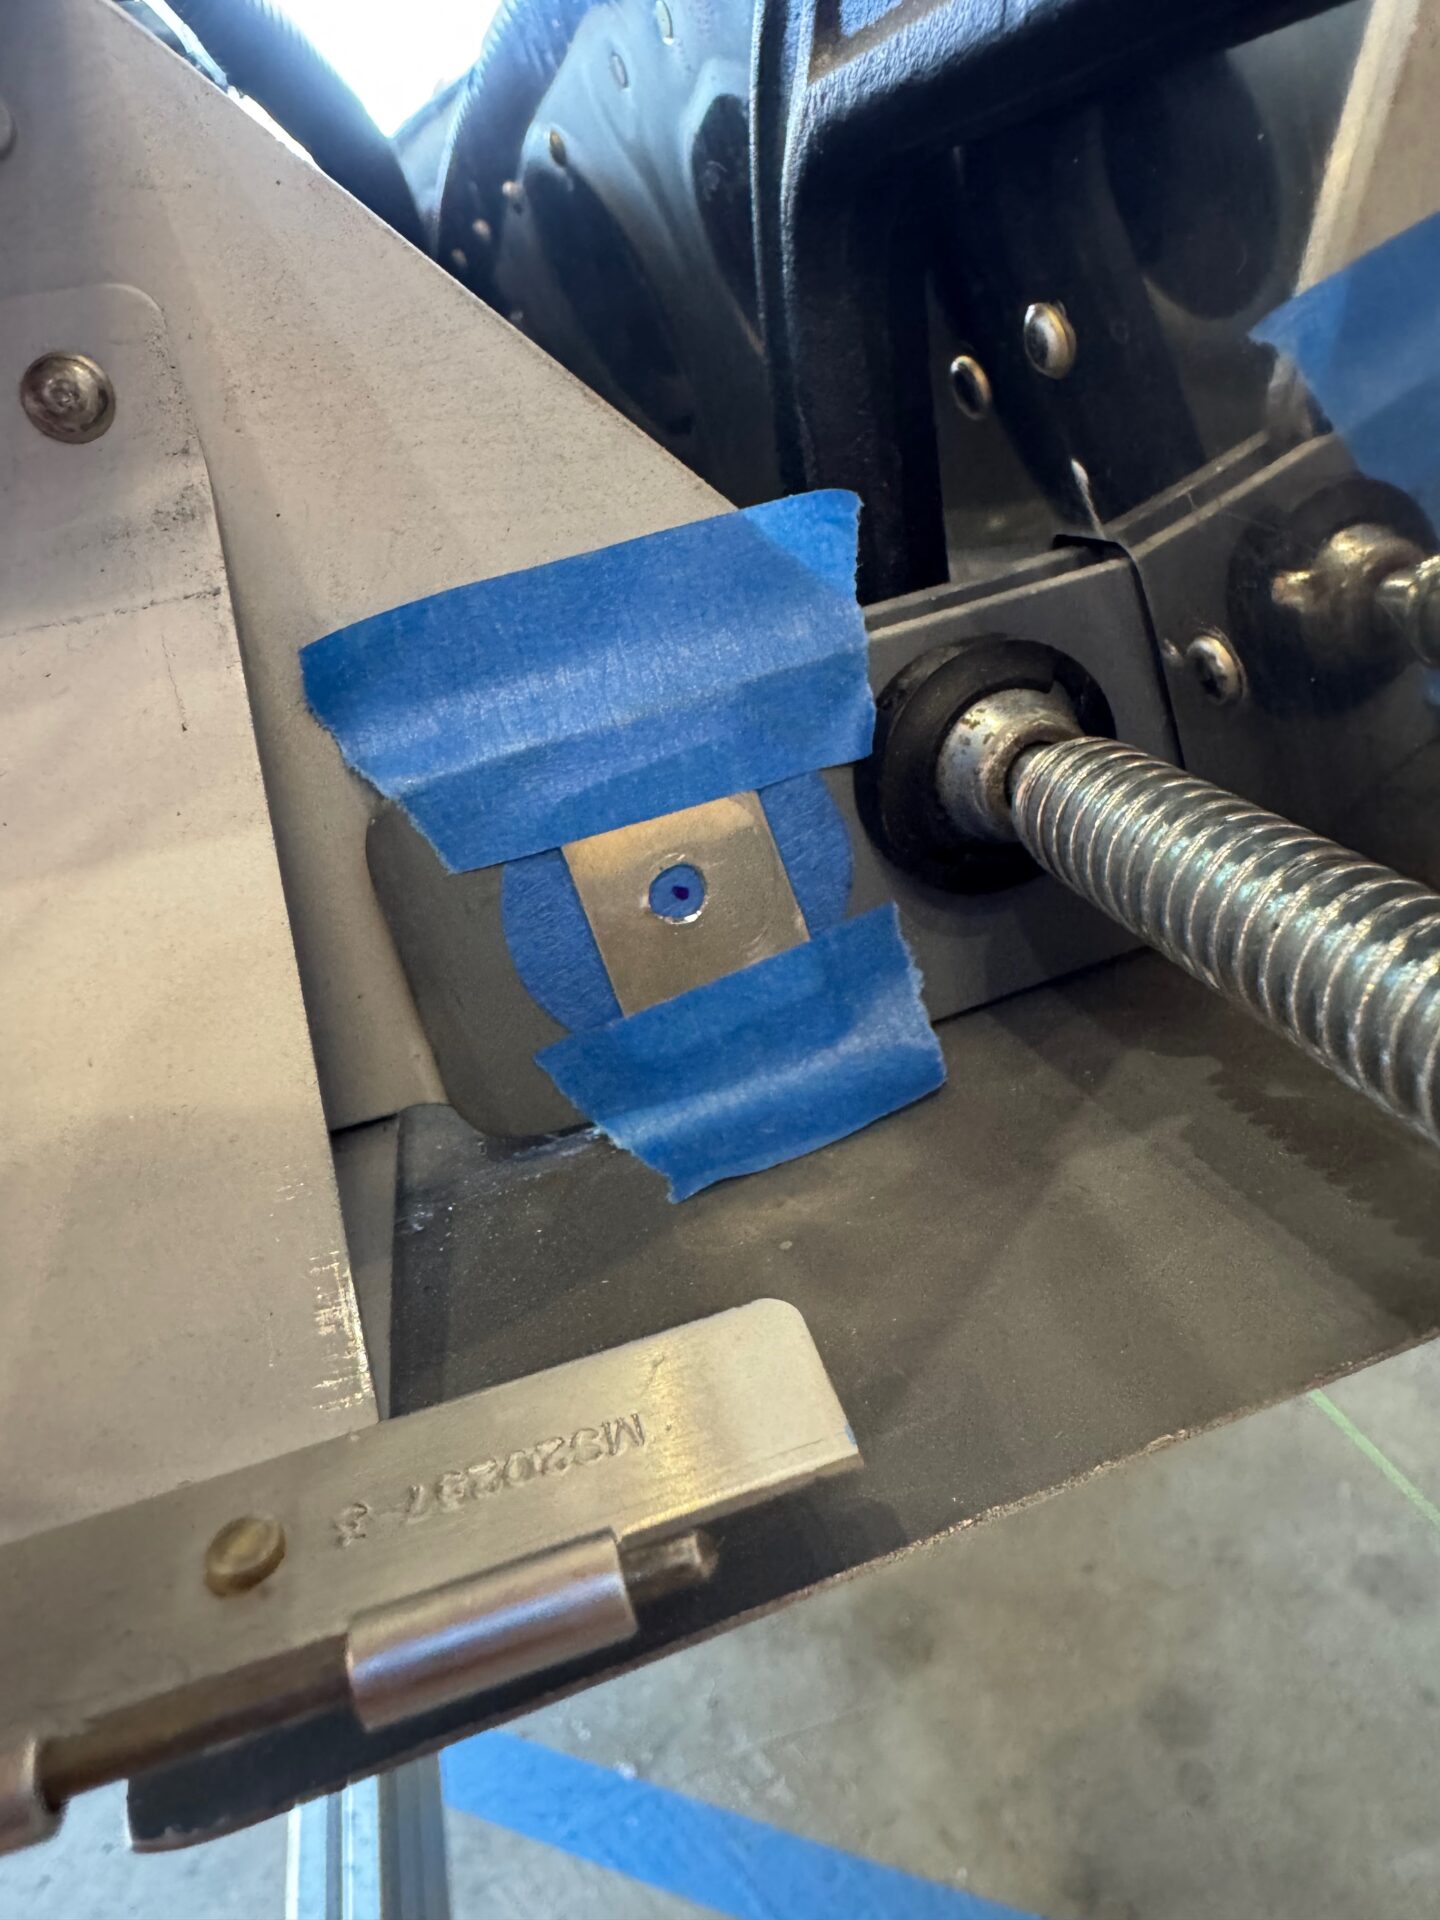
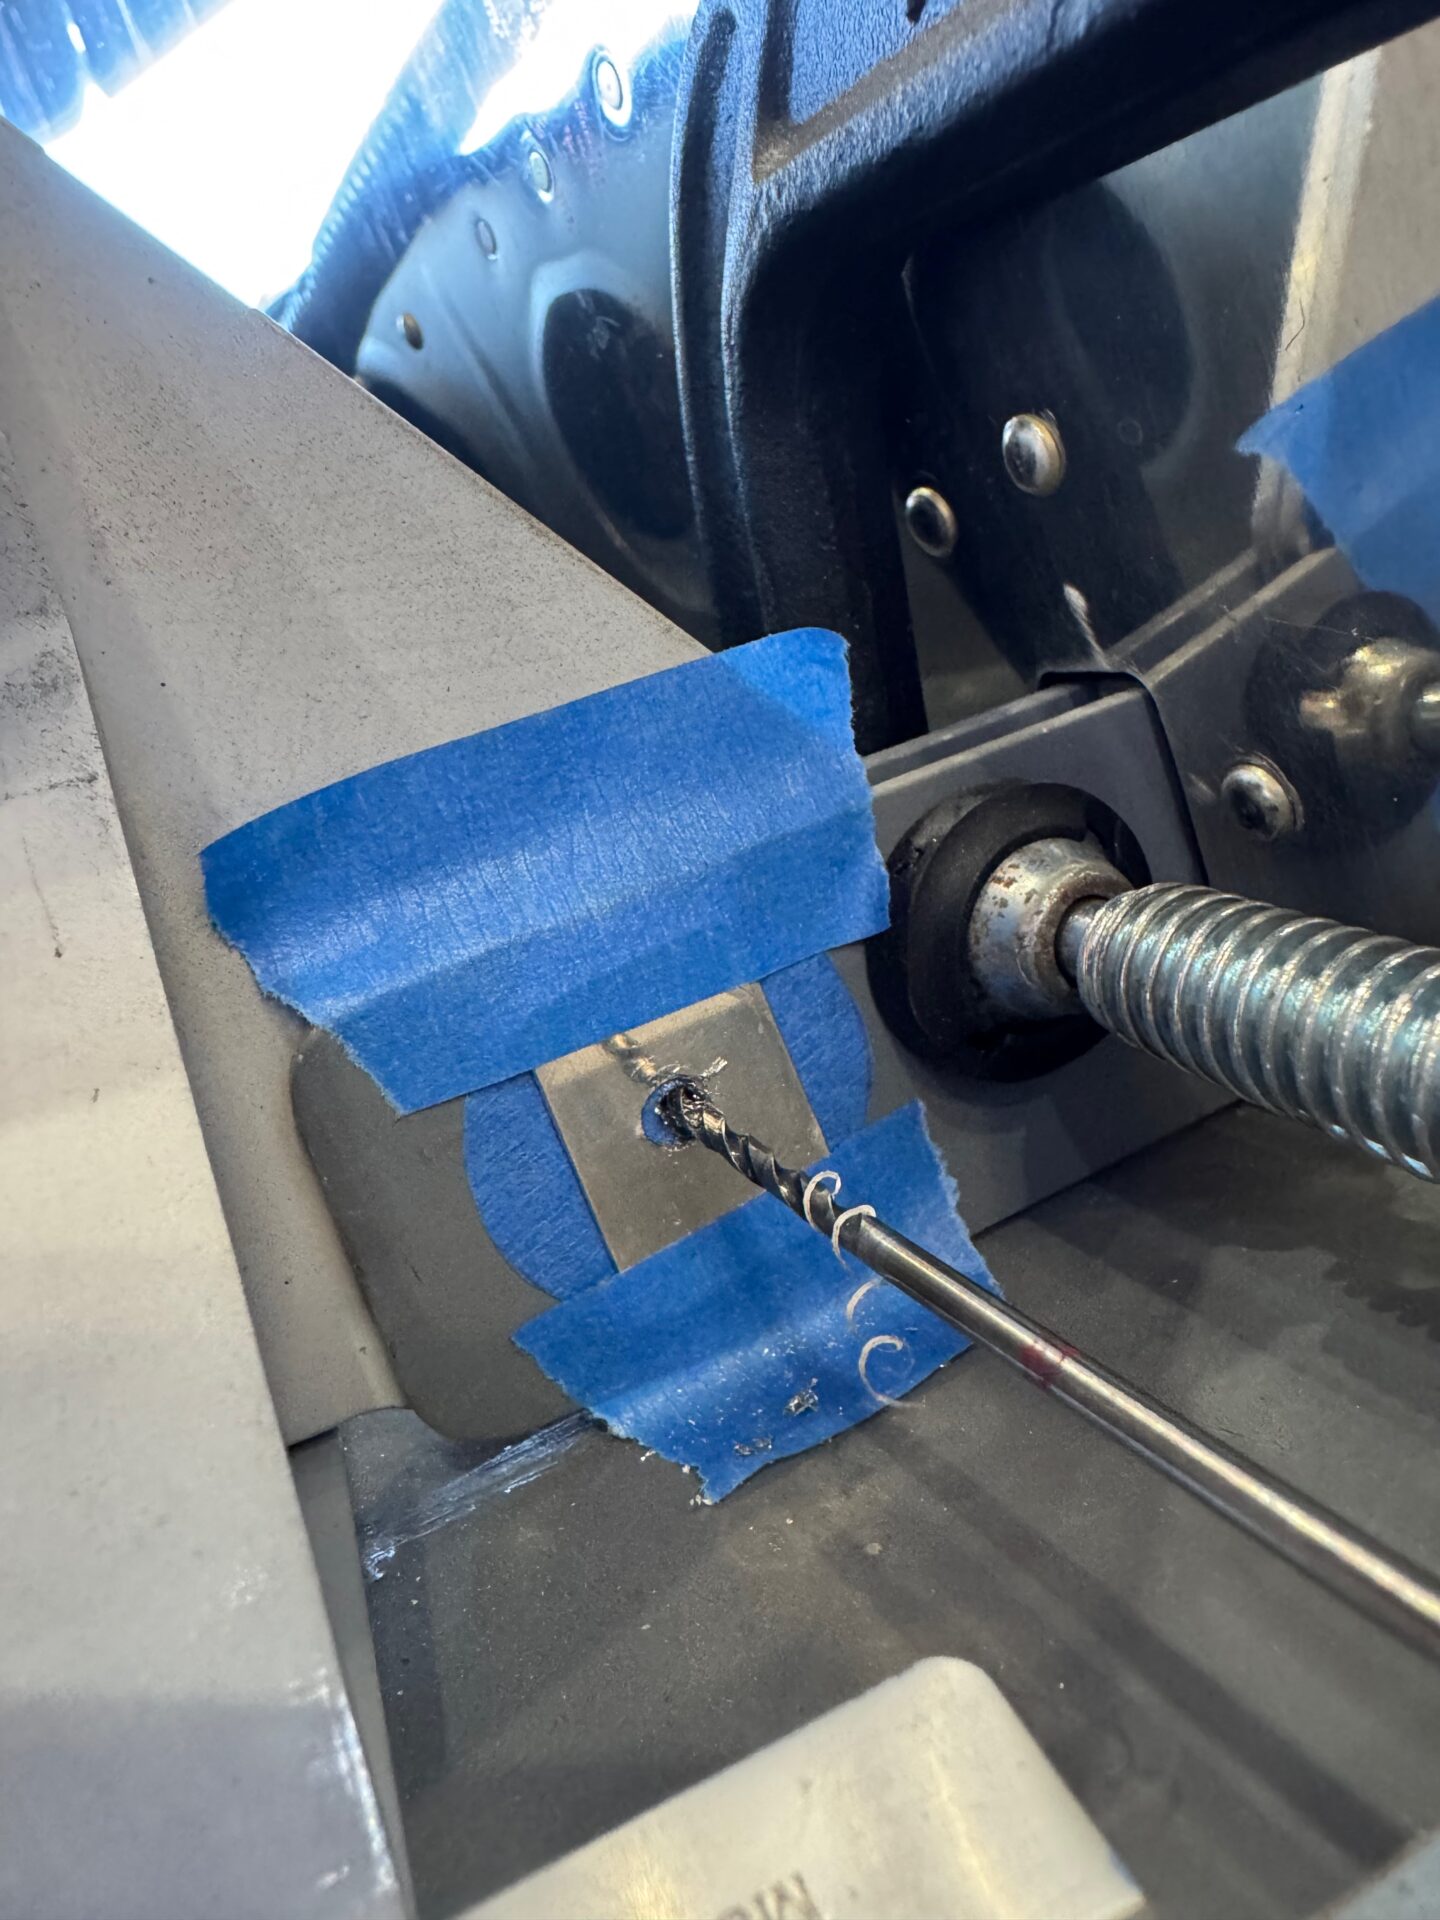
scribing a 5/8″ radius sticker to ensure edge distance
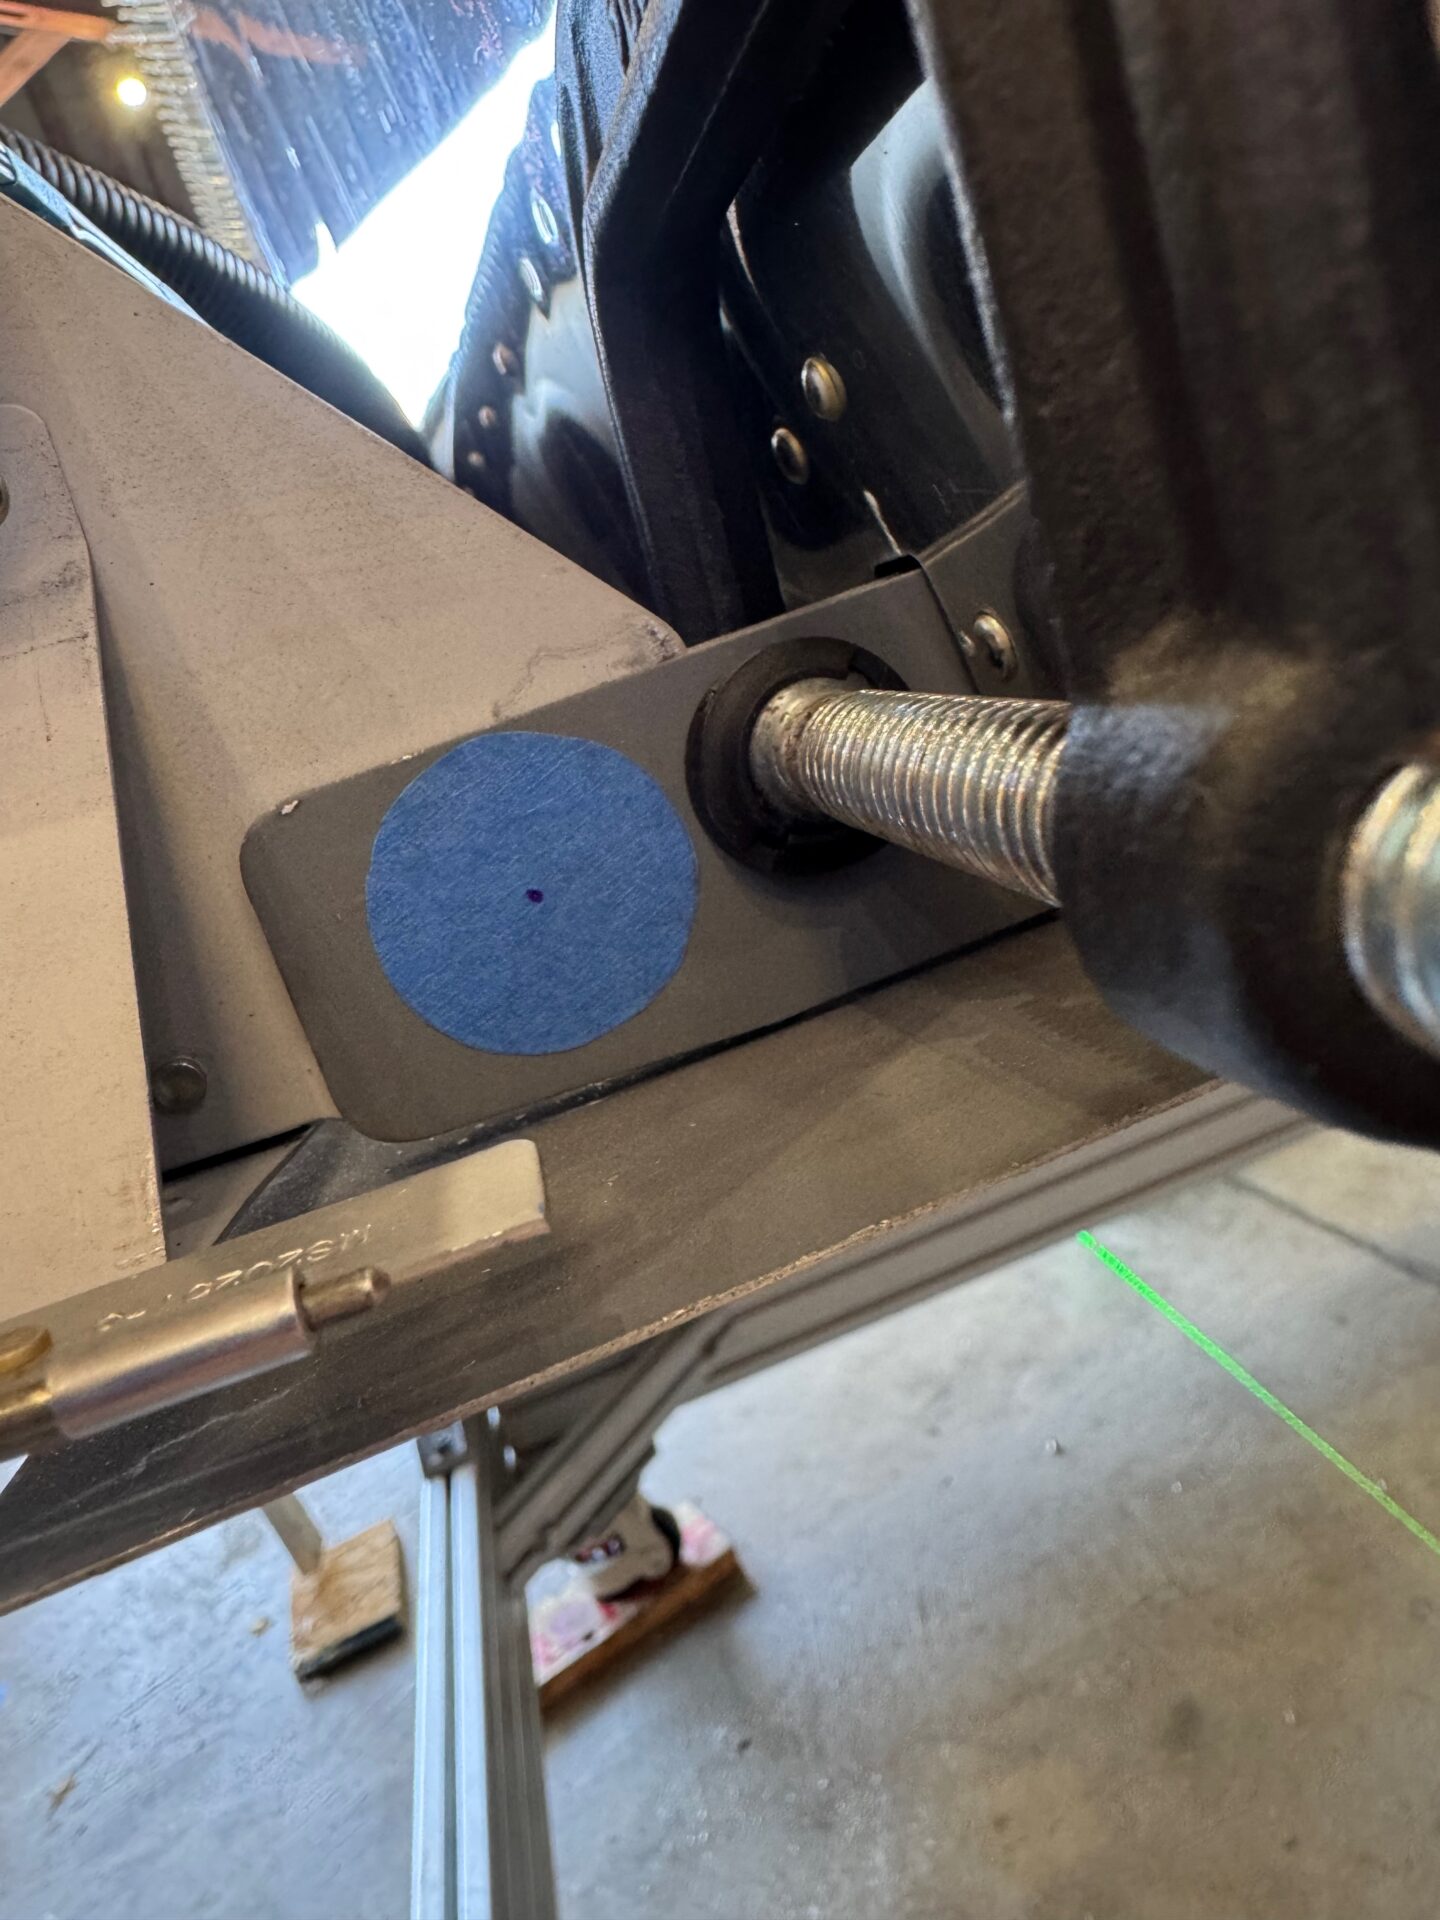
it was tight, but had good edge distance in all dimensions.
overlaying a small aluminum piece (as per plans) allowed reflection help on drilling square.
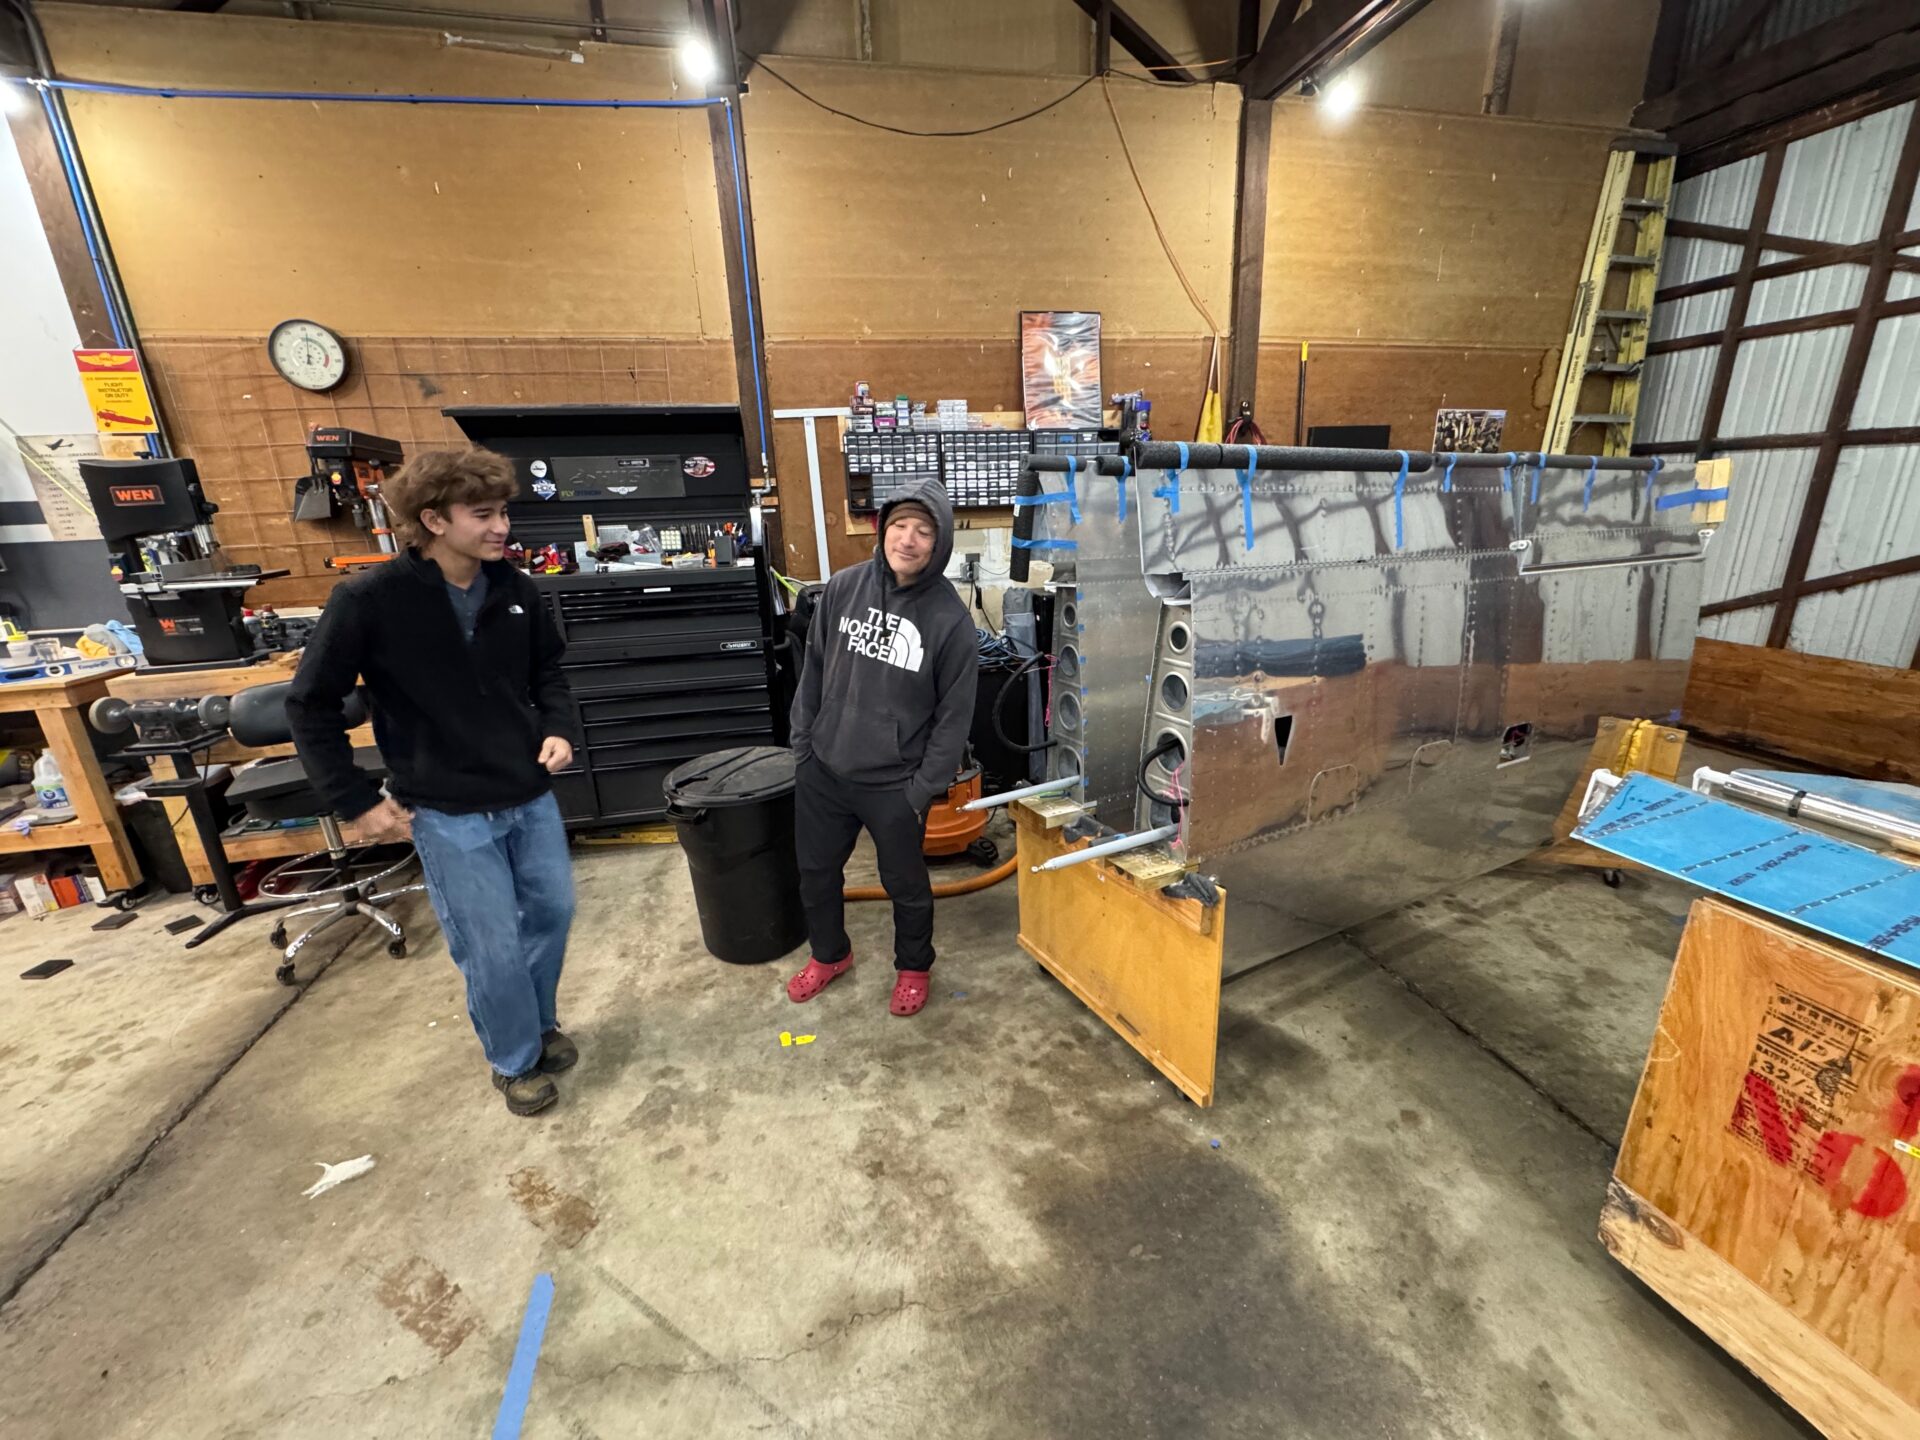
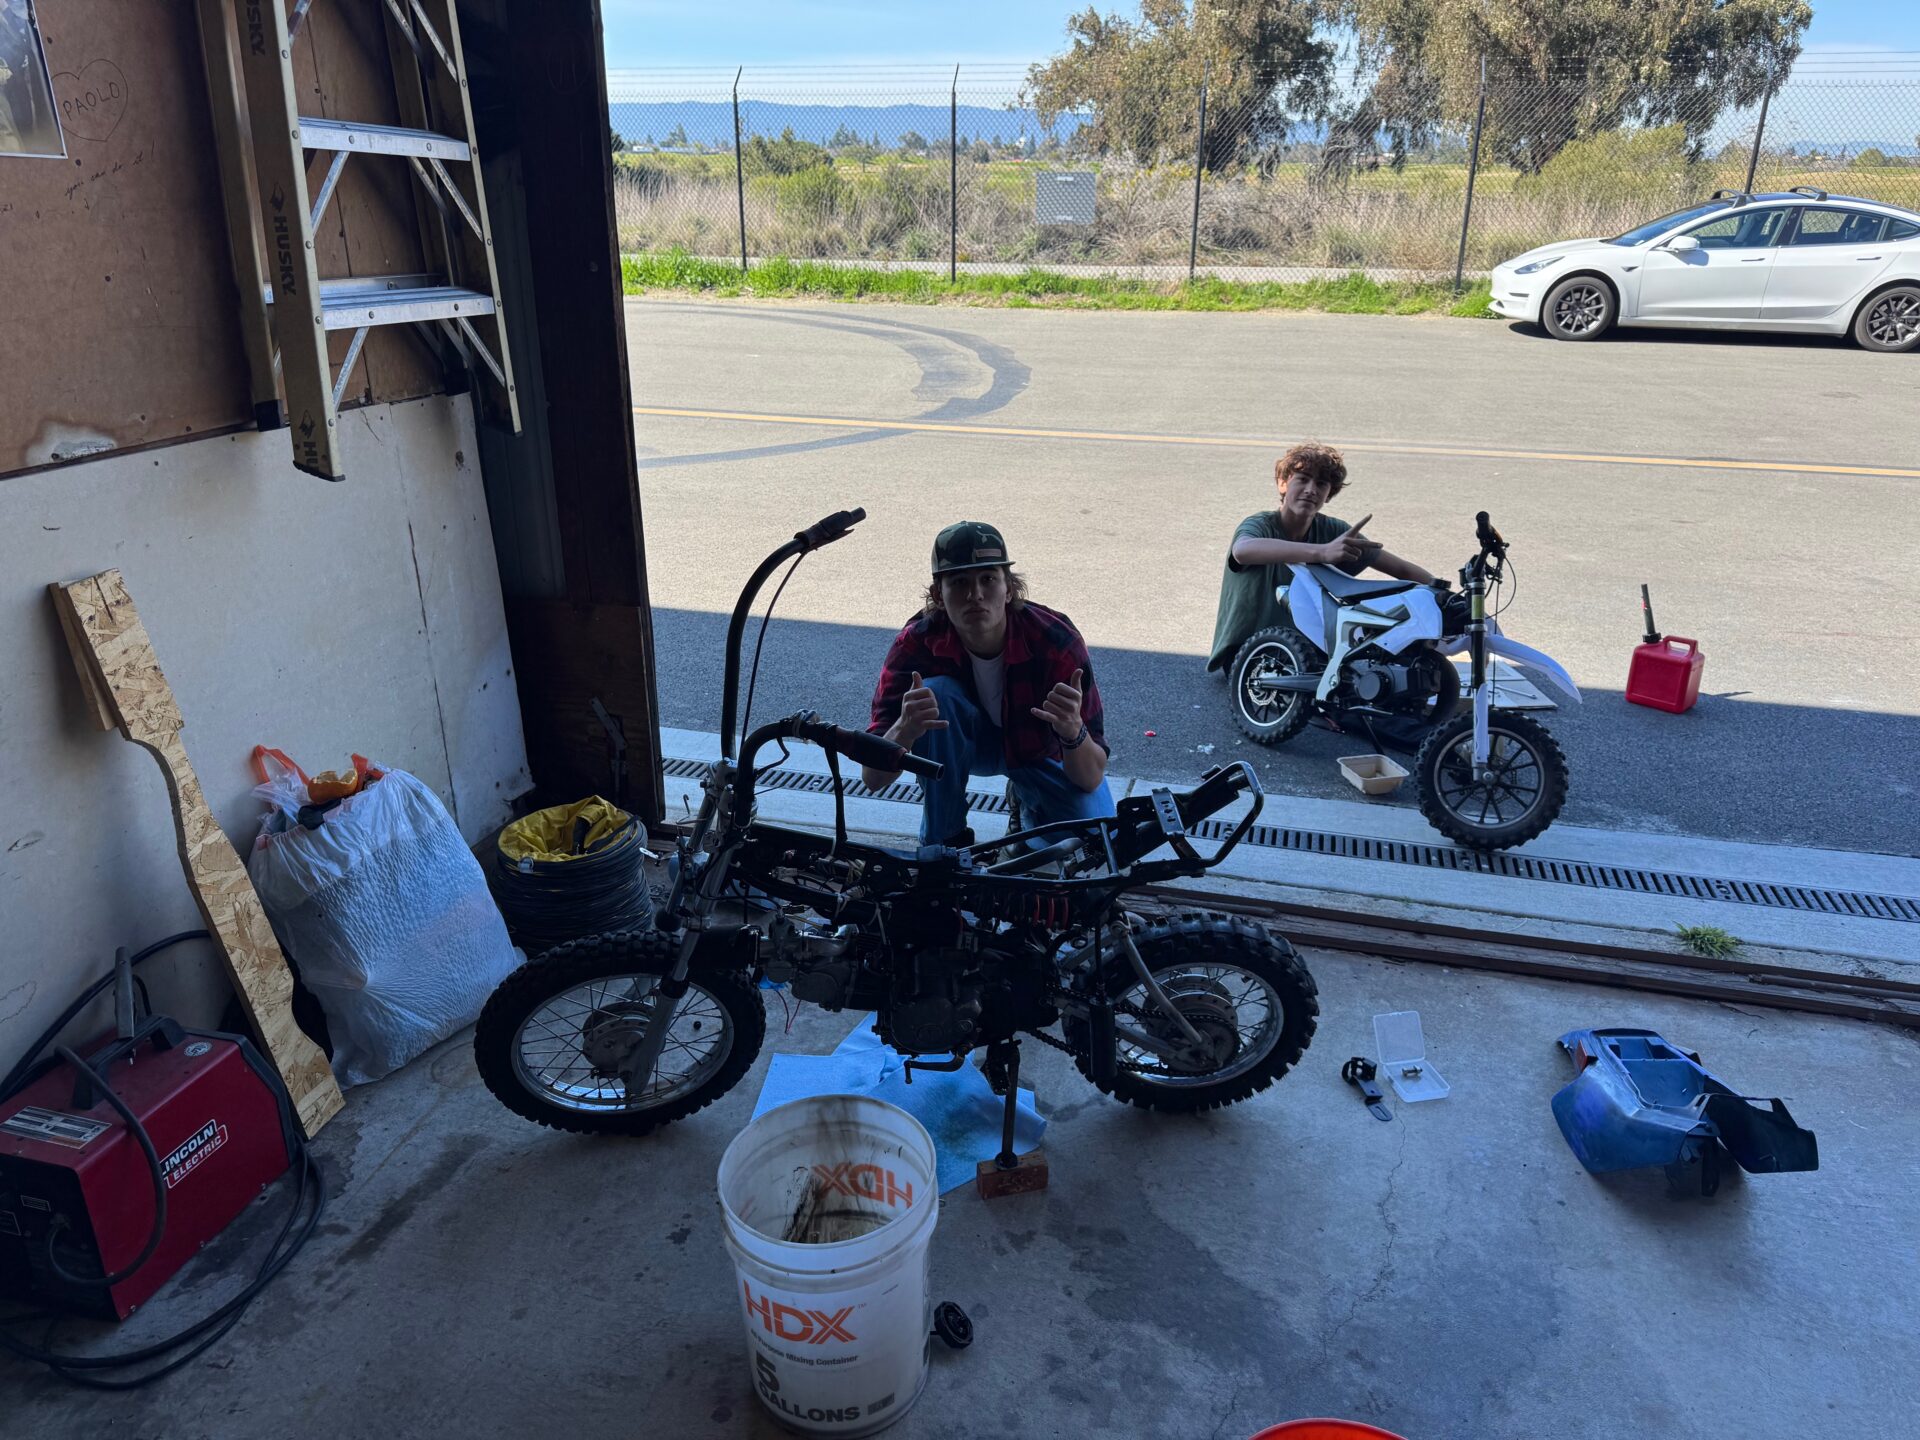
Boys working on their new projects at the hangar! So fun to have us all there.
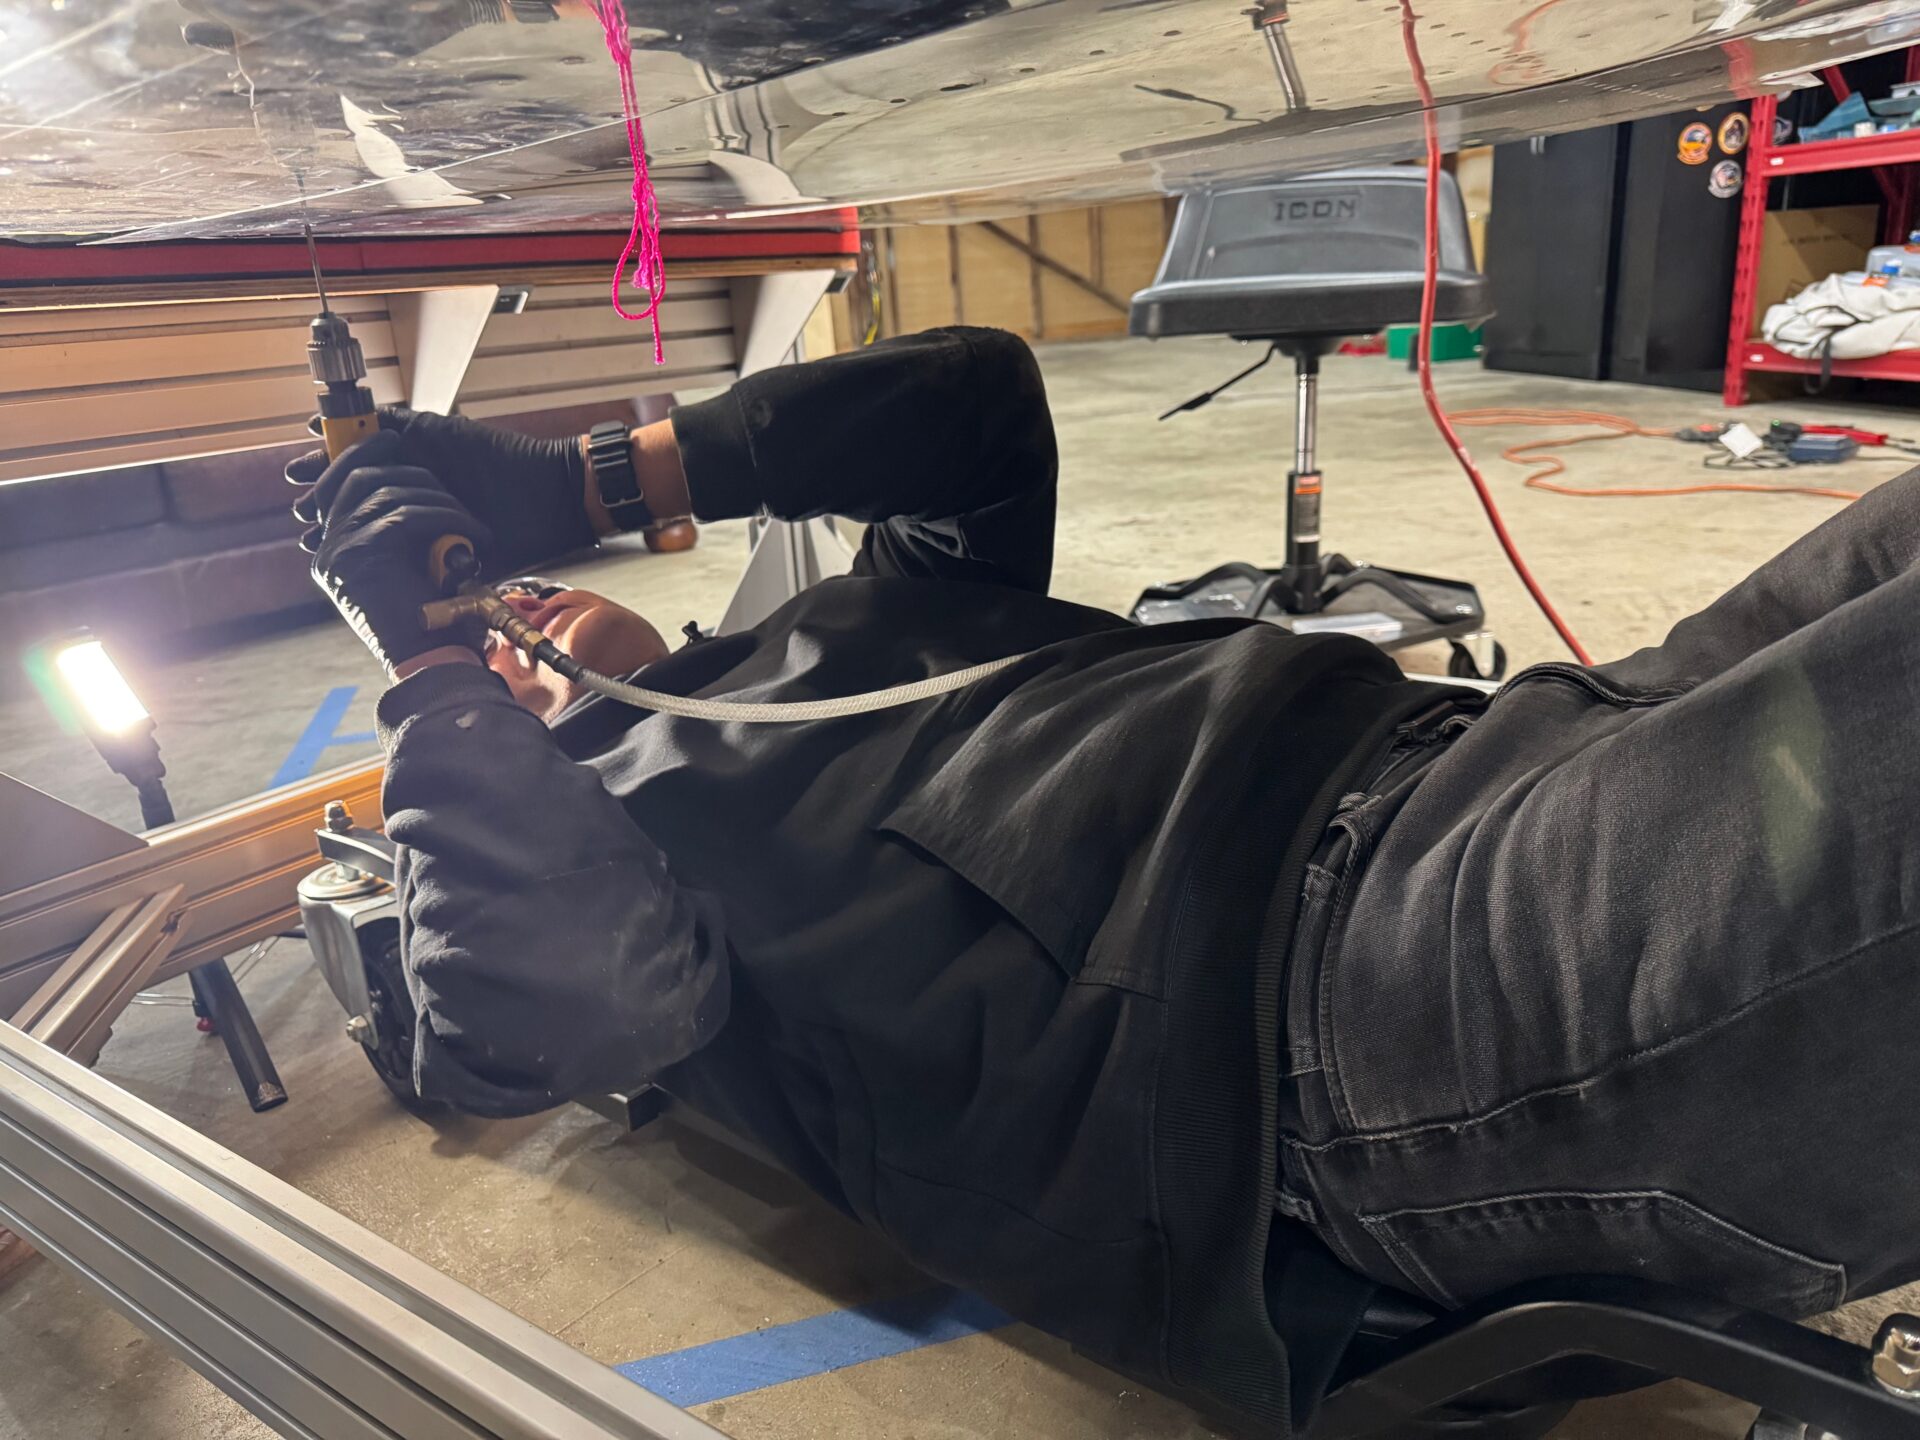
Time to drill… start small…
.. then up to the big boy!
its done! No going back now!!
view from inside the wing root cavity.
repeat on the right side.
All done!
Like I’ve said a few times in this post.. all’s well that ends well. In this case, I walked away with a beautifully squared wing, and all dimensions within the tolerances that I was hoping for. It is locked in with the rear spar drillings so I can finally take a deep breath. any removal of the wings will not cause so much anxiety going forward. Only a few pages left on the Fuselage section… super exciting! And now it’s time to fabricate the tank attach brackets, wing root fairings, and fit the flaps and ailerons! Until then….Happy Buildling!


3 comments
CONGRATULAZIONI. Wowwwww. That’s really a major step. Proud of all of you. Great accomplishment. Double cheer for the team.
You re an animal, brother paolo… and sam’s the best… so darn competent
just read this to my dad… small stroke… grateful for such good pilot content… crackerjack