After a successful trip to Volleyball Nationals where the boys played their hearts out, it was time to get back to the plane. My goal was to complete the bottom skins and flip the plane back to right side up before my trip to Greece. The issue was I had a competing distraction…. learning to Wing Foil! For the uninitiated, Wing Foiling is a combination of kitesurfing and windsurfing atop a board 2 feet above the water, flying on an underwater wing. The perfect sport for a sailing trip through the Greek islands where wind abounds but space for kite equipment does not. Pictures are worth a million words. Videos… a billion.
Yeah.. I know it looks goofy, but that’s ok because that was day 2 of learning. Hopefully the practice will pay off in Greece. But I digress…. the competing distraction was fun, but didn’t stop us from getting a bunch of time into the fuselage. Step one was Priming the skins
Prime Time
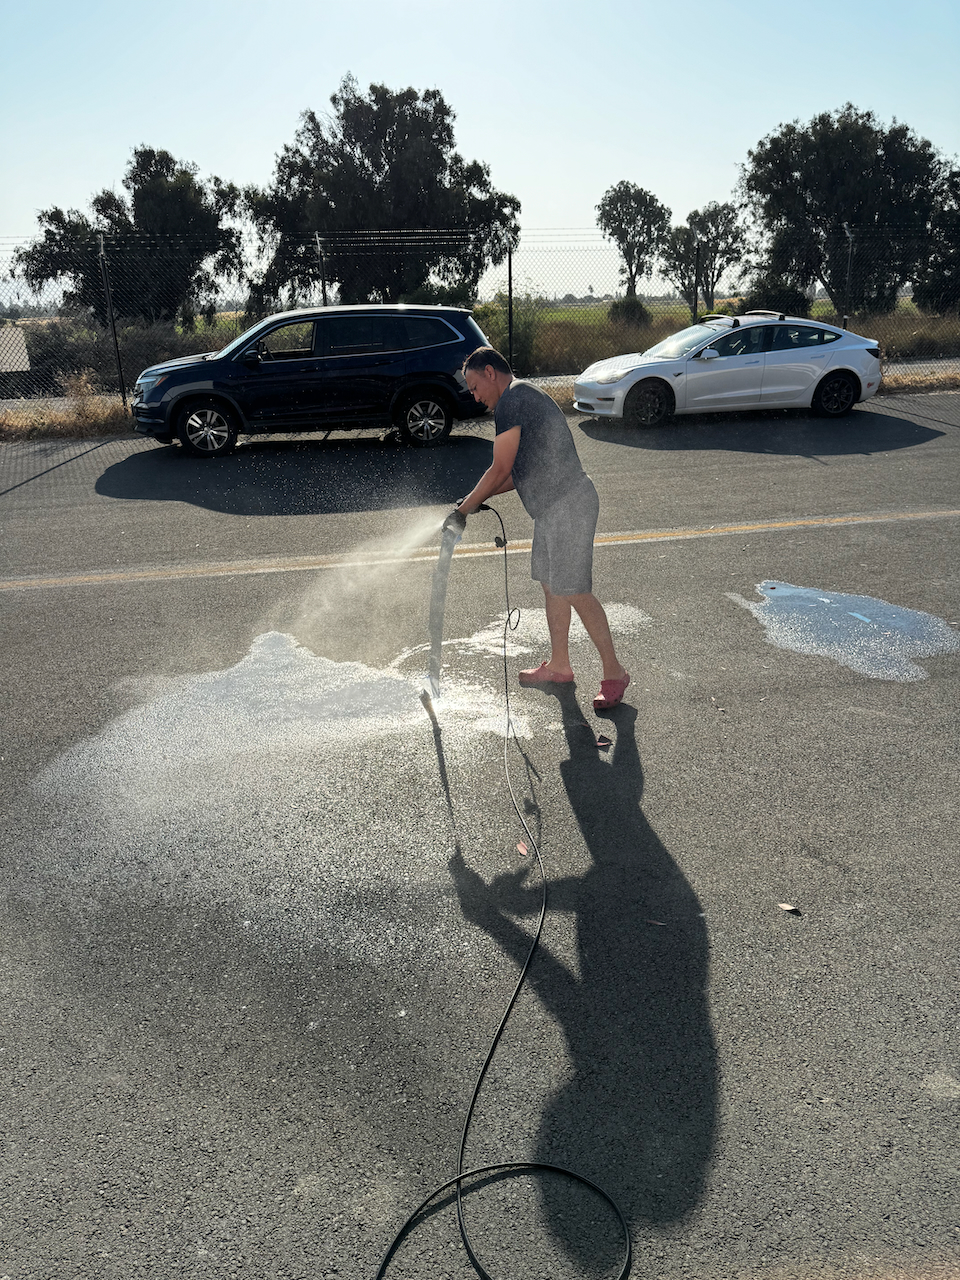
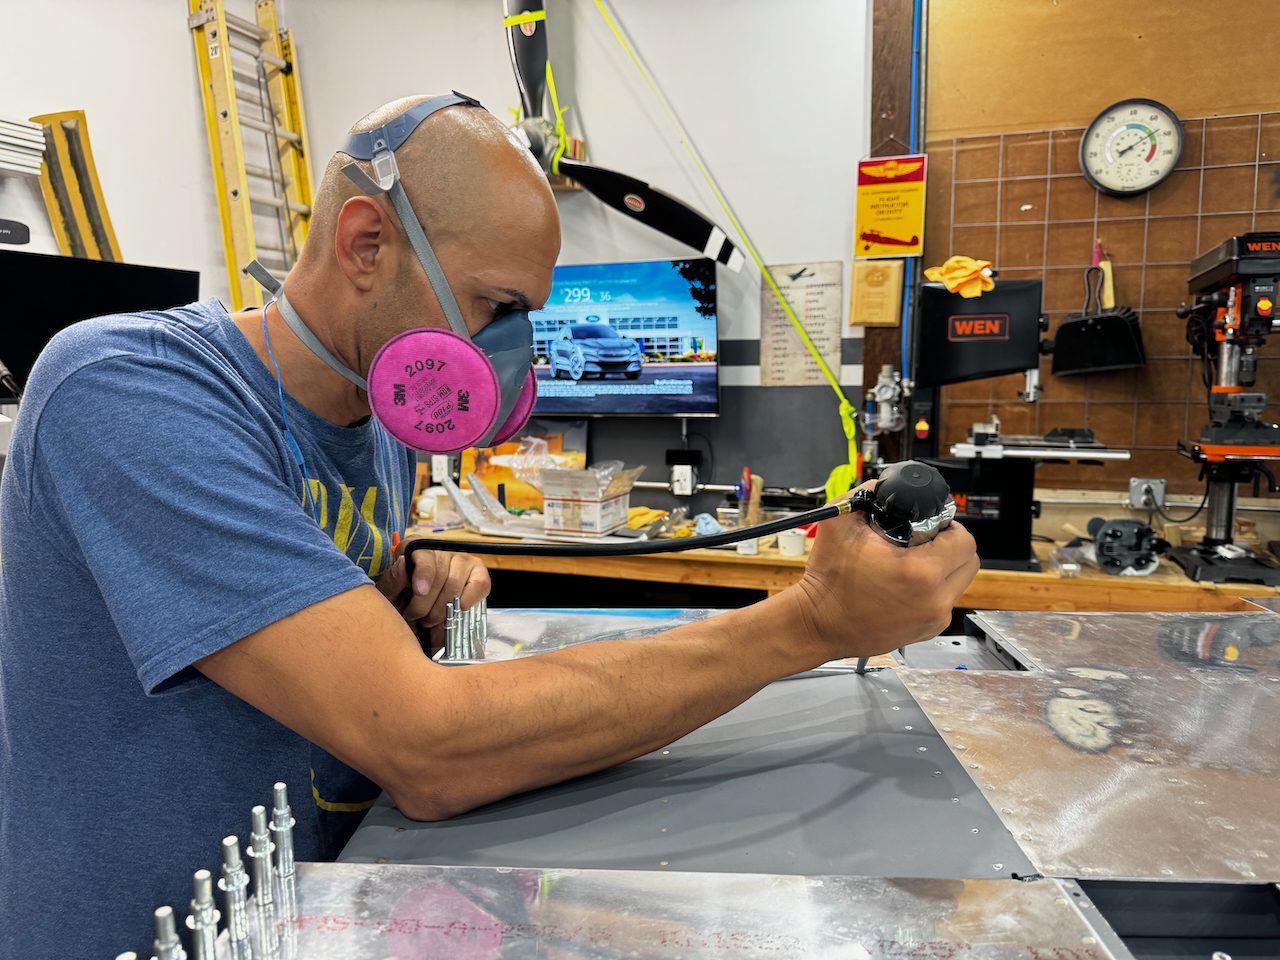
Just another normal priming session. Since it was only a few parts we were able to get things done in an evening session. Sam came down and within a few hours we were a finished up. Besides realizing I didn’t have the right parts for my paint gun and Sam having to make a heroic run to home depot to get a spare gun, everything went quite smooth.
Sam cleaning off the skins
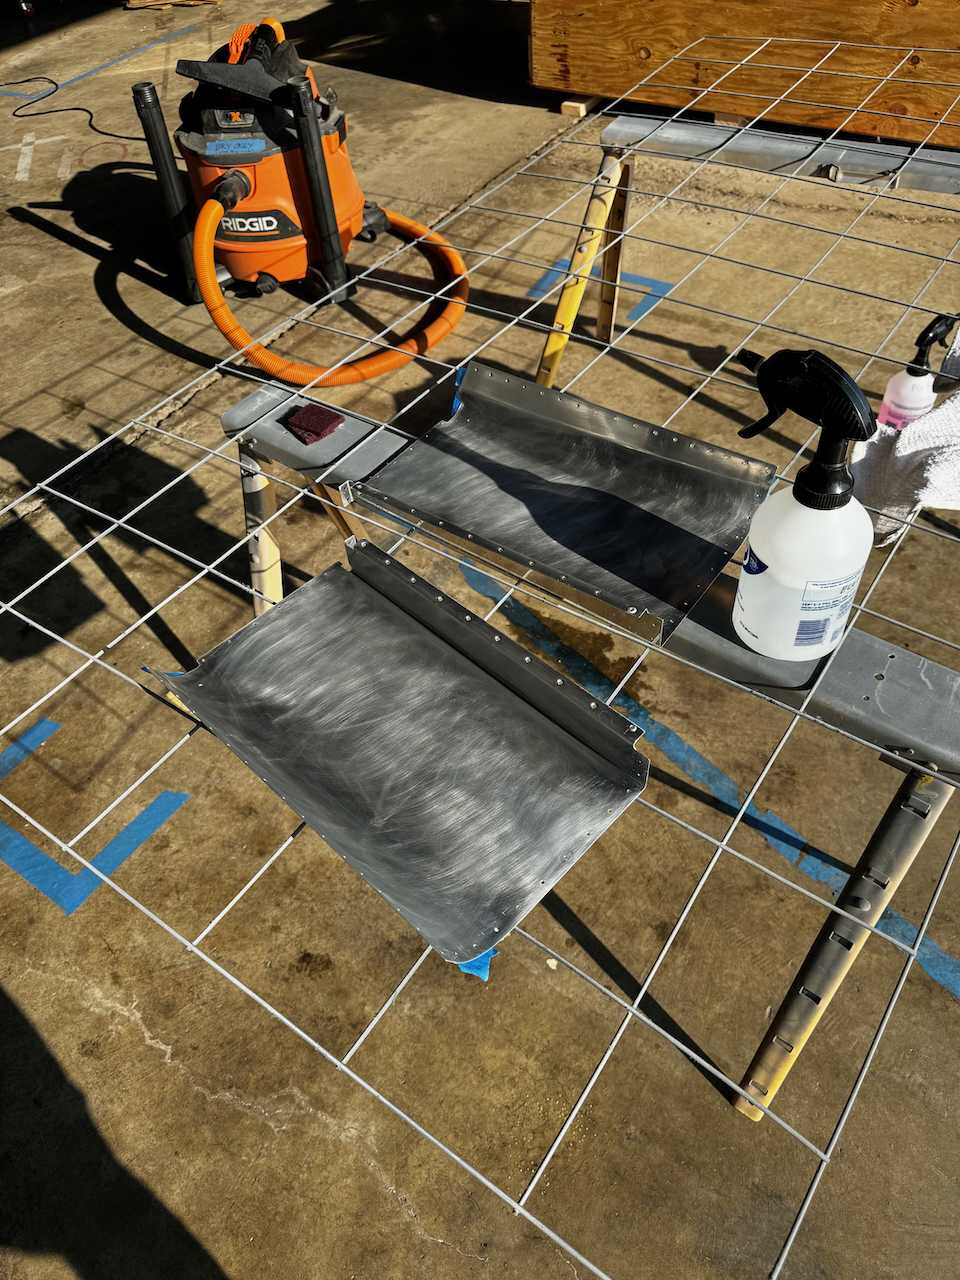
Etching as usual.
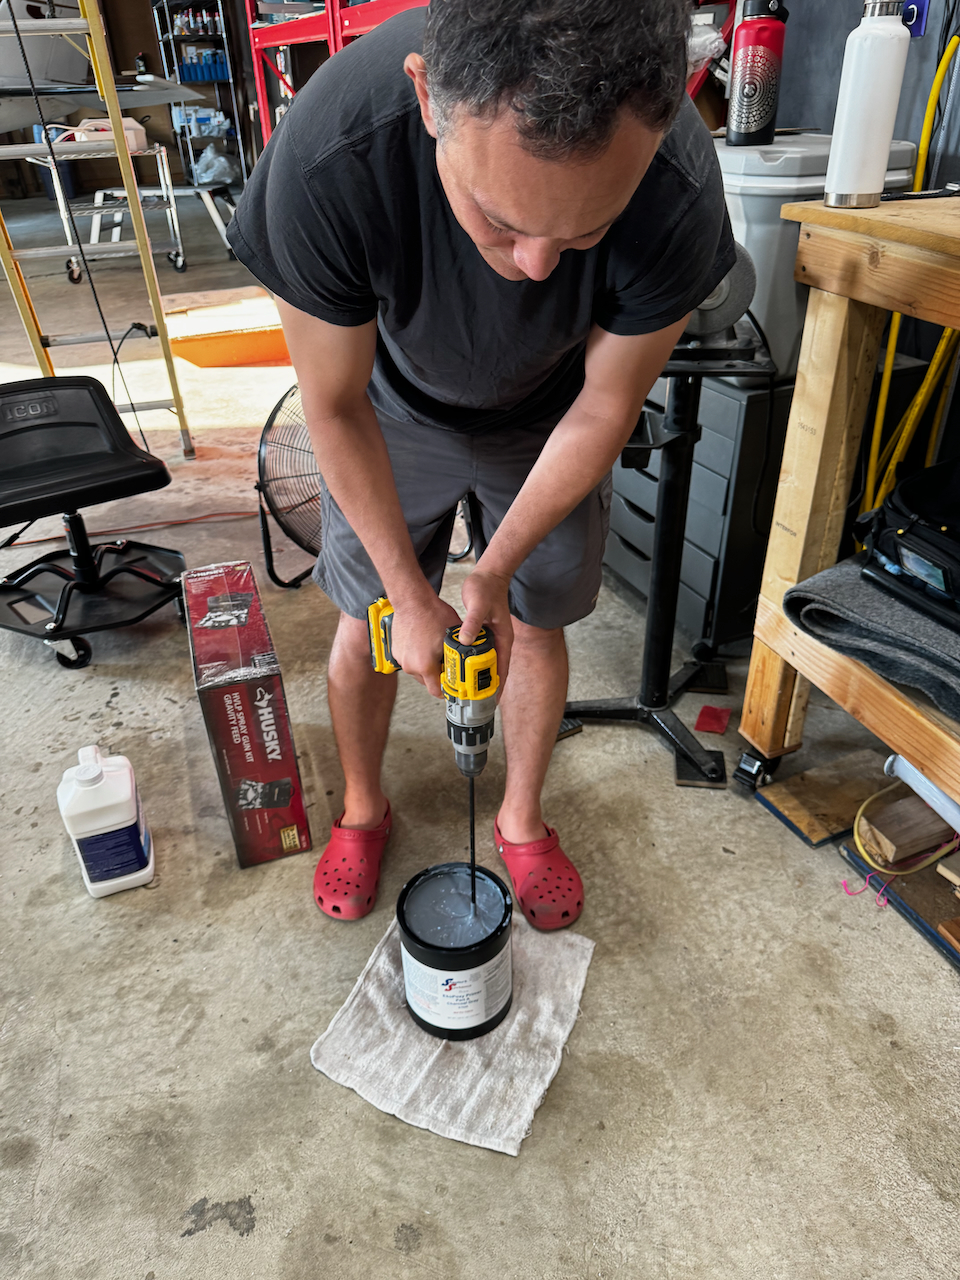
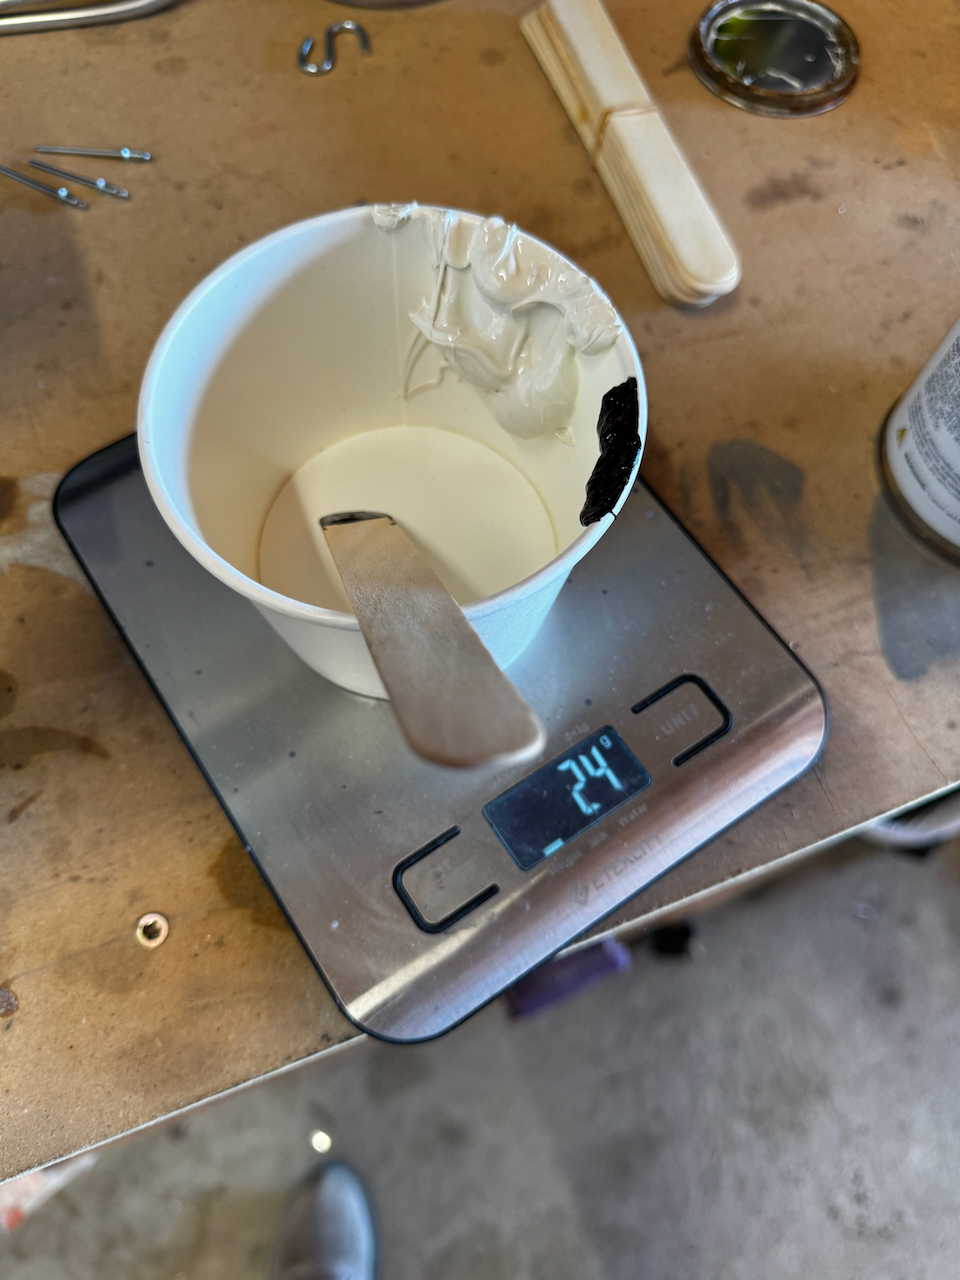
We got a new batch of prime which required a bit of mixing to get it to an acceptable consistency.
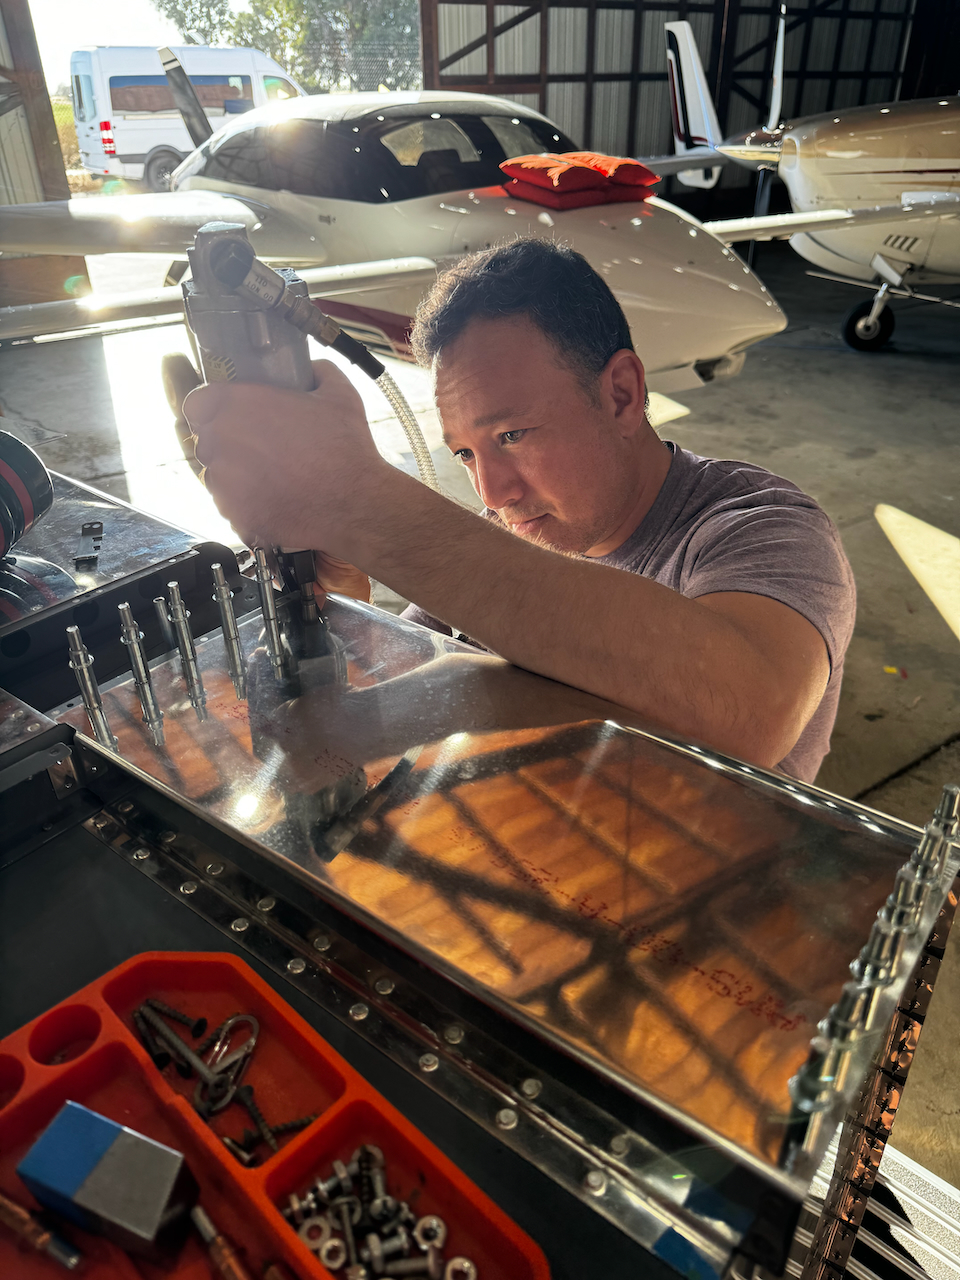
I rattlecan sprayed a part of the fuselage that I didn’t want to try moving into the booth.
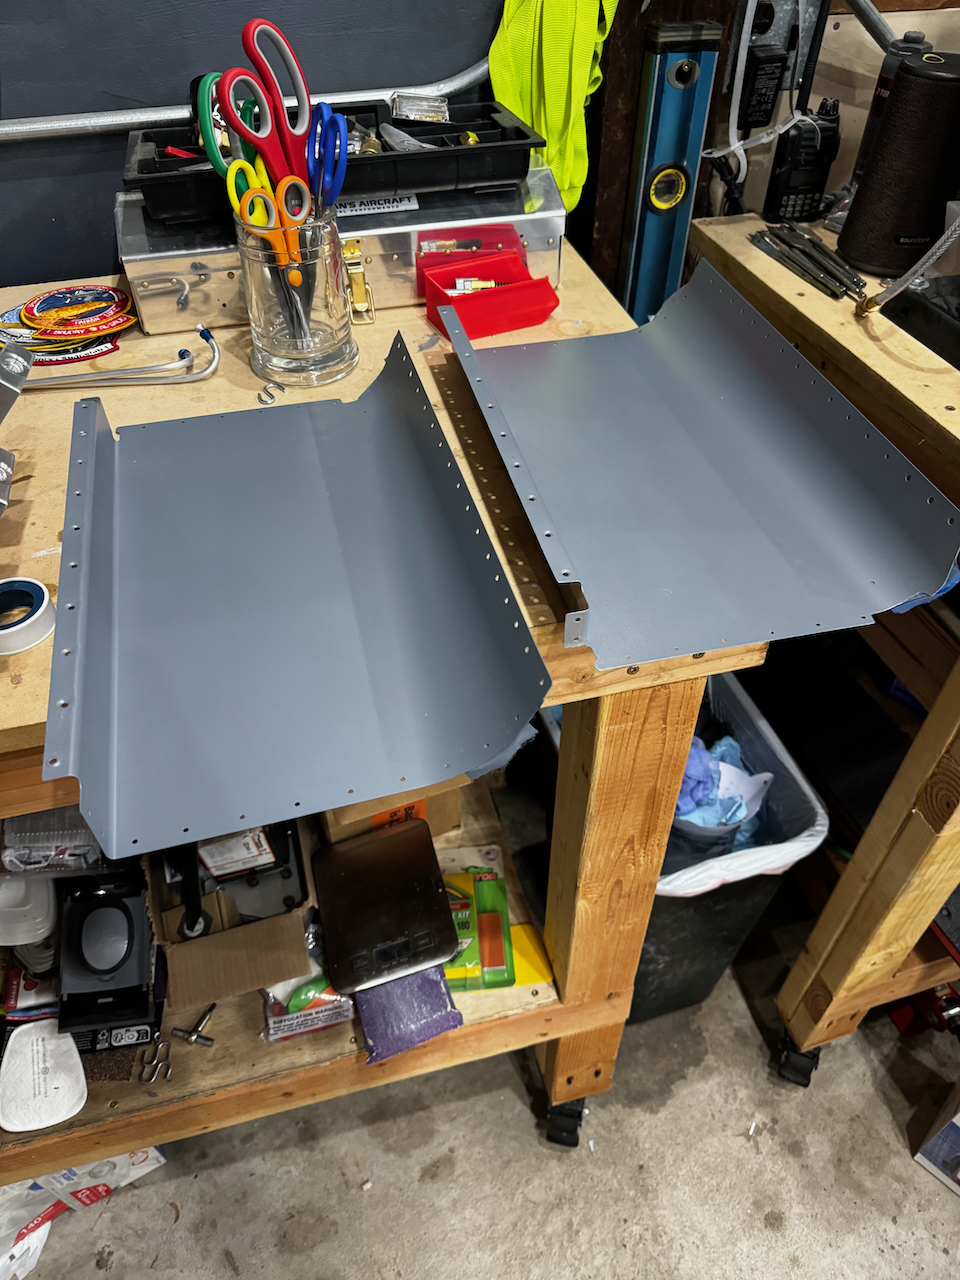
The rest was primed nicely and ready for assembly!
I had to use a different spray gun, but it turned out great.
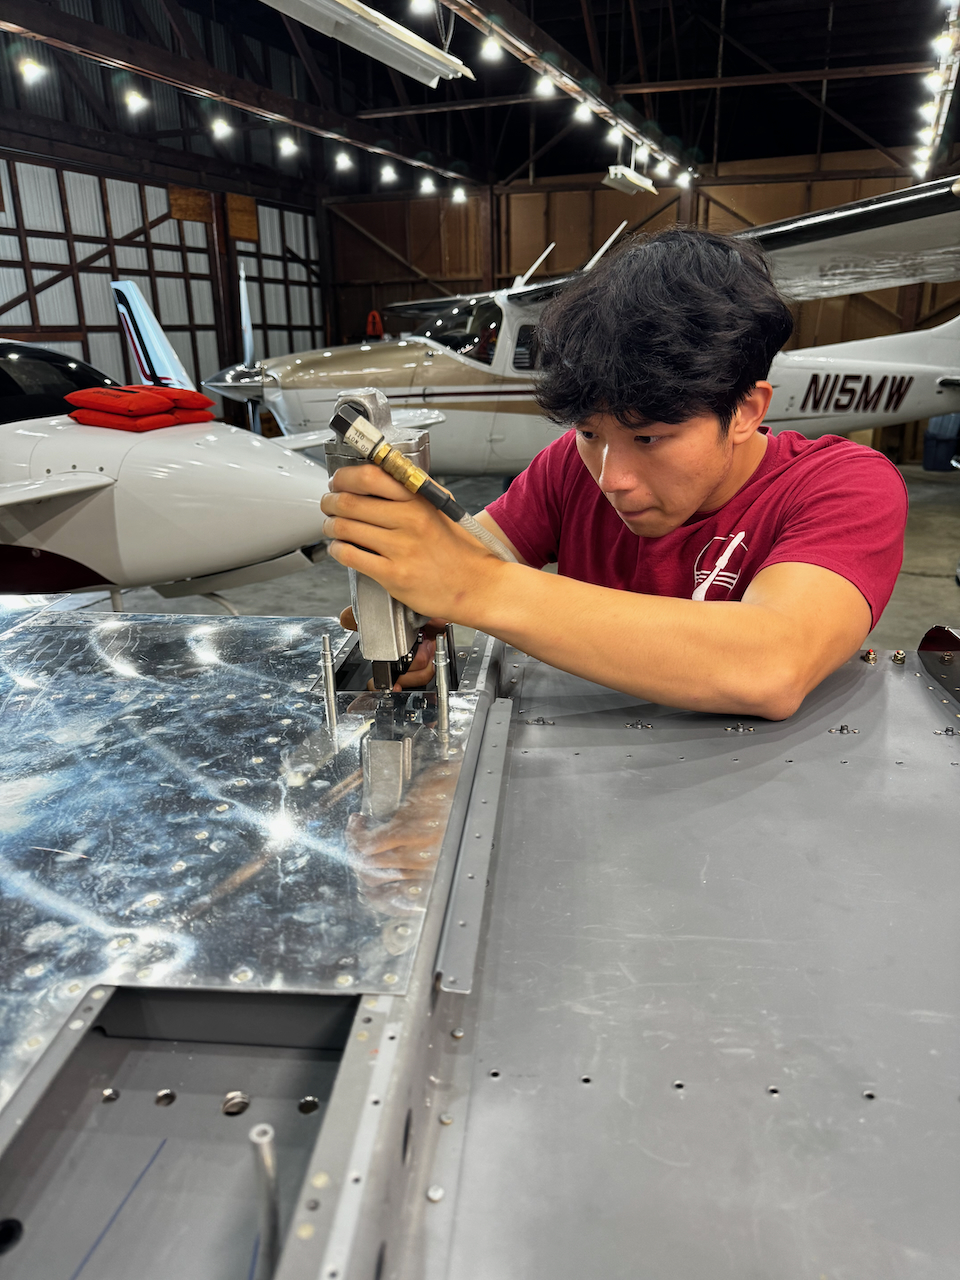
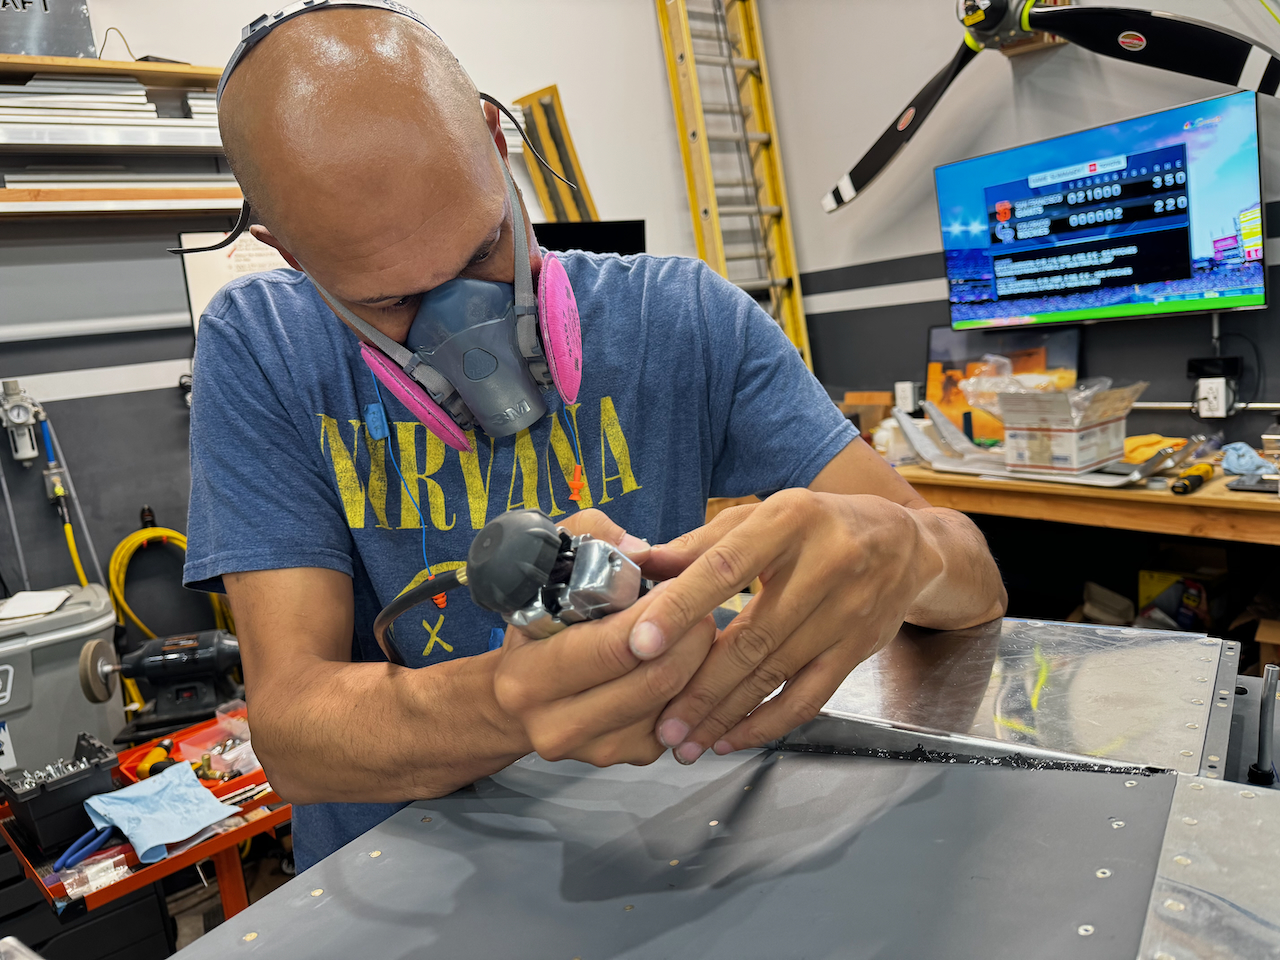
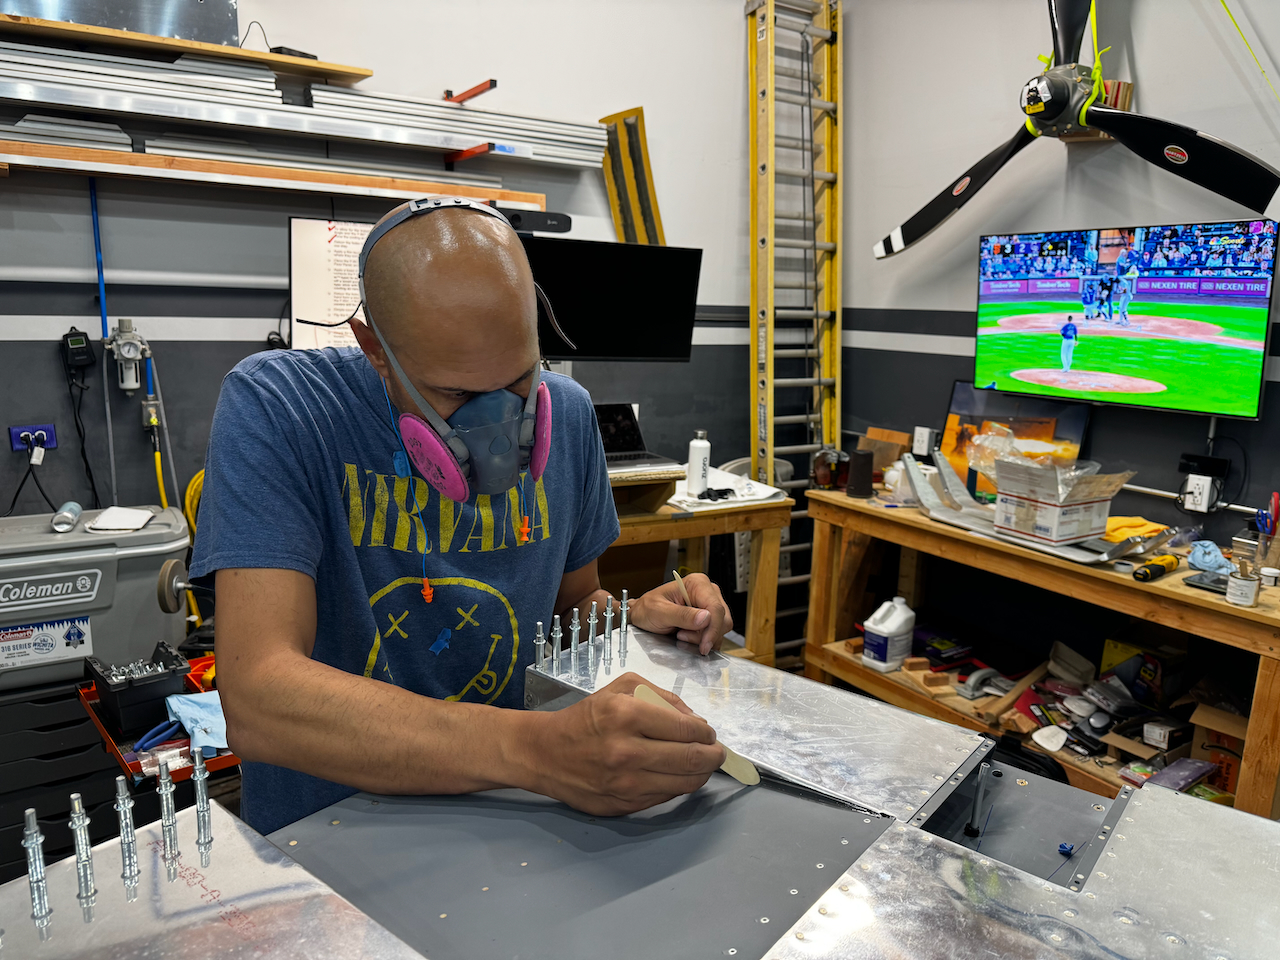
F-850-1 Bottom Skin Installs
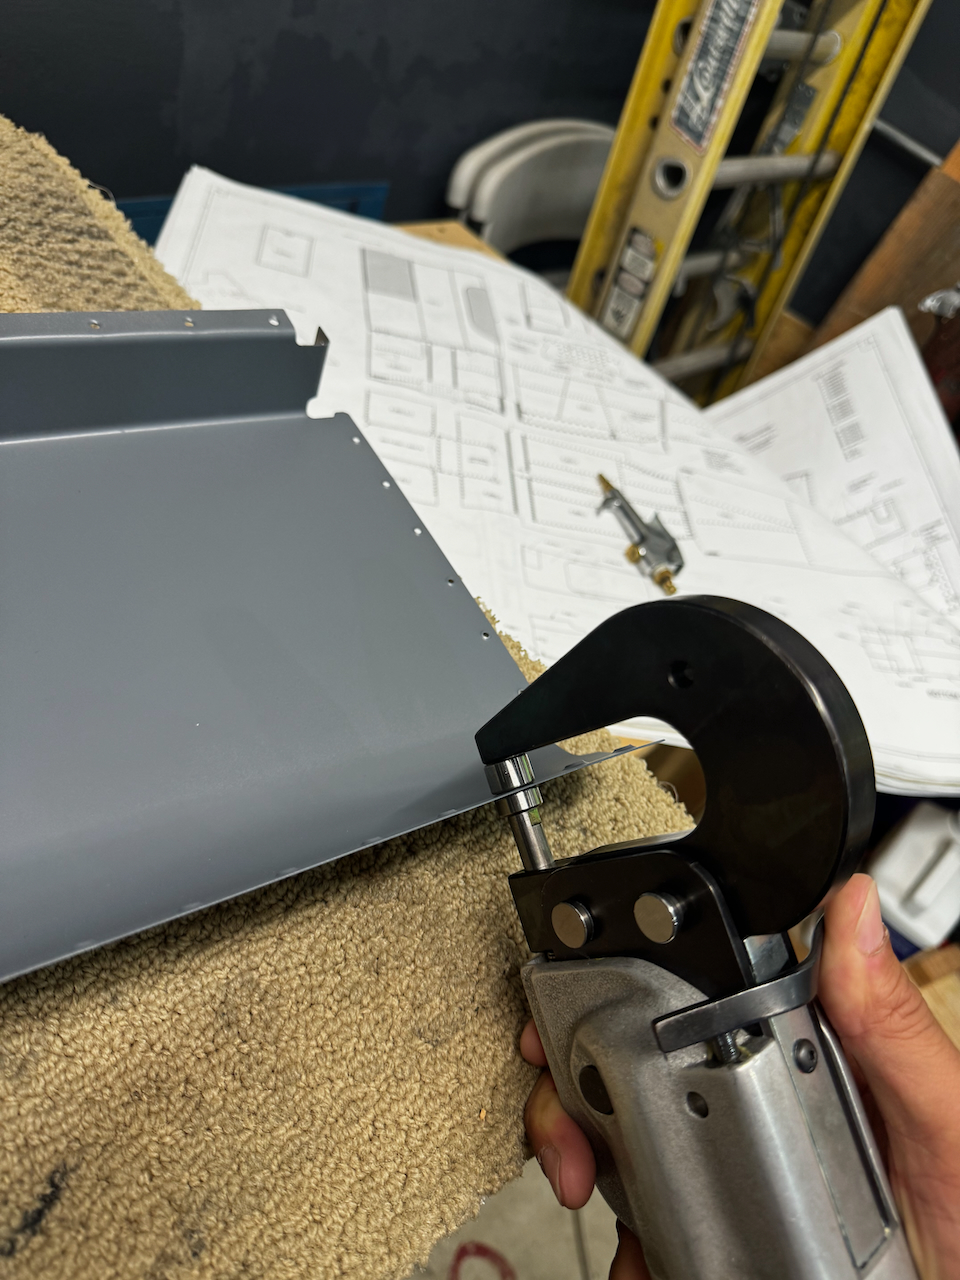
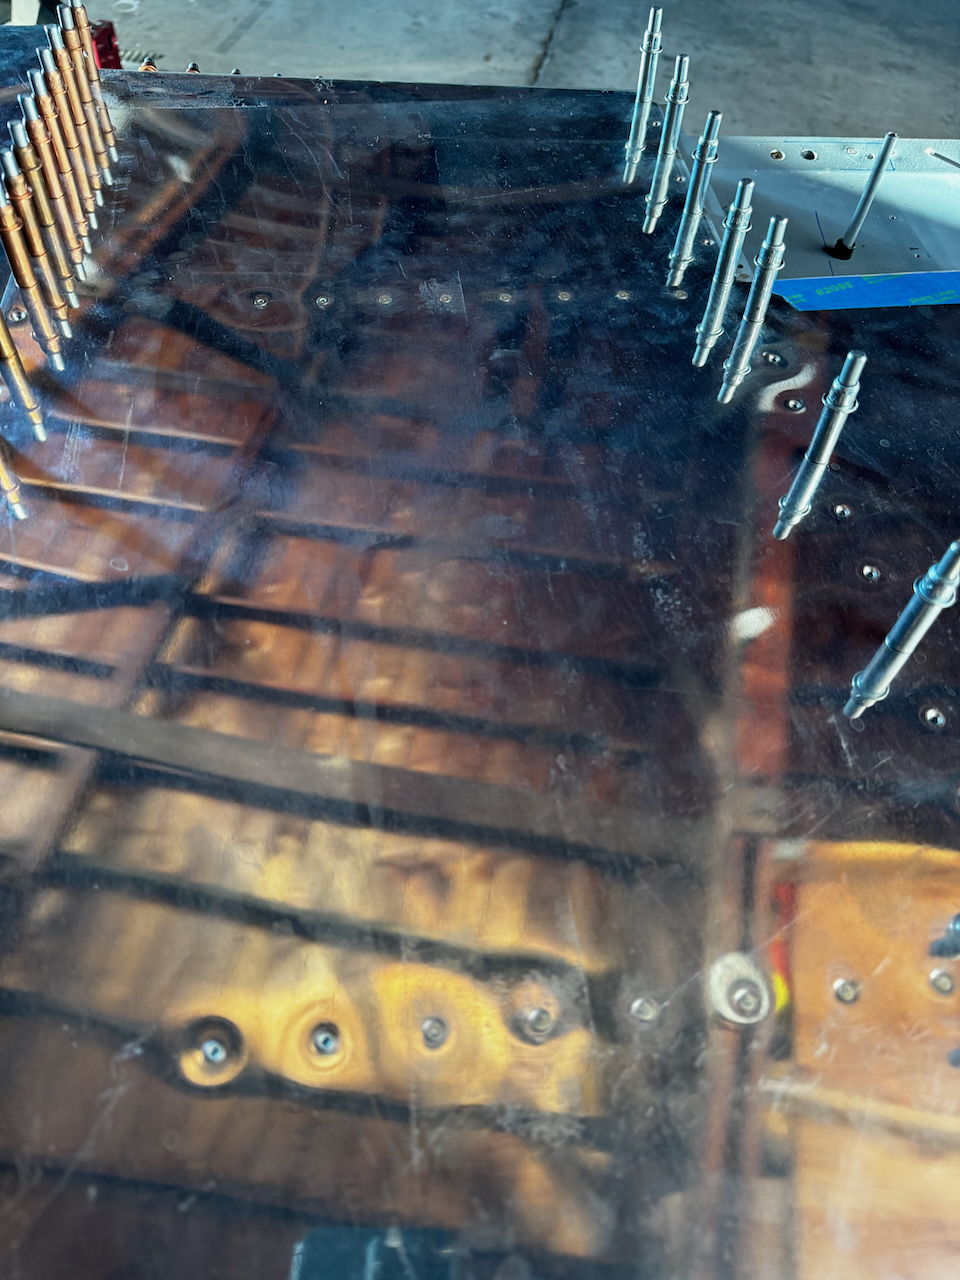
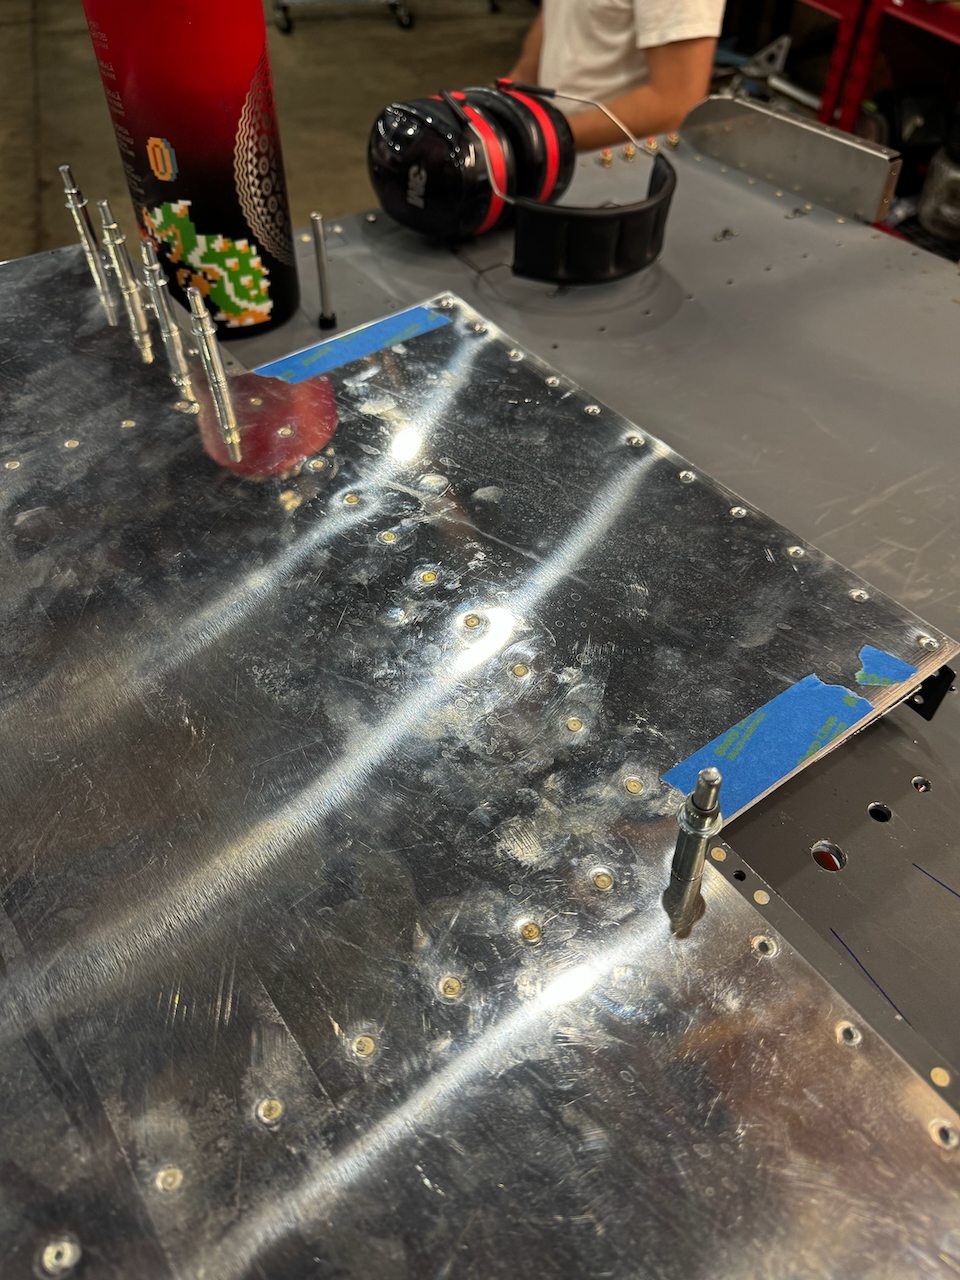
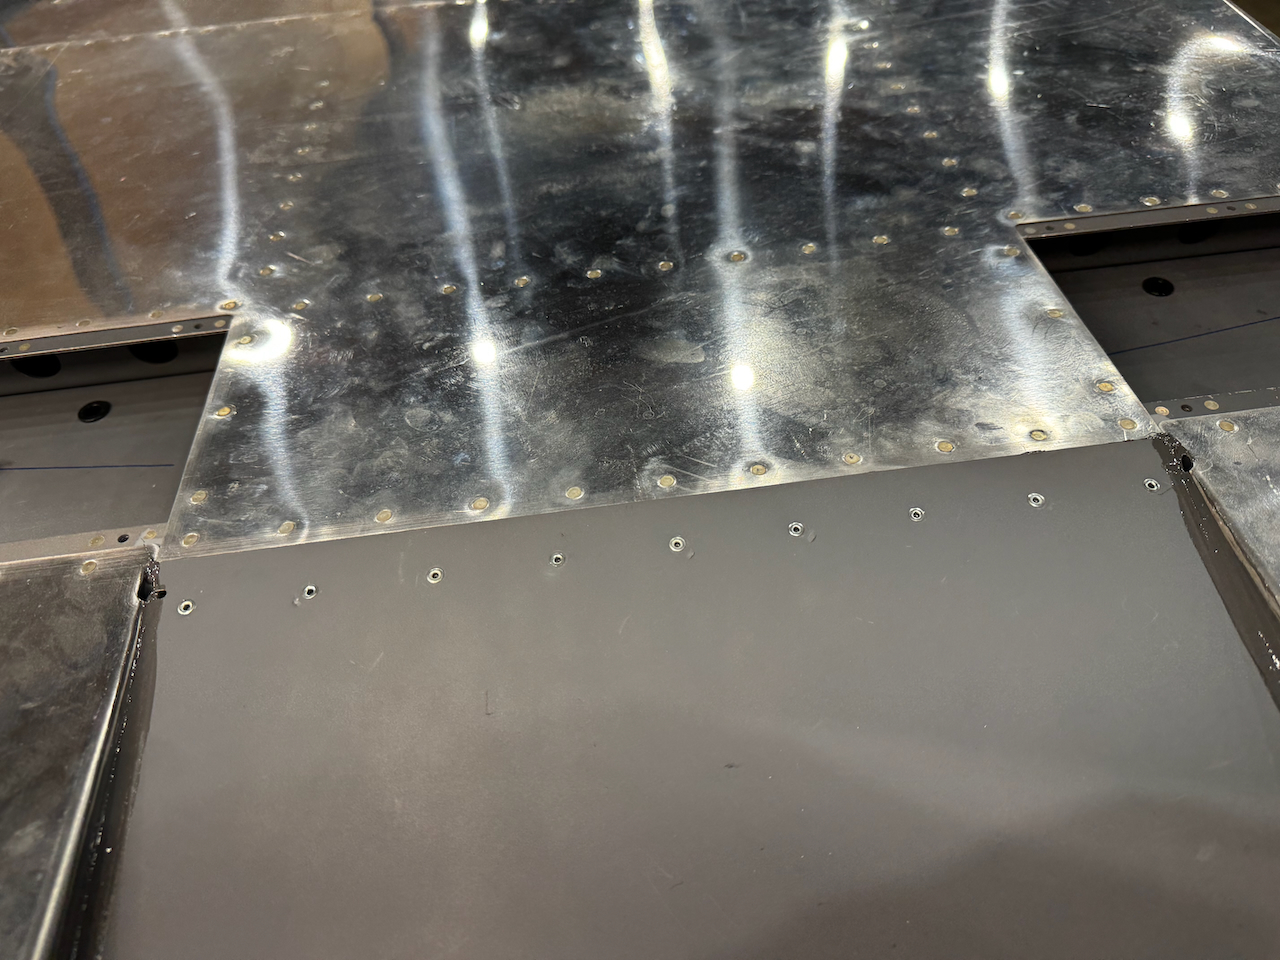
Priming complete, it was time to dimple the skins and get going on install. The plans call for blobs of RTV or Fuel Tank Sealant in a spot that I suspect would rattle or vibrate if you didn’t have some sort of dampener. It would have been nice if the plans explain the purpose, but I went ahead and did it. This skin was the one that had challenges during the fitment, but this time around it installed much easier. There were a few odd order of operations defined in the plans, but make sure to follow it. The rivets are in some awkward spots so to avoid too many blind rivets you have to leave certain parts unclecoed while you get to other areas. Trust me, it all works out.
make sure to only dimple what is called out. There are a lot of non-dimpled holes!
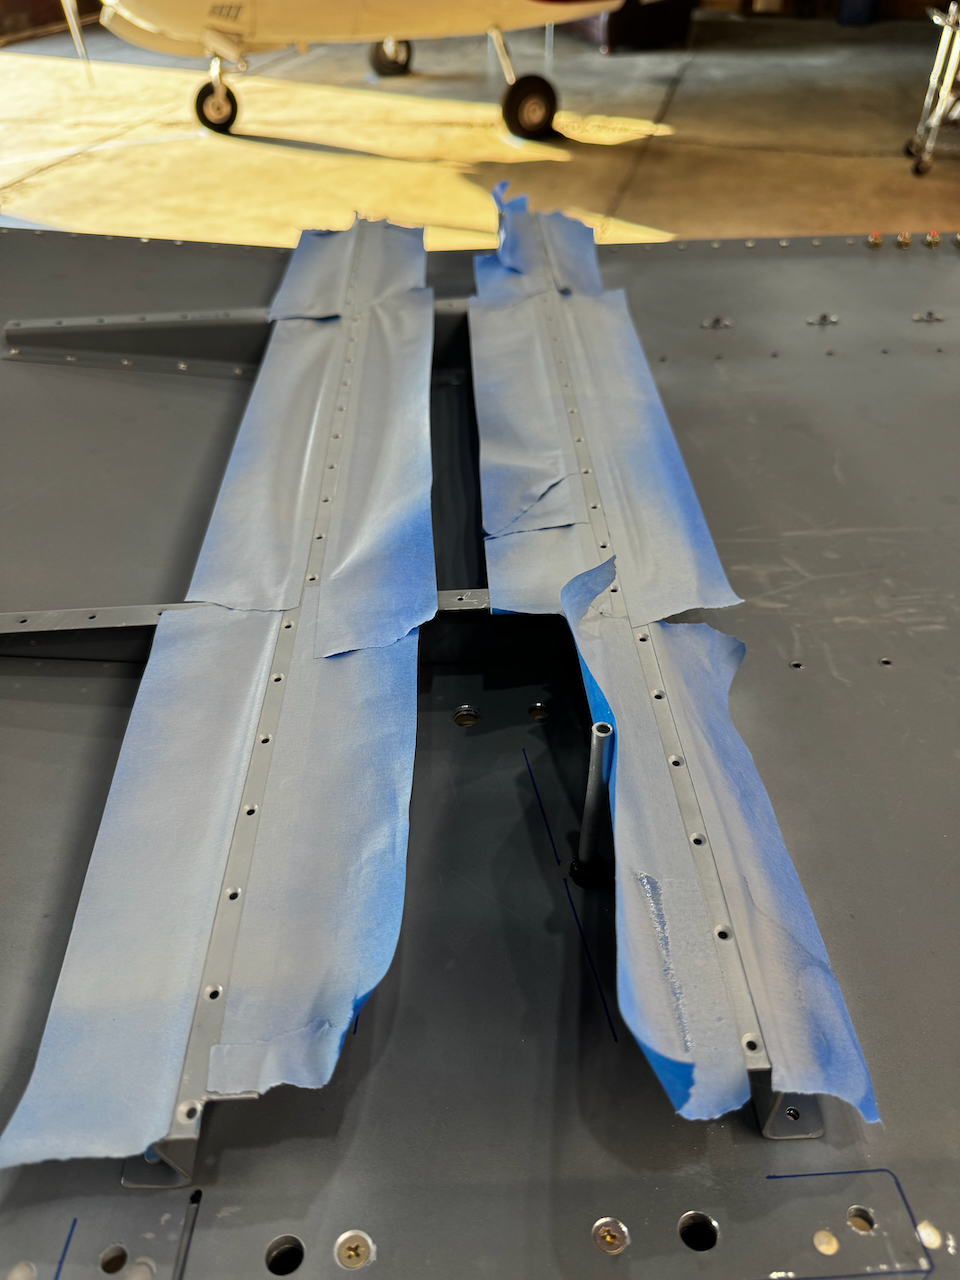
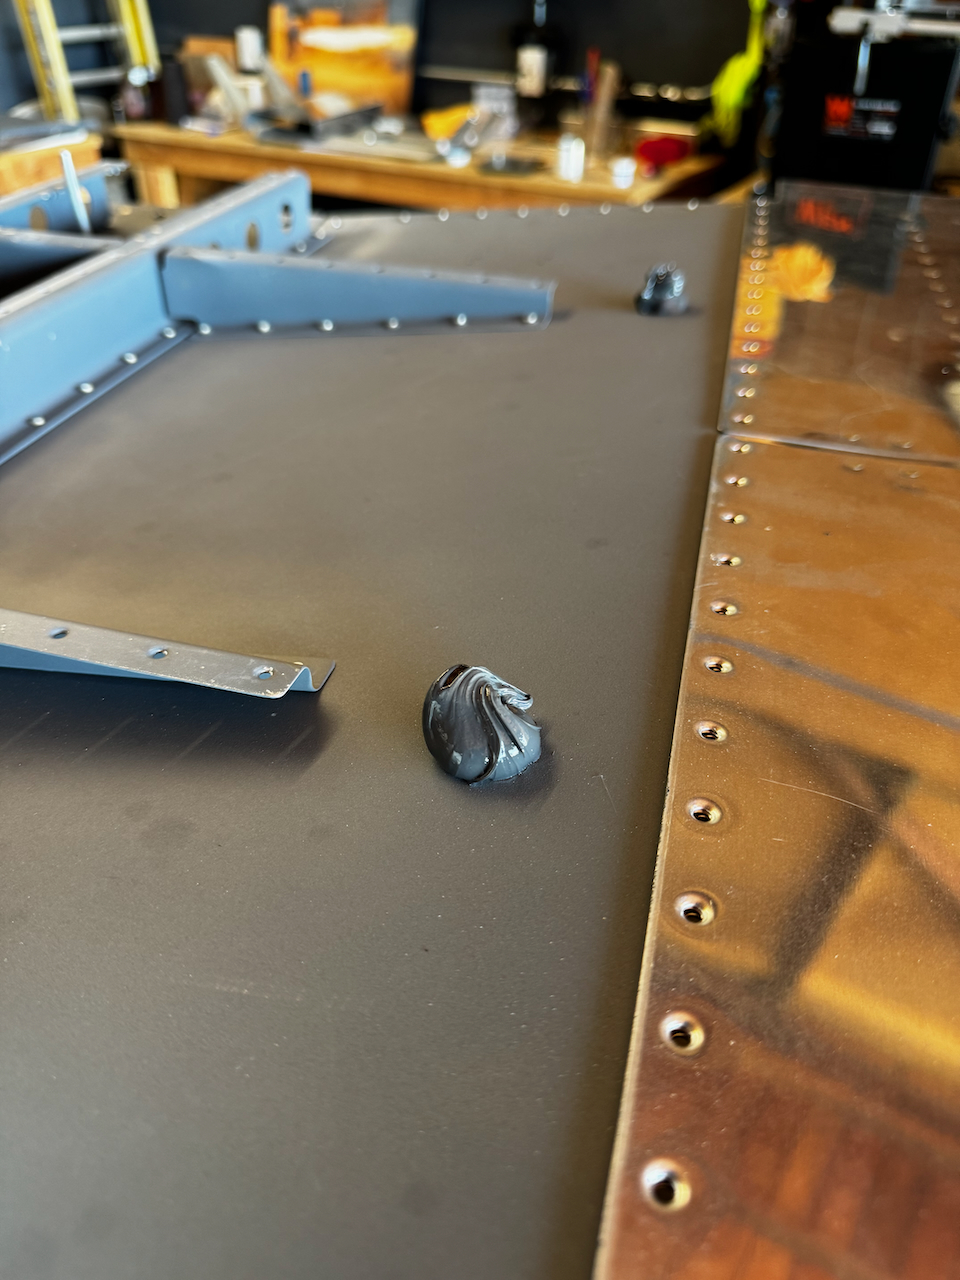
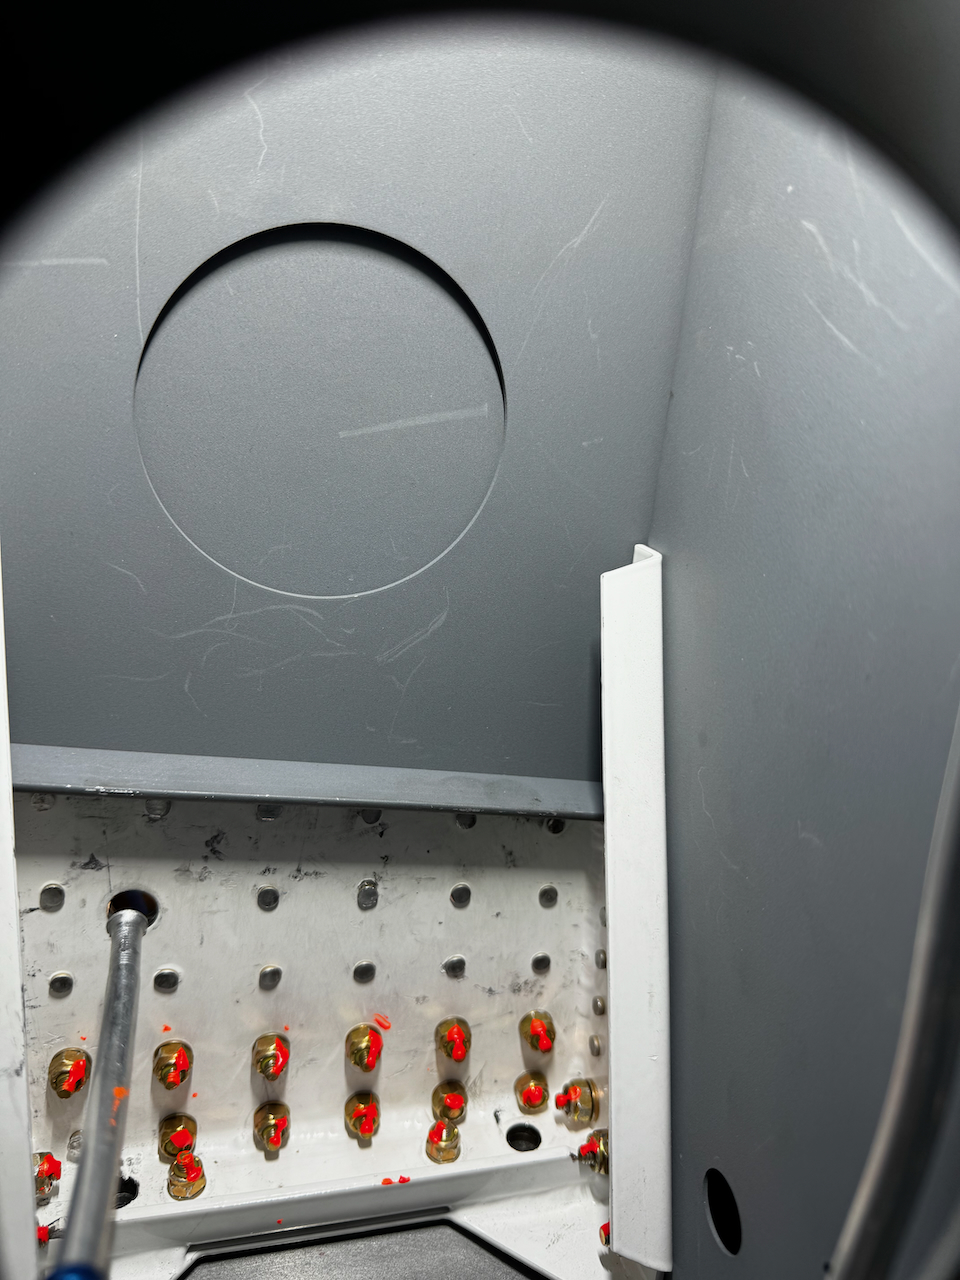
Plans call for sealant blobs here.
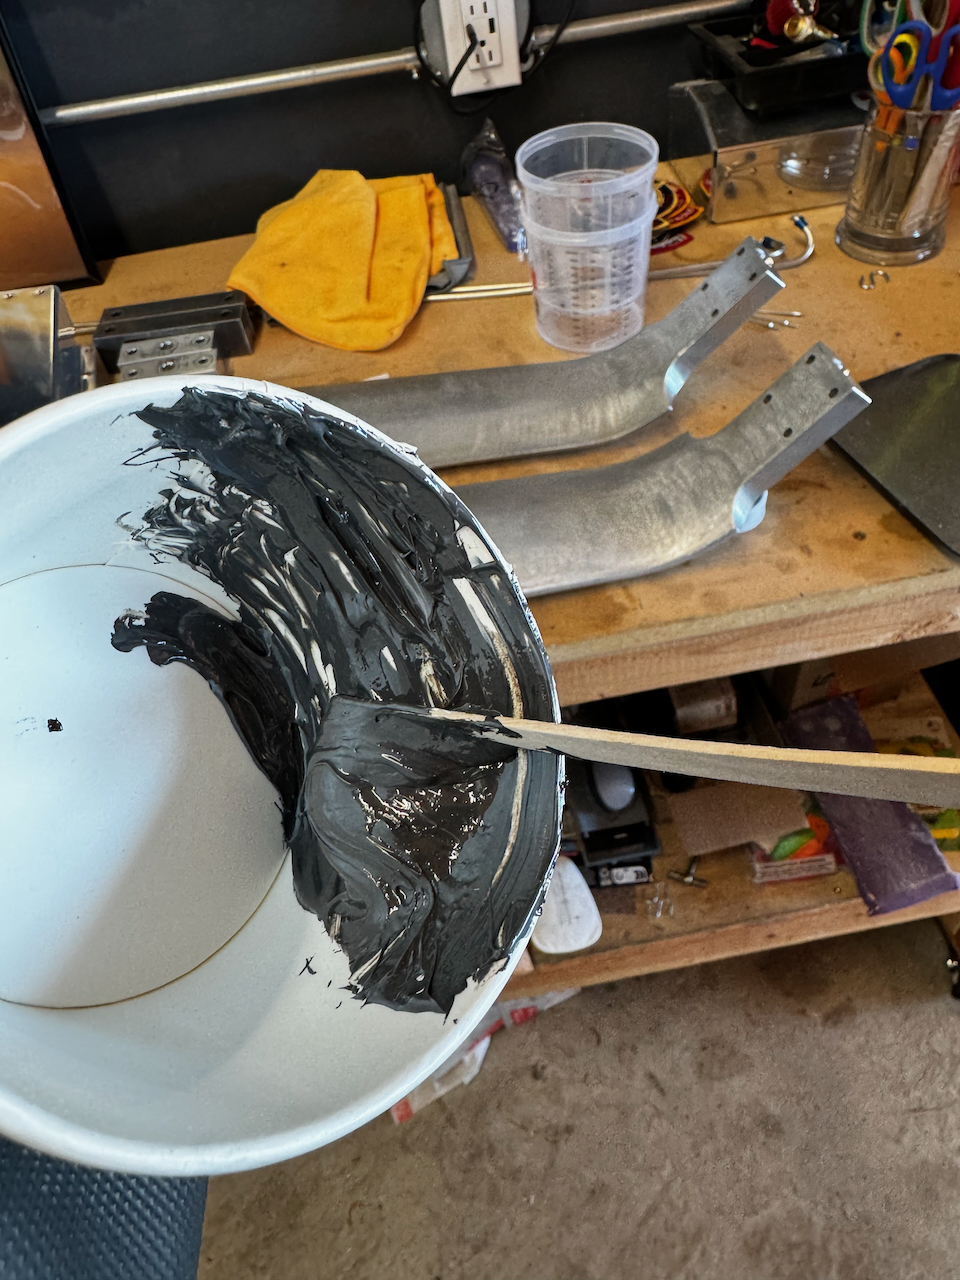
good ol Pro Seal to the rescue!
mixed and ready to apply
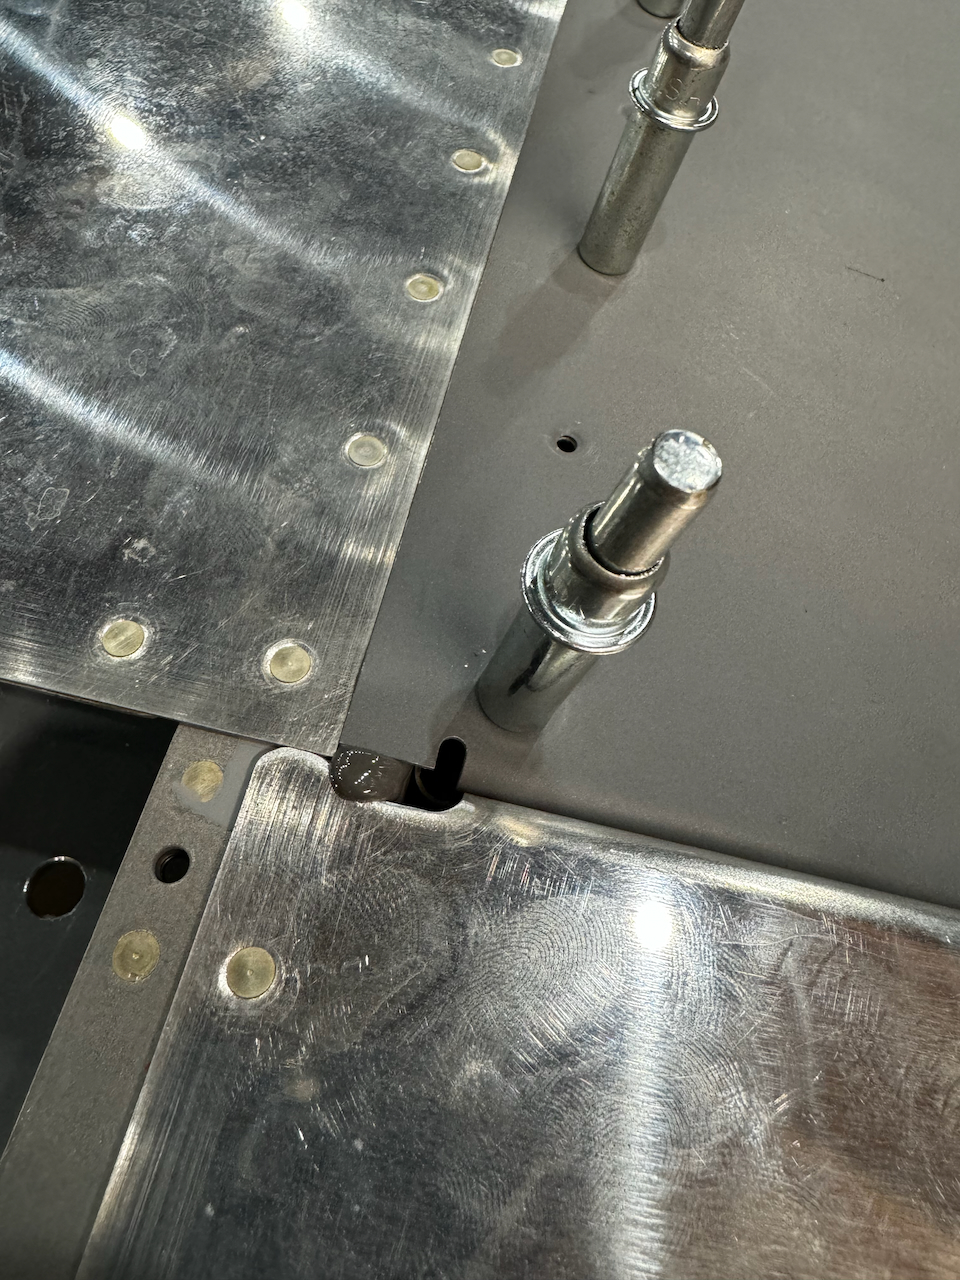
The size of blob needs to bridge between the two skins.
Putting the skin on will squish the sealant into it’s final form.
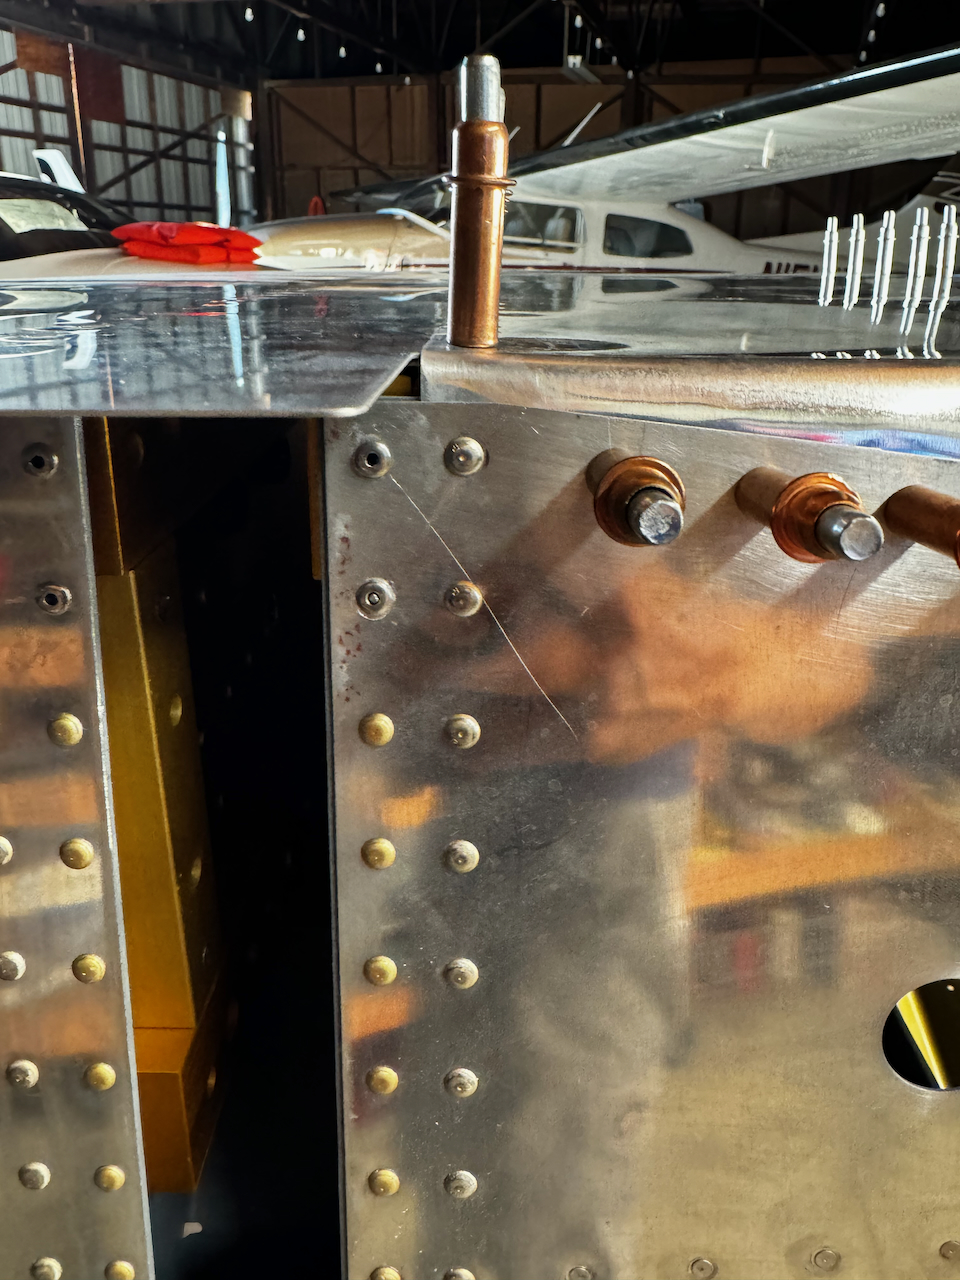
After skin is in, I had to reinstall the rivets removed to fit the skin earlier.
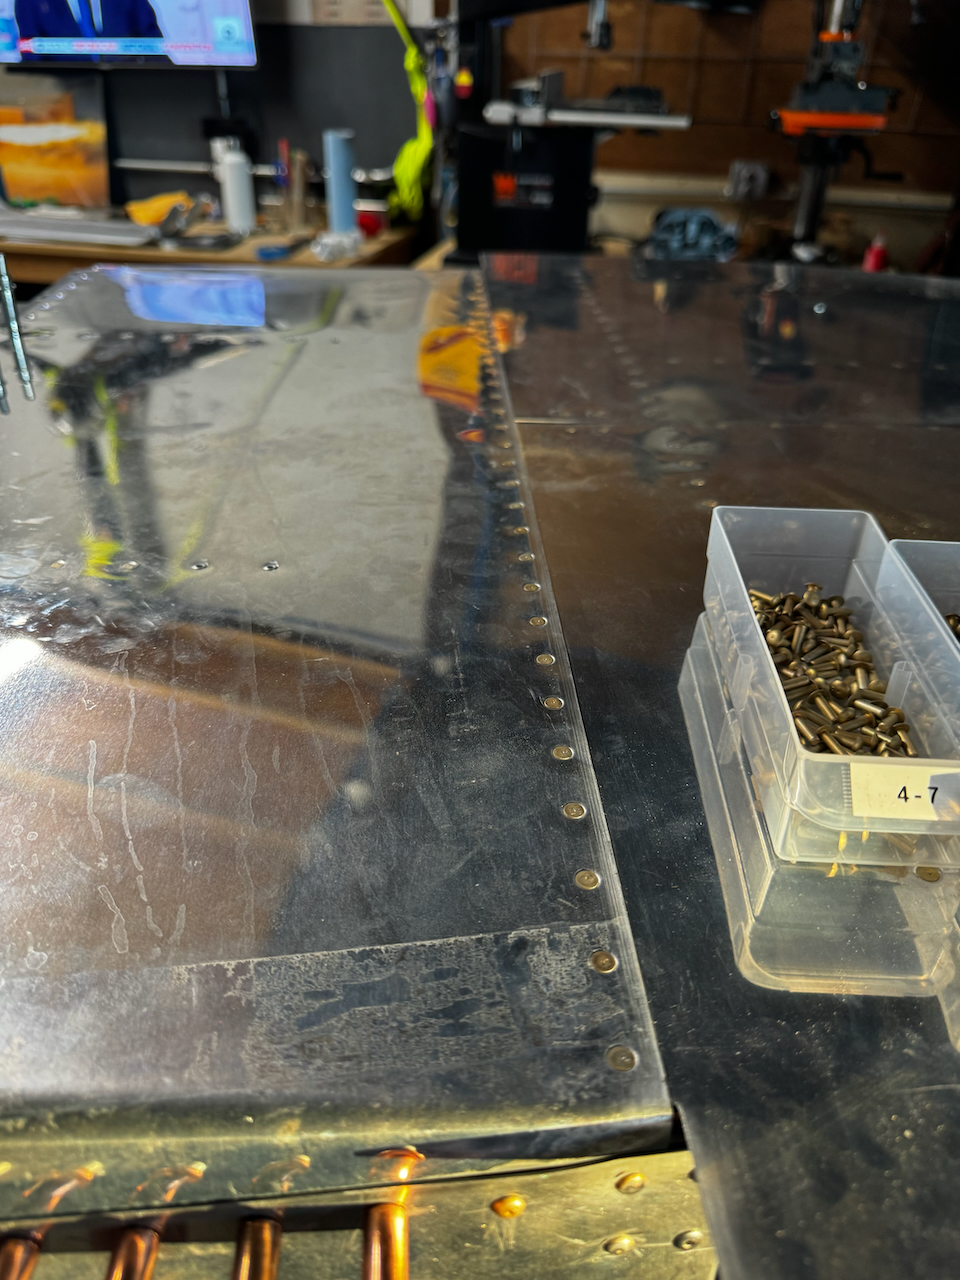
Note the two MK-319 blind rivets aft most of this row. This is an option install based on the plans. I didn’t have the bucking bars to do it any other way.
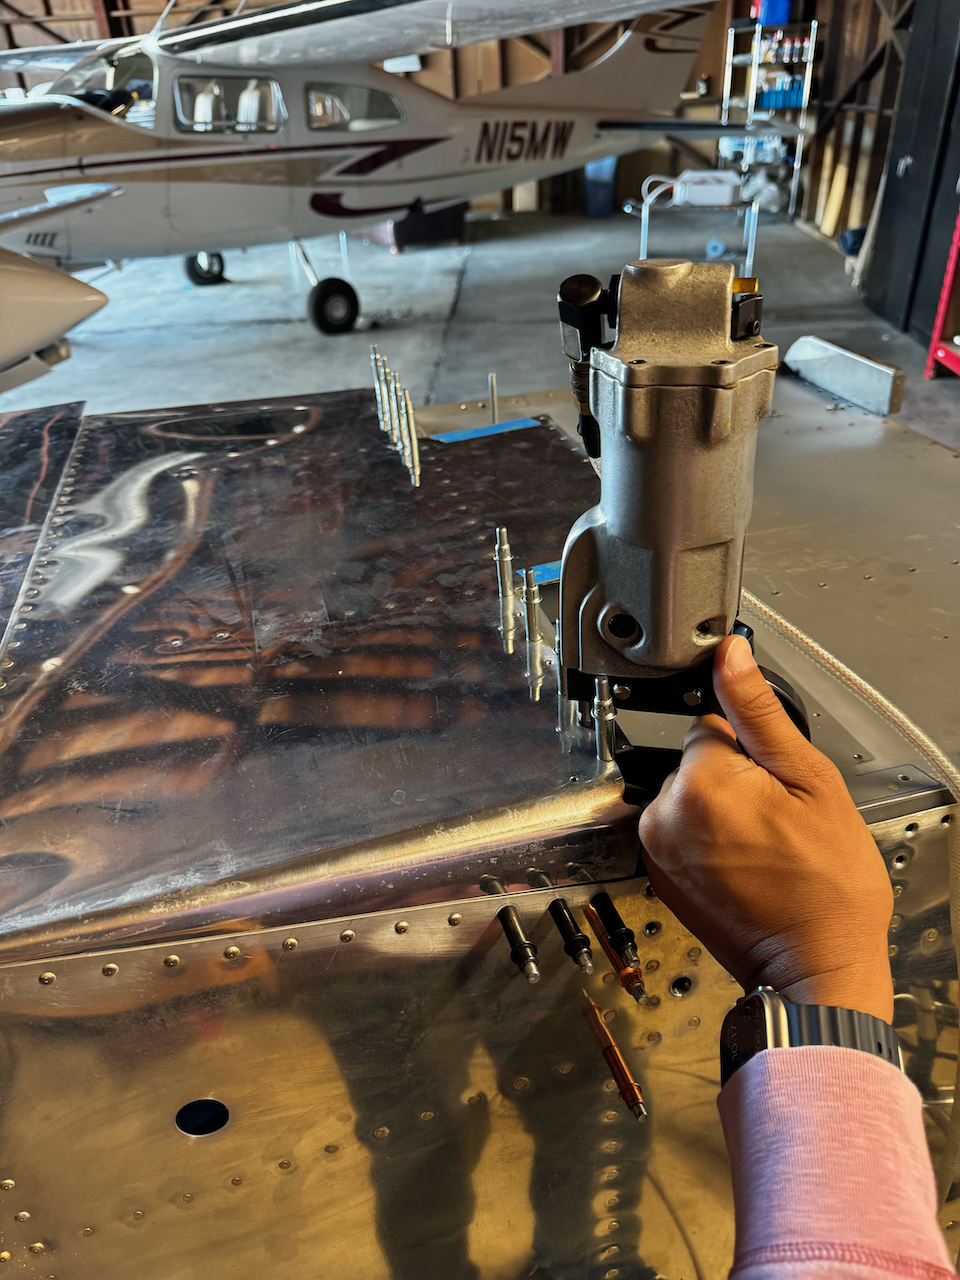
Sam and I cranked through a bunch of rivets that require soeone on each side of the fuselage.
oops… over banged that rivet. Easy enough to drill out.
Right side riveting done…
…and also the left!
If you don’t follow the plans, you won’t be able to get to these rivets properly.
Thank goodness for a little squeezing!
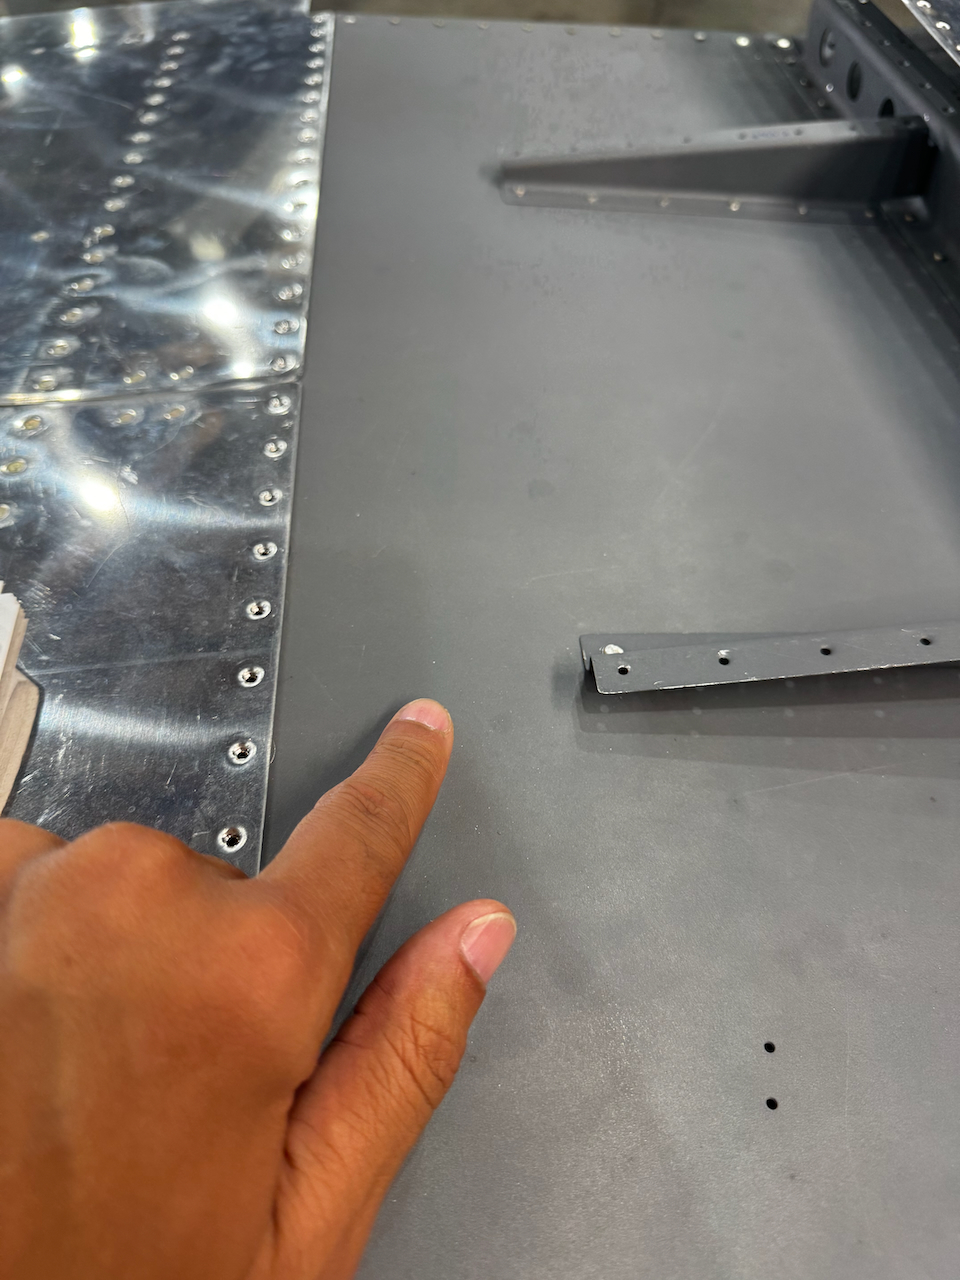
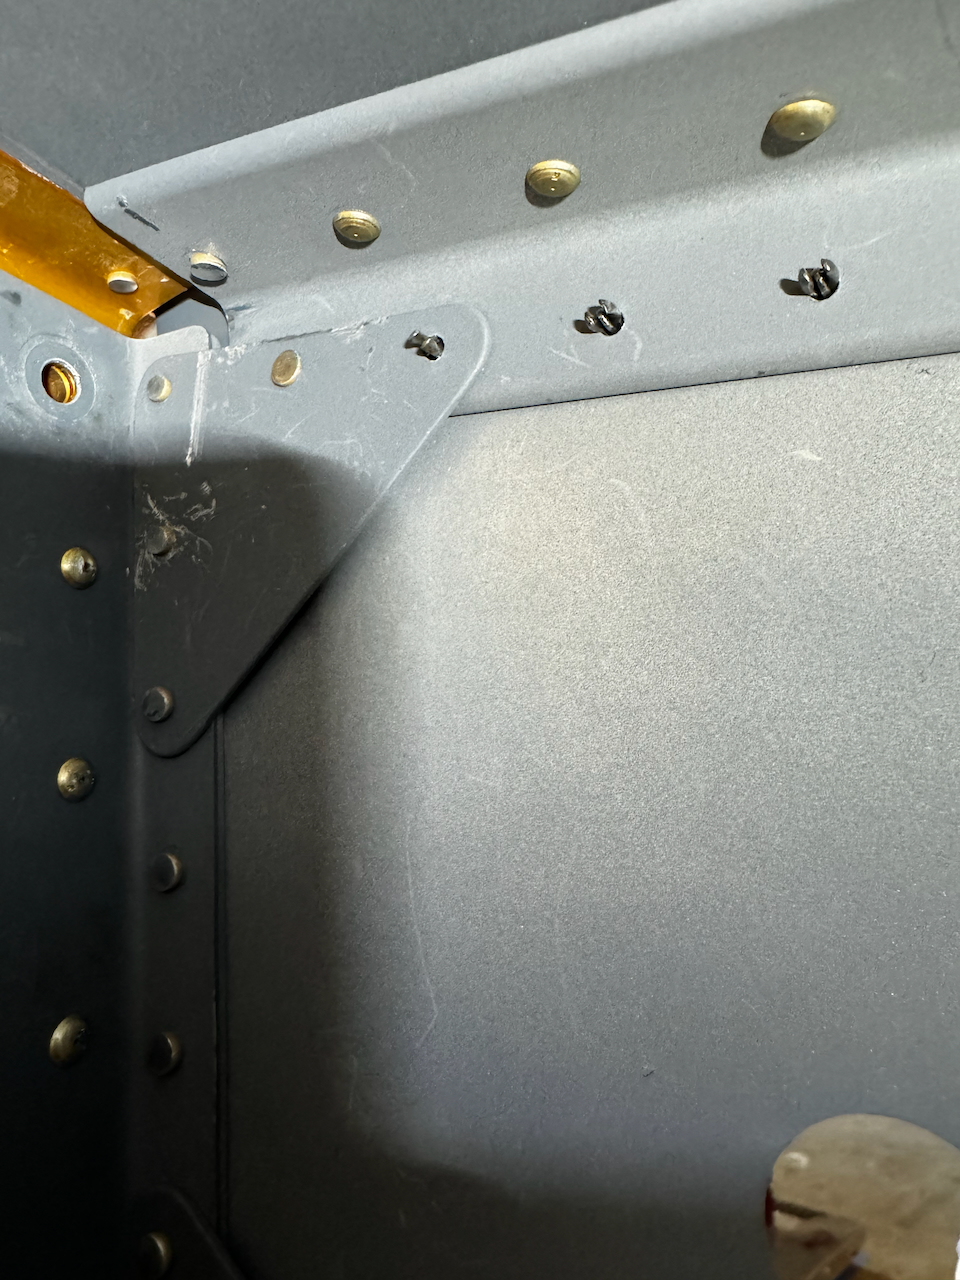
Riveting the forward most rivets requires an awkward lifting of the cross member to reach underneath. Inspections also become challenging!
Make sure to leave those 3 rivets out until you’ve completed riveting the forward crossmember!
Adam wrapping up last squeeze rivets after we secured to forward crossmember.
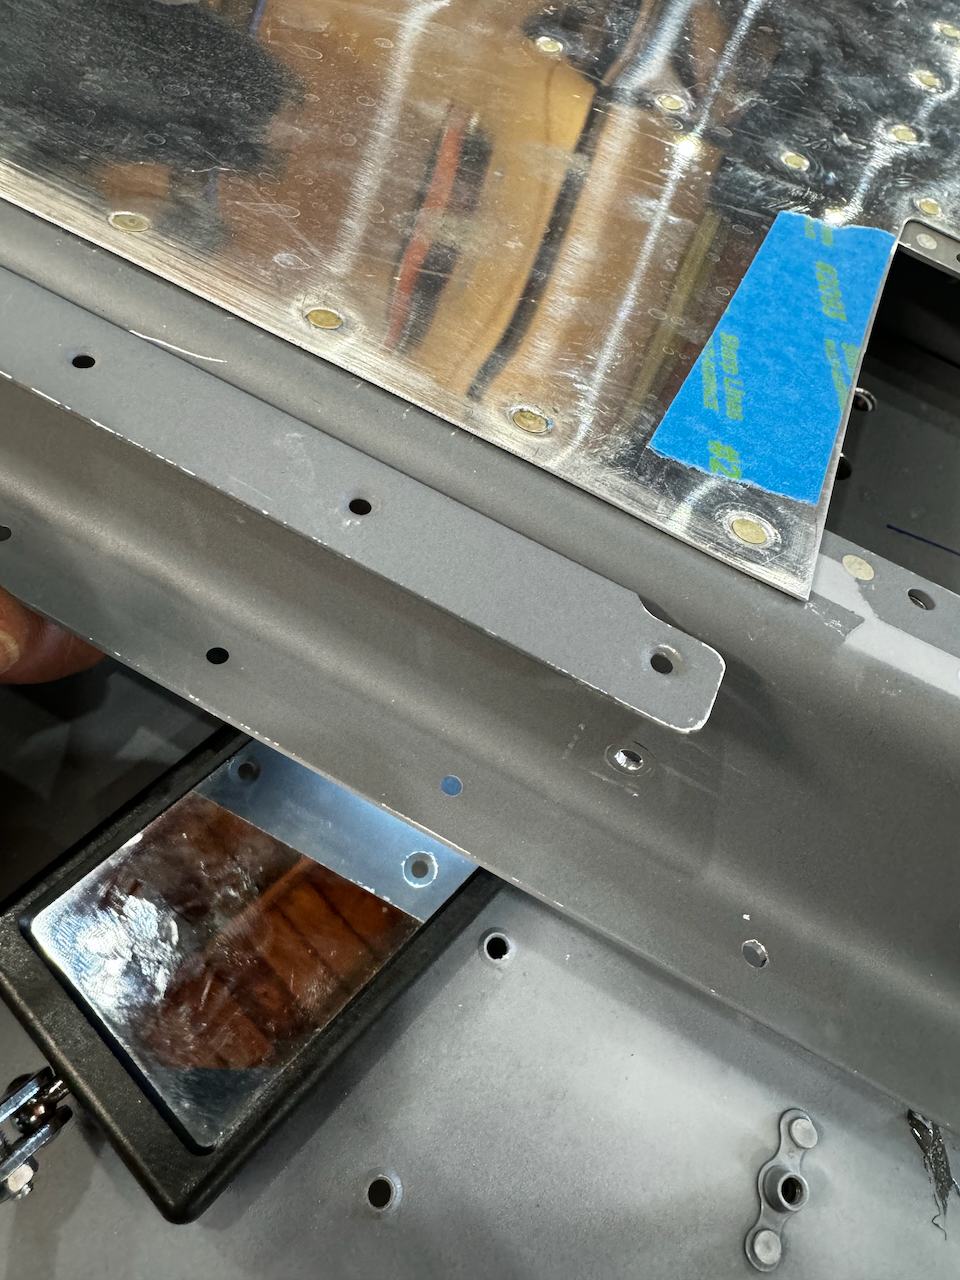
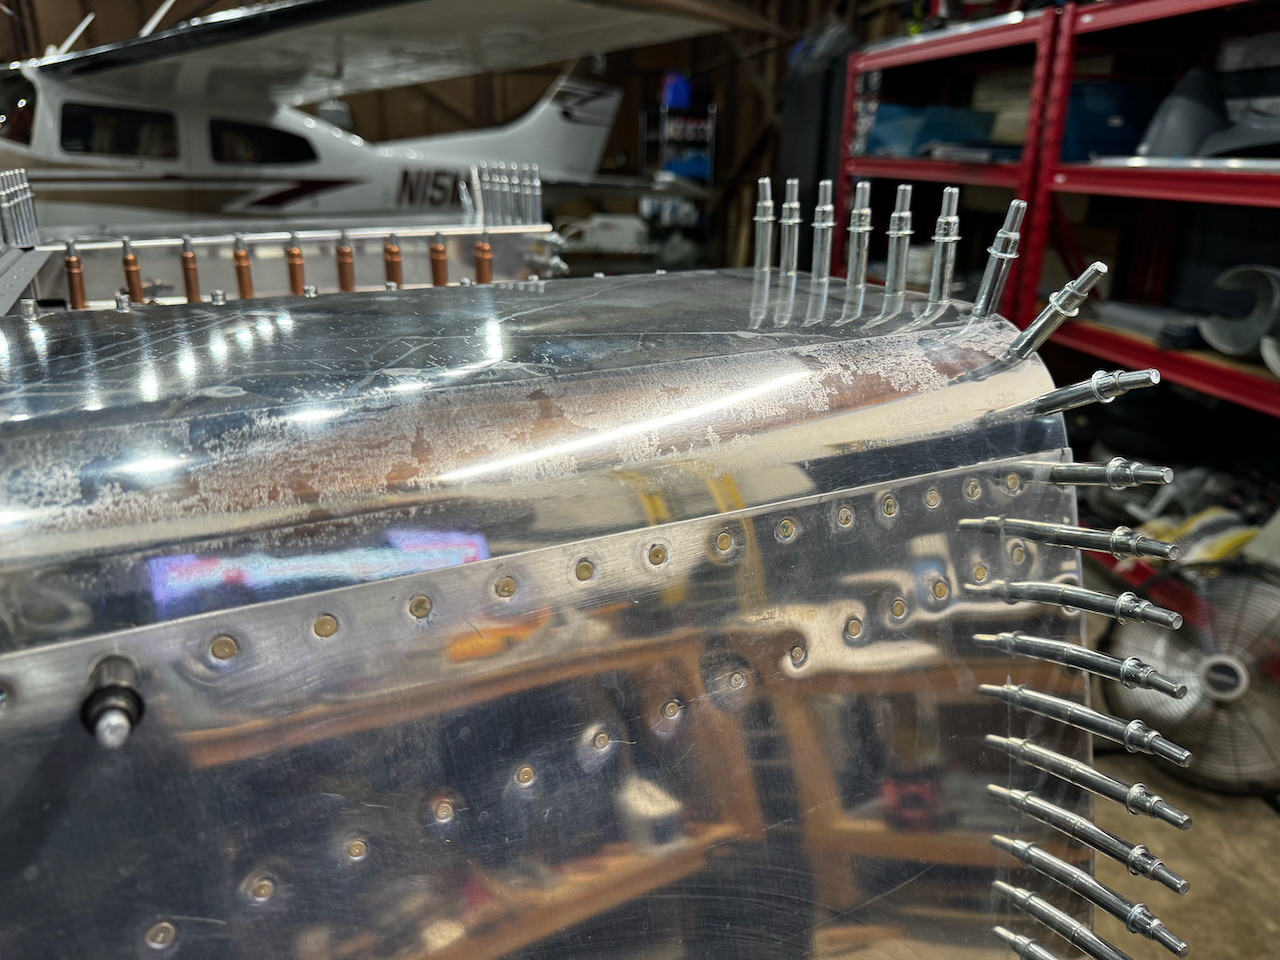
F-851 Left and Right Install
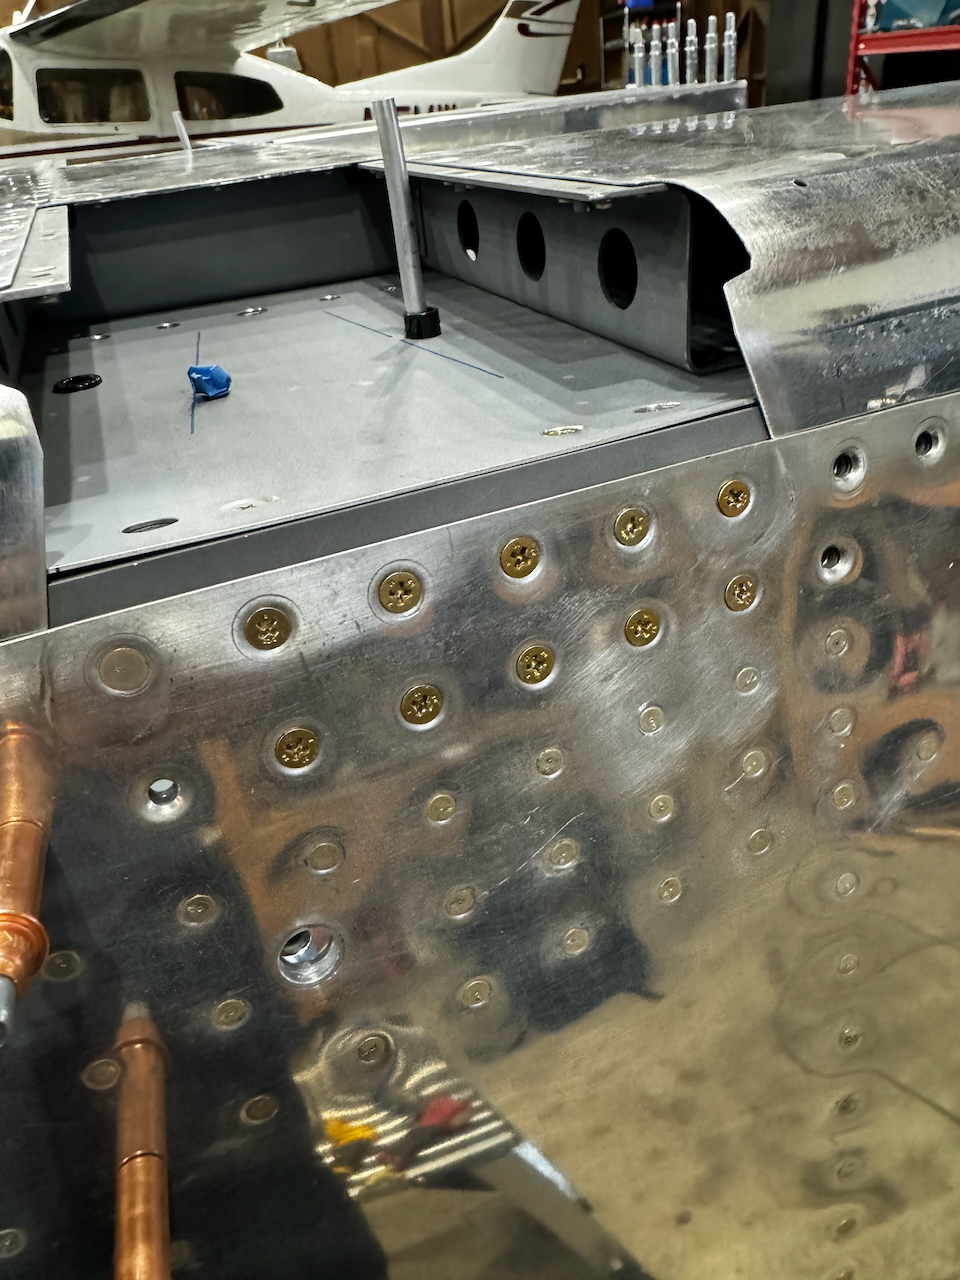
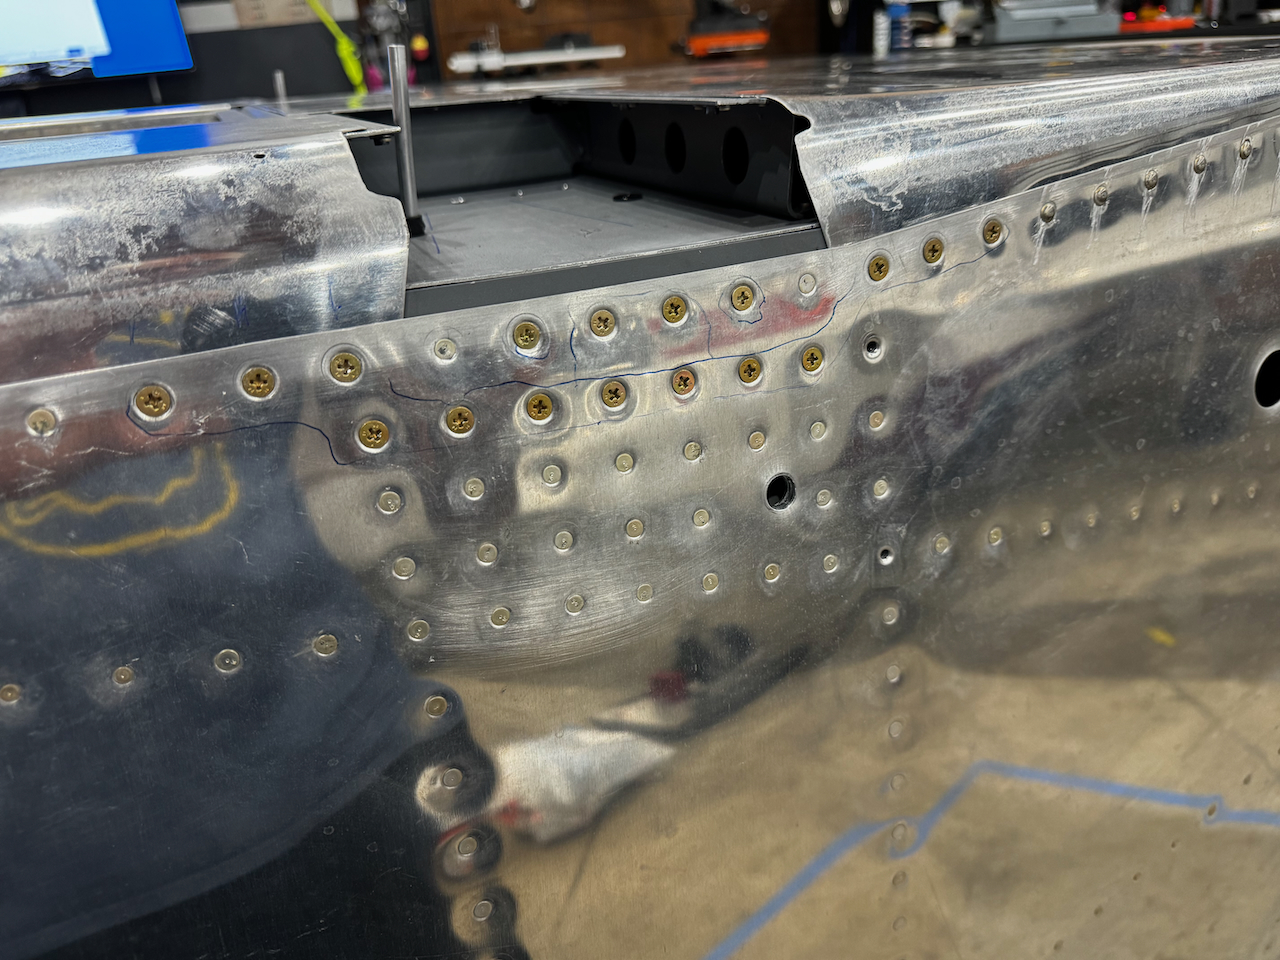
With F-850 skin installed we could put in the forward most bottom skins. These were much easier but required pro seal beads along the shared overlap with the firewall. Since there will be a lot of fluids firewall forward, this prevents penetration into the fuselage cavities. Adam and I were able to get the side rivets installed, and the next day I squeezed the aft squeezable rivets. When Sam came we were able to bang out the rest of the rivets fairly quick (although we did have some challenges with the two rivets on each skin that connects it to the forward crossmember. For some reason we were having a really hard time getting the head to stay square). One surprisingly time consuming part was installing all of the AN509 bolt/washer/nut assemblies. I’m still a bit confused why there aren’t rivets but I’m sure the folks at Van’s had their reasons. Sam and I slogged through that and he marked them with torque seal once we torqued them down. So close!
Side rivets done by Adam and I!
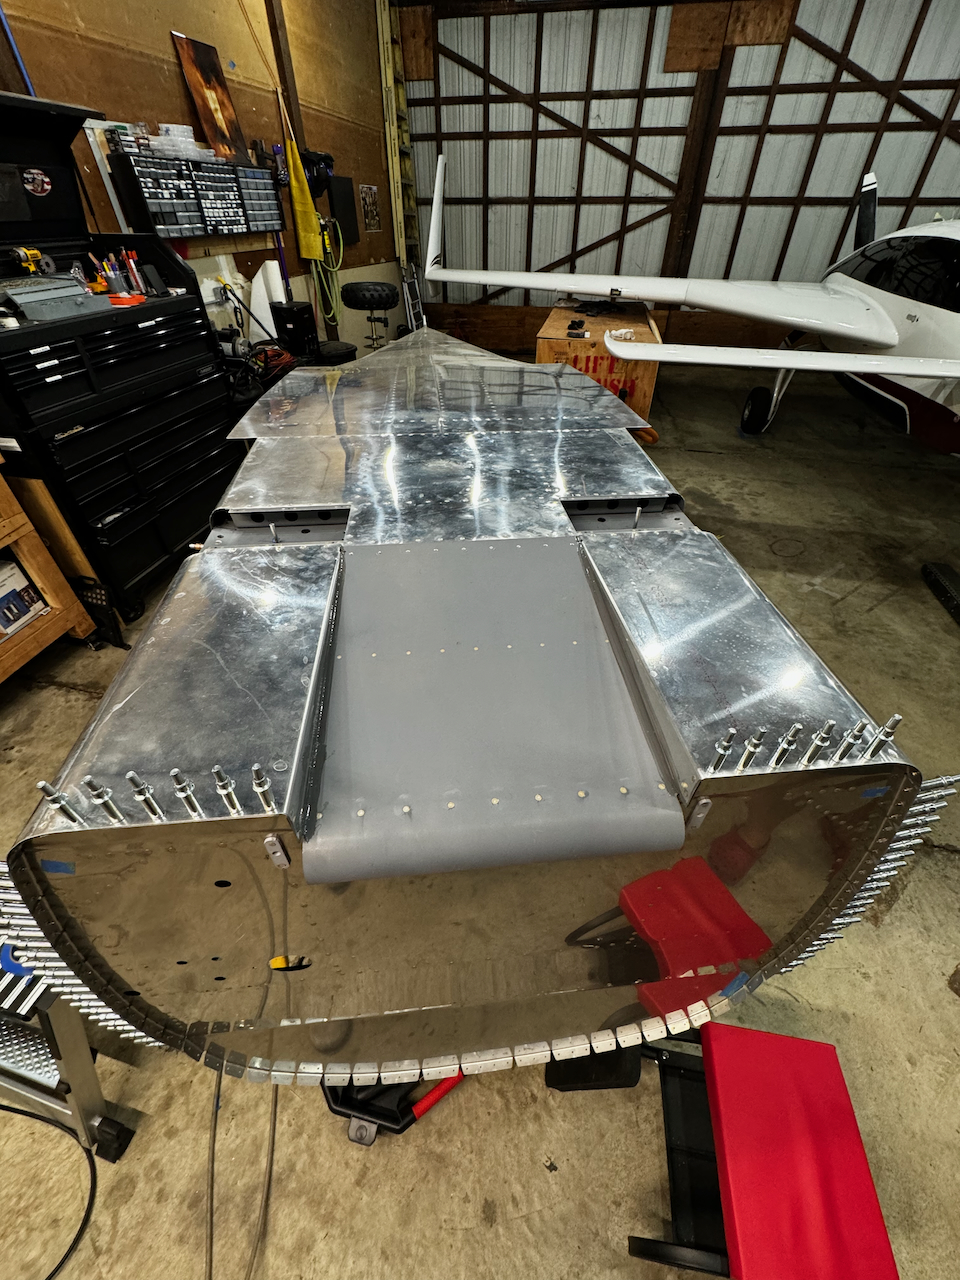
I squeezed these even though the plans didn’t quite call for it. Might need to remove those later.
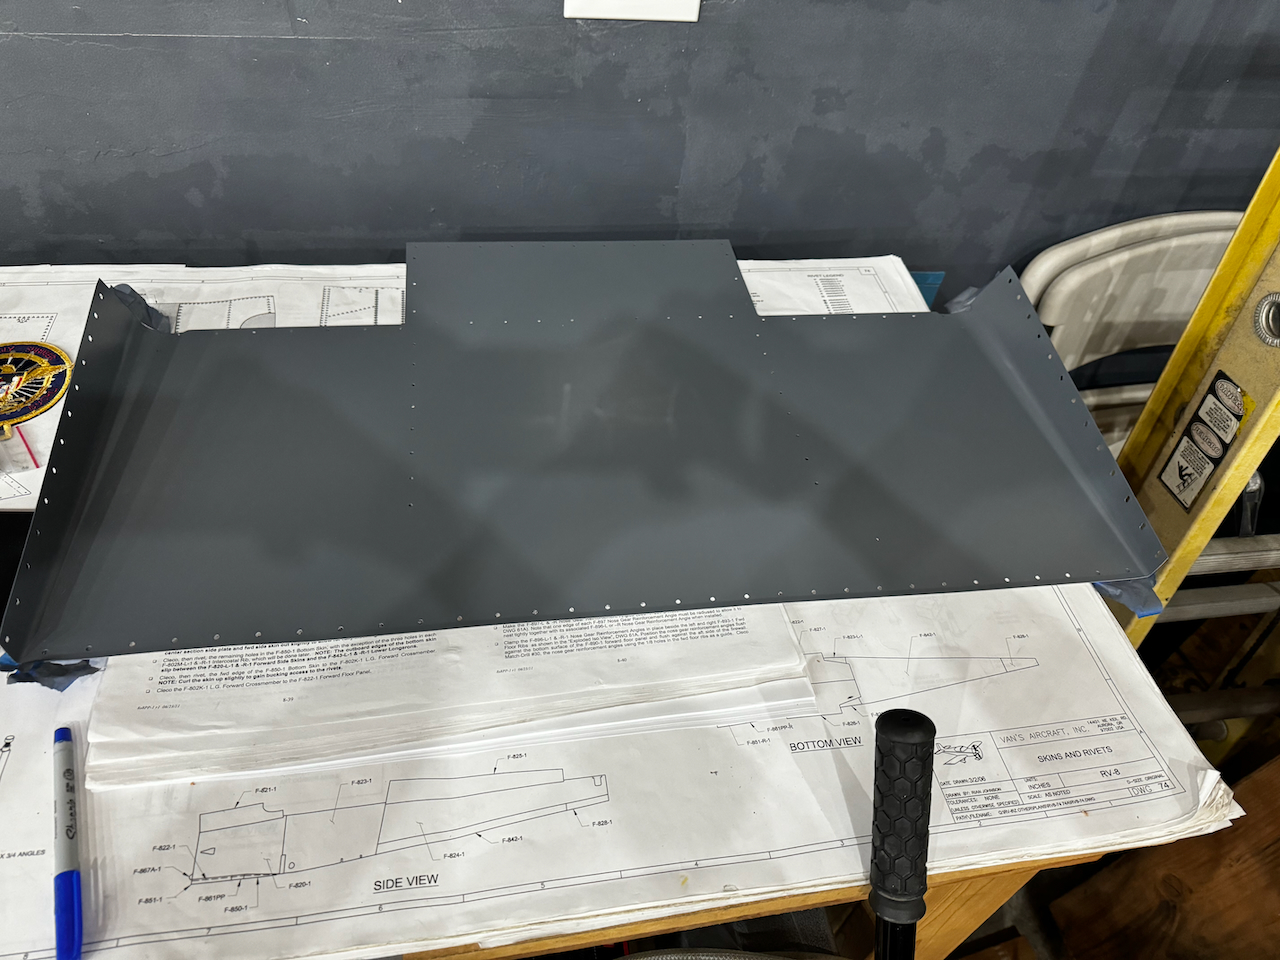
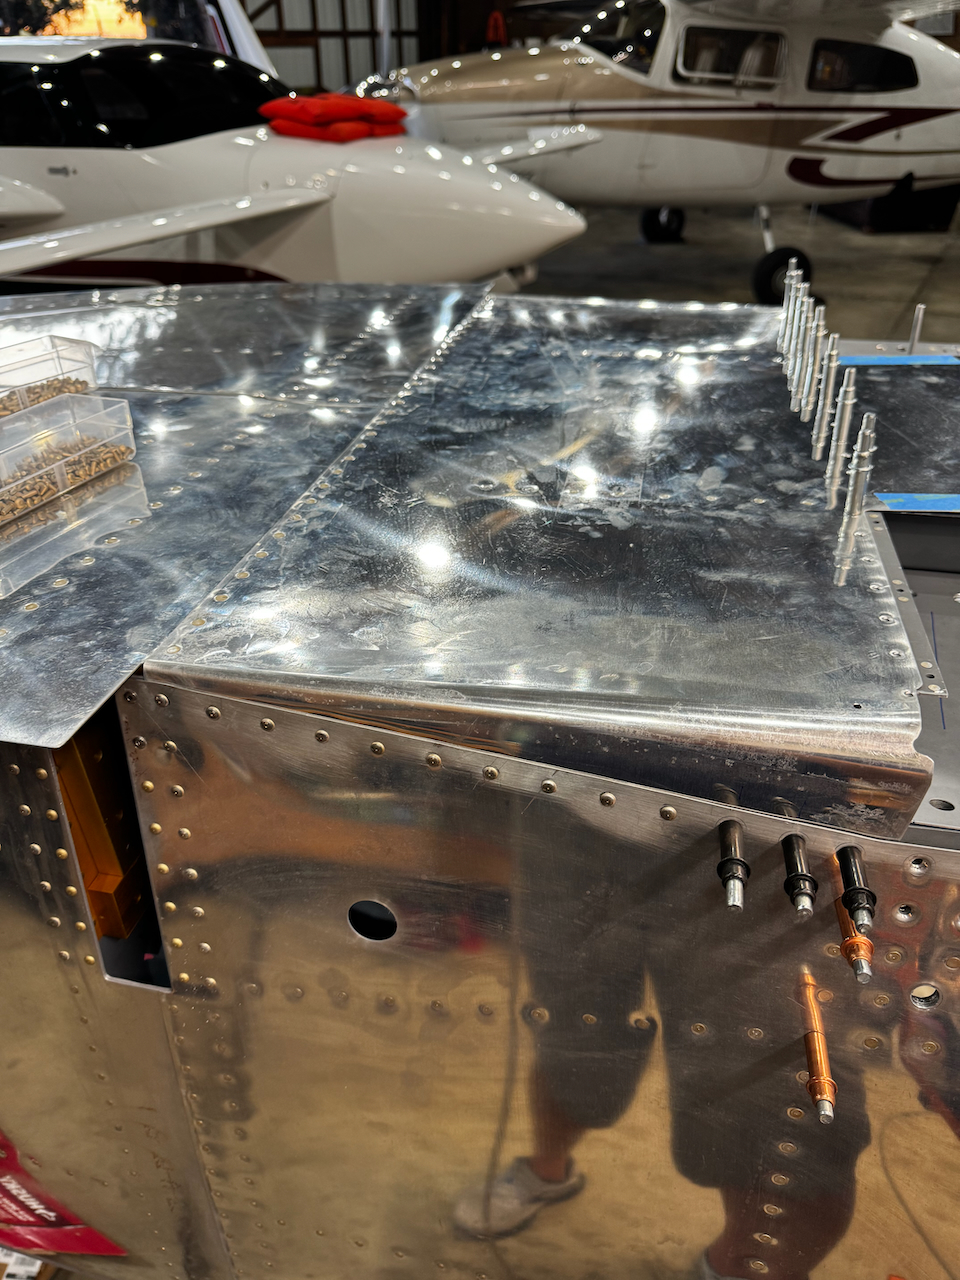
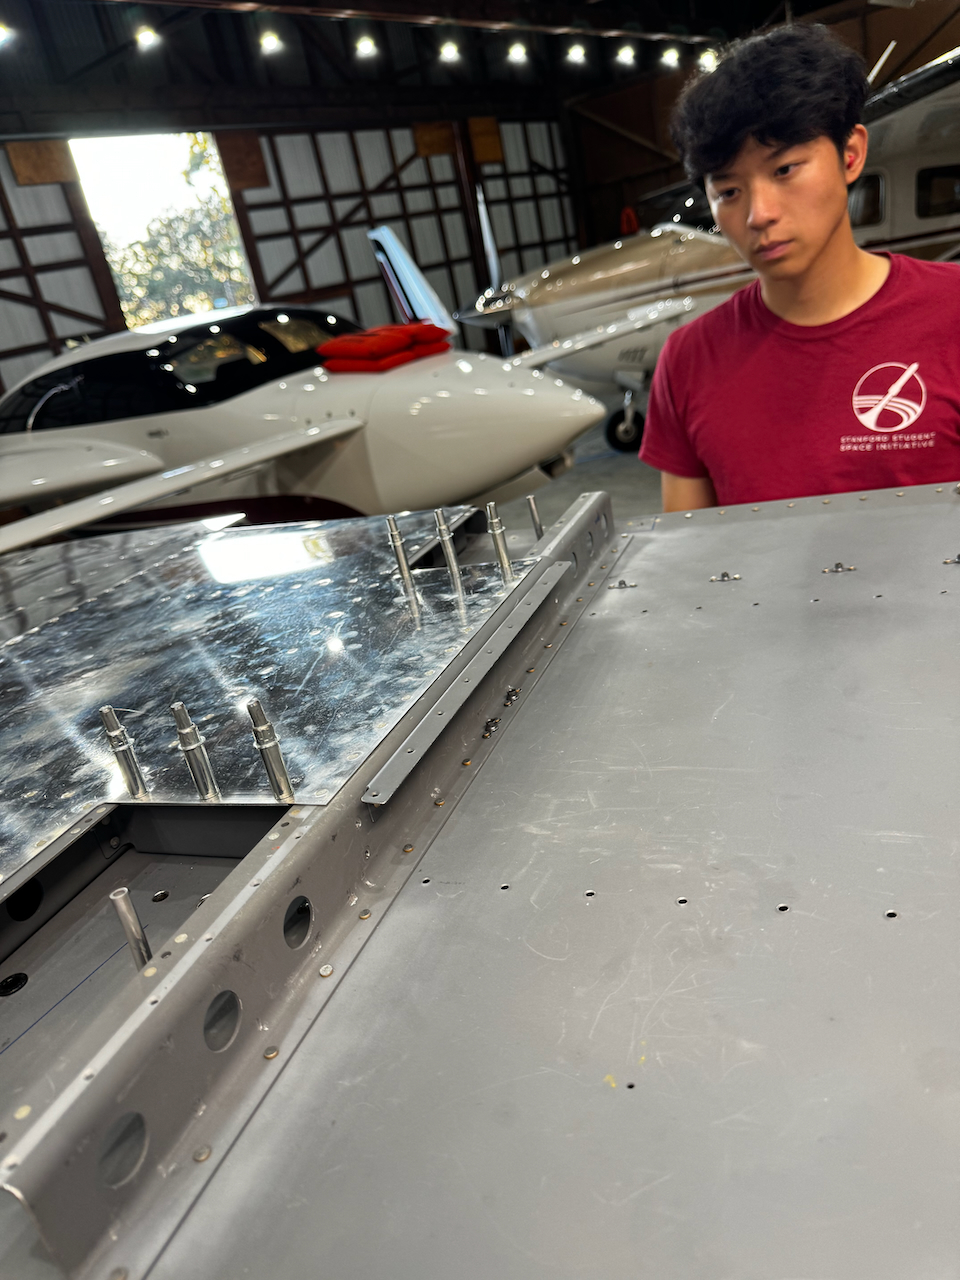
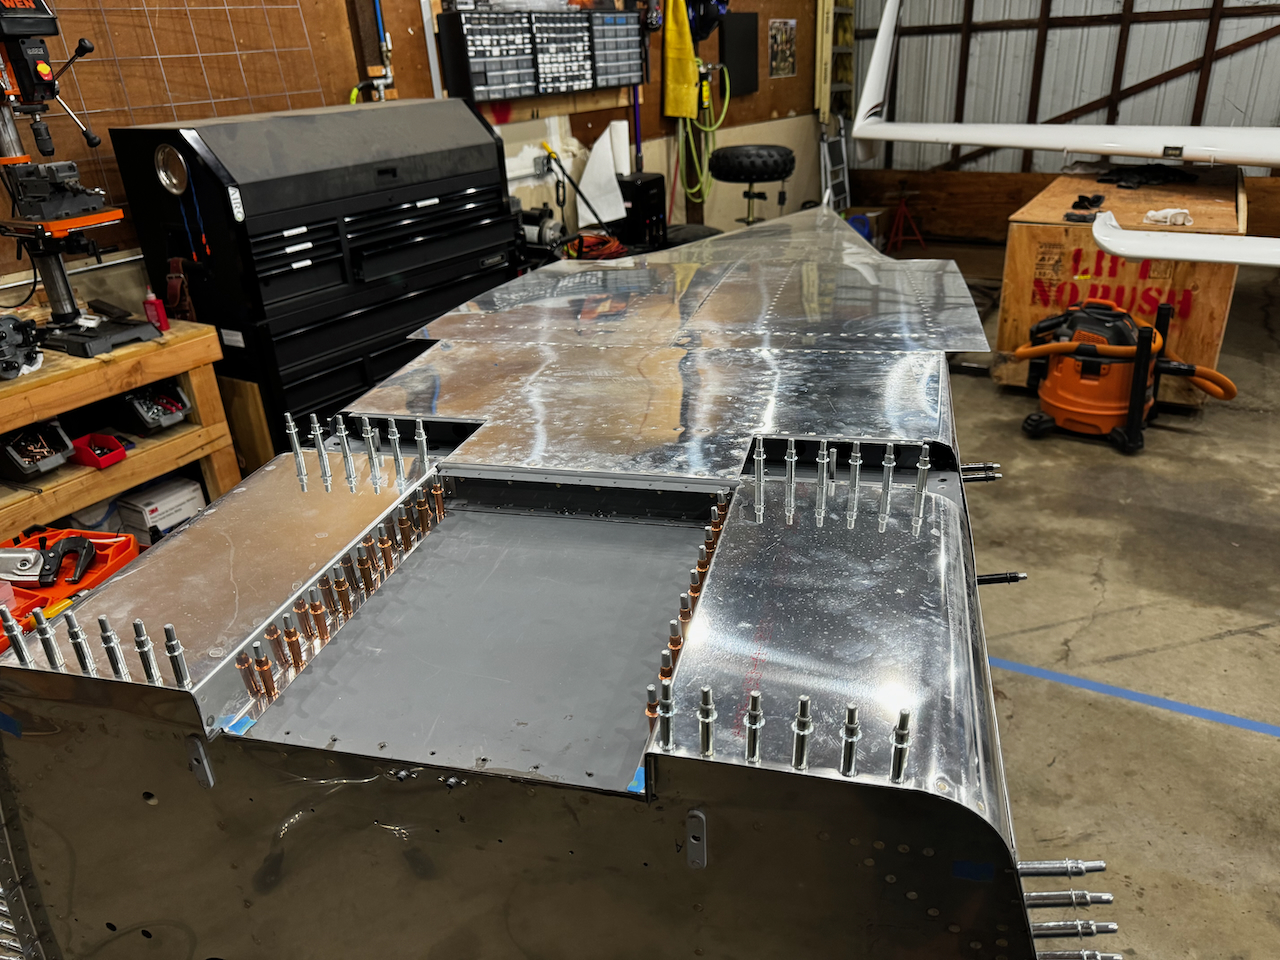
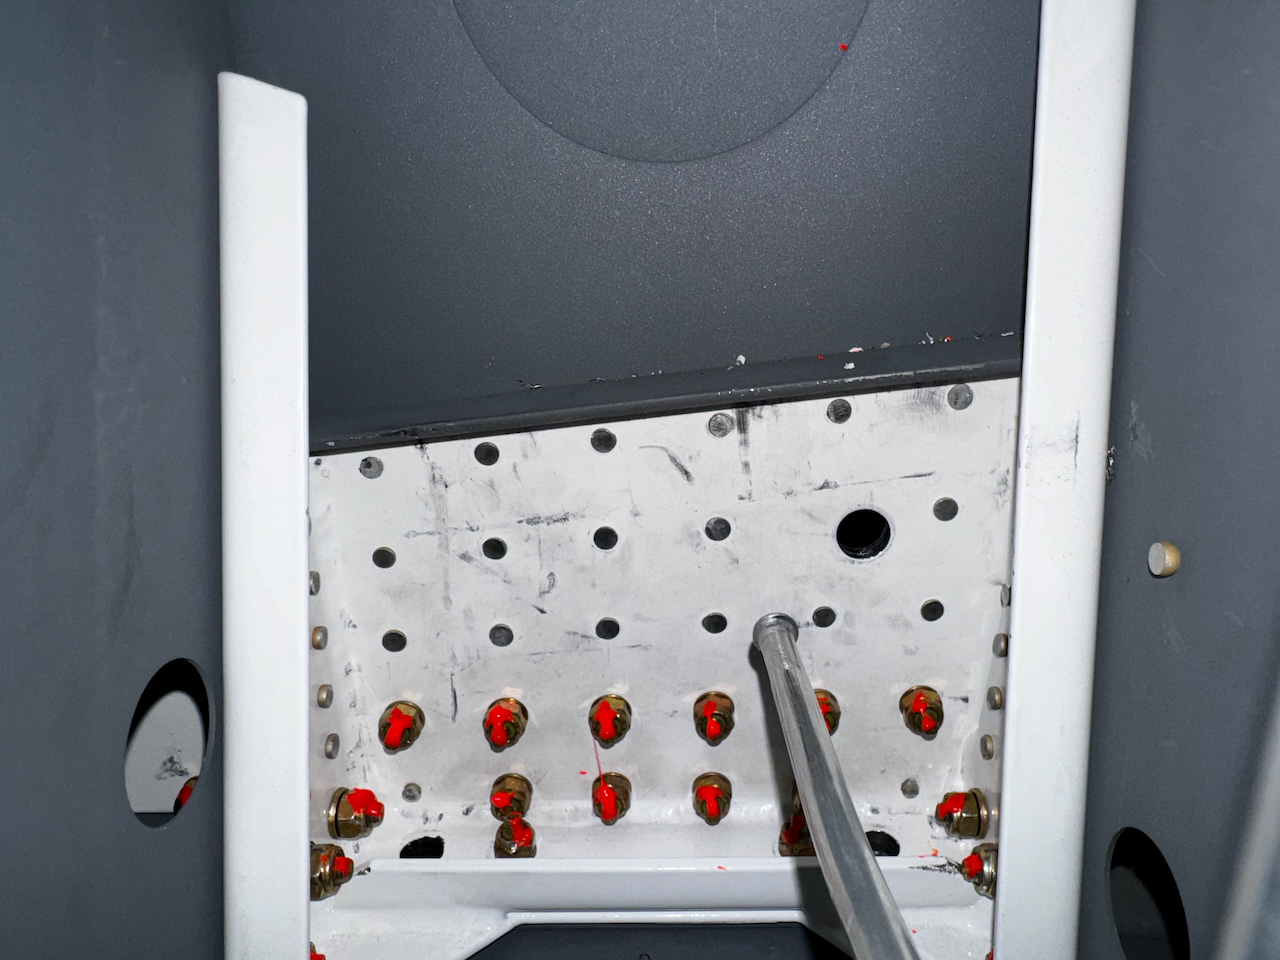
Nice view of the bottom skins. Hopefully won’t need to see this much more (since it will be flipped)!
Sam wrapping up some squeezable rivets
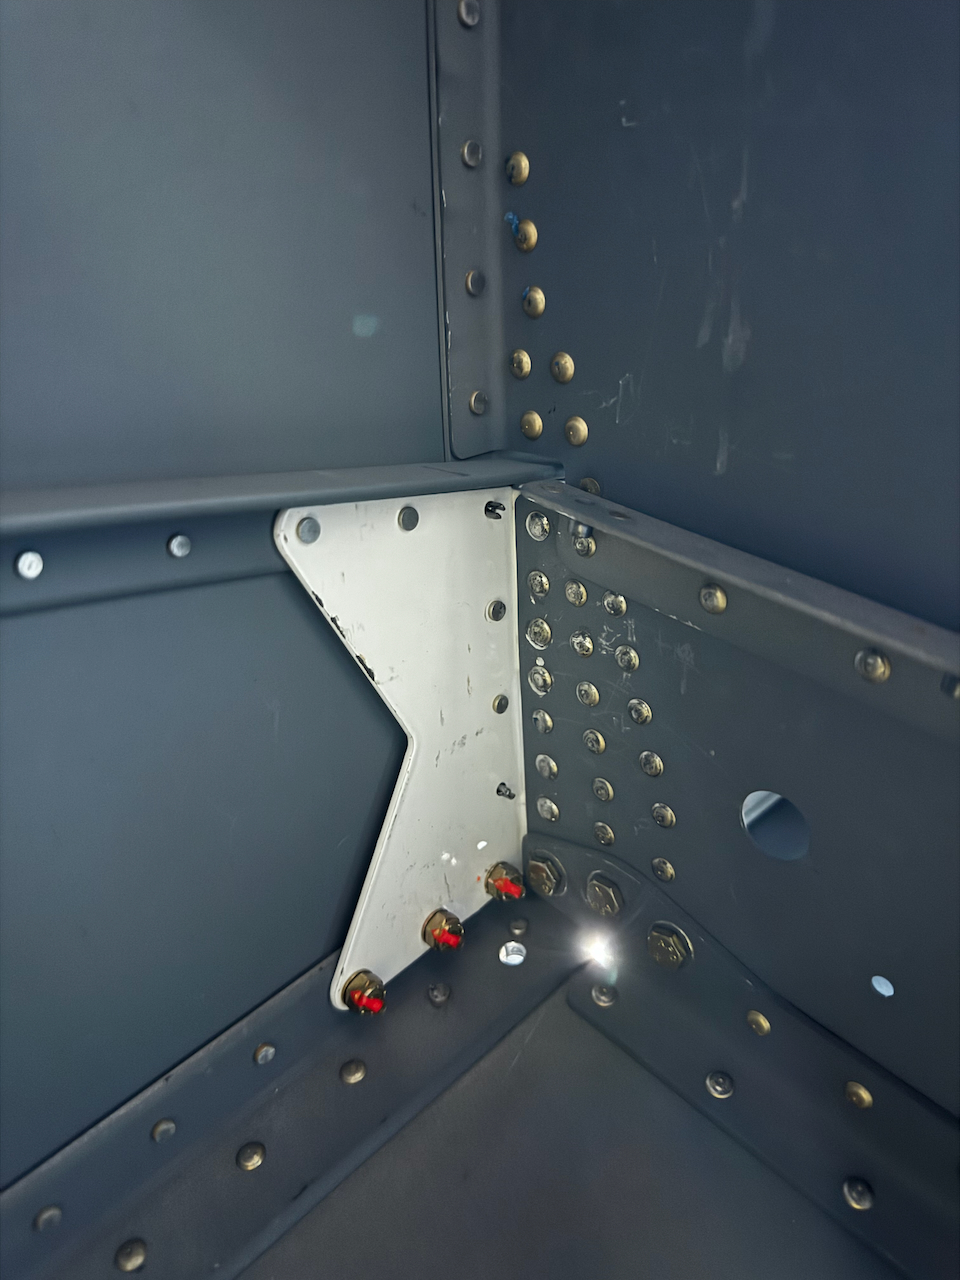
Lots of bolts to install!
I mean… LOTS. Sam and I got through it though
With all the nuts torqued to spec, Sam applied torque seal.
lots of pretty orange!
and more pretty orange!!
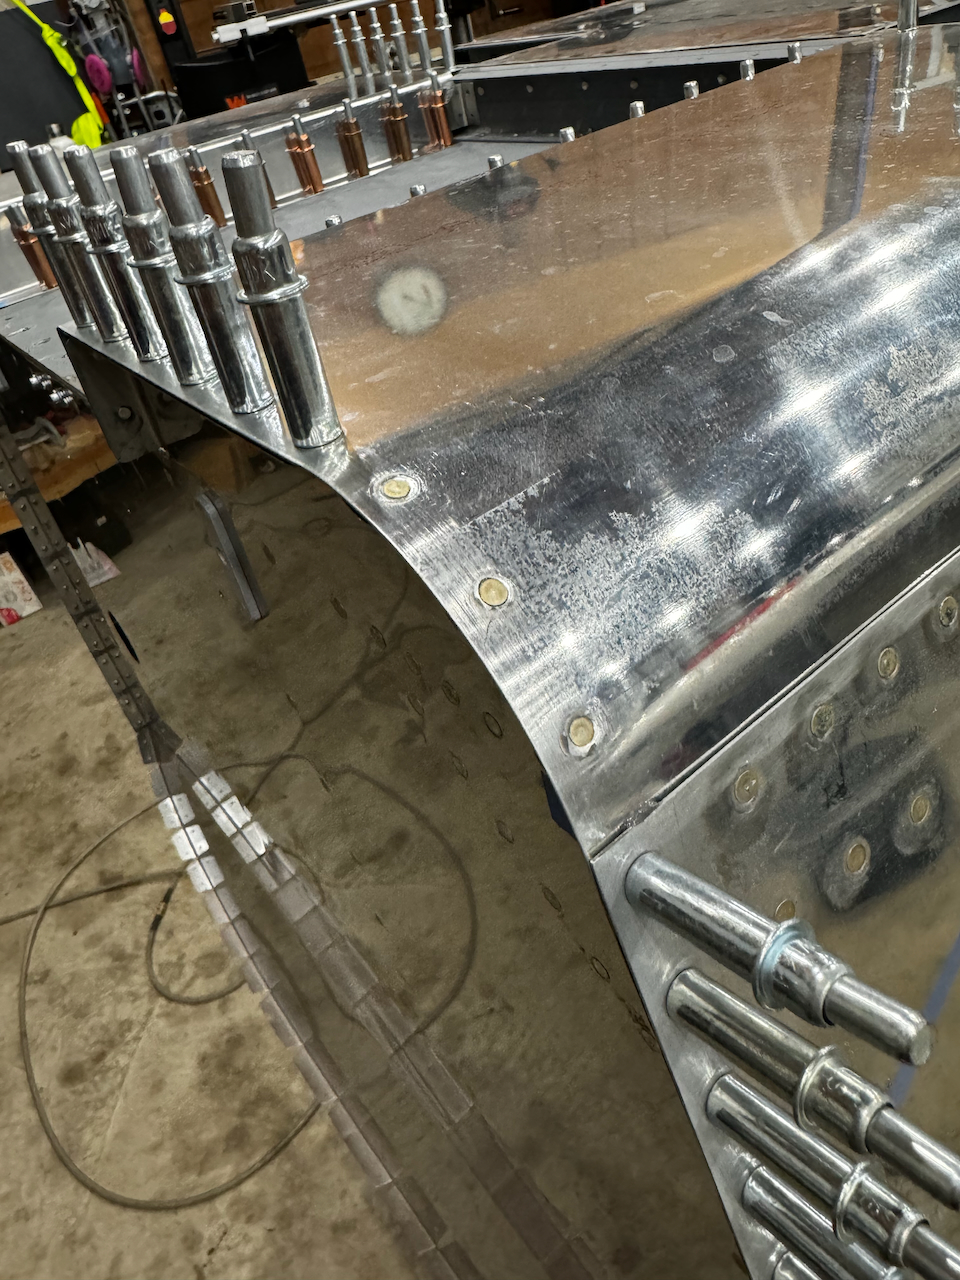
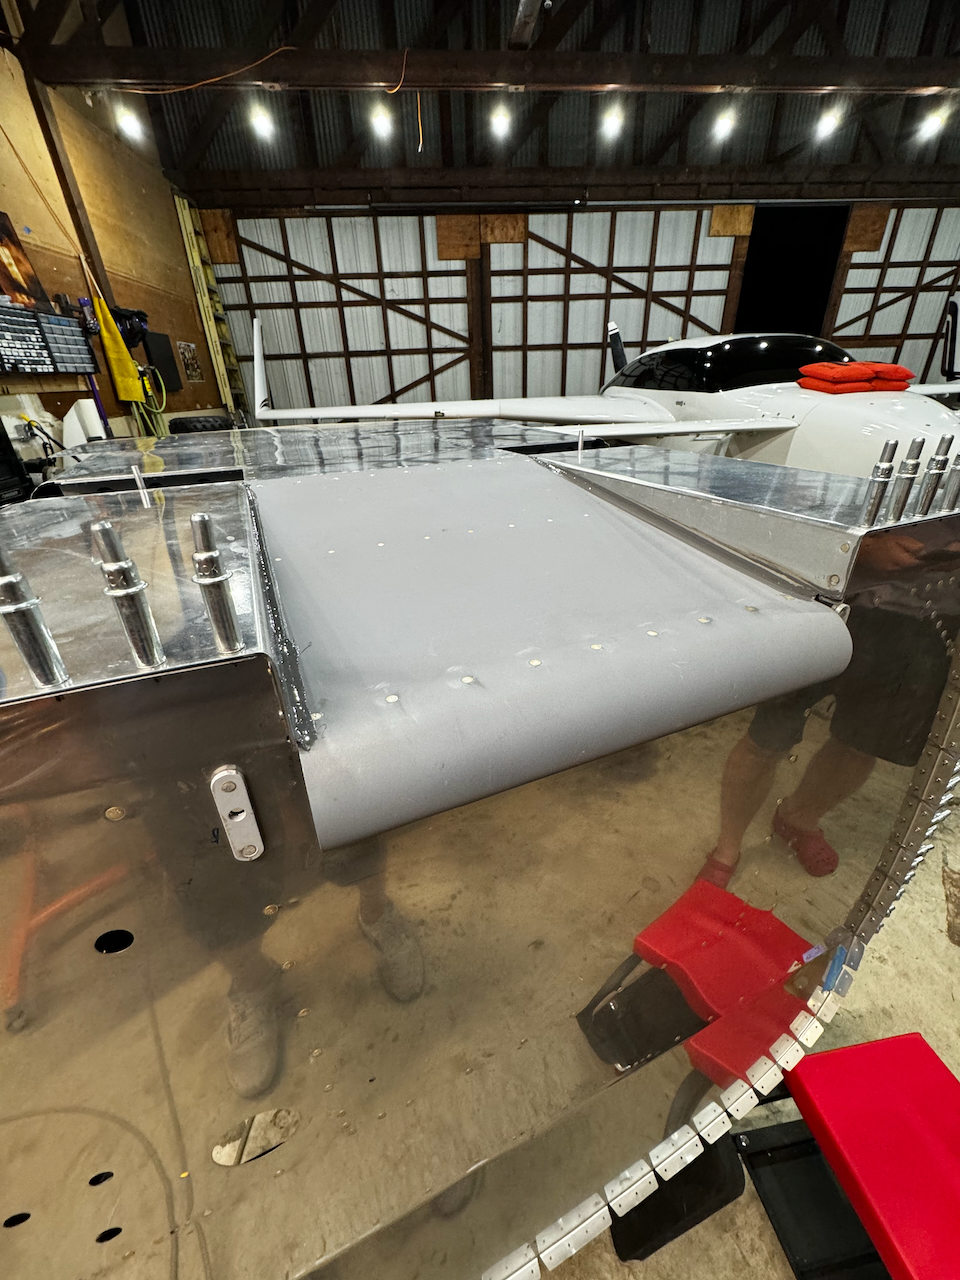
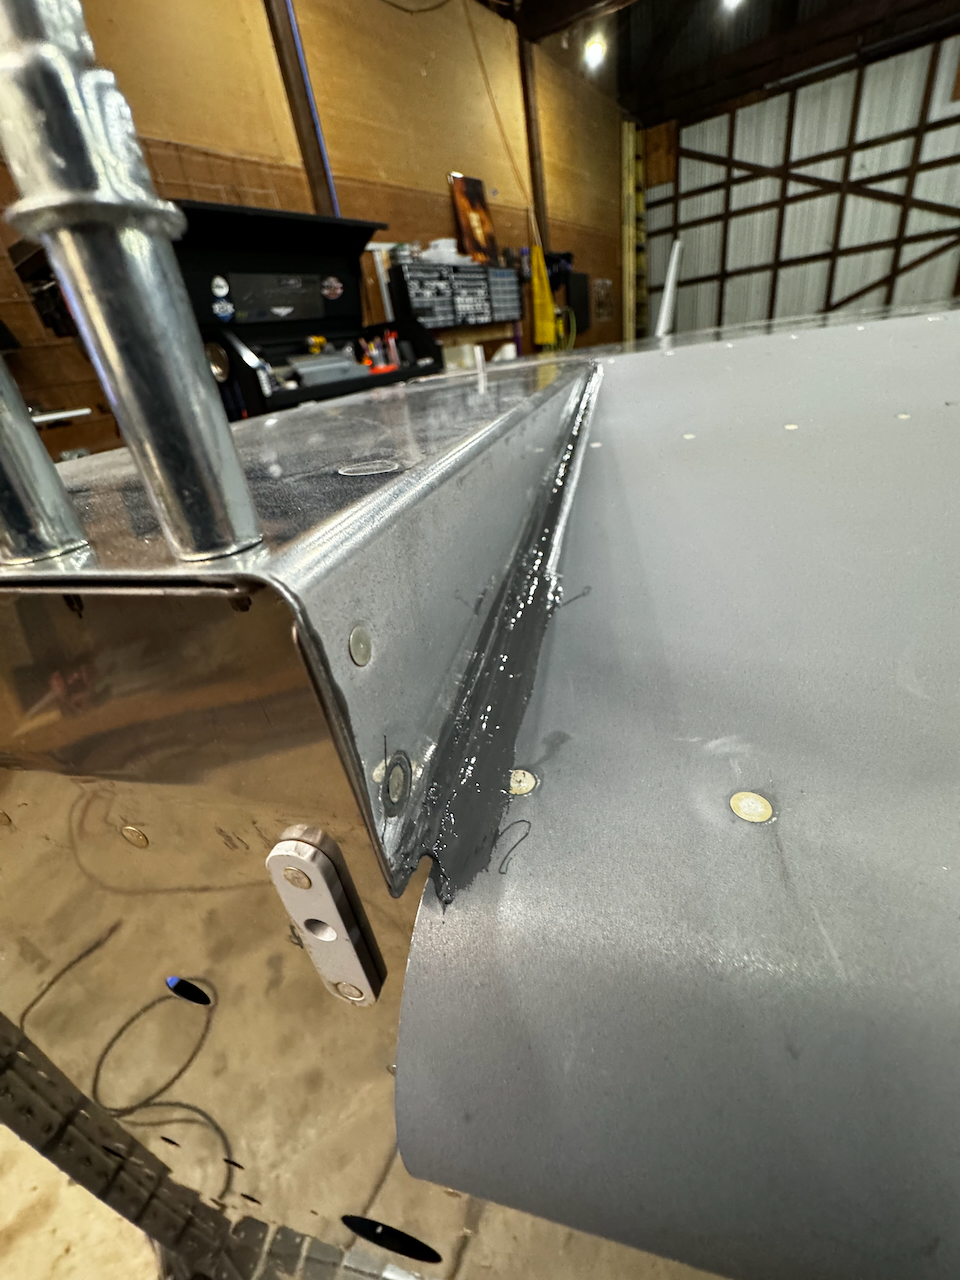
Cooling Ramp Wrap Up!
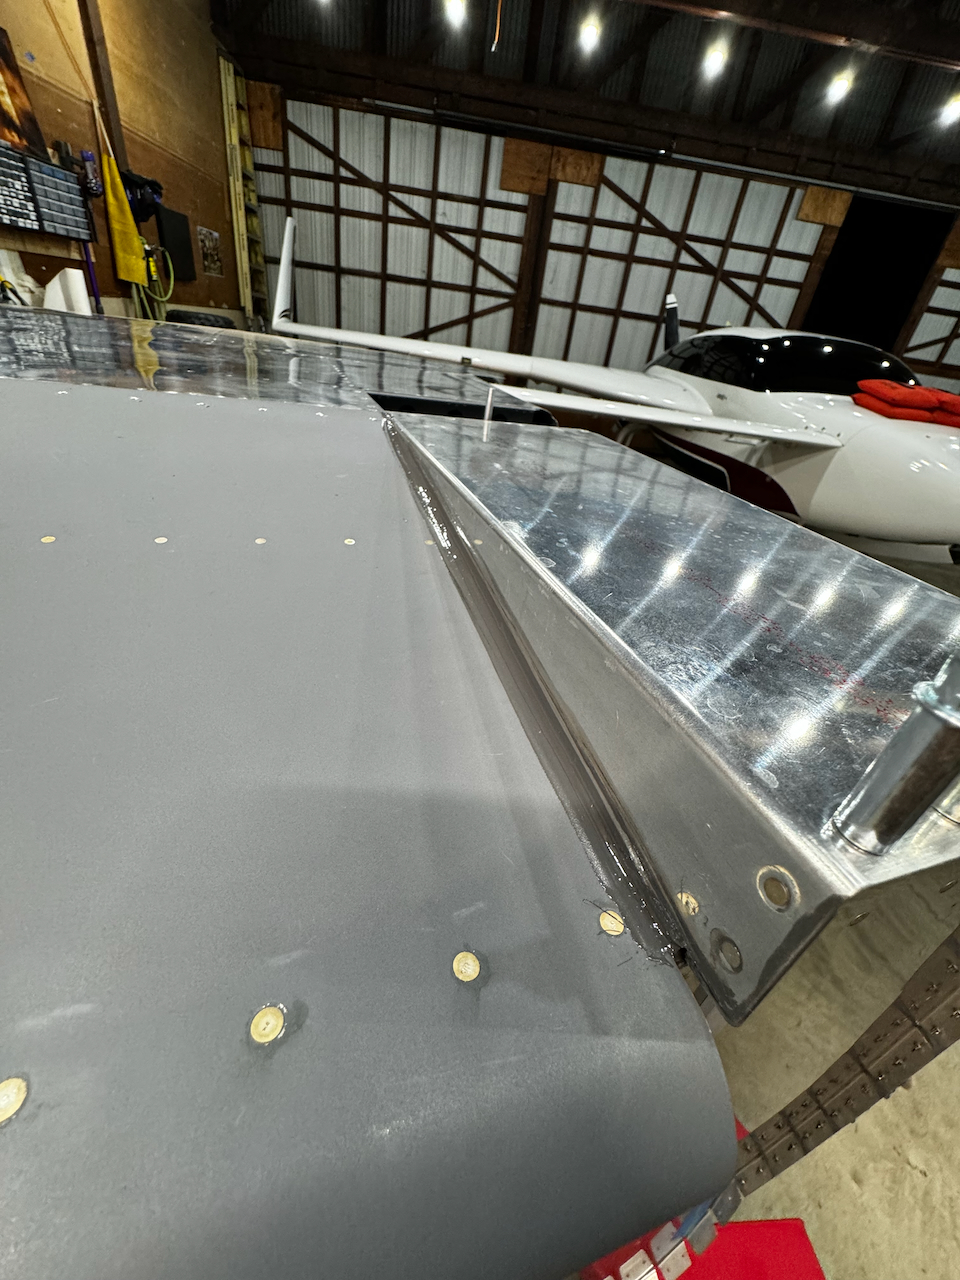
The last part of the bottom skin section is installing the cooling ramp. This is was a fun part for me as I remembered close to a year ago when I assembled that cooling ramp thinking to myself… I wonder where this thing goes?? Well installing it on the fuselage, I realized how far i Have come in my understanding and visualization of this aircraft. It required quite a bit of sealing work to be done, including beads of sealant exposed to the underside elements. Lots of gunk will end up in this area, so the more the better!
Sealant squeezing through.. that’s good!
Applying the exterior bead.
with the air applicator, this was quite easy.
custom cut popsicle stick for the fillet.
Proseal fillets in place, and looking good.
Close up left side
Close up right side!
blind rivets with a bead of sealant underneath.
Fully installed! Cool!!! (get it? cooling ramp??)
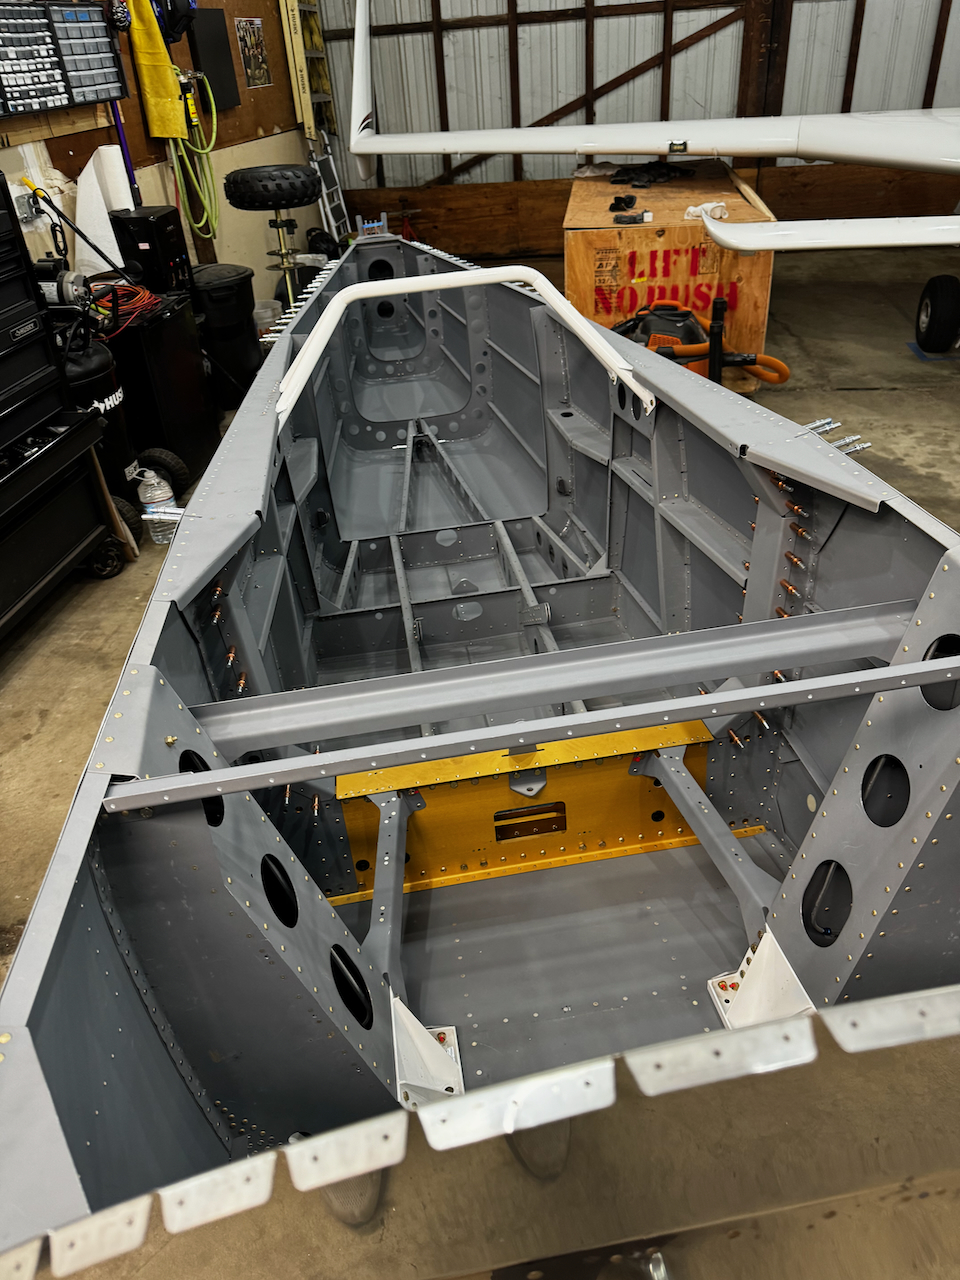
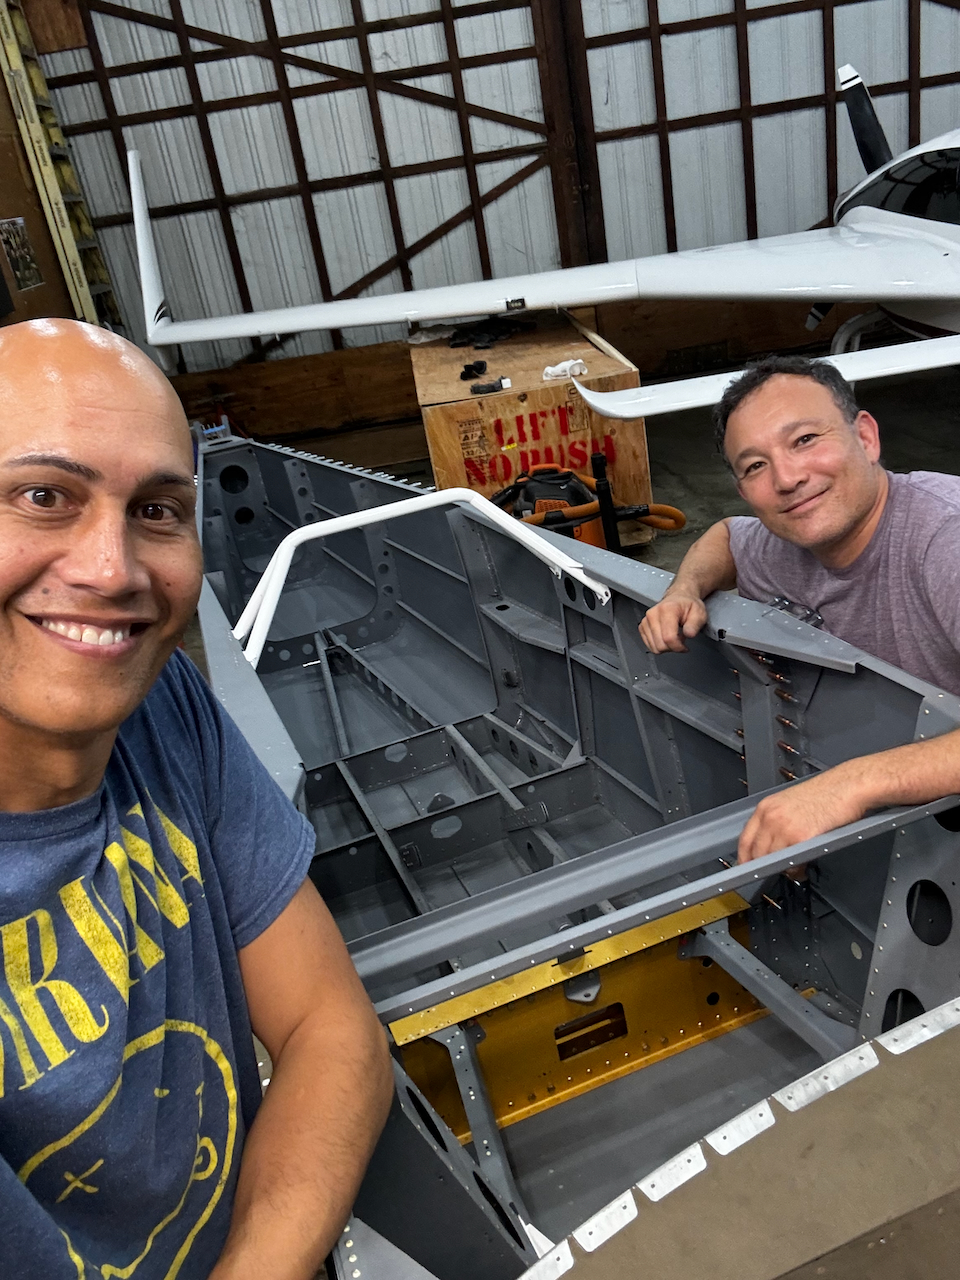
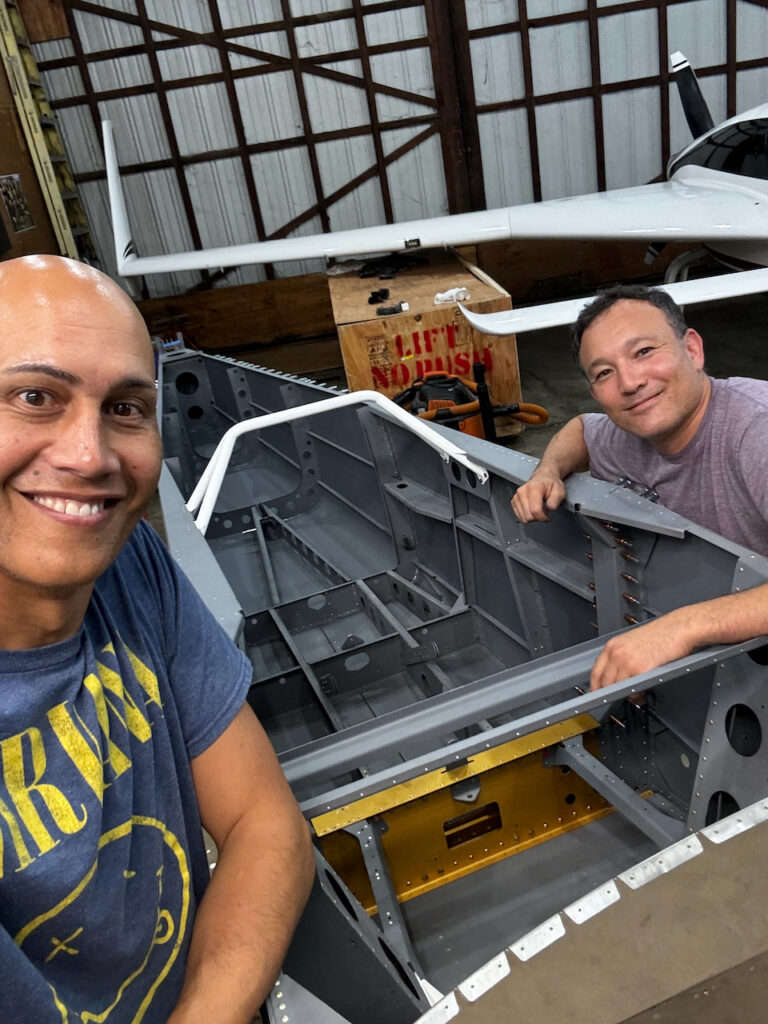
Holy cow! We did it!! the plans call for flipping the fuselage back over. I believe that is the last time this fuselage will be upside down (until, of course, I am flying it inverted!!). A ton of hard work put in by Sam and Adam to get this over the finish line, and it was quite rewarding to accomplish this before heading to Greece. Big shout out to Sam who stayed past midnight to wrap things up. The big reward? LET’S FLIP THAT PLANE!!
It’s flipped!
Two tired, but accomplished builders.
The next few months will be a series of smaller projects building out seats, seat floors, installing empennages, etc. This stuff is so fun. But first… it’s off to Greece for some vacation! When I’m back, I hope the momentum will fall right back into place. Until then…. Happy Building!!