Like I mentioned in my last post, shelving was becoming a premium commodity and the flaps were taking up a whole lot of it. It was time to get them installed. This actually will have an added benefit that with the wings fully complete (outside of wing tips which will be done at the very end) I can find a different hangar to store them for a while giving me much needed space for the fuselage build.
Installation was a bit nerve wracking as there were a few complex tasks to be done.
alignment of the aileron and flap trailing edges
gapping the two at 1/4″
match drill hinge at this position
split the piano hinge pin to mount from the middle
devise an anchoring mechanism for the hinge pins
get it all put together
Alignment of the flap is a bit of a pain since the trailing edge alignment and 1/4” gap have a bit of an interplay. As you move the outboard part of the flap up and down to get trailing edge alignment, you change the distance between the ailerons and flaps. With a bit of finagling they eventually work out. Then it’s just one-by-one drilling of the piano hinge to ensure everything stays straight. As is usual, the second one turned out better than the first. I think the trailing edge was off by 1/8” on the first flap, whereas the second was spot on. Nothing anyone will notice except me…:)
Cleco clamps help secure during alignment
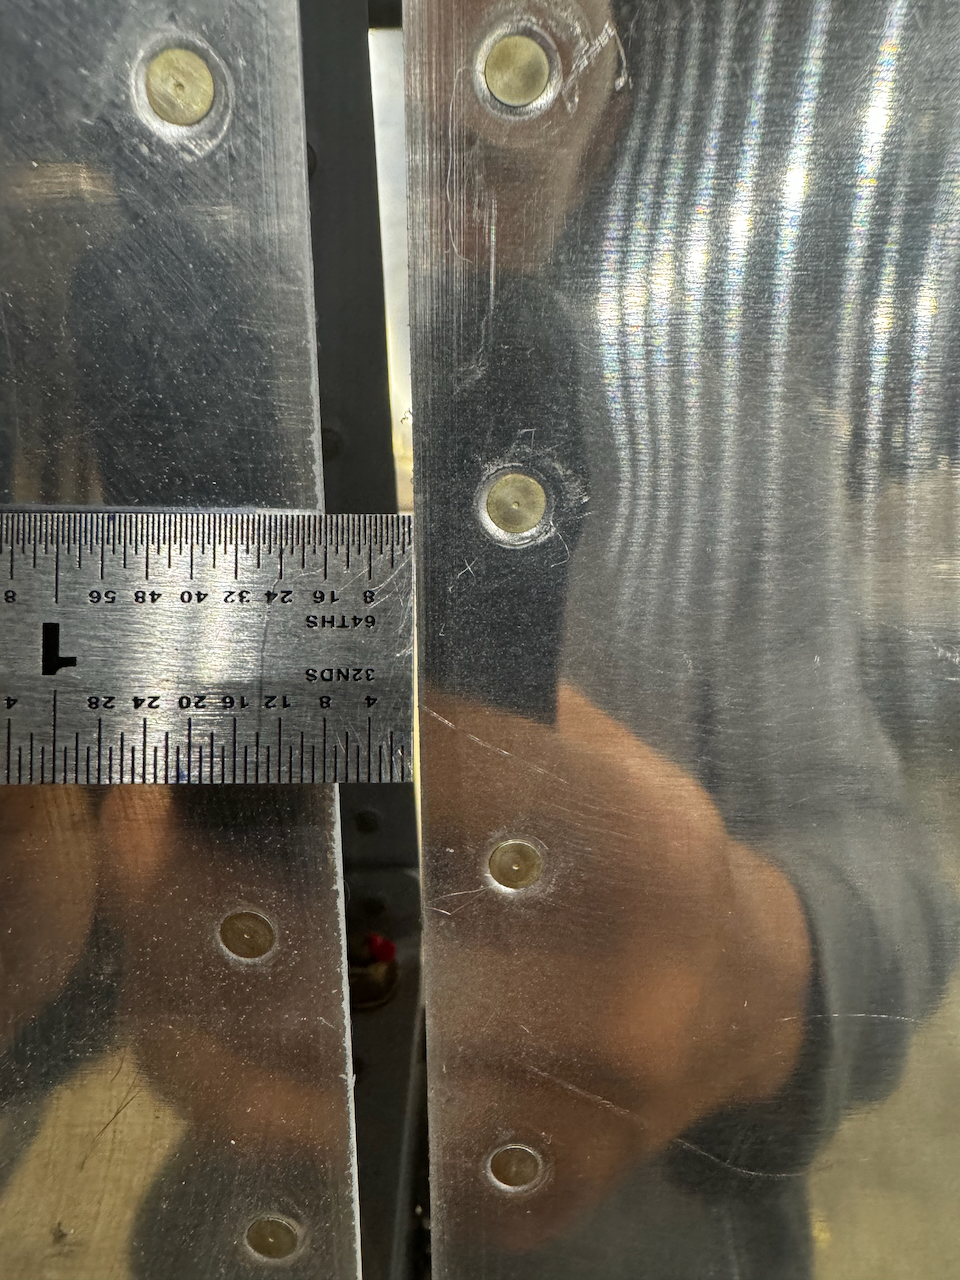
Goal is to get a 1/4” gap between flaps and aileron
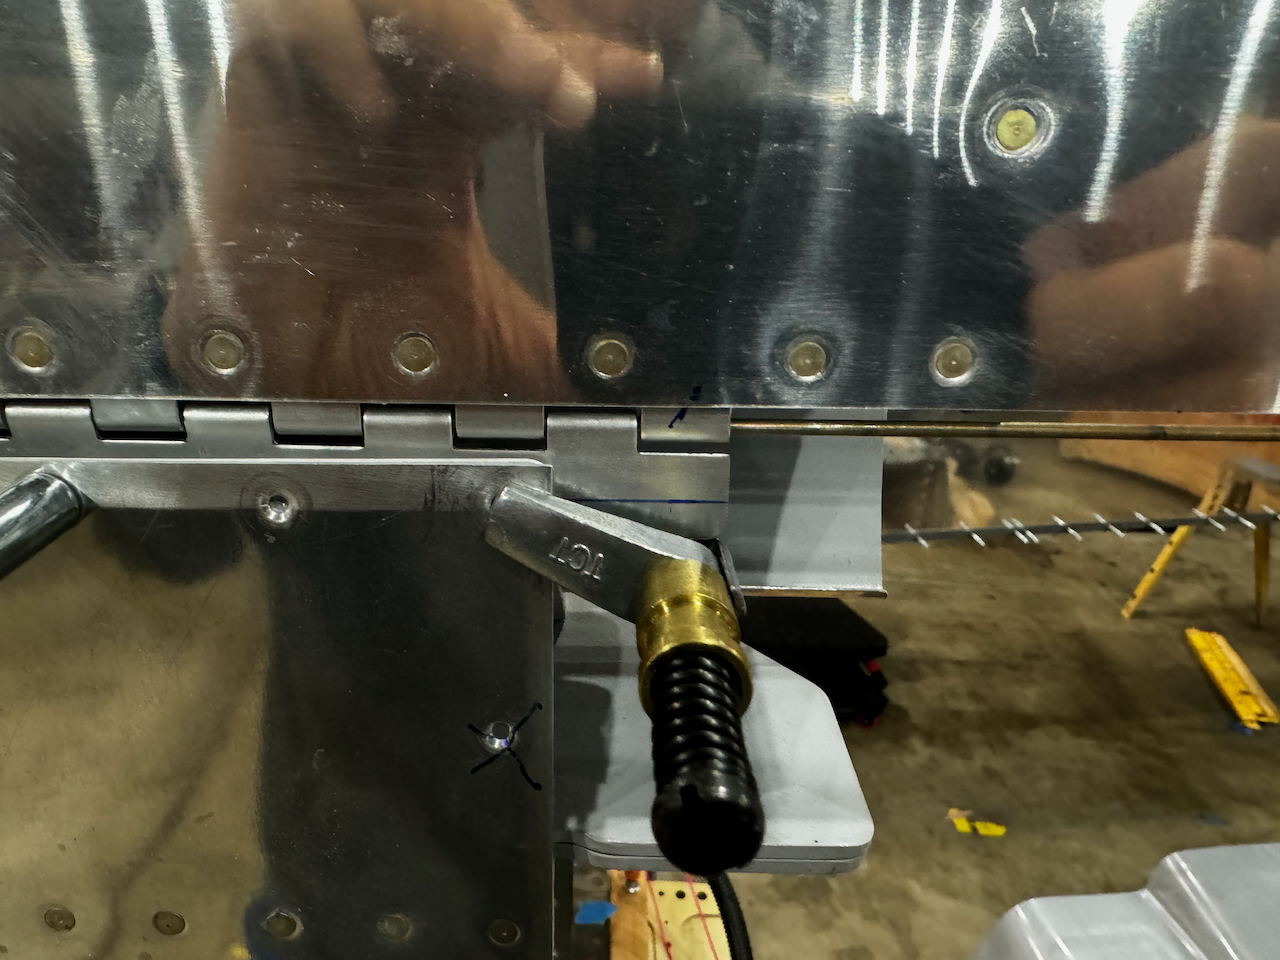
Drilling and Clecoing hinge as we go
First hinge riveted on! Squeezing made this part pretty easy.
After squeezing the piano hinge on, I had to secure the flap using the piano hinge pin. There are two accepted ways to do this in the manual. The first requires drilling a hole in the aileron bracket, and removal of the aileron for flap installation. The second requires splitting the pin in two, and providing space to insert the two pins from the middle. After looking through the forums, I decided option two was the way I was going to go. I didn’t want to have to remove the aileron if I ever wanted to get the flaps off, and sounds like it’s easier to get half a hinge pin length inserted, rather than the full length of the flap.
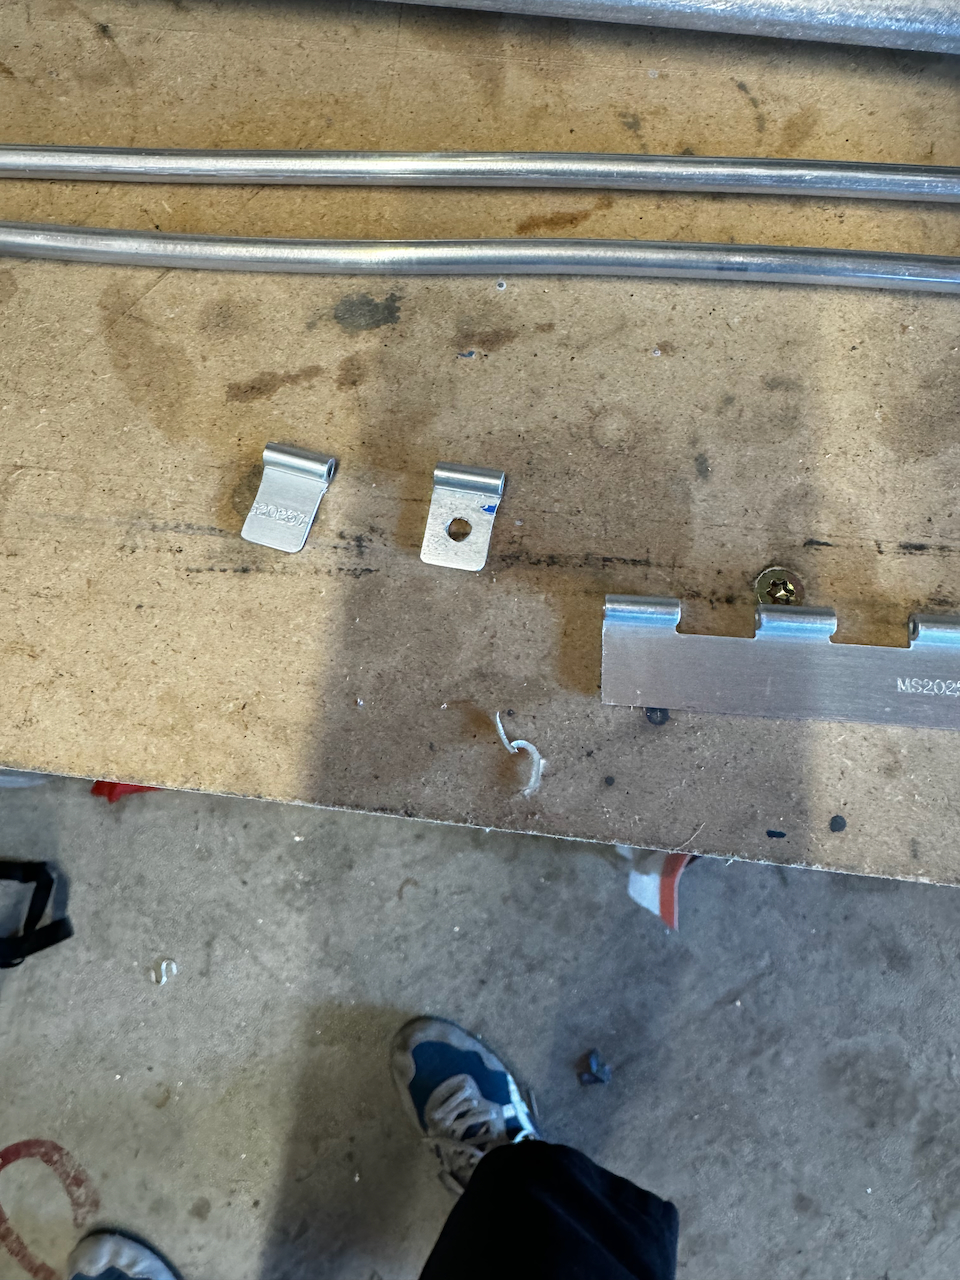
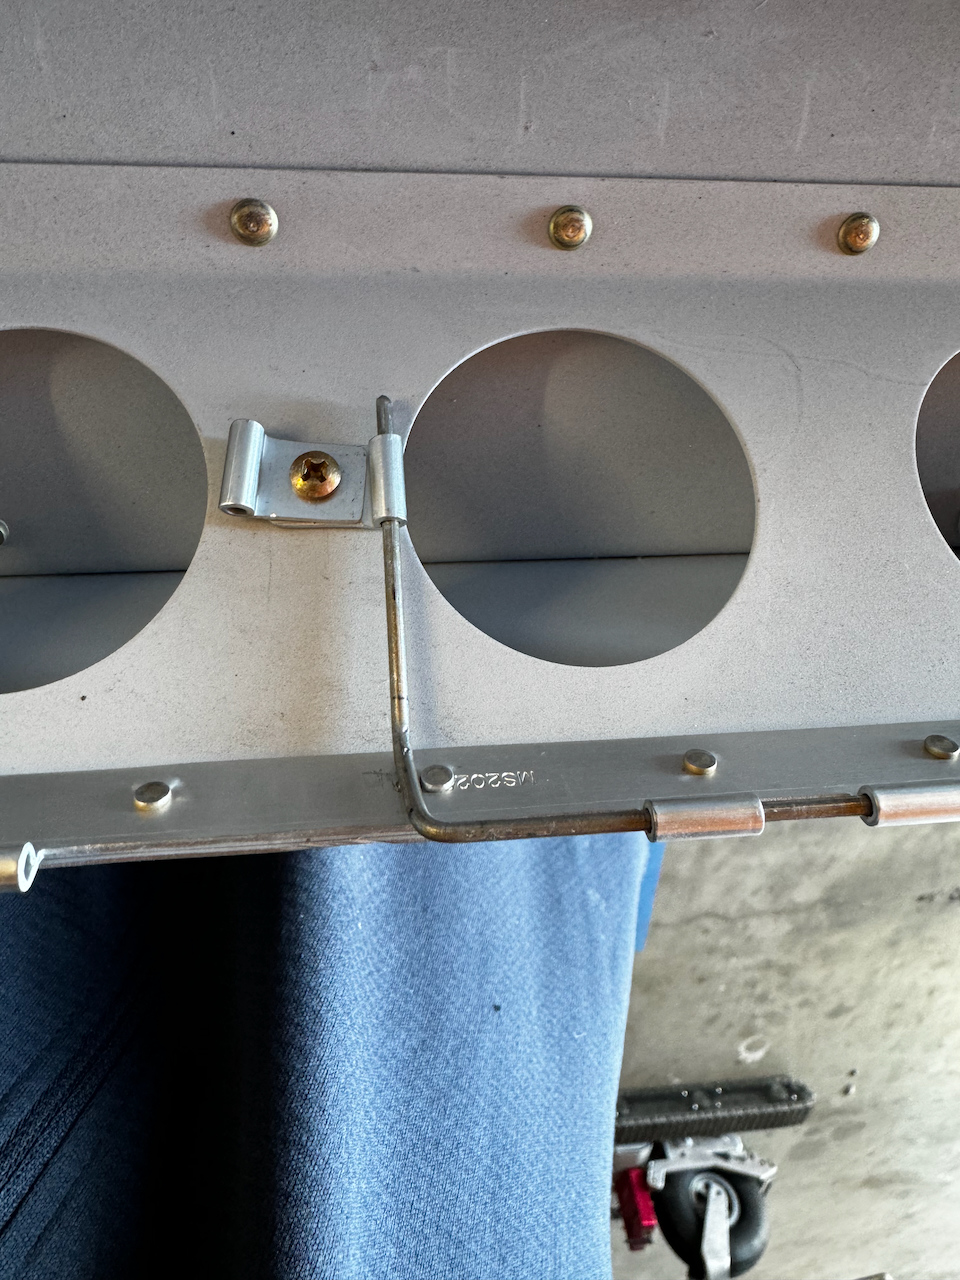
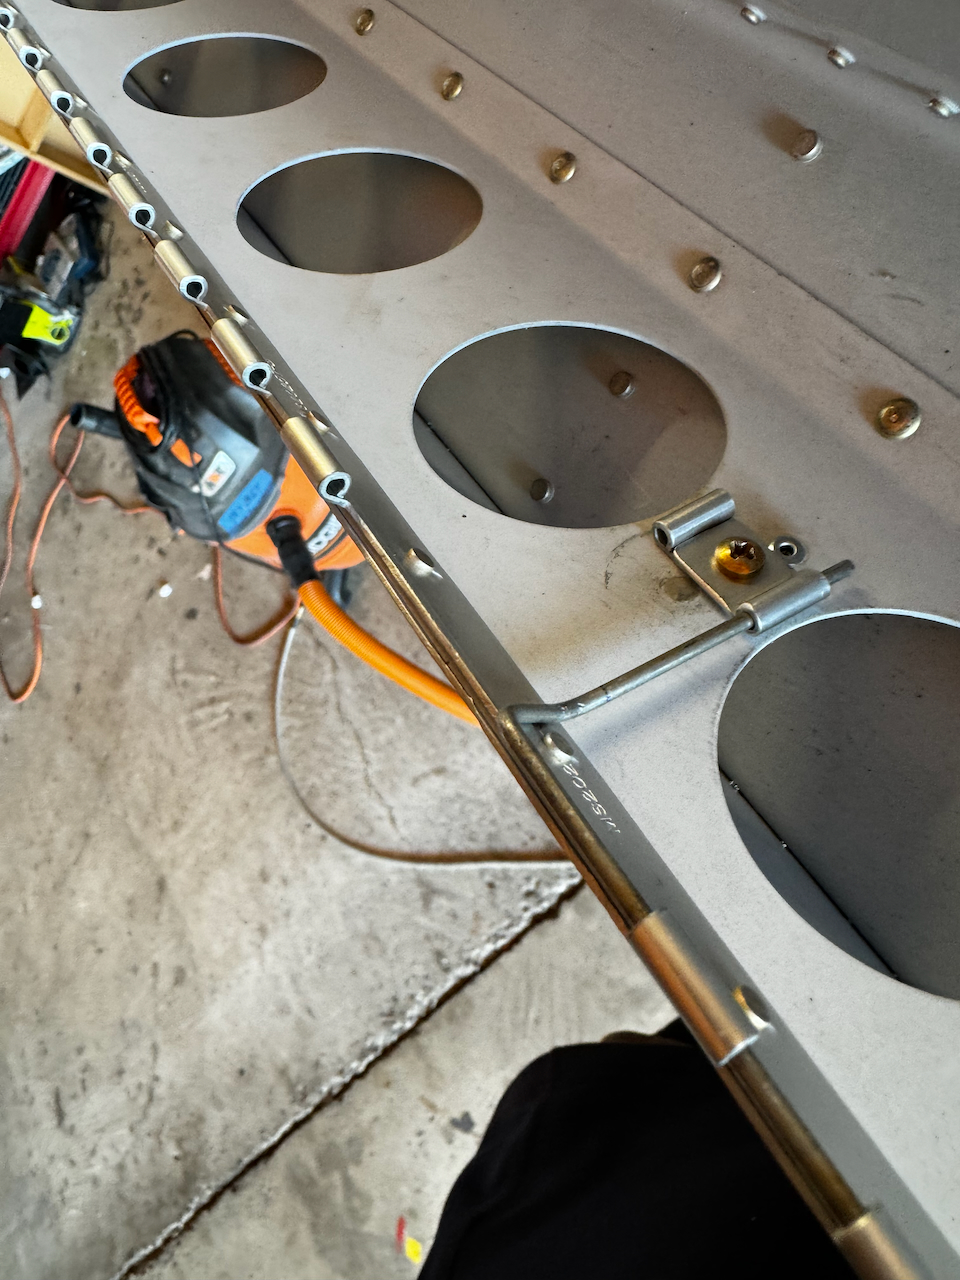
I had to devise a way to secure the pins so they wouldn’t slide out and opted for something I found online that consists of bending the pin in a way that allows you to secure them to the flap brace using some clever hinge pieces. I was happy how it turned out.
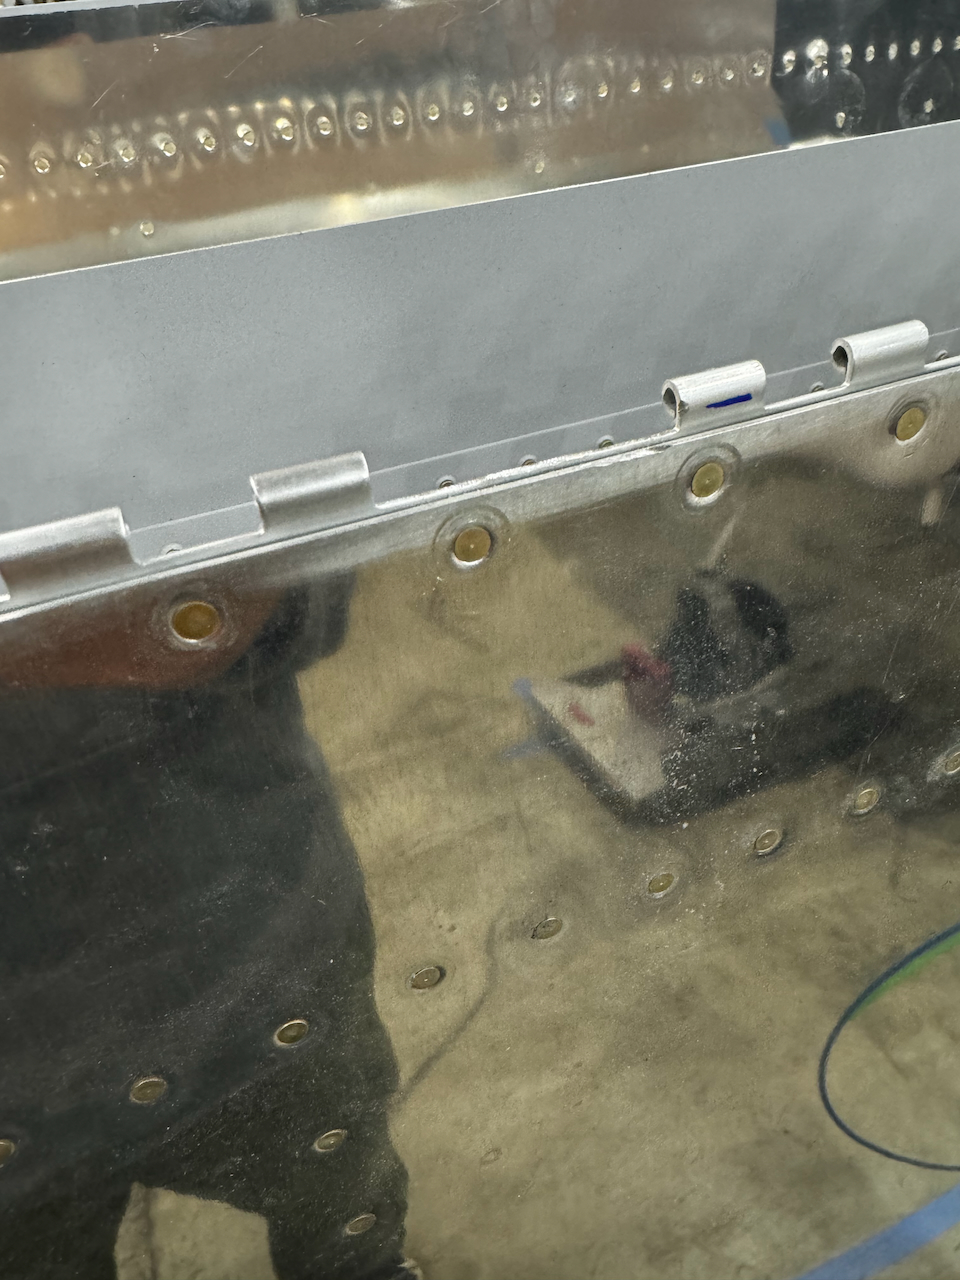
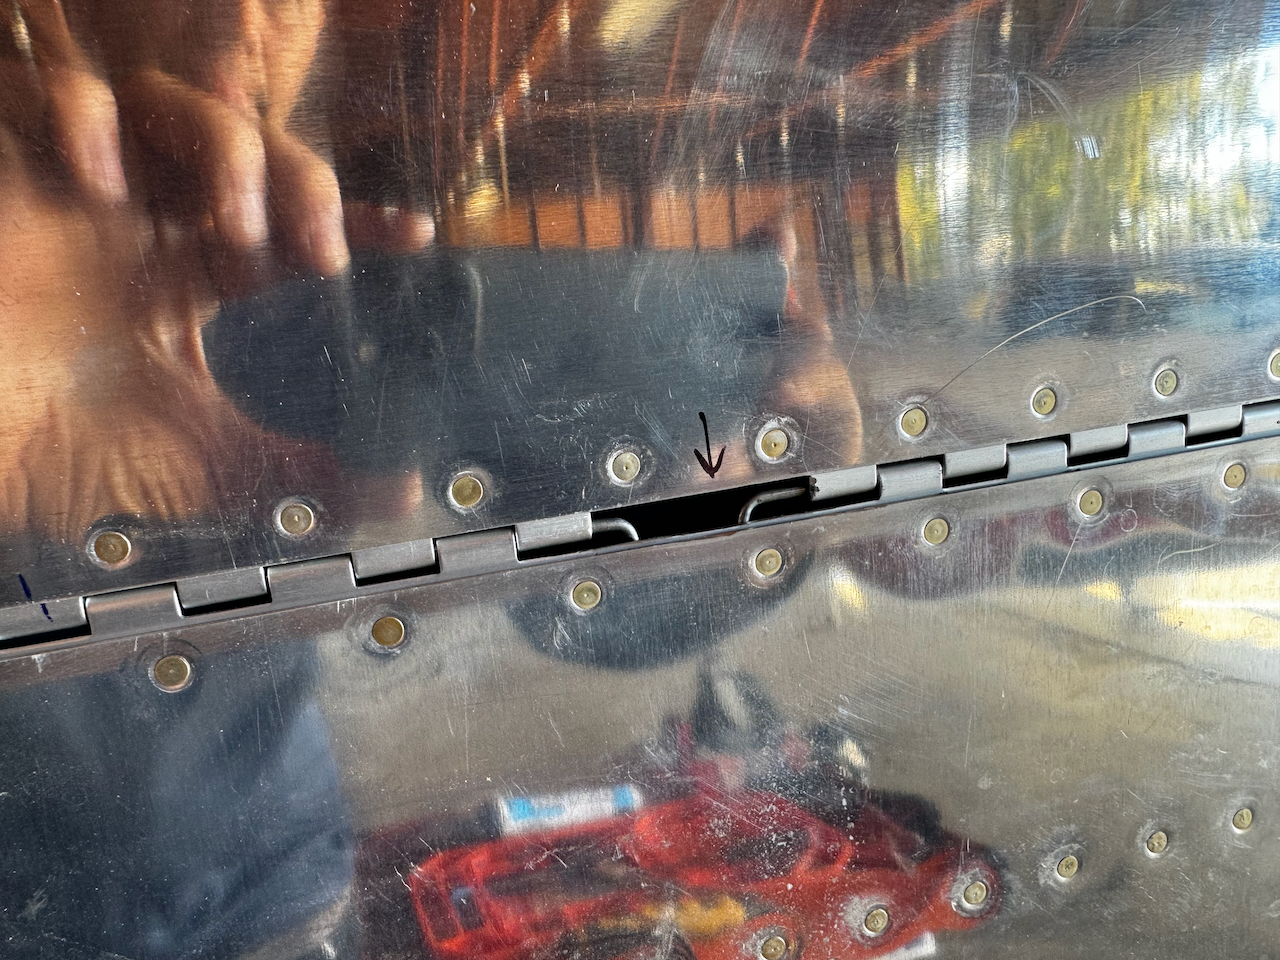
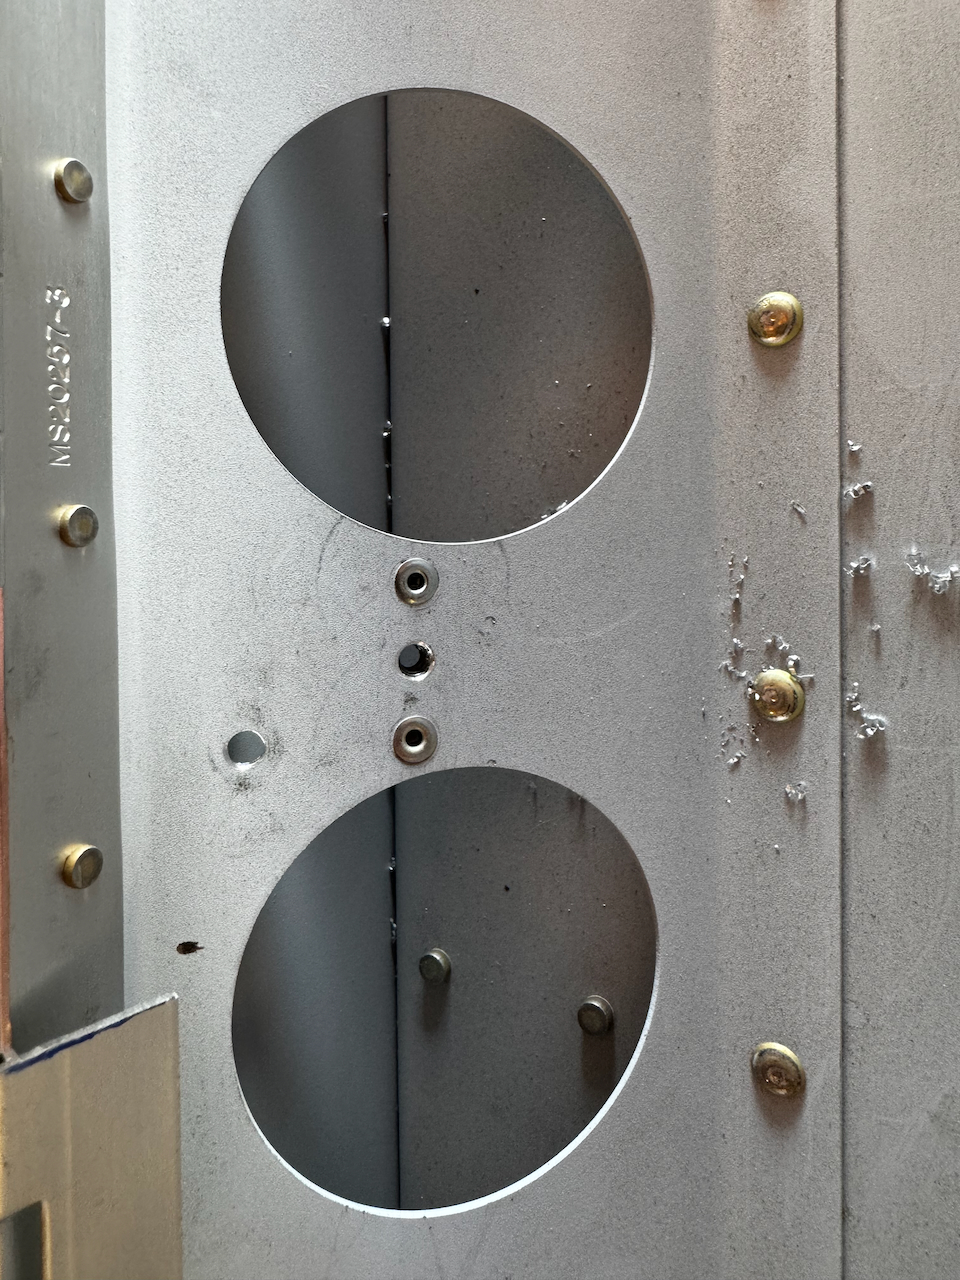
Eyelets removed to make space for hinge pin insertion
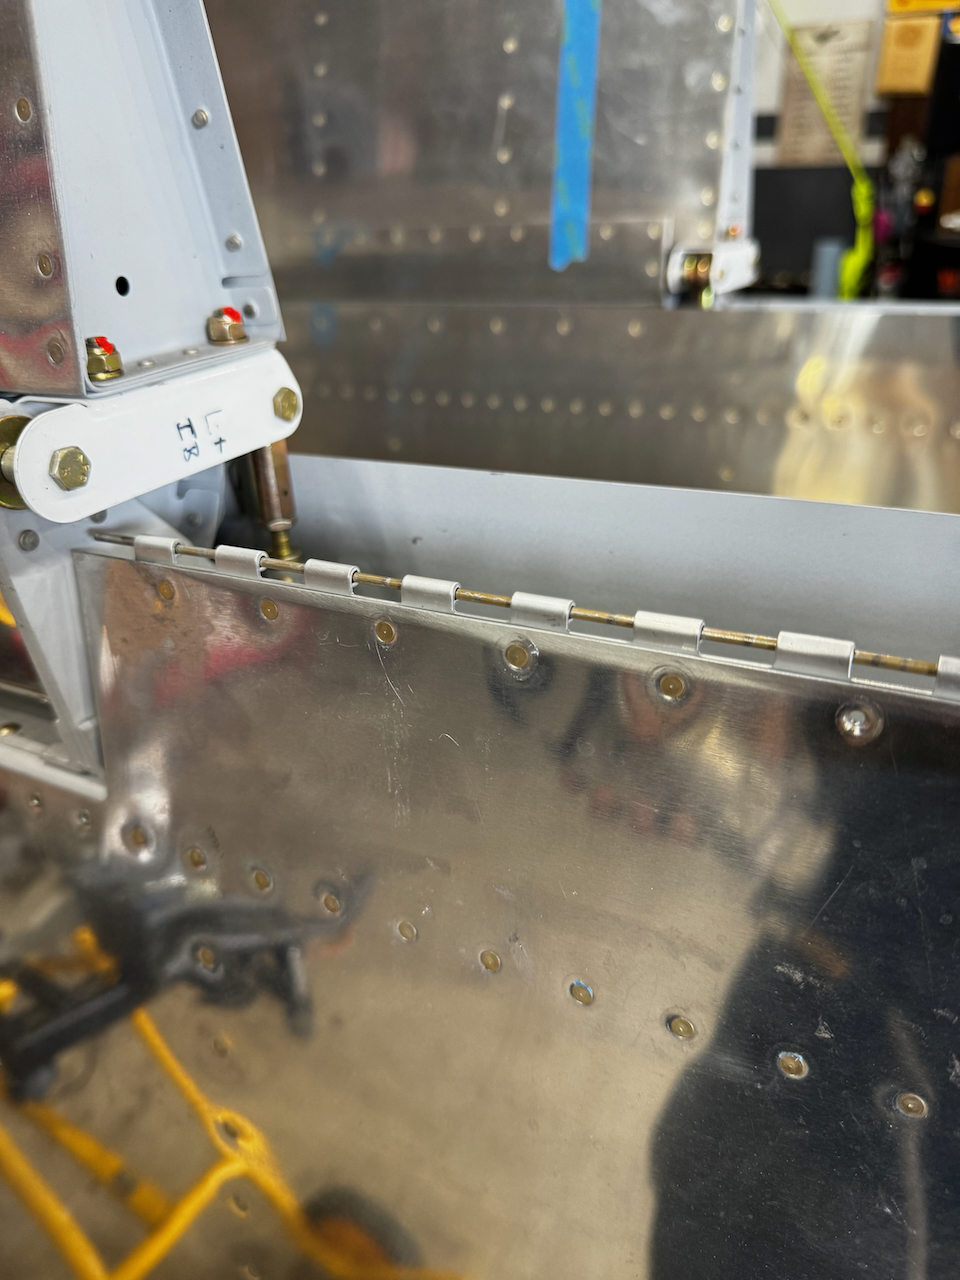
Custom pieces from the hinge to secure the pins against the flap brace
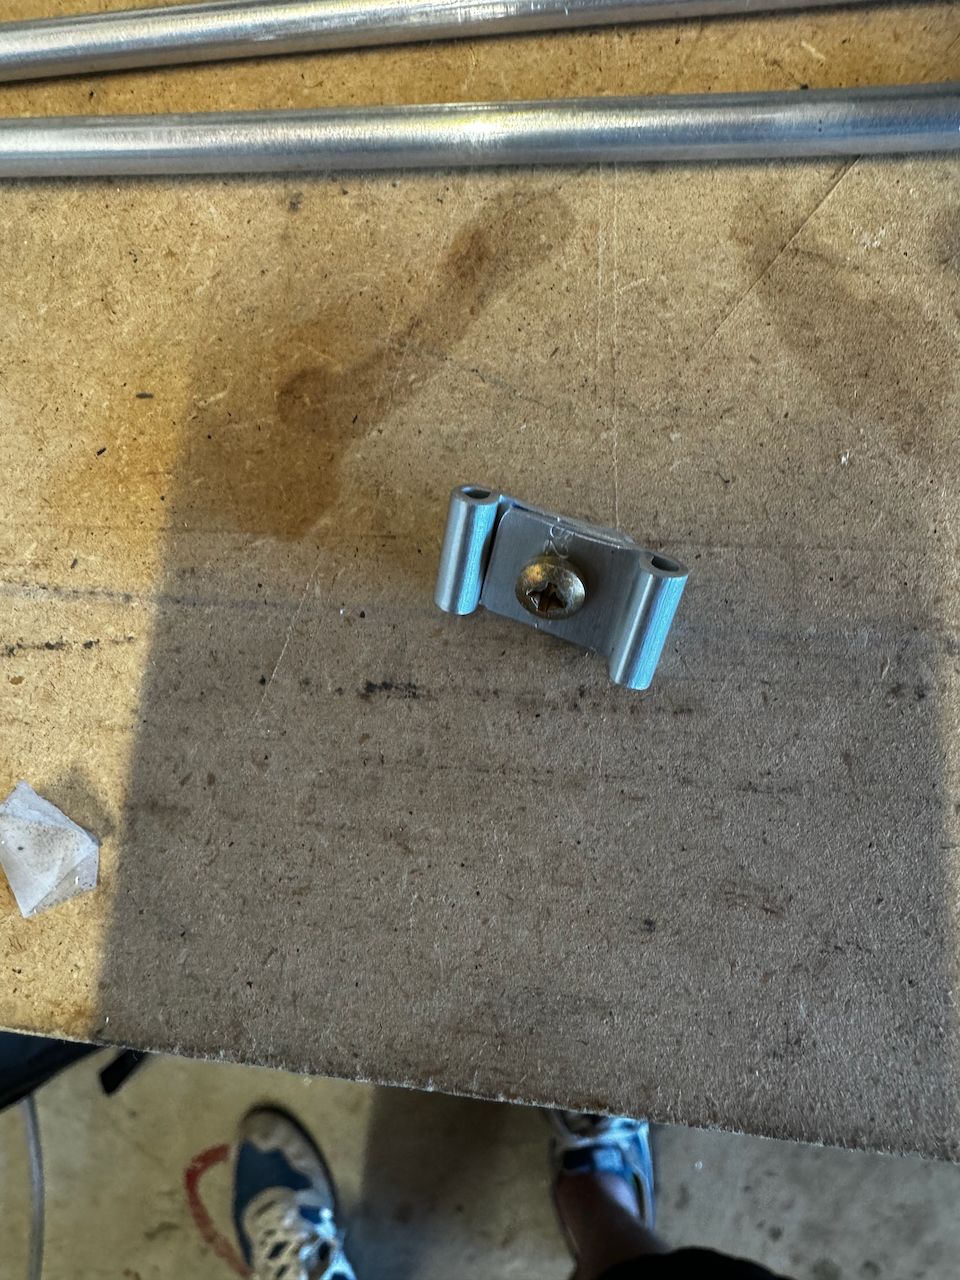
This is what they will look like together
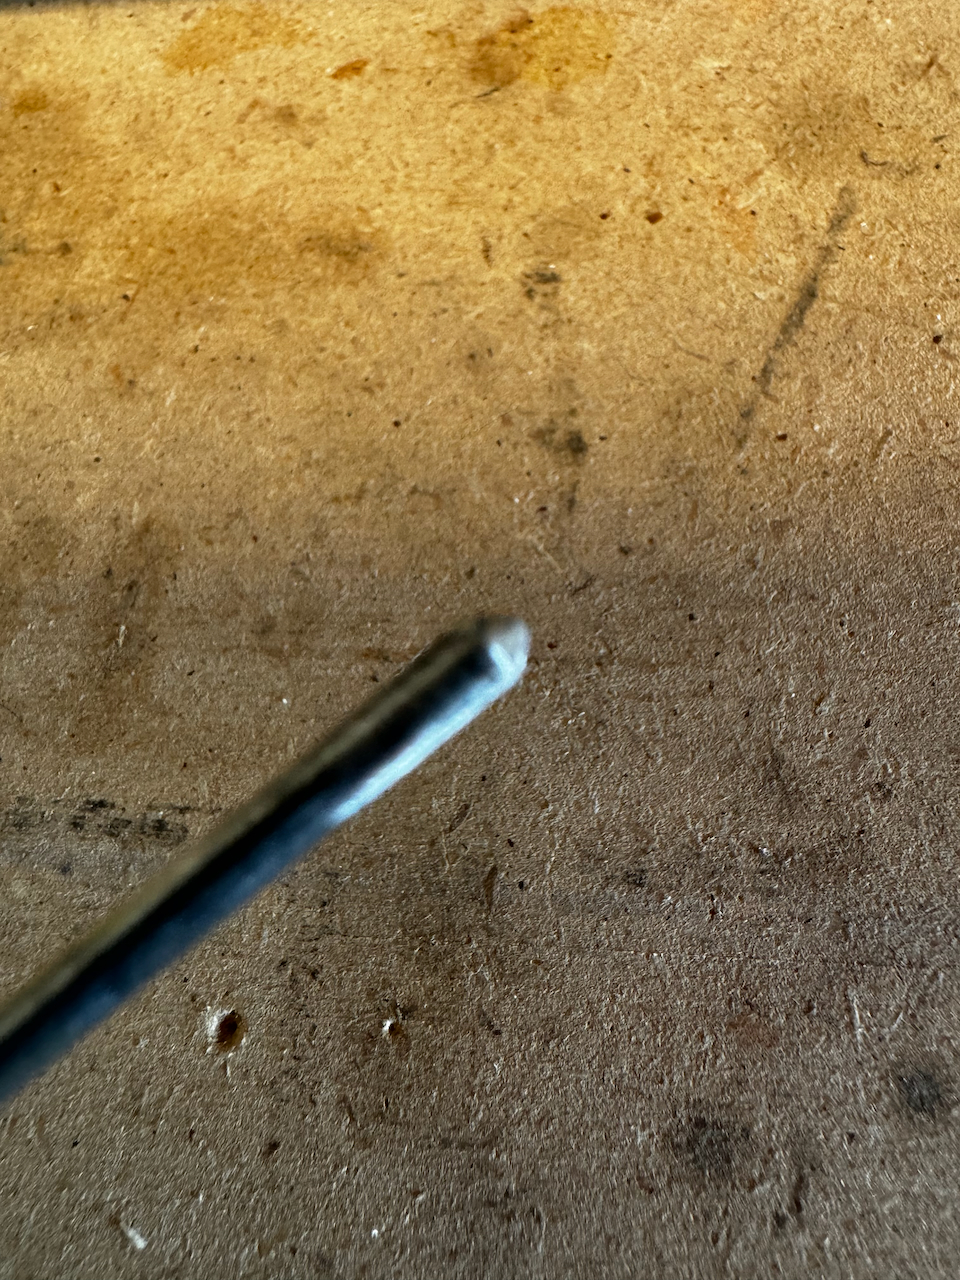
Rounding out the pin ends really helps with insertion
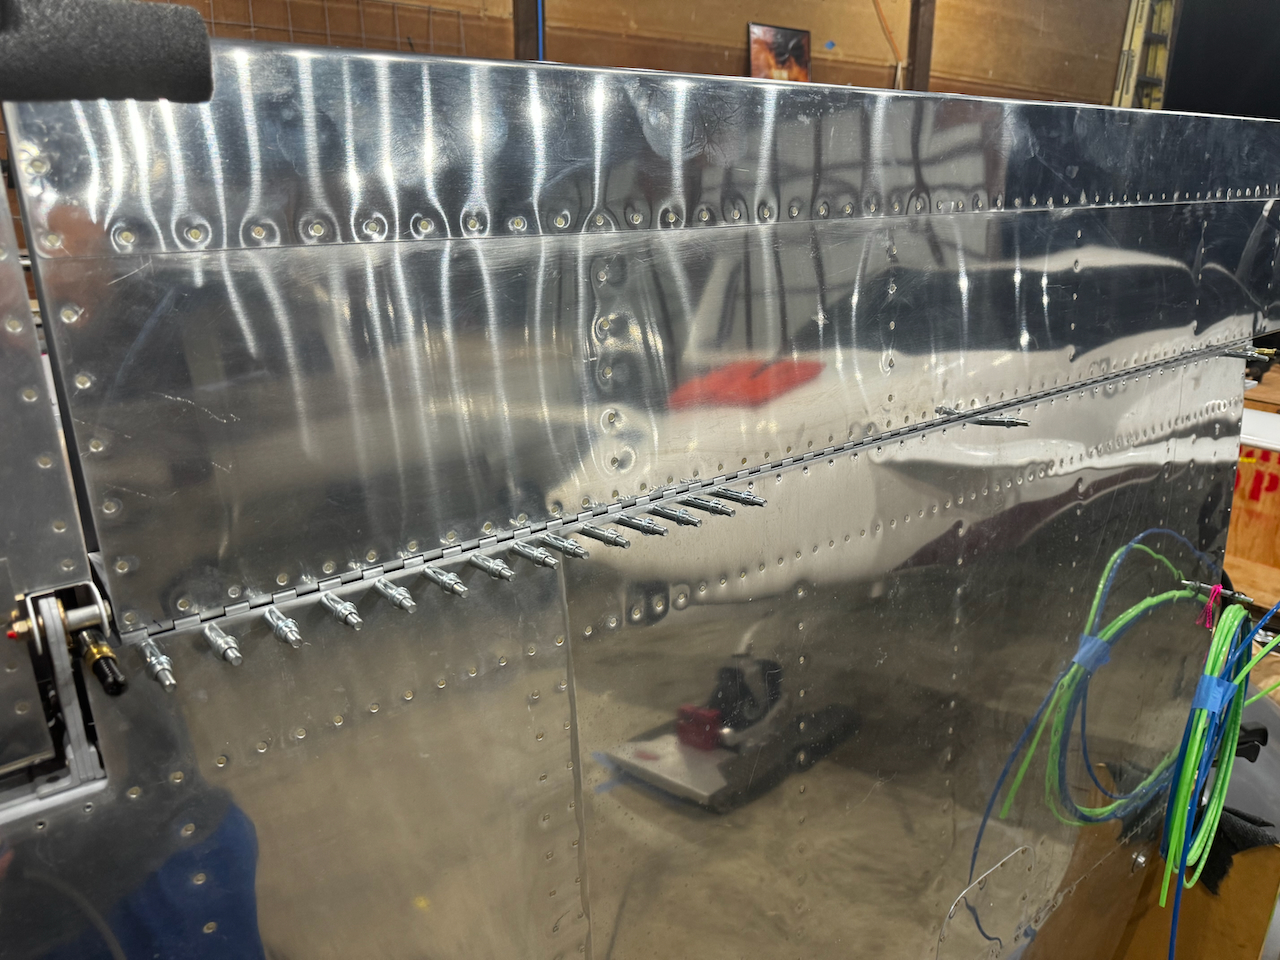
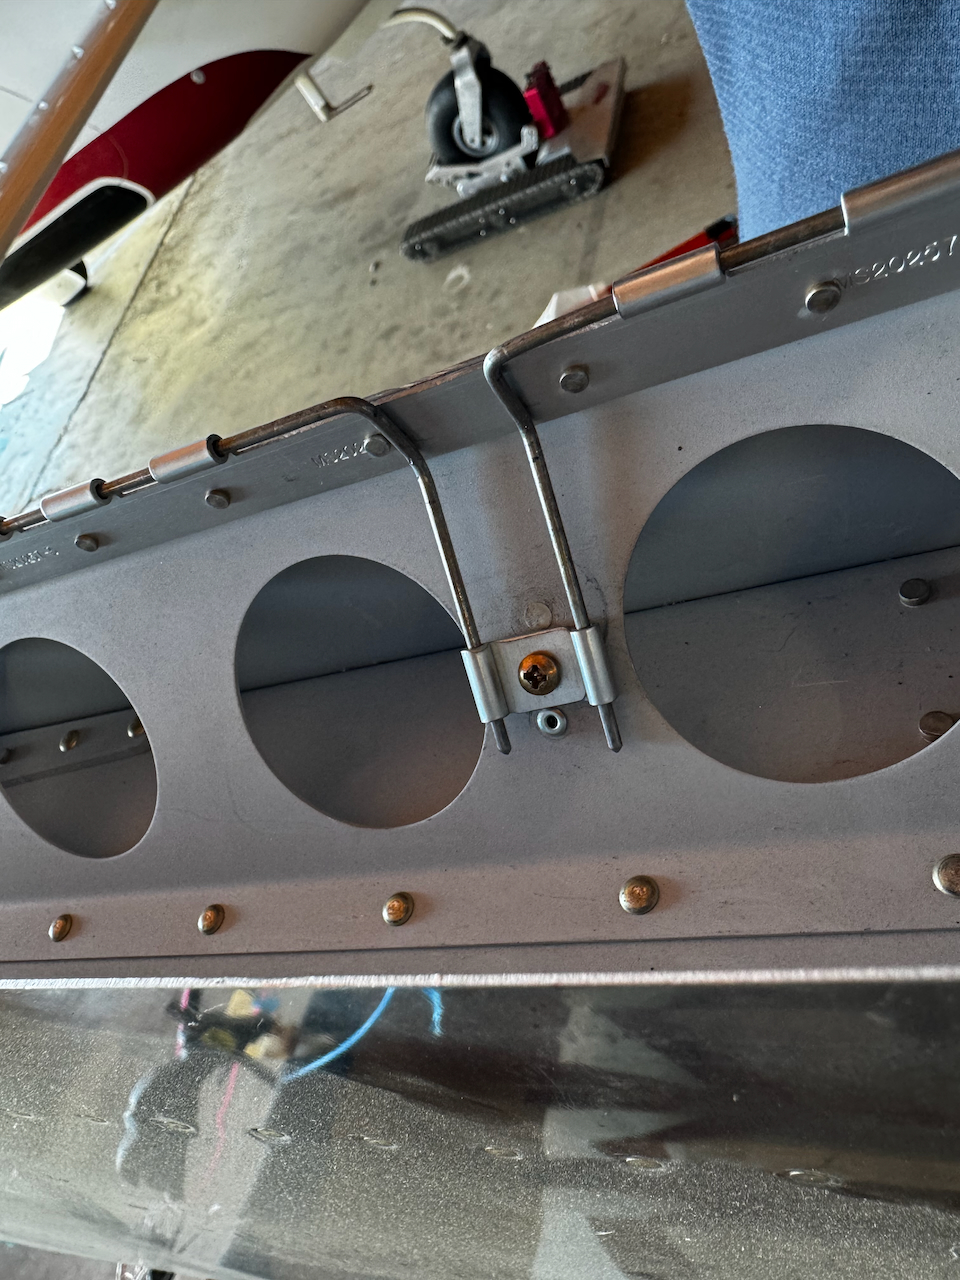
Test fit looks great!
Another view
Both pins in seems to be just right!
And another view!
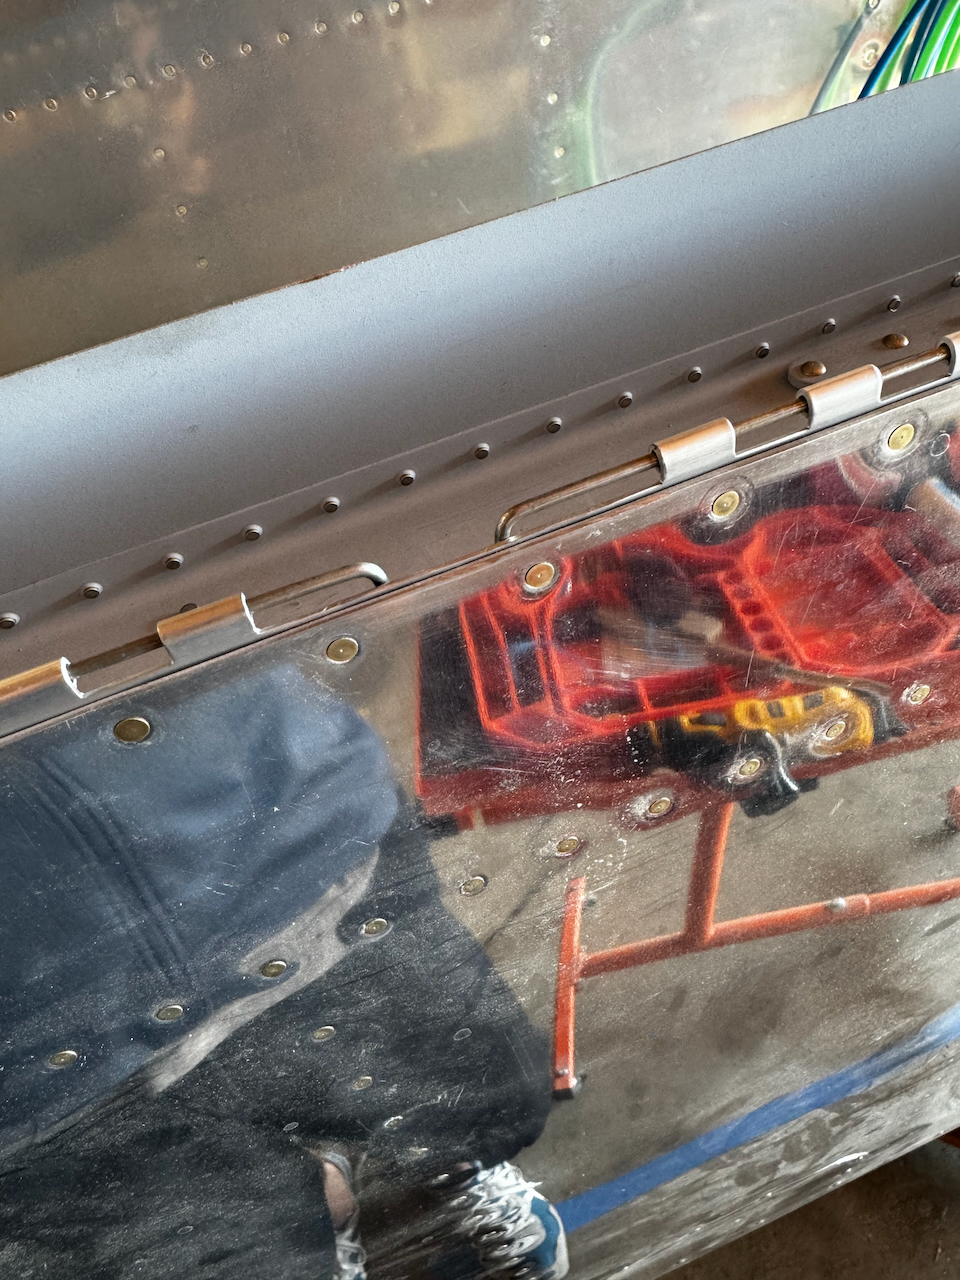
This is what it looks like with the flap on. This is on the bottom side so will be very inconspicuous
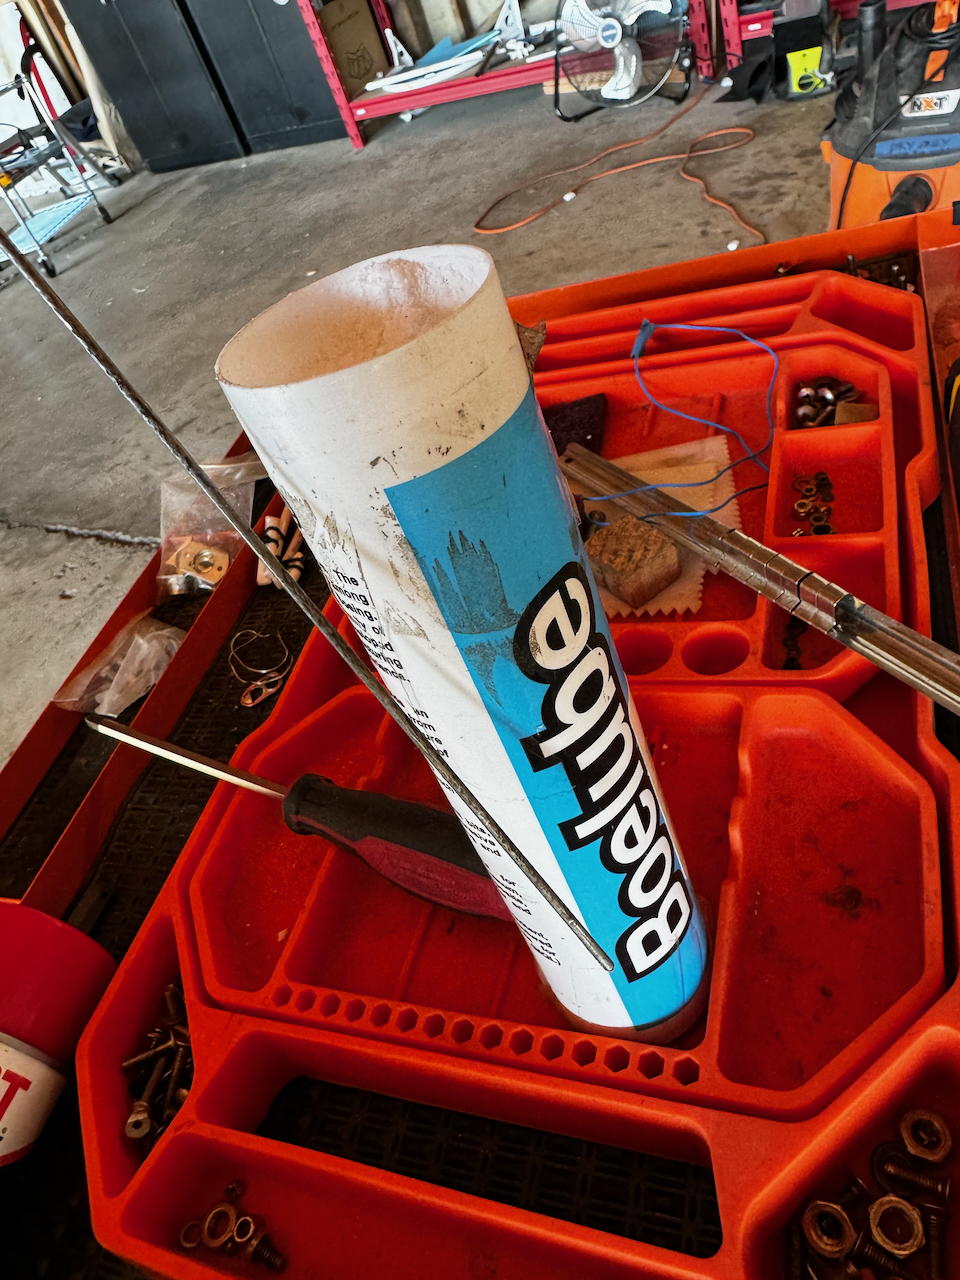
Don’t forget the beeline when inserting the pin. Makes a HUGE difference.
A side note on Boelube. This stuff is amazing. It’s a like a waxy powder substance and when you rub it on screws or pins, they move much easier. For example with the hinge pin… I was having a heck of a time getting the pin in without the boelube and as soon as I used it, wha la! Smooth as butter. I’ve found a new level of respect for the stuff after these hinge pin insertions.
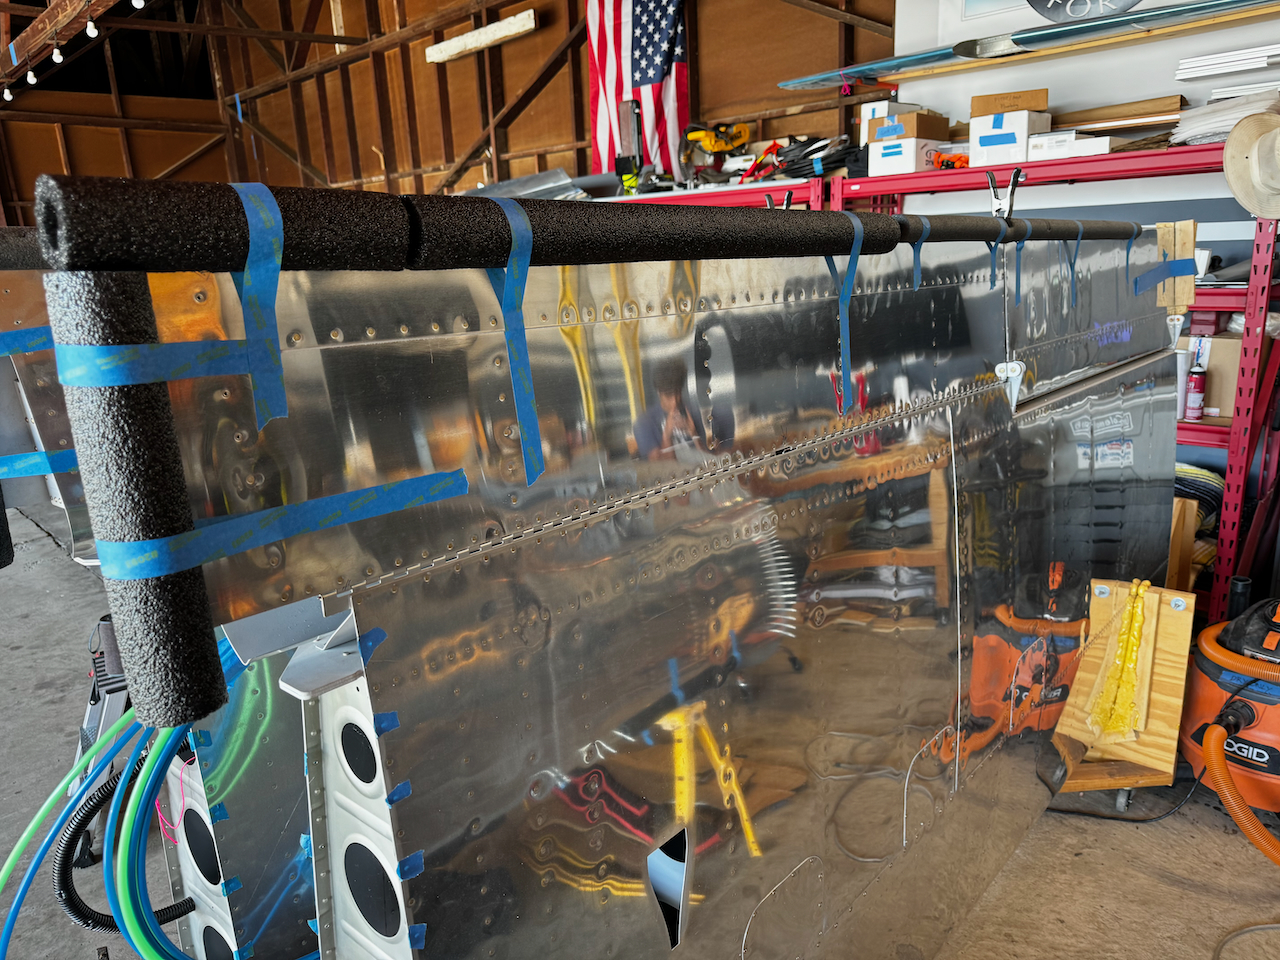
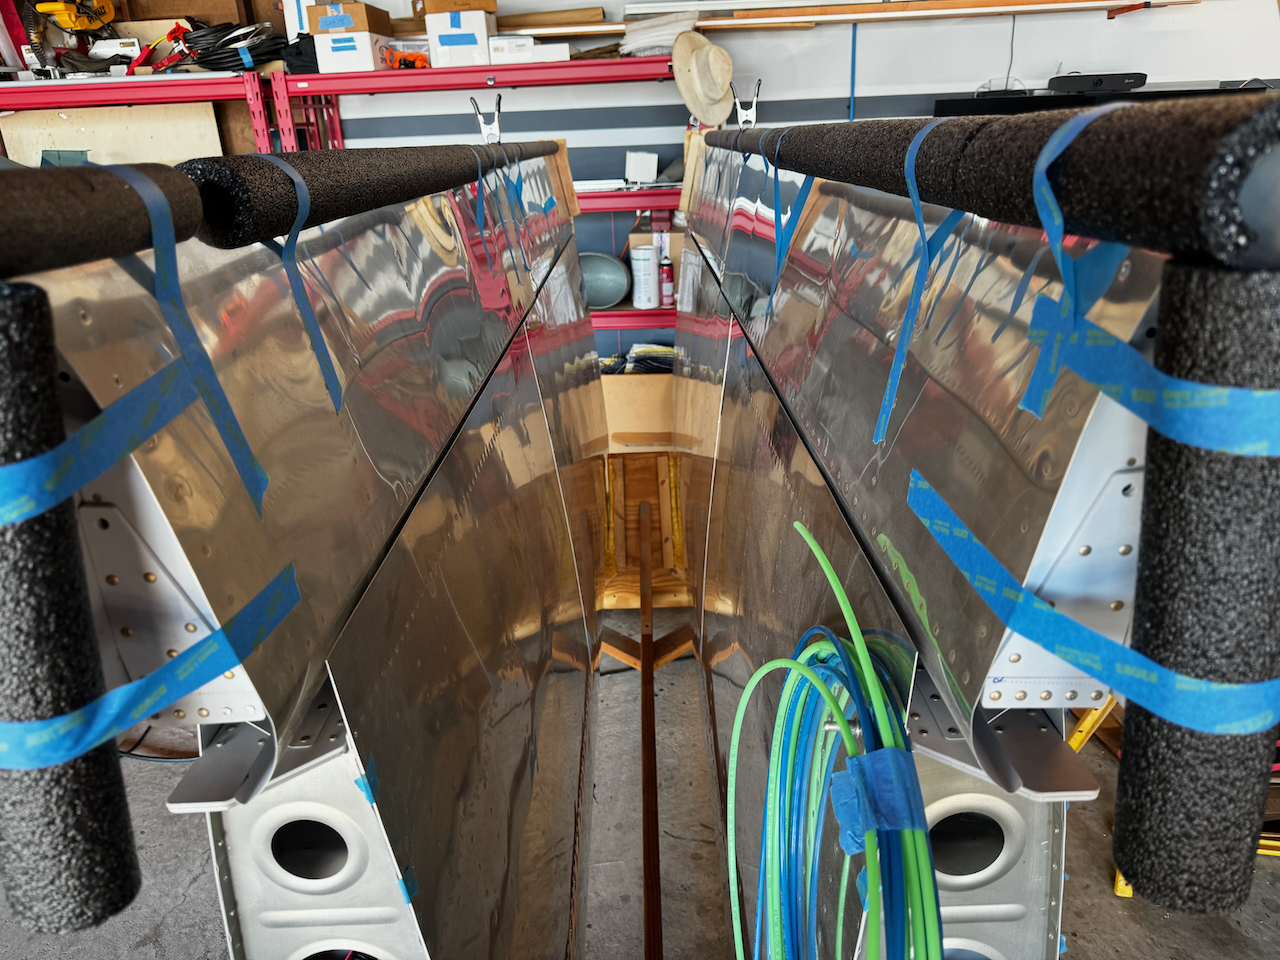
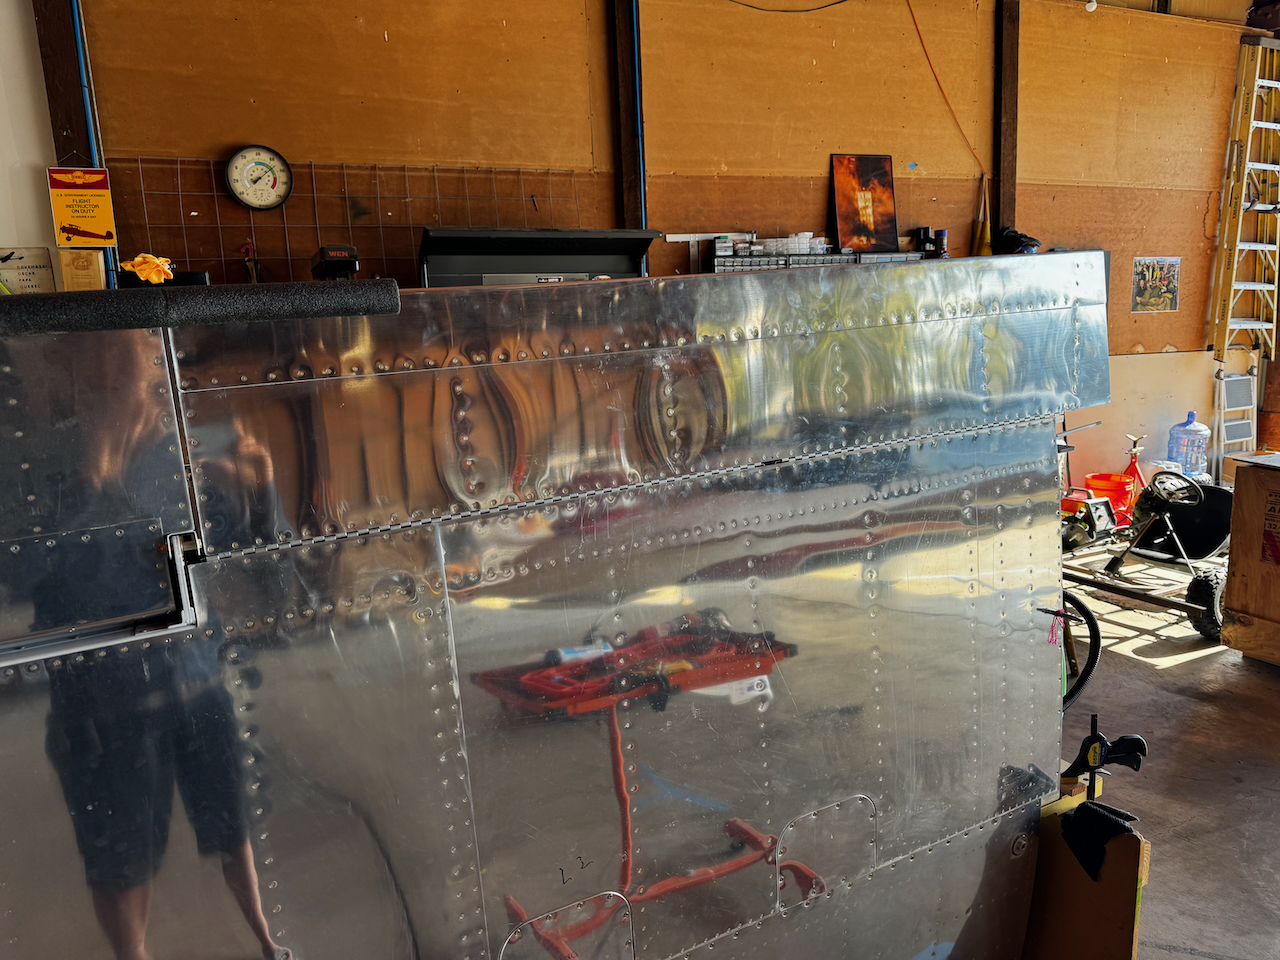
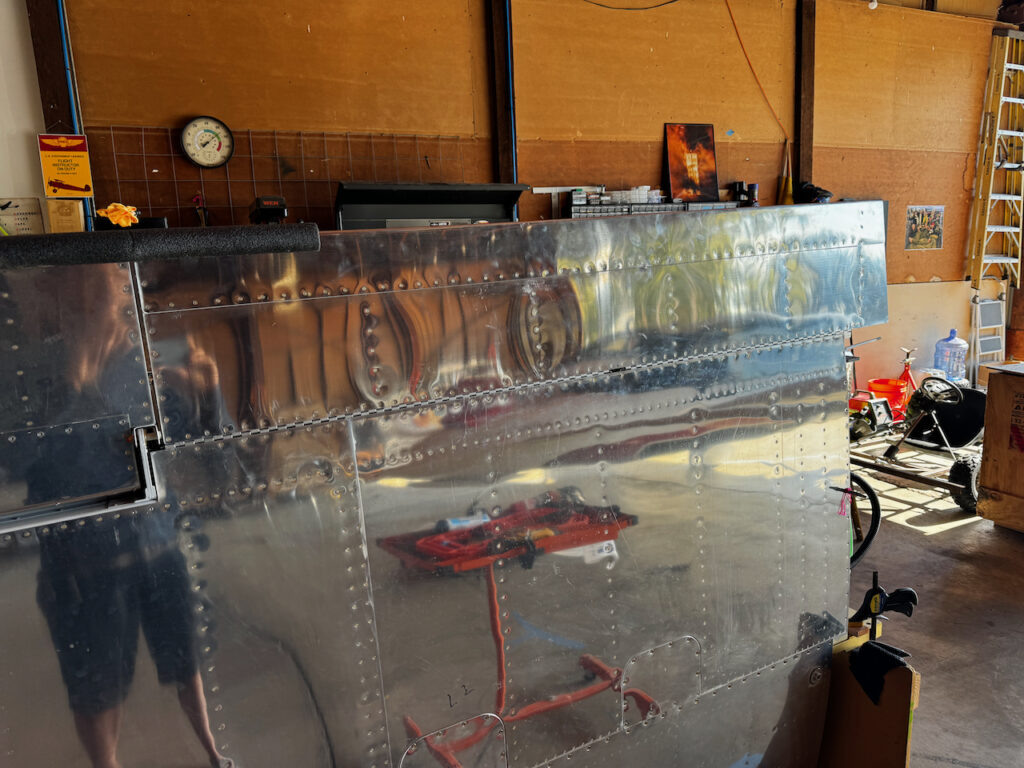
The left side was a repeat of the right, but just faster and easier since I knew what I was doing. Below are some pictures of the completed project. I’ve found some hangar space in one of my neighbor’s hangars so I will be able to get the wing moved and make room for more fuselage work. Until then… Happy Building!!
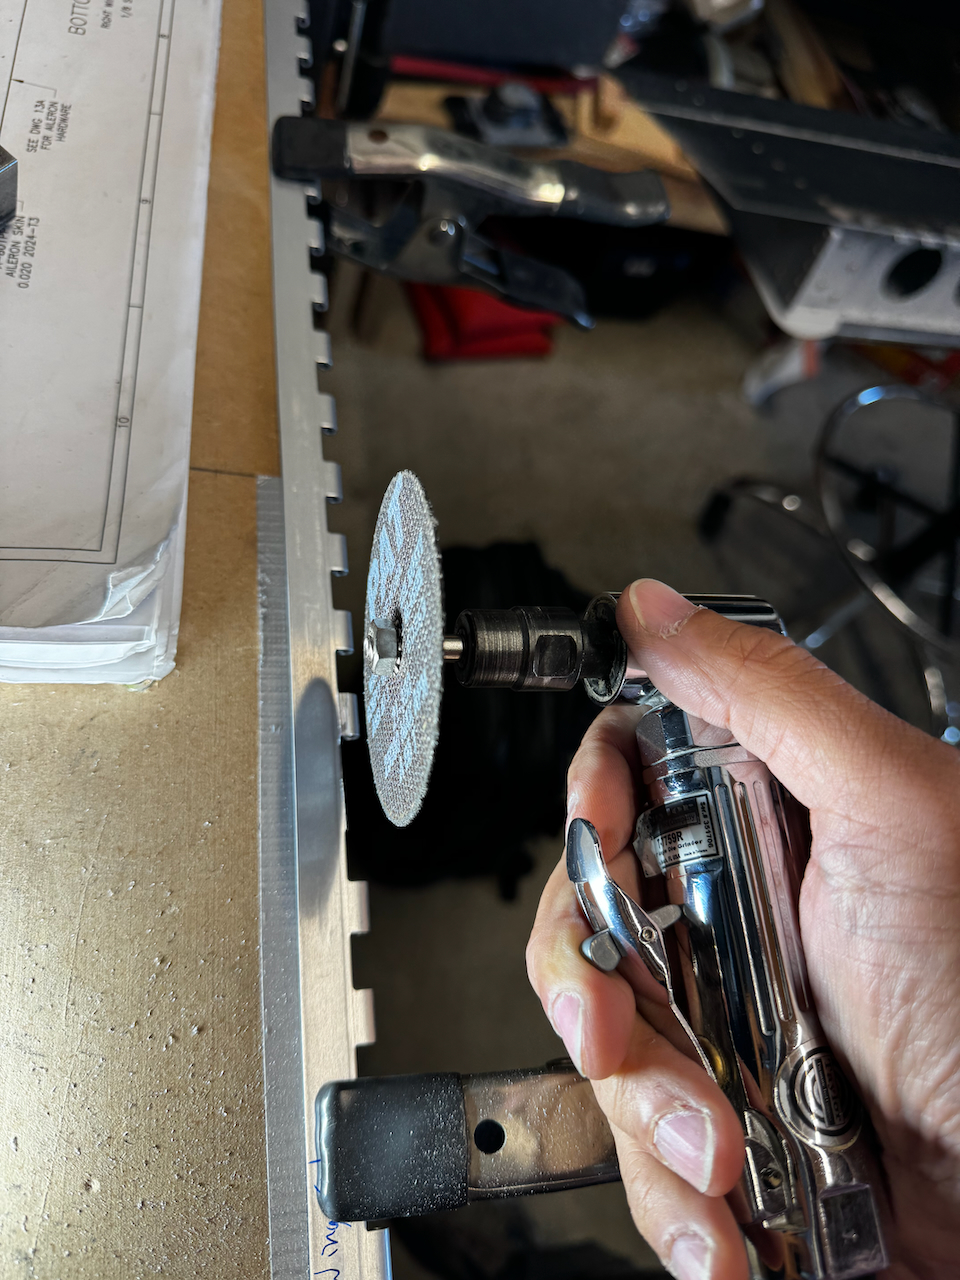
Angle grinder for the win!
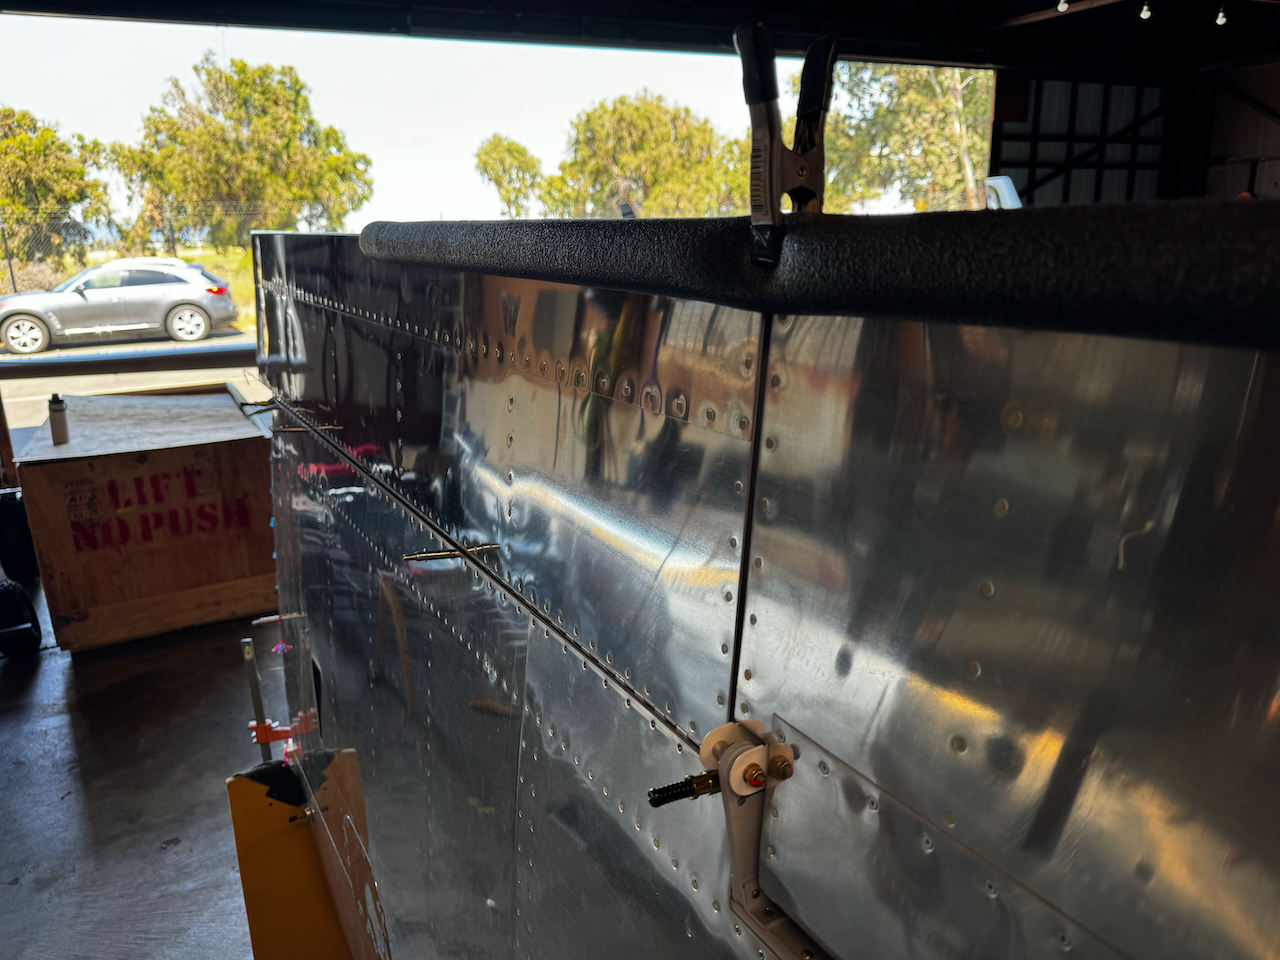
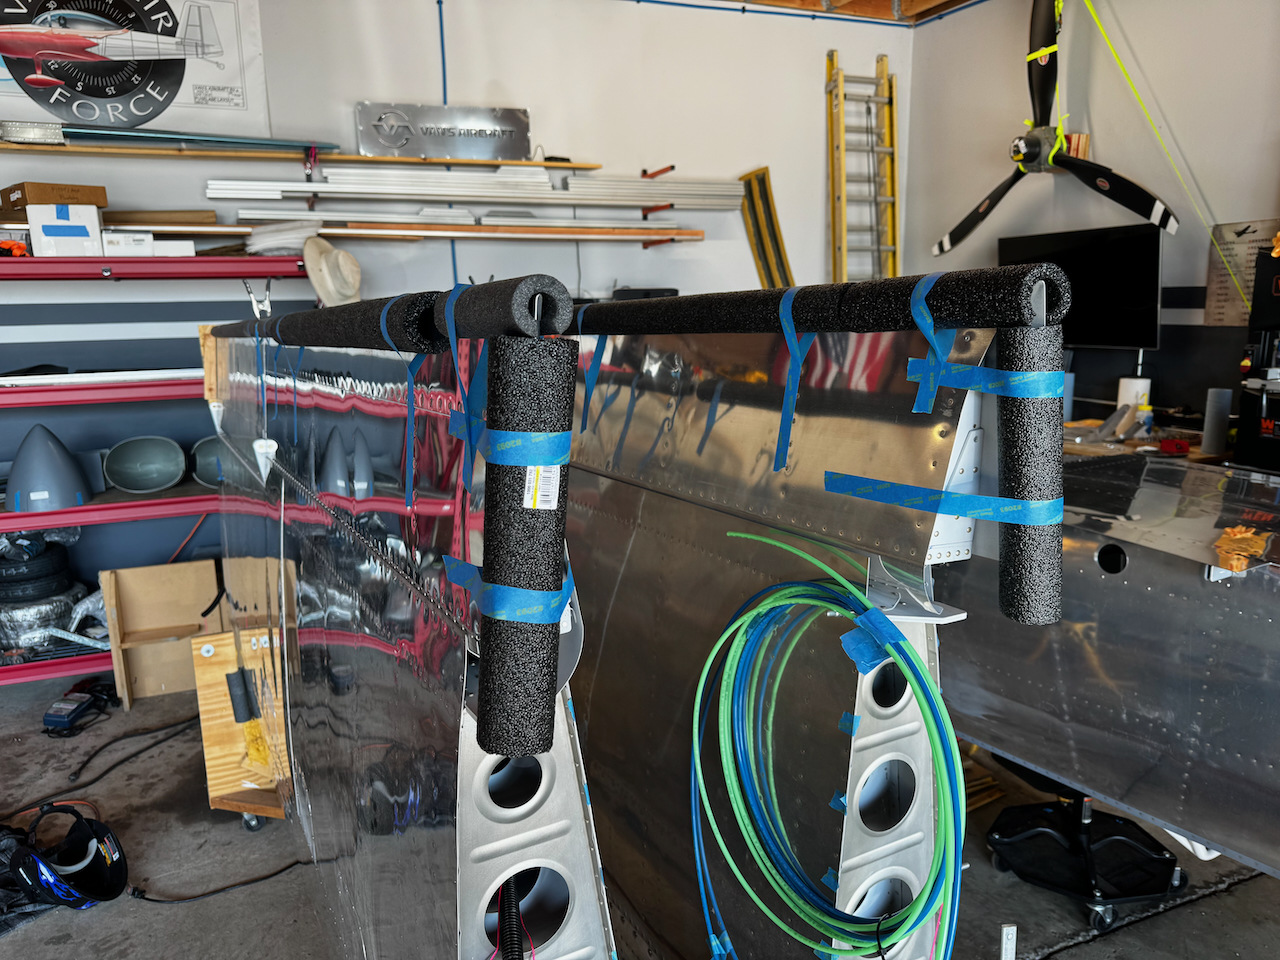
Left side flap clamped in place
Left side hinge pin securing nut plate.
All done! Protected with pipe foam for the hibernation in Hangar 9.