We have finally gotten through the section “Skin Riveting”! It has been one heck of an effort by numerous folks to rivet the hundreds (dare I say thousands?) on the fuselage. Over the process we only had to drill out a handful of rivets (outside of my mid-longeron mistake) and successfully worked through numerous challenges.
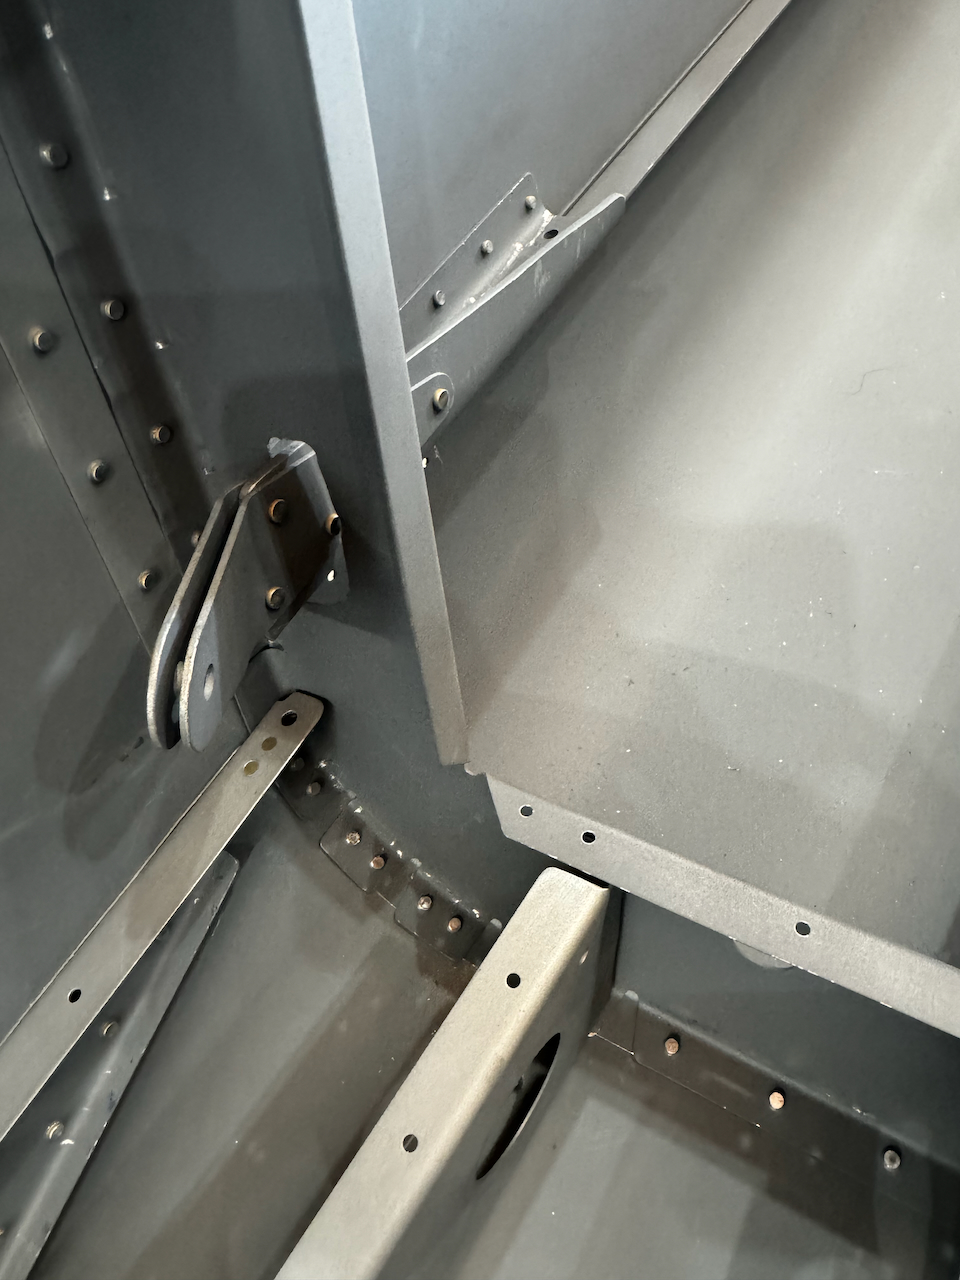
Rear Seatbelt Anchor Attachments
took a lot of finagling to get this in.
Gusset attachment
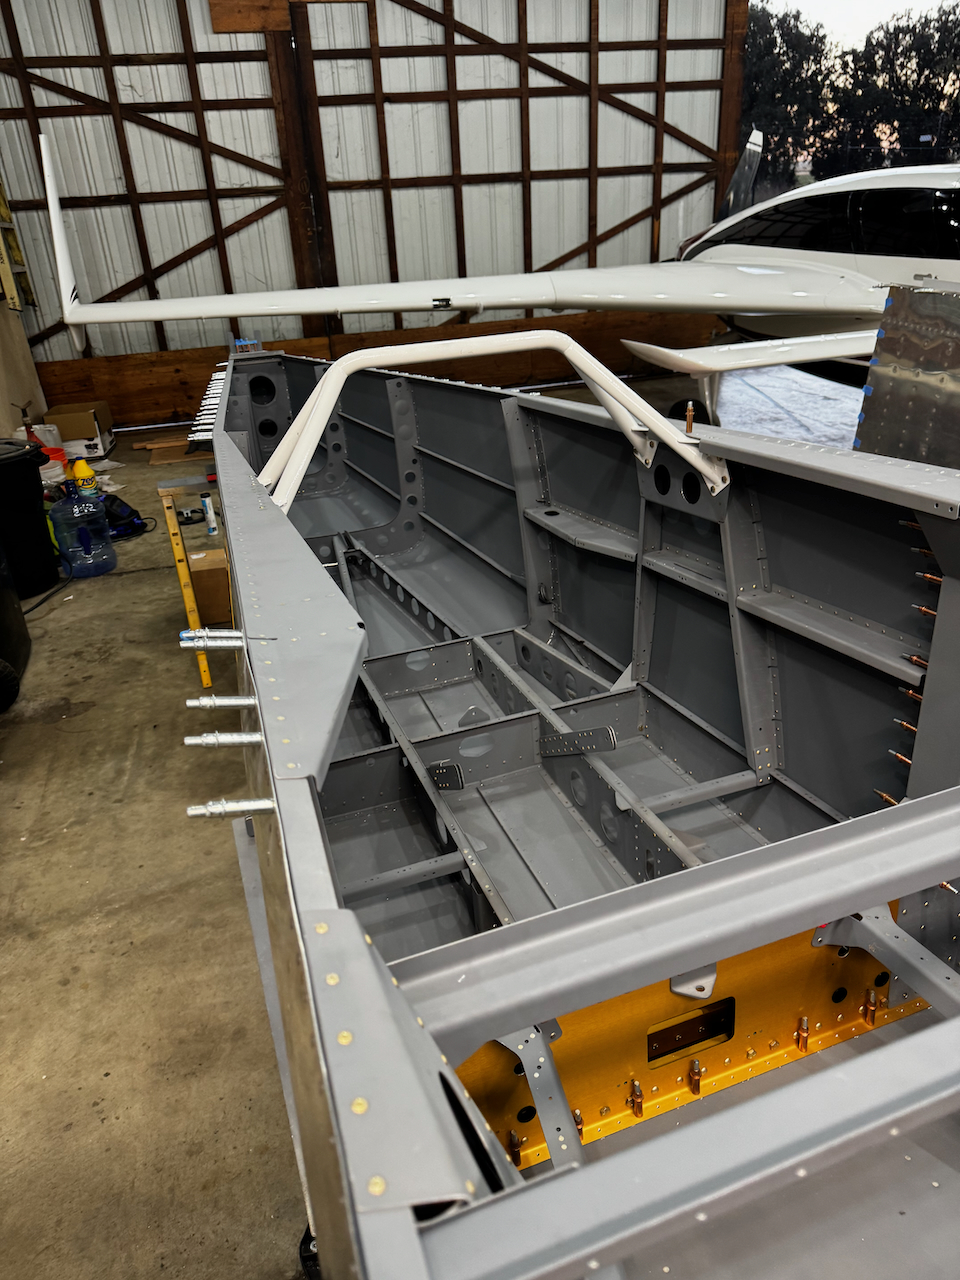
Cockpit Rails in!
This don’t get riveted until way later
I will need to pop rivet these, as I don’t see a way to use solid rivets here.
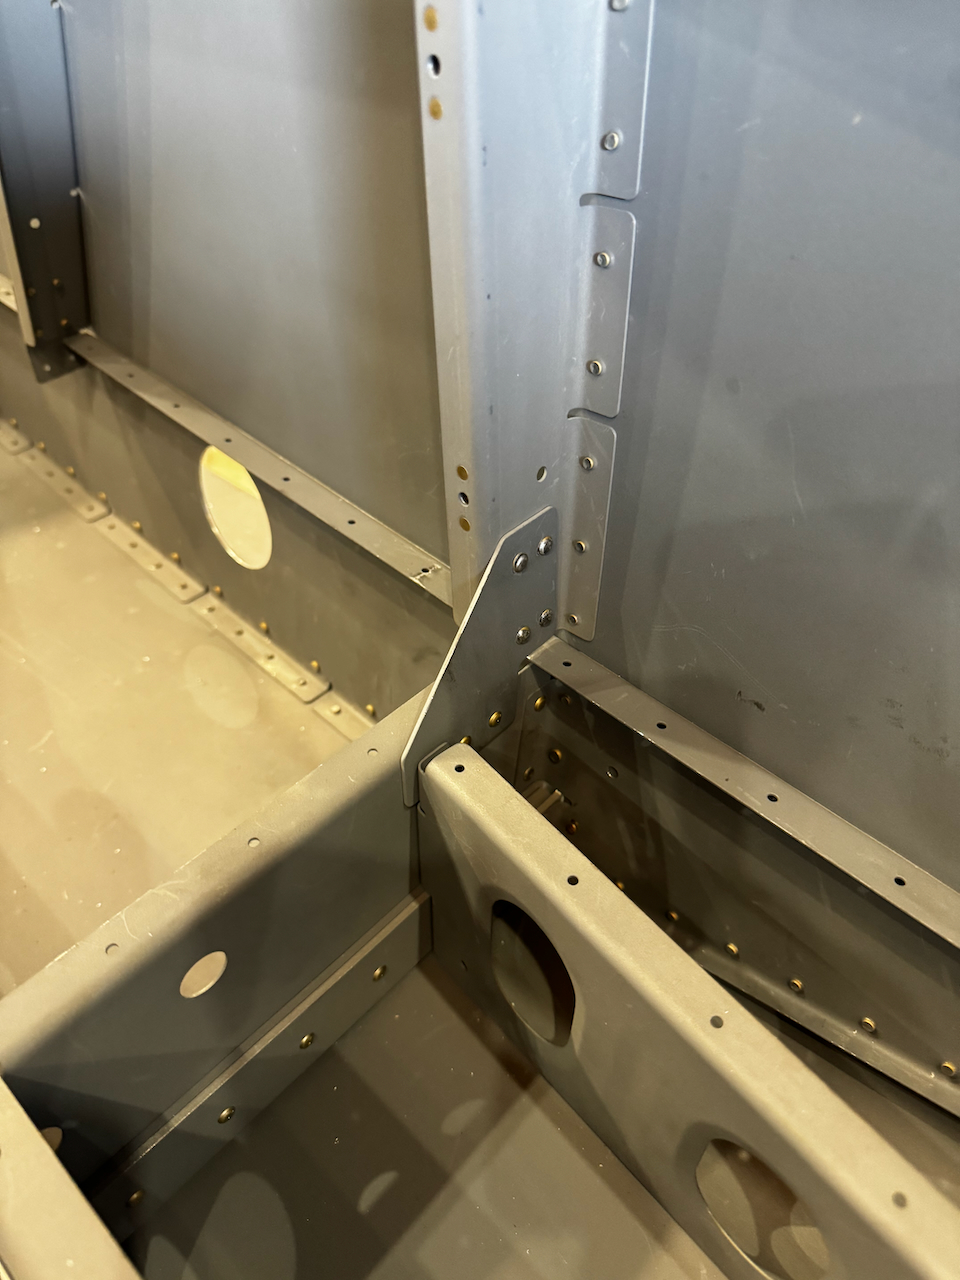
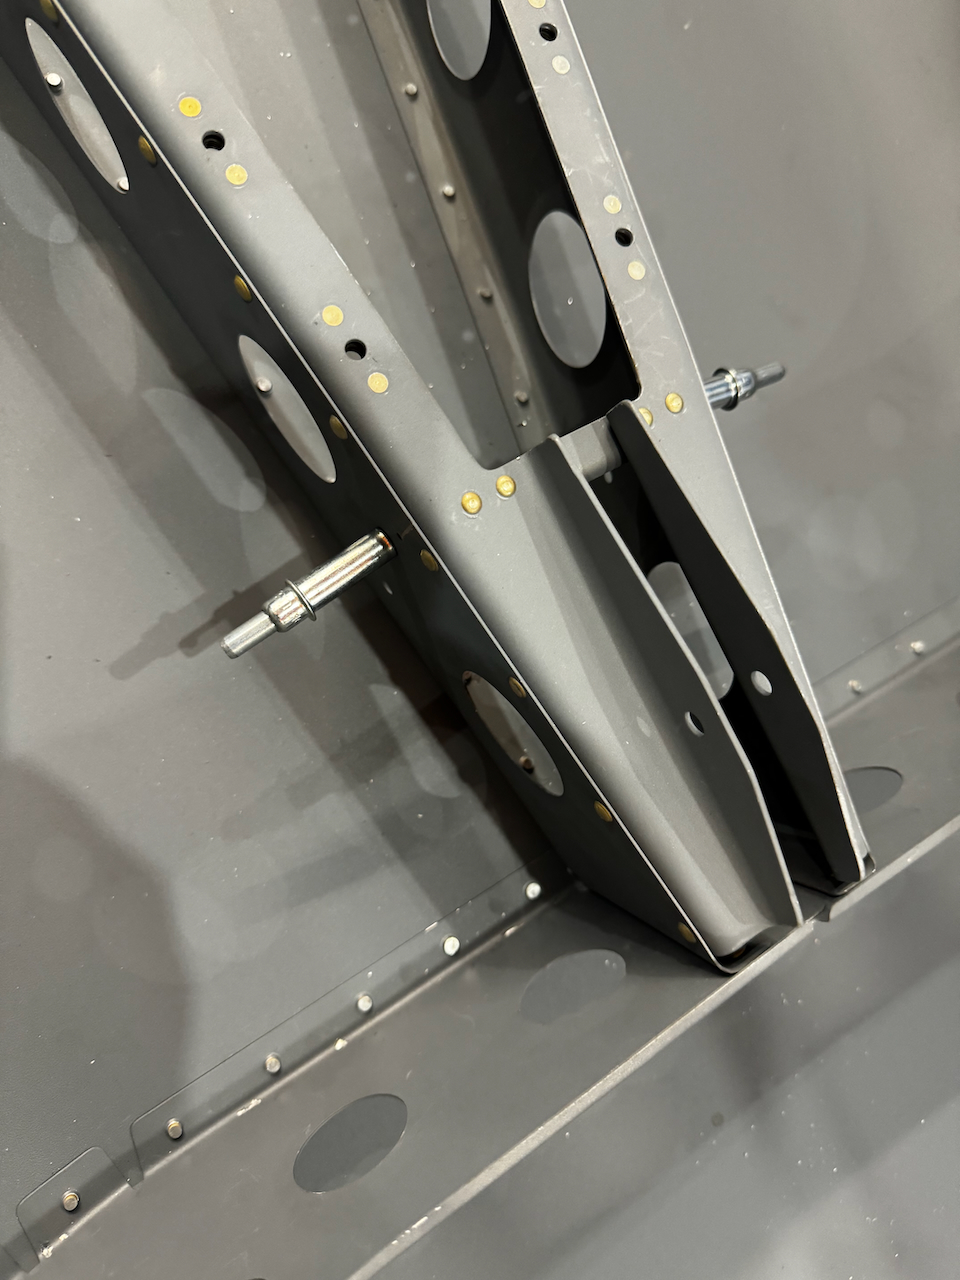
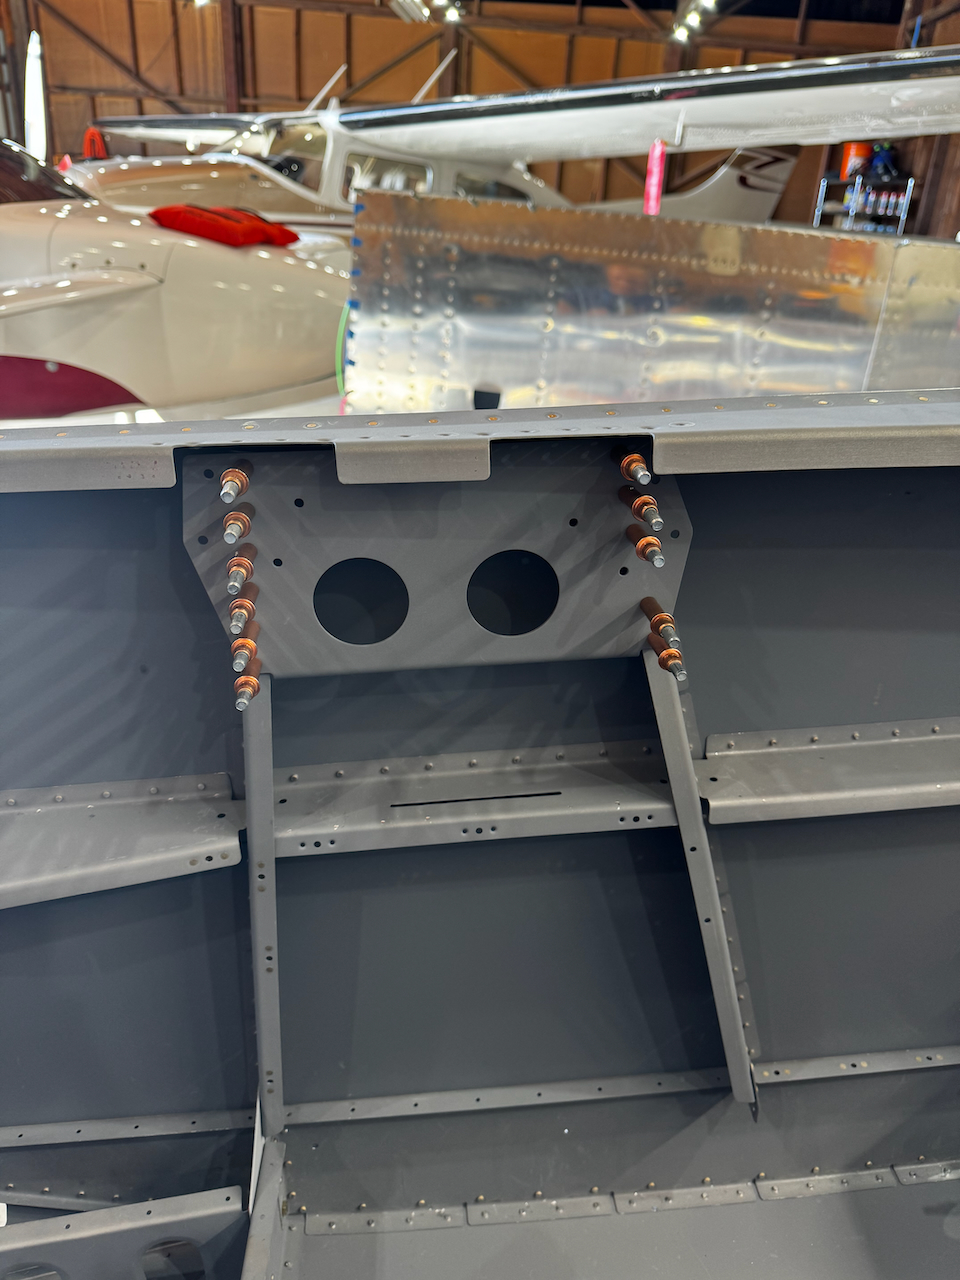
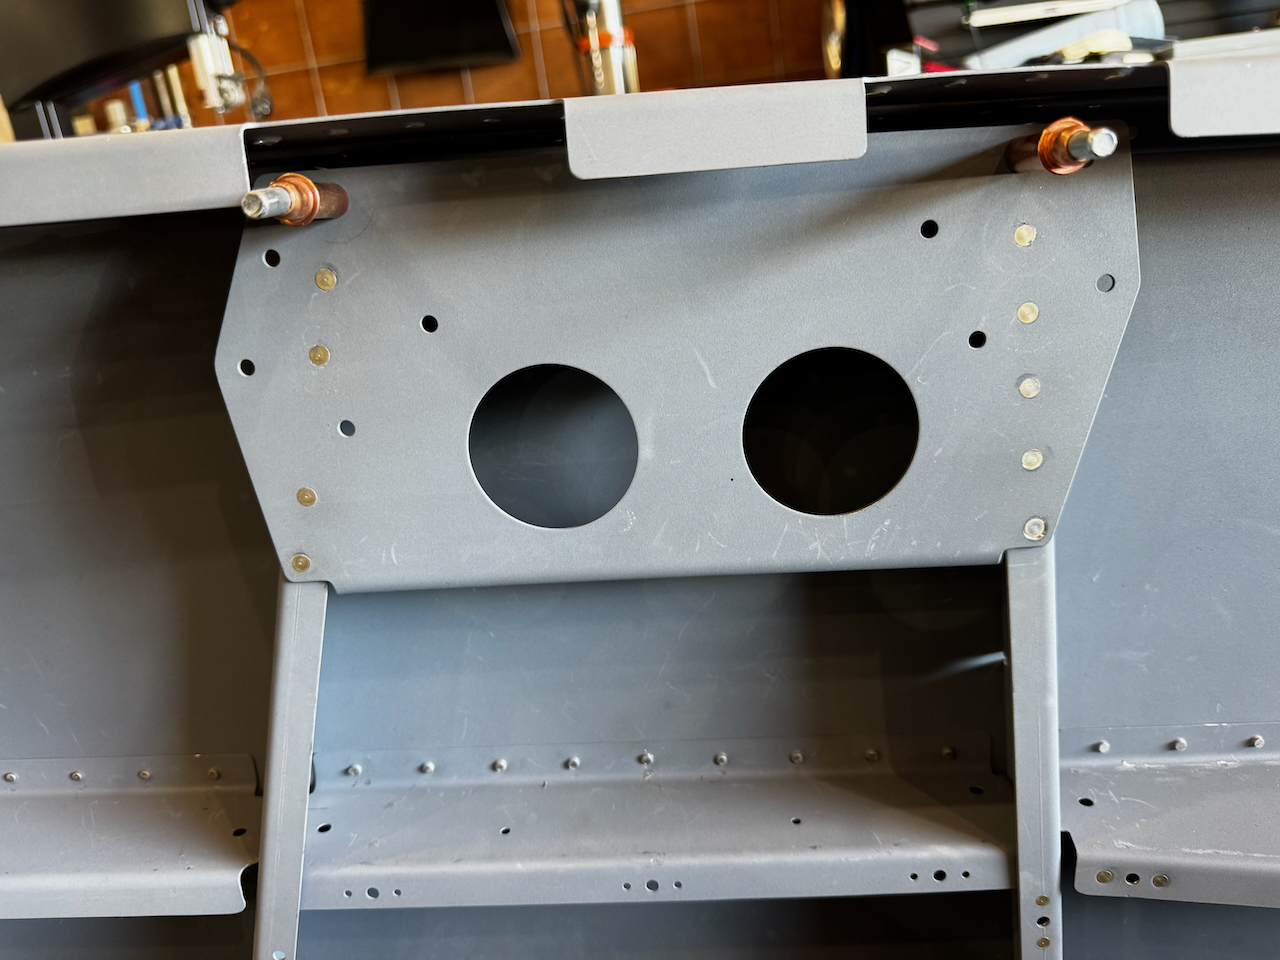
One of the latest issues was that one of the rear bulkheads was installed facing the wrong way. AAAACCKKKK! I discovered this when installing the aft deck and realizing that nothing was lining up correctly. After a rant of explicitives, I took a deep breath anddrilled it out the offending rivets and corrected the installation. (In the end it really only took me a couple hours to correct this mistake) This is an area I wanted to make sure fit nice and tight so I opted to up size the rivets to -4 “oops” rivets. This gave them a nice snug fit while keeping the head size the same, and given the edge distance, was more than sufficient. I was happy with my choice.
While fitting the aft deck, I discovered one of the bulkheads was backwards
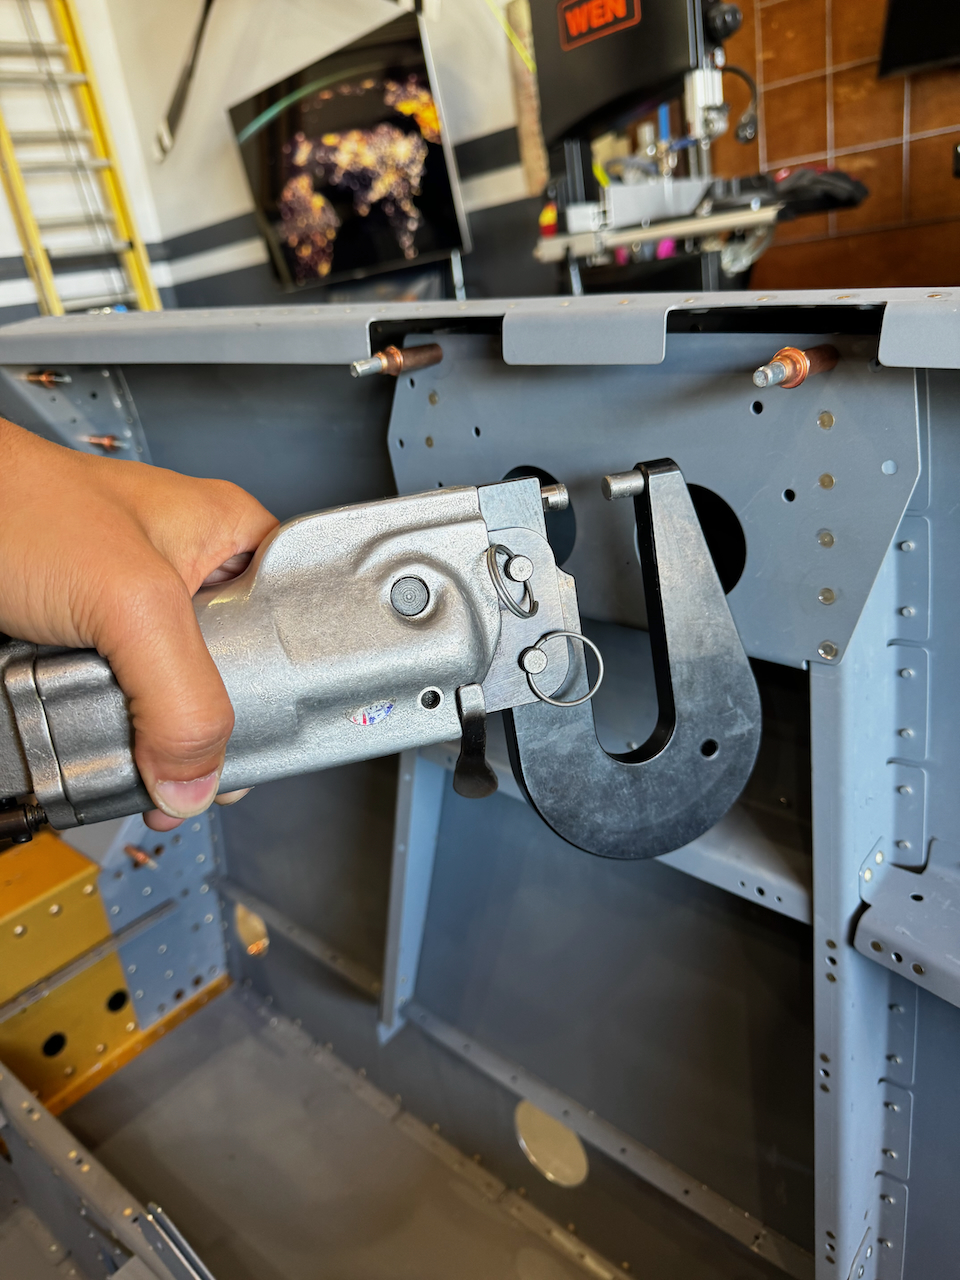
After drilling out, was able to get it installed correctly.
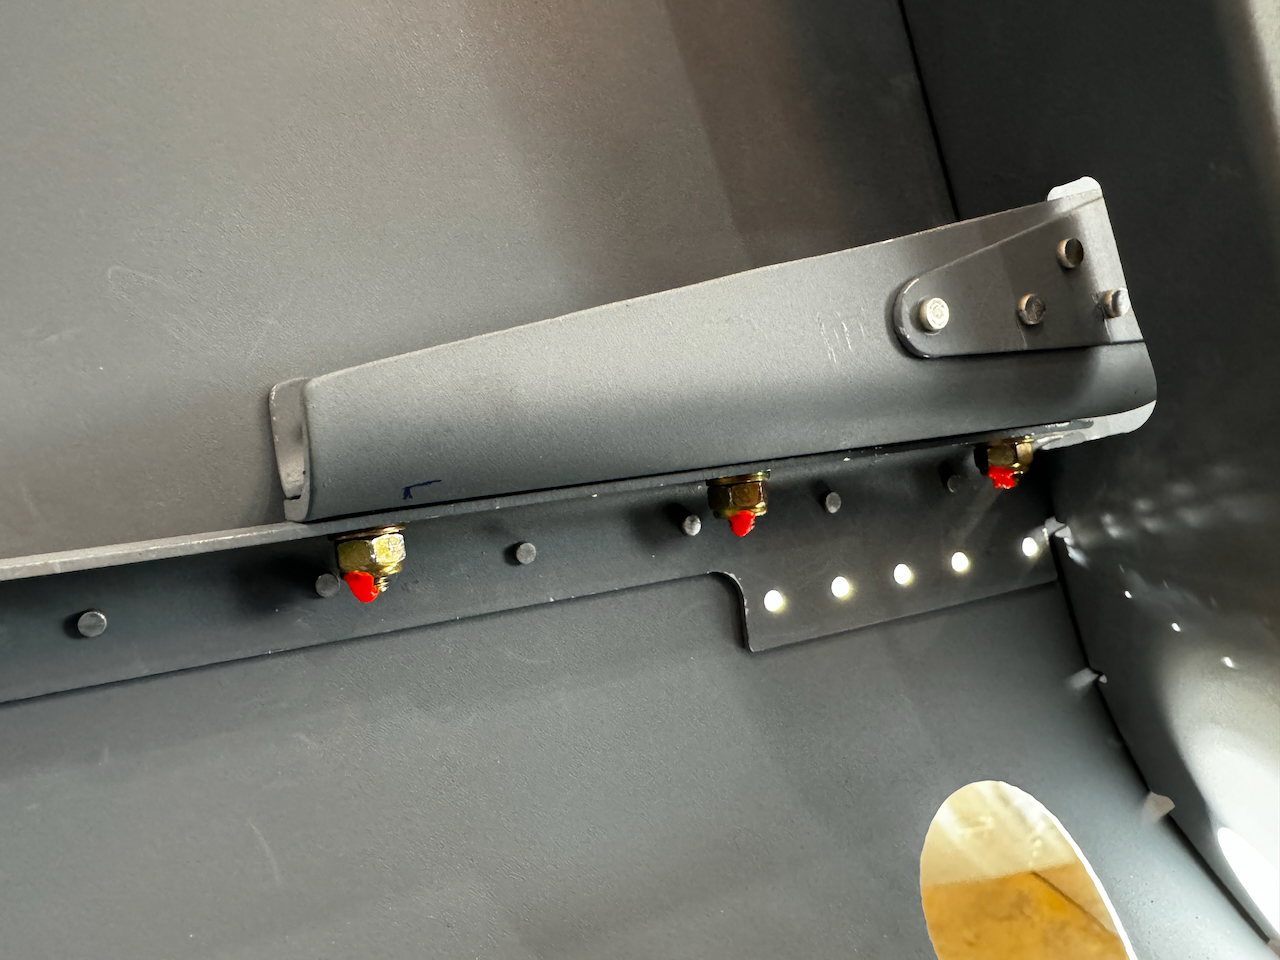
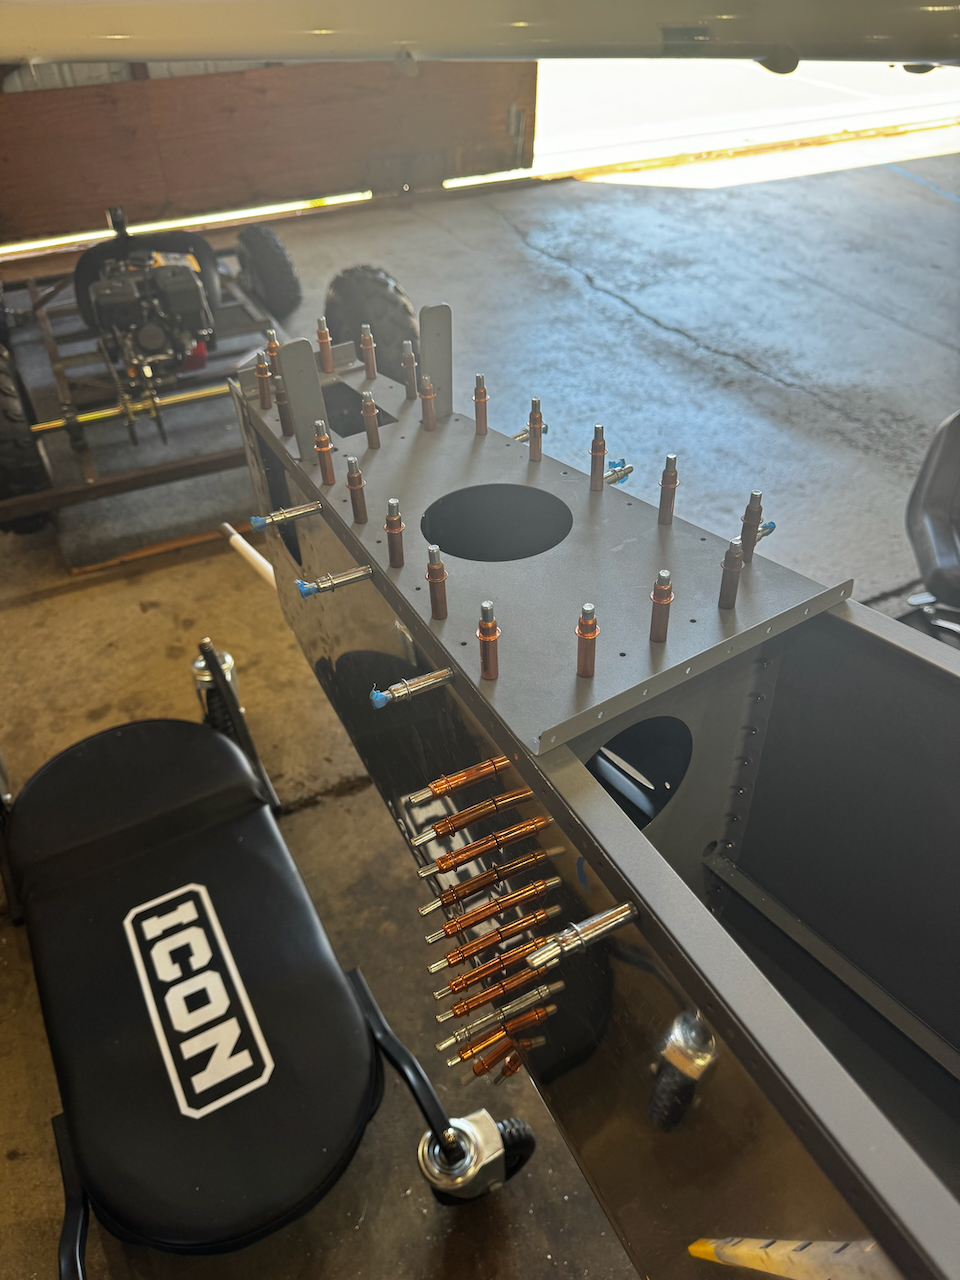
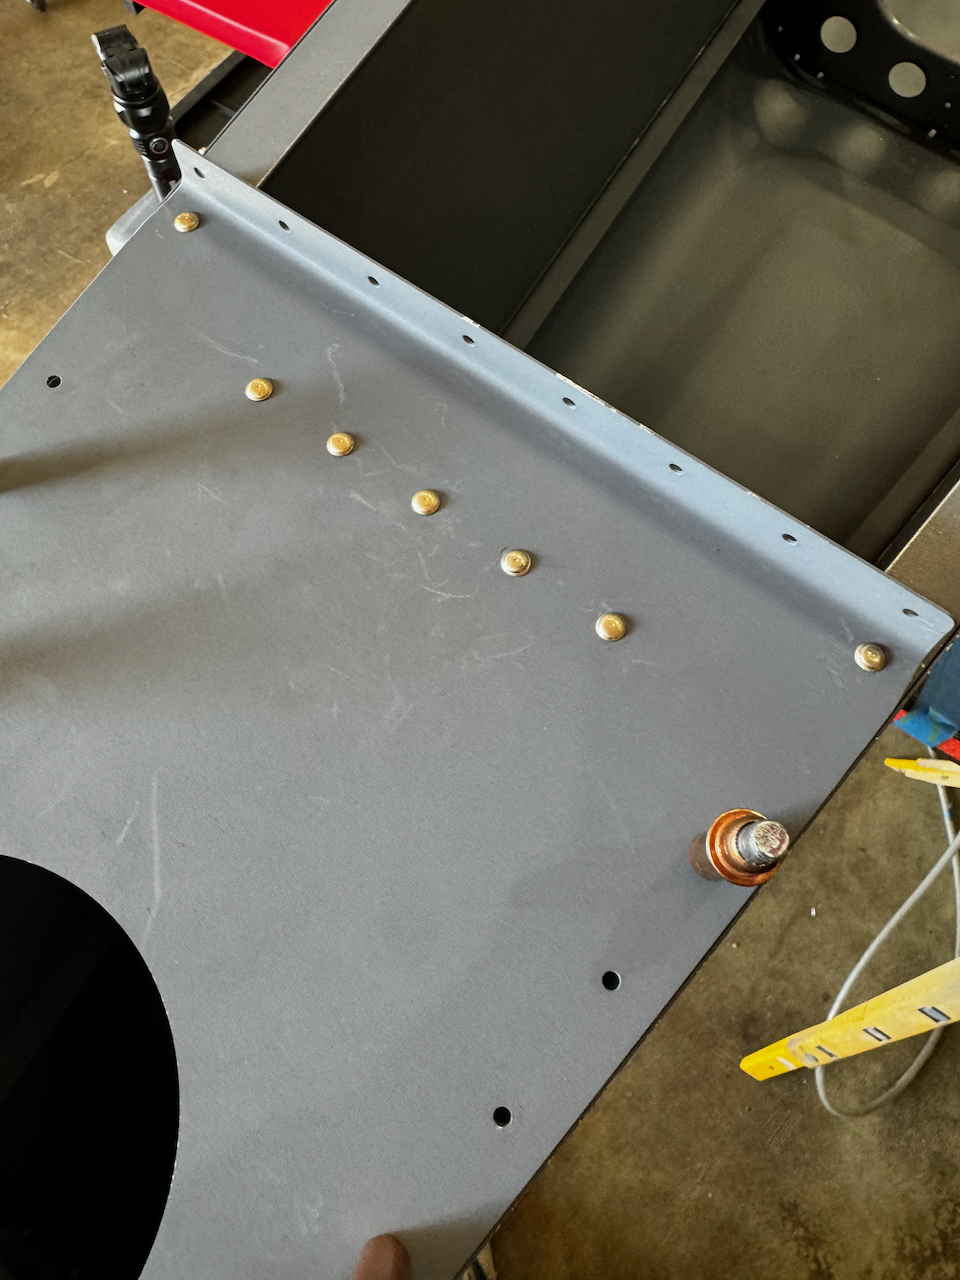
marking the holes to not rivet for now (for future space adjustment
close to done (had to wait for help for the last few
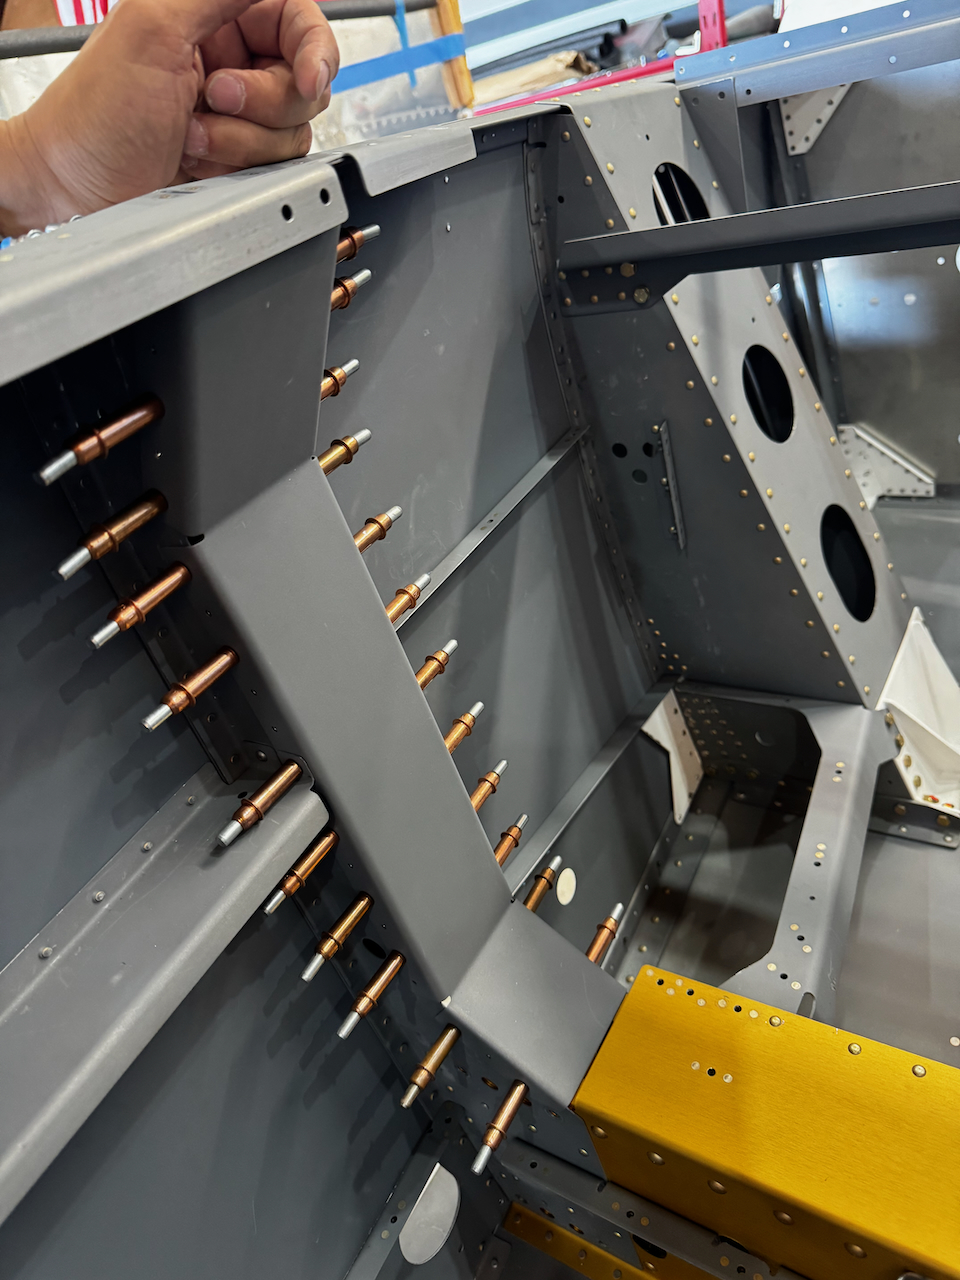
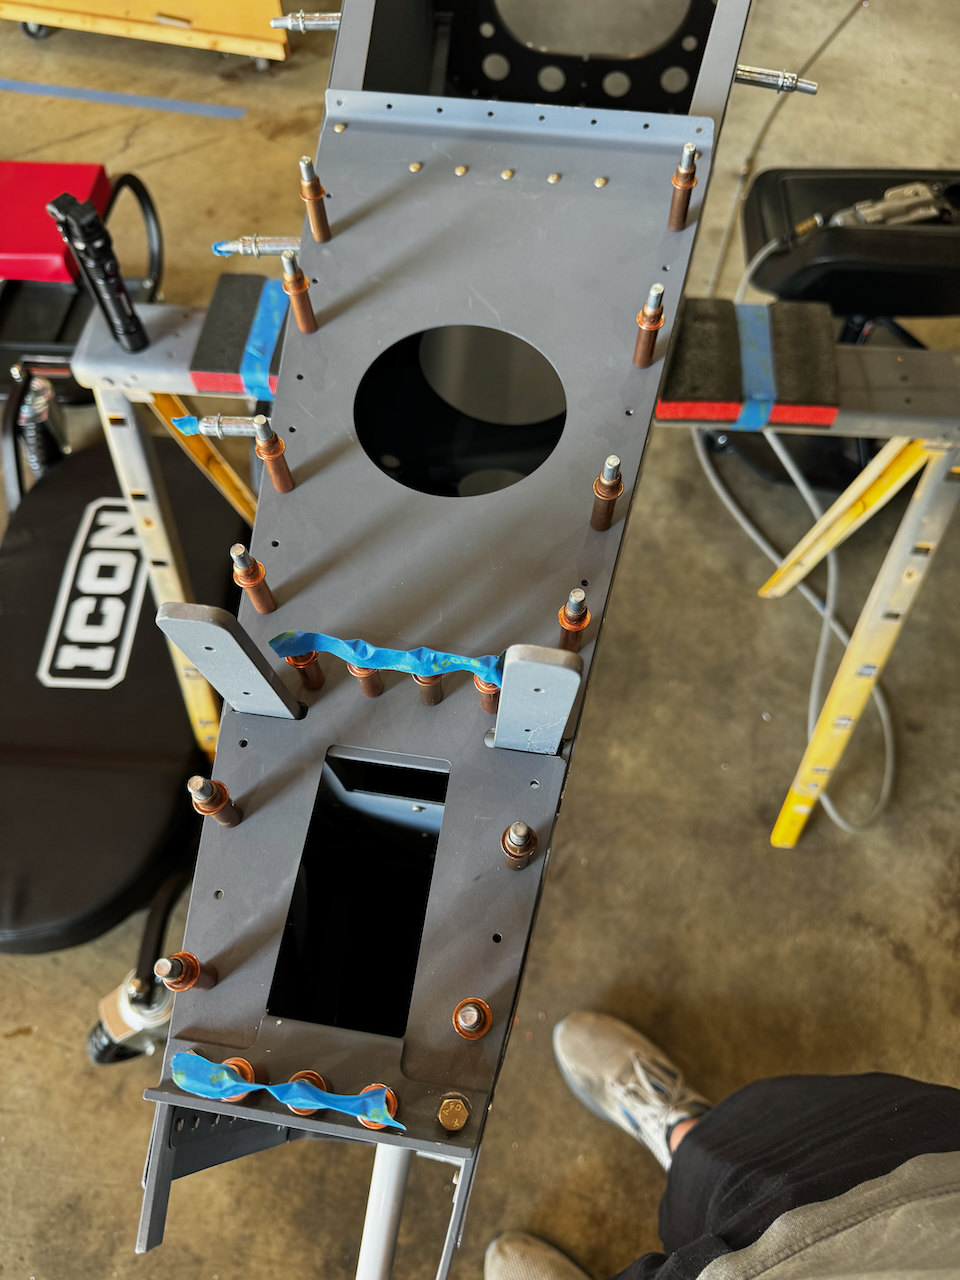
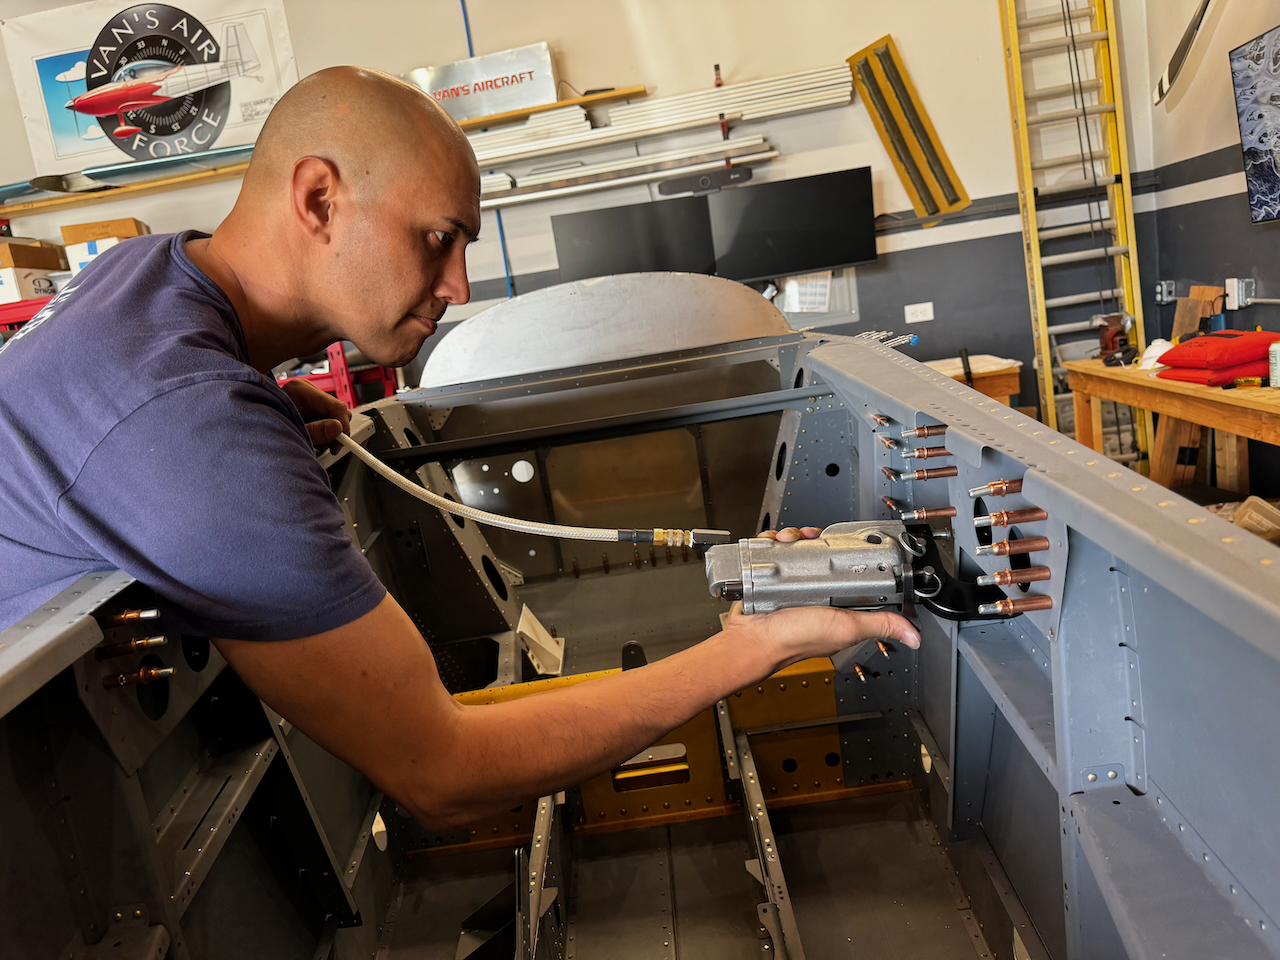
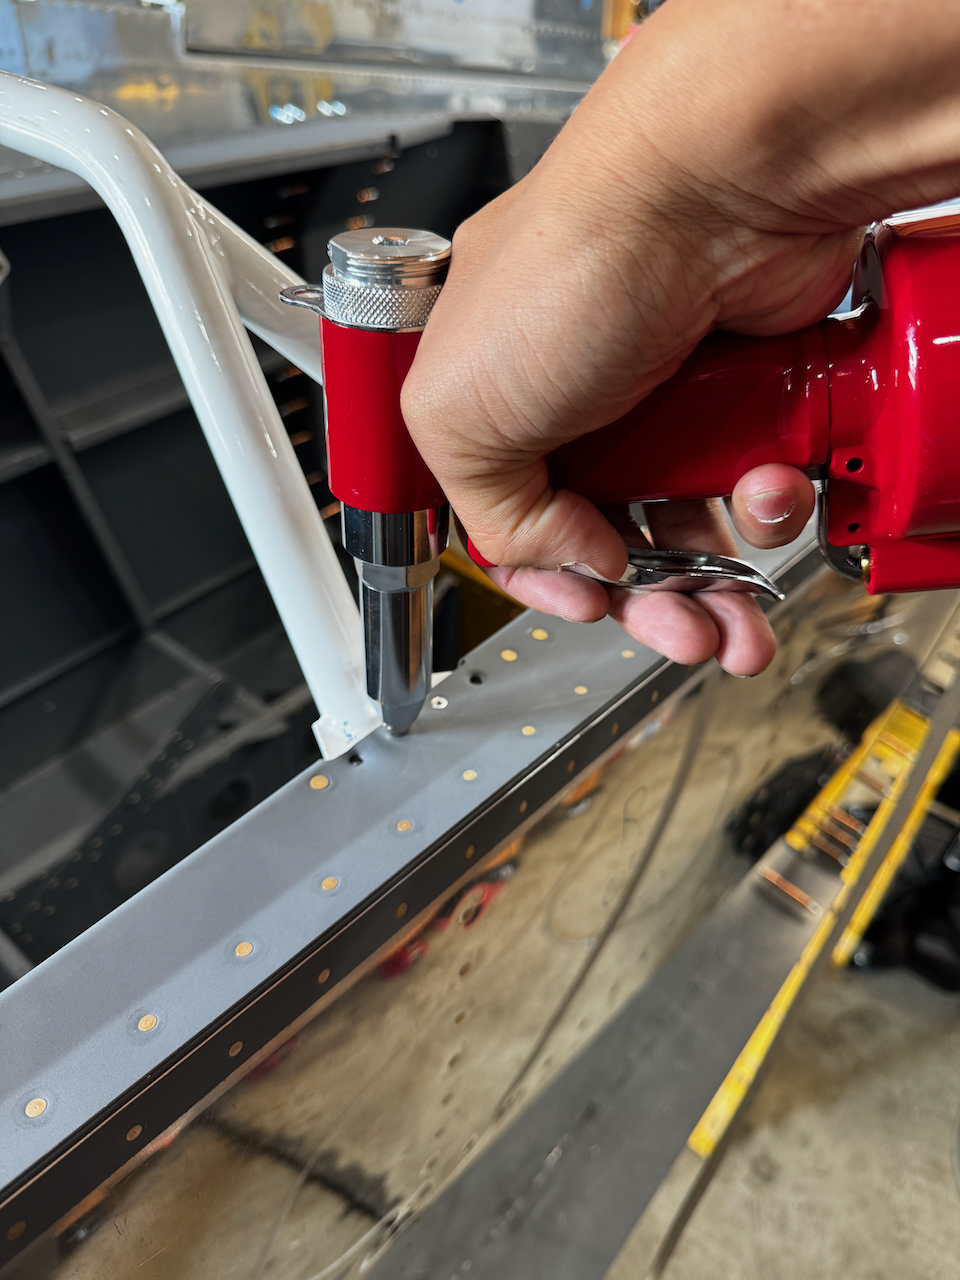
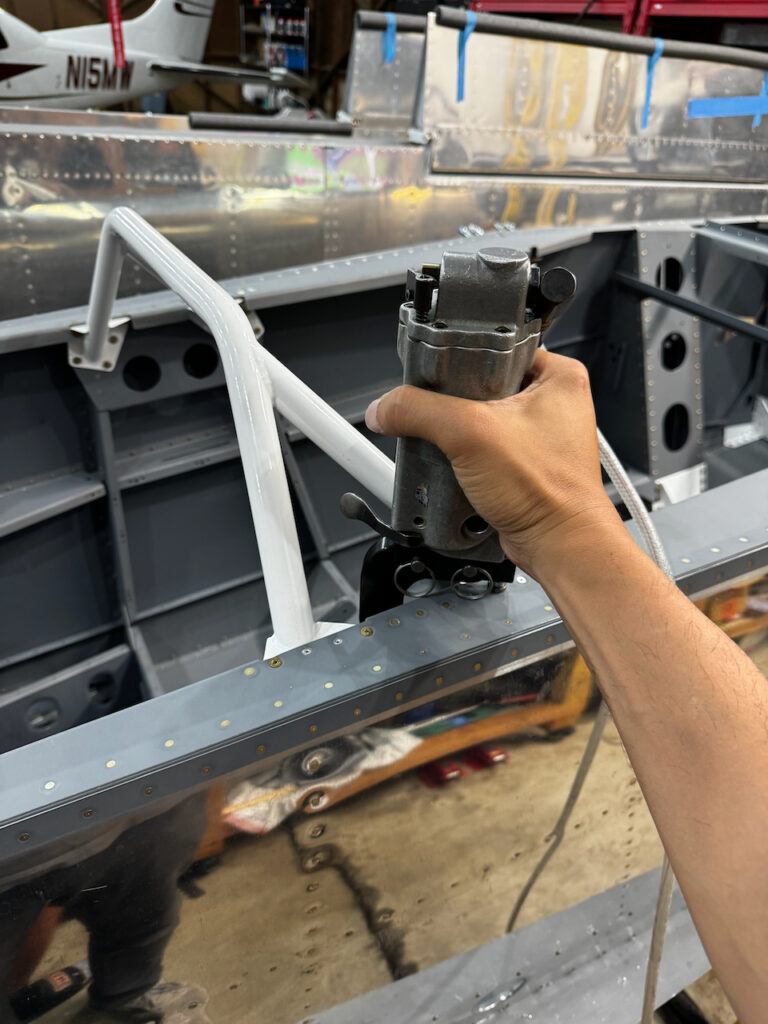
An additional challenge was getting to some of the rivets in the seat back support plates, and the seat back support itself. I wanted to avoid bucking as much as possible and was successfully able to squeeze almost all the rivets in this area. At times it took some creativity like putting the yoke in place, and then building the squeezer around it. If I ever do another plane I will upgrade to the foot squeezer (by Numatix I think), which has a much smaller body. Jack was able to help me with the one side plate rivet that was unreachable.
Seat back support plate was going to be tough to squeeze
but was able to get to most of them with the right yokes
having the fuselage at the right height helps a lot.
A couple rivets would require bucking.
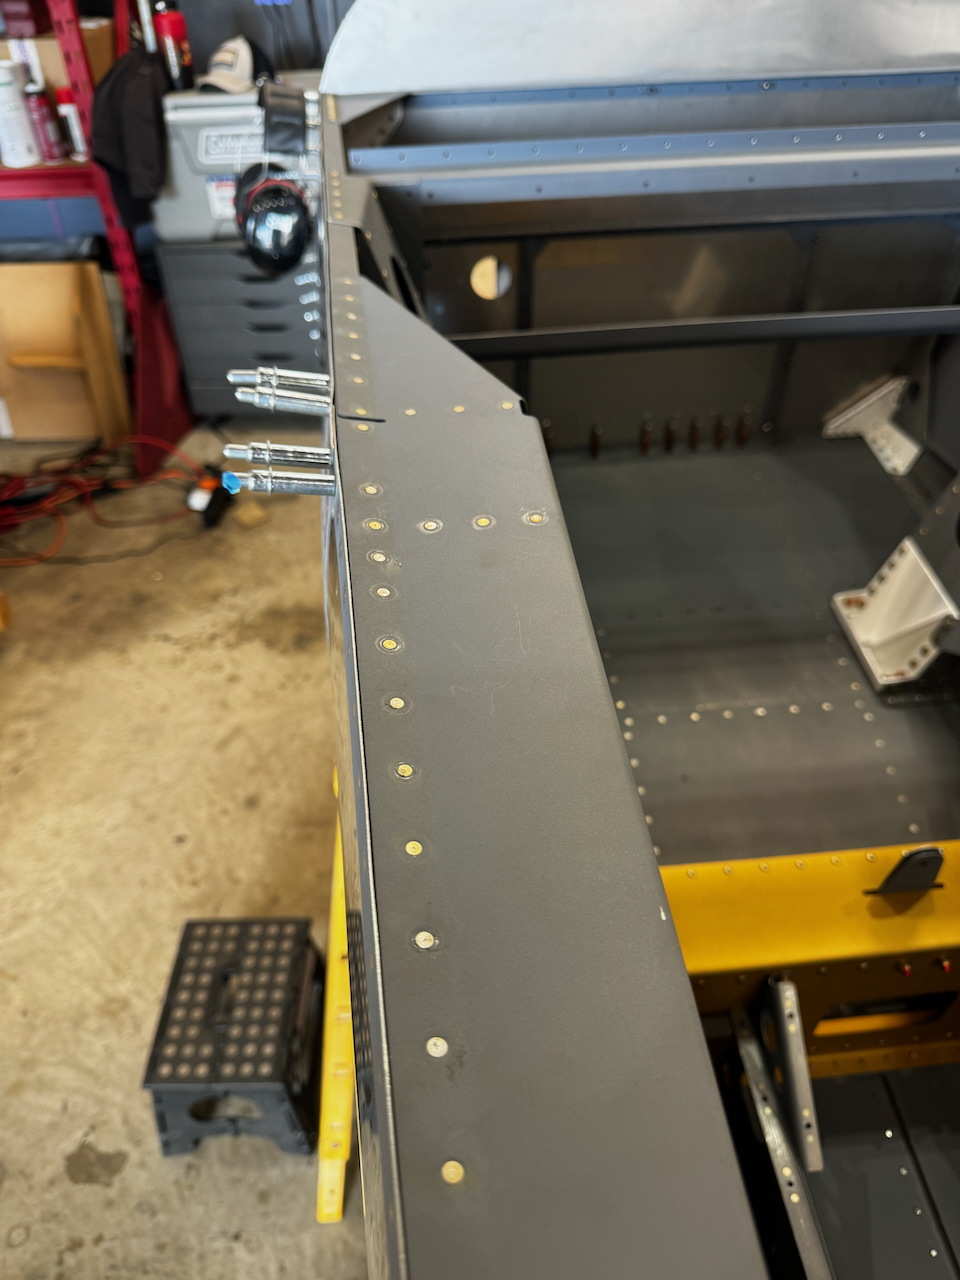
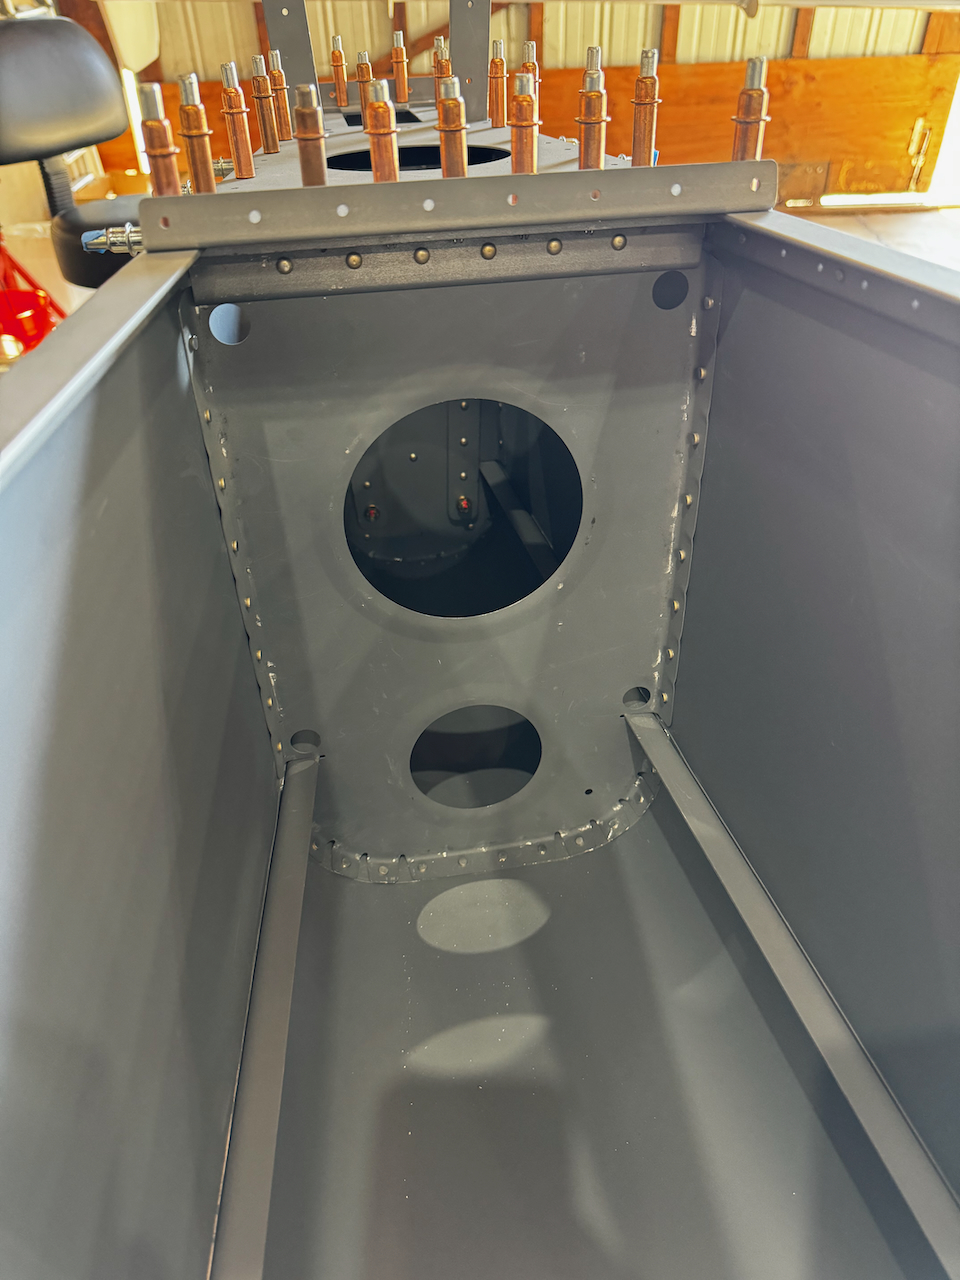
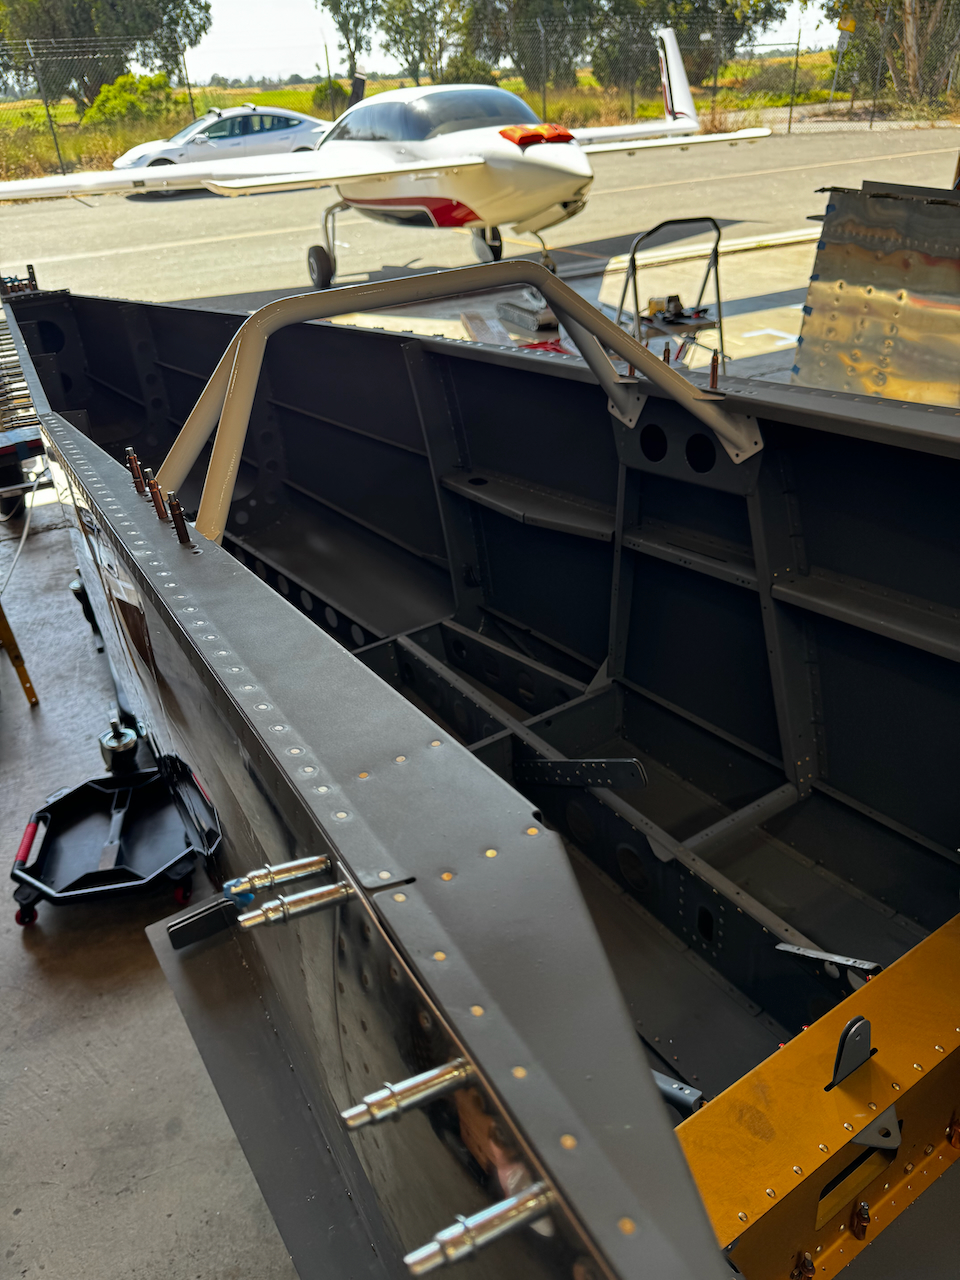
The final step in this section is installing the seat back support. This is a big weldment that dividers the front seat area from the back seat. Although it is not much, it felt like a big step past the “canoe phase, and into the “let’s make this look like an airplane” phase.
Lots of complicated instructions on this one.
time for the seat back support!
I opted for one extra pop rivet in a spot I couldn’t see how to buck
squeezing some inner rivets
all done!
Next up is fitting the landing gear and installation of the front bottom skins. Ugh… more skin riveting, but I think a lot of these are pop rivets… at least I hope!
Until then I leave you with a picture of the first passenger in our RV-8 build…. Happy Building!!


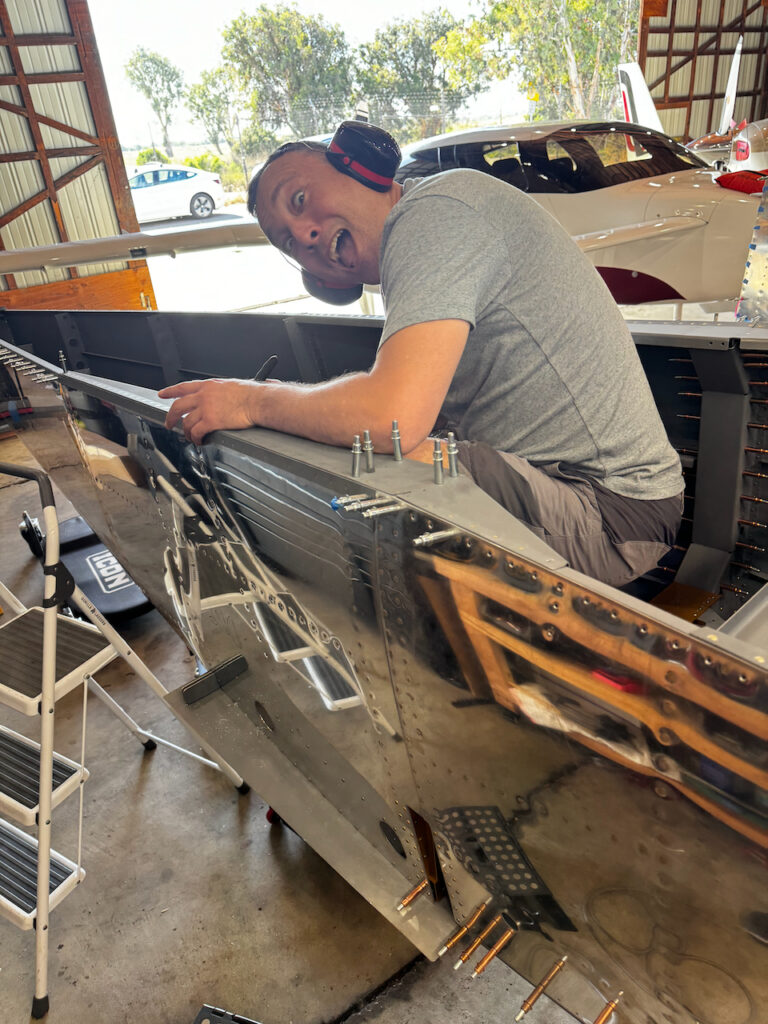
1 comment
what a major milestone! congratulation to you and the team.