Turns out that sickness wasn’t going away over the past few days..so I decided to stay home and get some rest. There’s only so much netflix one can watch before getting totally bored, so I decided to tackle rib straightening at the same time. The task is pretty straight forward, and using the mason string technique I could get through ribs relatively quickly. Here is the process for one rib (last of the W-711s!).
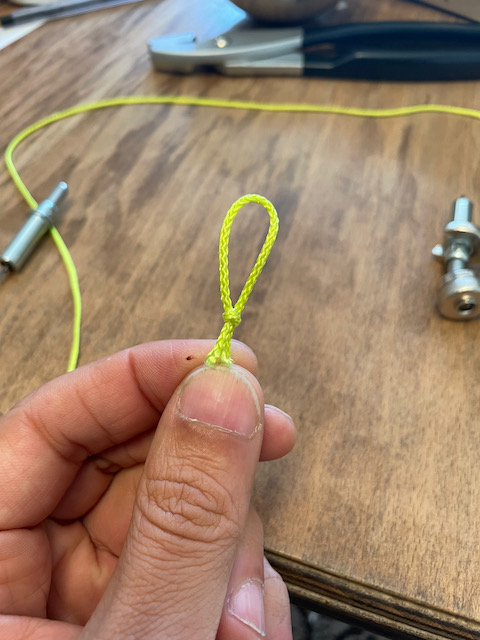
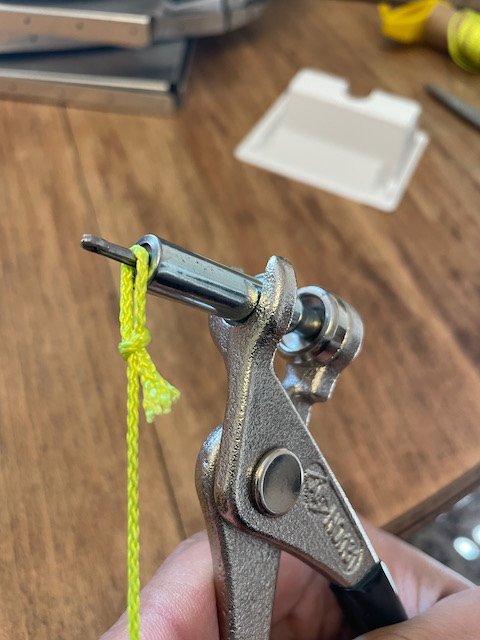
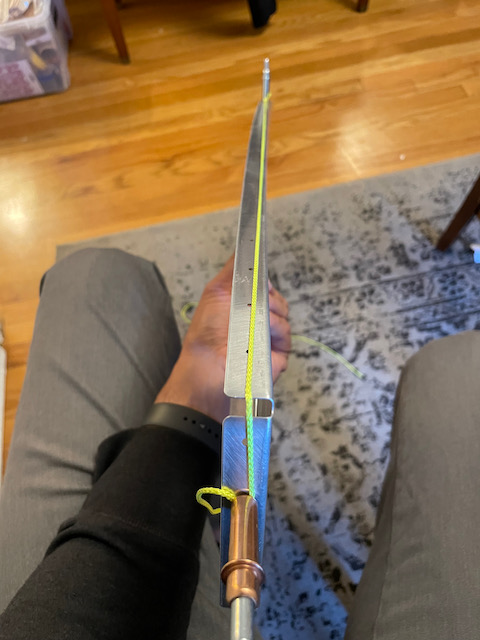
So the technique for straightening the ribs using a mason string is pretty simple. The theory is if you stretch a tight line over the holes, you can see when the entire rib is lined up because the line will cover all the holes. To do this, you start by clekoing a #40 around a line at the first hole in the rib, and then wrap the line around the corner, and cleko a #30 to the end holes.


Next, you use fluting pliers to flute between each hole. I noticed that starting with a light flute between each hole, and then going back to refine the flute as needed was better that trying to flute a few spots deeply. It’s easier to flute more than to unflute (although by turning around the pliers, you can successfully “unflute”). Below you can see a sequence of fluting one side…notice how a couple passes allows you to control where the straightening occurs. Also notice the string center up on the holes over time. This is sped up, but each rib took me approximately 5-10 minutes (for both sides).
wash, rinse, repeat. Having an entire series to binge watch while straightening helps pass the time (HBO Max “Titans”).

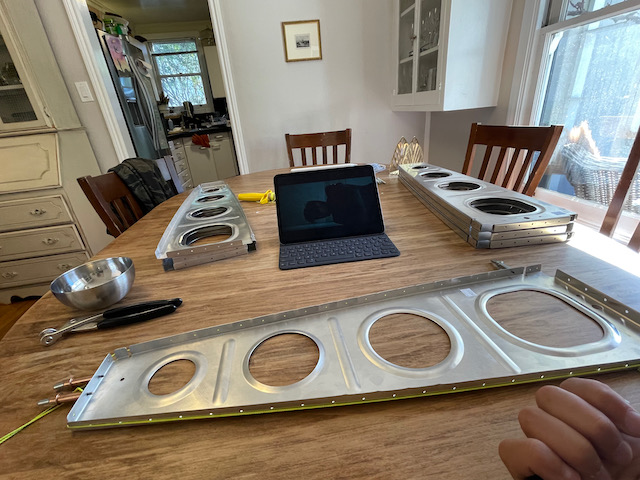
The main ribs (between main spar and rear spar) were pretty easy as the bend in the rib was relatively minor. The leading edge ribs were a little more complicated because they were so severely warped. It took a little finagling, but eventually I got them to a satisfactory state. Check out some additional photos below.
With all of the straightening done, I will do one more pass to check that the flanges remained at 90˚ angles, and then I’m done with section “7-3: Preparing The Wing Ribs”. Next up will be assembling the wing skeleton! It will be exciting to see it start to come together!
1 comment
The movie was so fast ! Could barely see the process !! Love mom